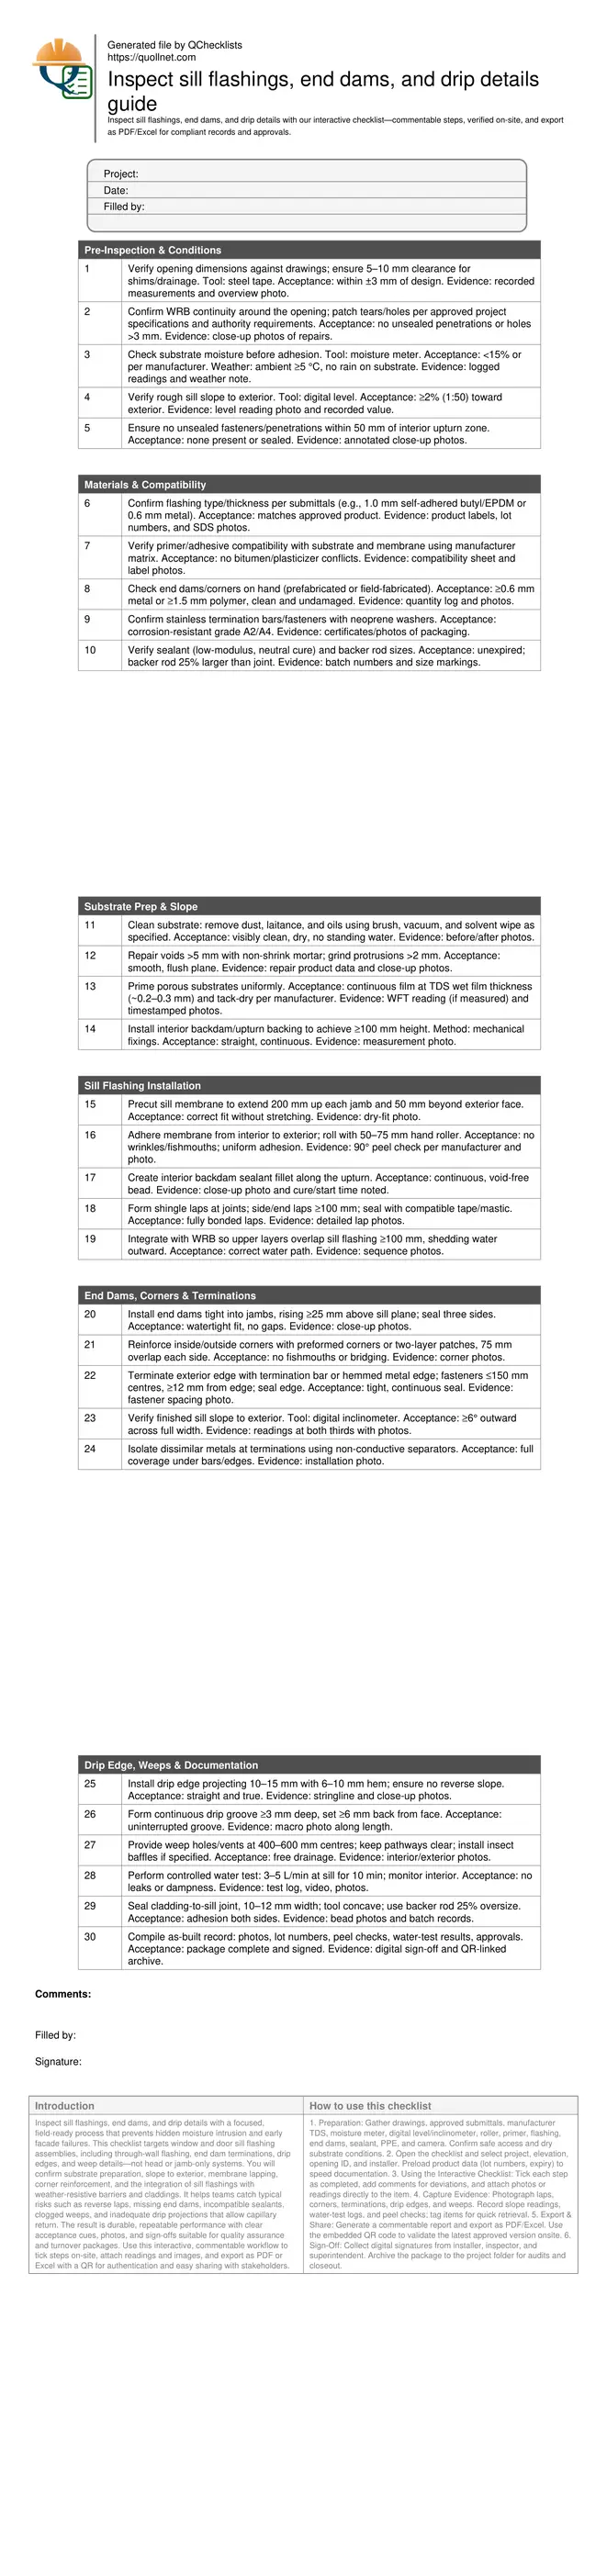
Inspect Sill Flashings, End Dams, and Drip Details
Definition: Inspect sill flashings, end dams, and drip details for construction QA teams verifying water-shedding geometry, compatible materials, sealed terminations, and integration with the WRB to prevent moisture intrusion at rough openings.
- Confirm slope, laps, and end dams shed water outward reliably.
- Verify material compatibility, thickness, and secure, sealed terminations.
- Document evidence with photos, lot numbers, and simple field tests.
- Interactive, commentable checklist; export with QR code for traceability.
Inspect sill flashings, end dams, and drip details with a focused, field-ready process that prevents hidden moisture intrusion and early facade failures. This checklist targets window and door sill flashing assemblies, including through-wall flashing, end dam terminations, drip edges, and weep details—not head or jamb-only systems. You will confirm substrate preparation, slope to exterior, membrane lapping, corner reinforcement, and the integration of sill flashings with weather-resistive barriers and claddings. It helps teams catch typical risks such as reverse laps, missing end dams, incompatible sealants, clogged weeps, and inadequate drip projections that allow capillary return. The result is durable, repeatable performance with clear acceptance cues, photos, and sign-offs suitable for quality assurance and turnover packages. Use this interactive, commentable workflow to tick steps on-site, attach readings and images, and export as PDF or Excel with a QR for authentication and easy sharing with stakeholders.
- Reduce water penetration risk by verifying continuous sill flashing, sealed end dams, and positive drip geometry that sheds water away from the facade. Acceptance cues, field tolerances, and photos make issues visible before cladding conceals them.
- Improve coordination by confirming material compatibility, correct laps, and integration with the weather-resistive barrier. The checklist structures responsibilities, records lot numbers and product data, and provides repeatable documentation for progress inspections and closeout.
- Interactive online checklist with tick, comment, and export features secured by QR code.
- Prove performance with a simple field water test, digital level readings for slope, and close-up images of laps, corners, and terminations. Export organized evidence to PDF/Excel for client review and long-term asset records.
Pre-Inspection & Conditions
Materials & Compatibility
Substrate Prep & Slope
Sill Flashing Installation
End Dams, Corners & Terminations
Drip Edge, Weeps & Documentation
Why sill flashings, end dams, and drips matter
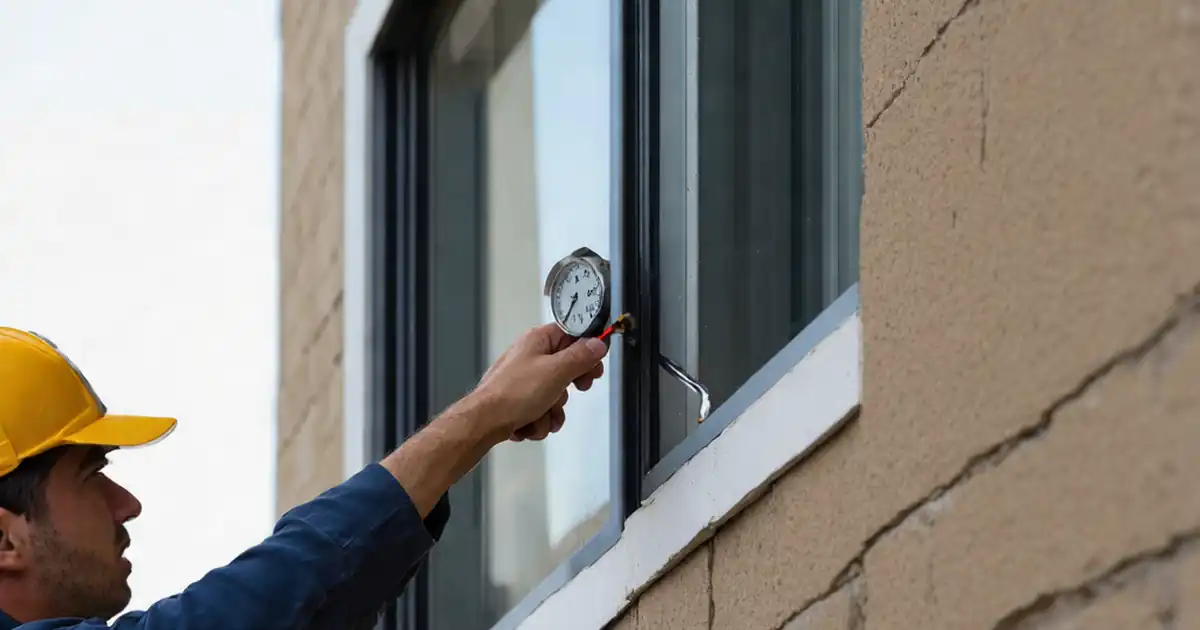
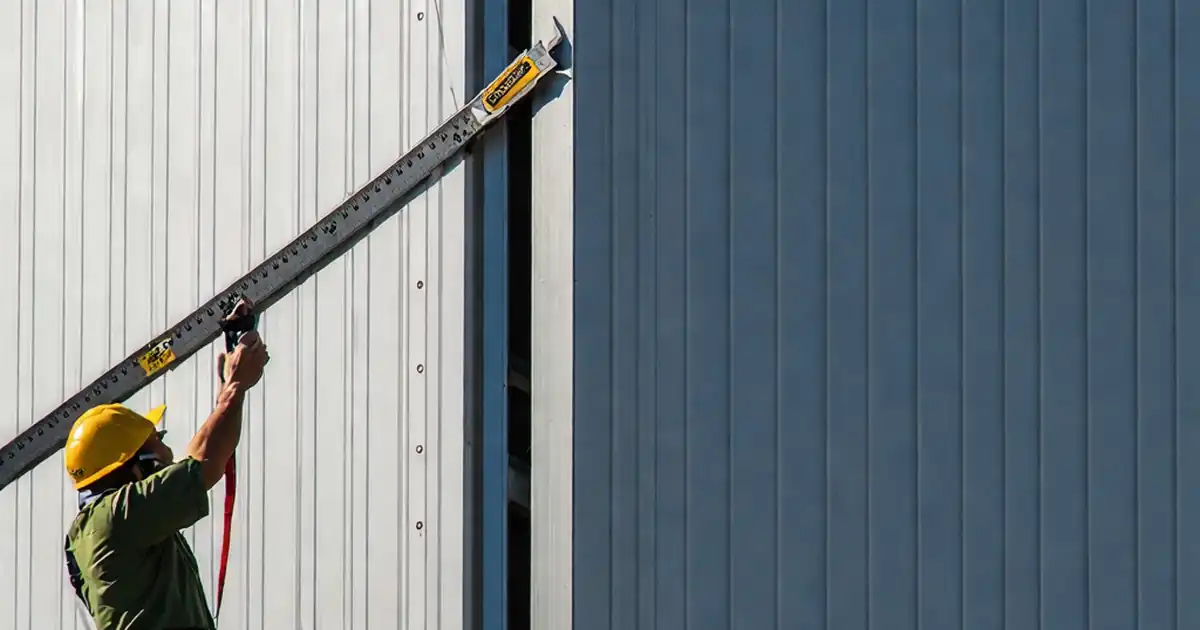
Sill flashings, end dams, and drip details are the first line of defense against water tracking into rough openings. Failures often stem from reverse laps, missing end dams, inadequate slope, and weak terminations—issues that vanish behind finishes and later appear as leaks, mold, and corrosion. This checklist focuses exclusively on sill-level elements at windows and doors, ensuring water is collected, directed to the exterior, and released cleanly beyond the facade plane. You will confirm slope, continuous upturns (backdams), tight corner reinforcement, and drips that break surface tension. Acceptance cues include measured slopes, minimum lap lengths, and visible, sealed terminations. The approach supports both new installations and remediation work without drifting into head or jamb-only topics. By capturing measurements, photos, and batch data, you create unambiguous evidence that assemblies meet submittals and manufacturer instructions, reducing rework and warranty exposure while delivering predictable envelope performance.
- Keep scope limited to sill, end dams, and drips.
- Measure slope and lap lengths; do not guess.
- Photograph corners, laps, and terminations clearly.
- Record lot numbers and peel-test outcomes.
- Verify drainage paths remain unclogged.
Materials, compatibility, and integration cues
Durable performance depends on compatible materials and correct sequencing. Confirm the approved flashing type, thickness, and primer before adhesion, and cross-check compatibility charts to avoid reactions with plastics, bitumen, or sealants. Prepare substrates by cleaning, repairing voids, and priming porous areas to the manufacturer’s wet film thickness. Create an interior upturn (backdam) of at least 100 mm to contain incidental water. Install the sill flashing so laps shed water outward, with ≥100 mm side and end laps and reinforced corners. Integrate with the WRB by lapping upper layers over the sill flashing in a true shingle fashion. Terminate the exterior edge with a bar or hemmed metal and an edge seal, and isolate dissimilar metals to prevent galvanic corrosion. Throughout, document with photos and peel checks for adhesion validation per approved project specifications and authority requirements.
- Confirm product type, thickness, and shelf life.
- Prime uniformly; verify tack before applying membrane.
- Lap 100 mm minimum, shingle to shed water.
- Install ≥100 mm interior backdam upturn.
- Isolate dissimilar metals at edges.
Drip geometry, weeps, and proving performance
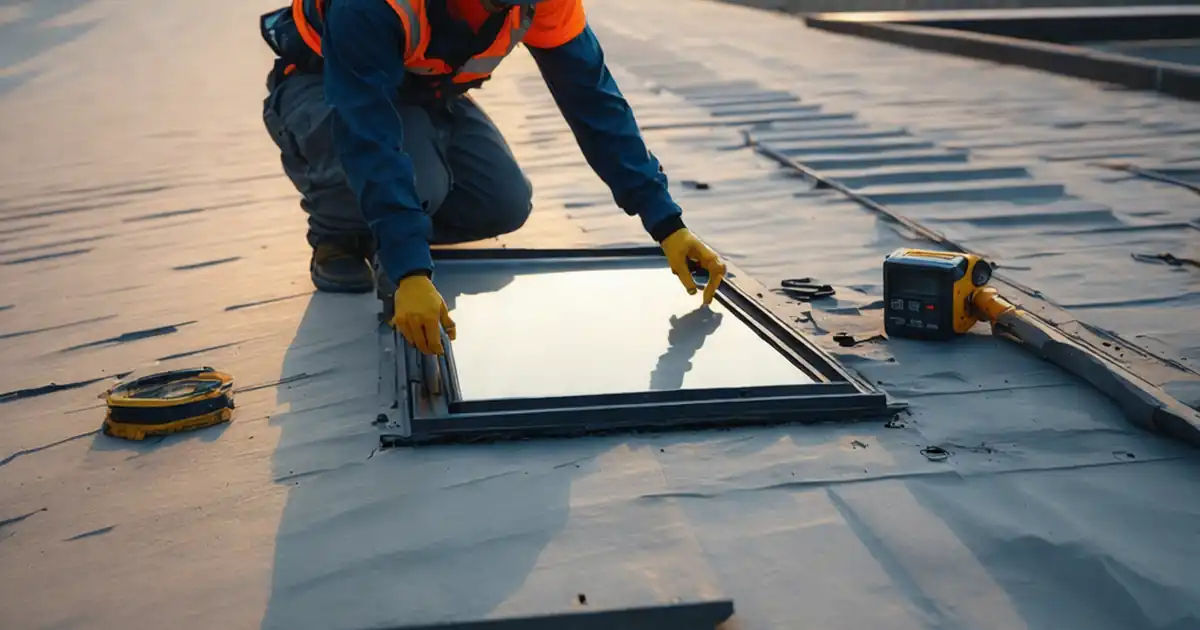
A properly detailed drip prevents water from clinging back to the facade. Ensure the drip edge projects 10–15 mm with a hem and continuous groove at least 3 mm deep, set back from the face. Verify the finished sill maintains positive slope—target ≥6°—across its full width. Keep weep holes or vents at 400–600 mm centres and unobstructed so captured water exits freely. After installation, run a controlled field water test to confirm no interior leaks, then photograph key features: corner patches, terminations, grooves, weeps, and measurement readings. Finish by sealing cladding-to-sill joints with correctly sized backer rod and low-modulus sealant, and record batch numbers and cure times. Organize evidence in an exportable package that demonstrates compliance with submittals and manufacturer instructions, enabling rapid punchlist closure and reliable turnover.
- Project drip 10–15 mm with a hem.
- Cut a continuous 3 mm drip groove.
- Space weeps 400–600 mm and keep clear.
- Verify ≥6° outward slope after finishing.
- Run a 10-minute field water test.
How to Use This Sill Flashing Inspection Checklist
- Preparation: Gather drawings, approved submittals, manufacturer TDS, moisture meter, digital level/inclinometer, roller, primer, flashing, end dams, sealant, PPE, and camera. Confirm safe access and dry substrate conditions.
- Open the checklist and select project, elevation, opening ID, and installer. Preload product data (lot numbers, expiry) to speed documentation.
- Using the Interactive Checklist: Tick each step as completed, add comments for deviations, and attach photos or readings directly to the item.
- Capture Evidence: Photograph laps, corners, terminations, drip edges, and weeps. Record slope readings, water-test logs, and peel checks; tag items for quick retrieval.
- Export & Share: Generate a commentable report and export as PDF/Excel. Use the embedded QR code to validate the latest approved version onsite.
- Sign-Off: Collect digital signatures from installer, inspector, and superintendent. Archive the package to the project folder for audits and closeout.
Call to Action
- Start Checklist Tick off tasks, leave comments on items or the whole form, and export your completed report to PDF or Excel—with a built-in QR code for authenticity.
- Download Excel - Sill Flashing, End Dam & Drip Inspection
- Download PDF - Sill Flashing, End Dam & Drip Inspection
- View Image - Sill Flashing, End Dam & Drip Inspection
Cite & Embed
“Sill Flashing, End Dam & Drip Inspection by Quollnet”
with a link to
this source page.
FAQ
Question: What minimum slopes and laps should I verify at sill flashings?
Question: How do I confirm material compatibility for membranes, primers, and sealants?
Question: What constitutes an acceptable end dam and drip detail?
Question: When and how should I water-test the sill assembly?
Related Articles
Broader reading and guidance connected to this checklist topic.


Improve Your Project Handover Process With Snag List Tracking App

Is It Important To Customize Your Qr Code And How To Do It?


Related Checklists
Keep the workflow moving with nearby templates chosen from similar checklist content.