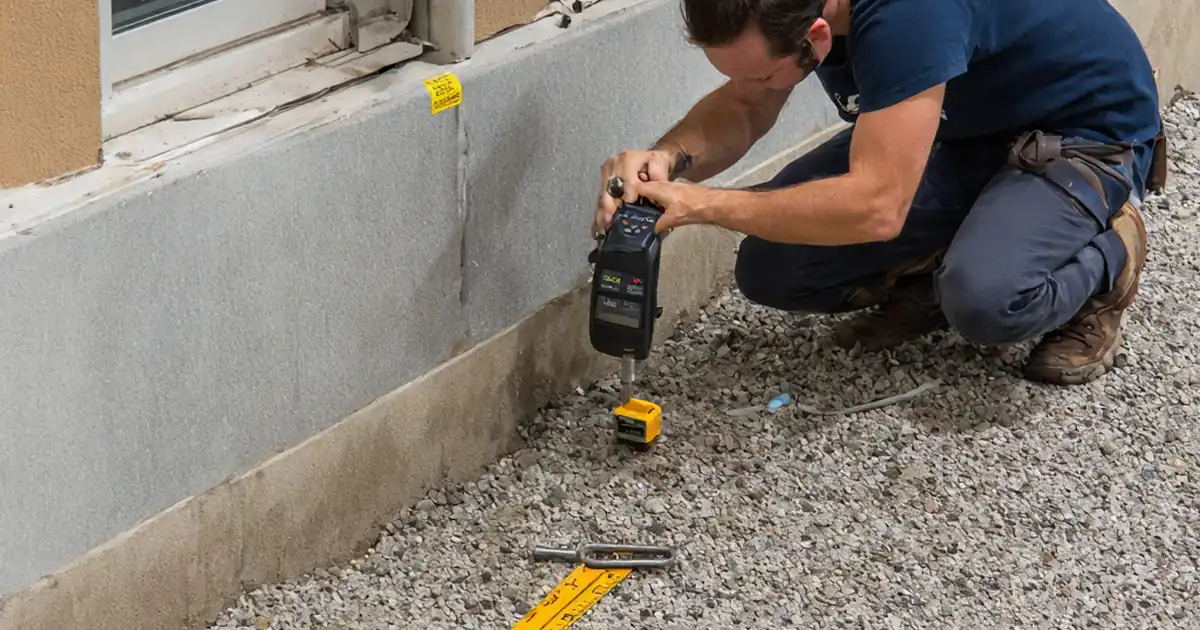
Inspect skylight curb preparation before skylight installation
Definition: Inspect skylight curb preparation before skylight installation guides roof inspectors and foremen to validate structure, dimensions, waterproofing interfaces, drainage, and documentation compliance before positioning skylight units.
- Verify structure, geometry, and anchoring match approved submittals and drawings.
- Confirm waterproofing transitions, terminations, and sealants meet acceptance criteria.
- Check slopes, crickets, and drainage to prevent ponding at curbs.
- Interactive, commentable checklist with export and QR code verification.
Inspect skylight curb preparation before skylight installation is a critical quality gate that prevents leaks, misalignment, and warranty disputes. This skylight curb inspection focuses on curb substrate readiness, geometry, anchoring, and flashing preparation so the opening accepts the unit without rework. You will confirm framing integrity, curb height, membrane upturns, corner detailing, and drainage provisions, then document evidence with measurements, photos, and lot numbers per approved project specifications and authority requirements. By isolating the curb and roof interface scope, this checklist avoids scope creep into glazing or final sealant finishing. It helps teams catch common issues like low curb heights, uneven bearing, fastener clashes, and incomplete terminations before the skylight arrives. Use this workflow on new builds and replacements, across metal, timber, or concrete curbs, to lock in durable, dry assemblies and smooth inspections. Start interactive mode, tick items, add comments, and export PDF/Excel; share the QR-secured report with stakeholders.
- Validate framing, curb dimensions, and anchoring layout against submittals and drawings to avoid misfits and forced adjustments. Record tape readings, diagonal checks, and scan results so installation proceeds without shimming improvisations or damage.
- Confirm waterproofing interfaces around the curb: membrane upturn heights, corner treatments, termination bars, and sealants. Conduct probe tests and sample pull tests to verify bonding and fastener holding, preventing post-install moisture ingress and callbacks.
- Assess slopes, crickets, and drainage paths so water moves away from the curb. Perform controlled hose tests, observe for ponding, and record evidence. Proper drainage reduces ice dams, freeze–thaw damage, and premature roof system deterioration.
- Interactive online checklist with tick, comment, and export features secured by QR code.
Substrate and Structure
Curb Fabrication and Anchoring
Waterproofing and Flashing
Slope and Drainage
Opening Condition and Housekeeping
Why curb structure and geometry decide the skylight fit
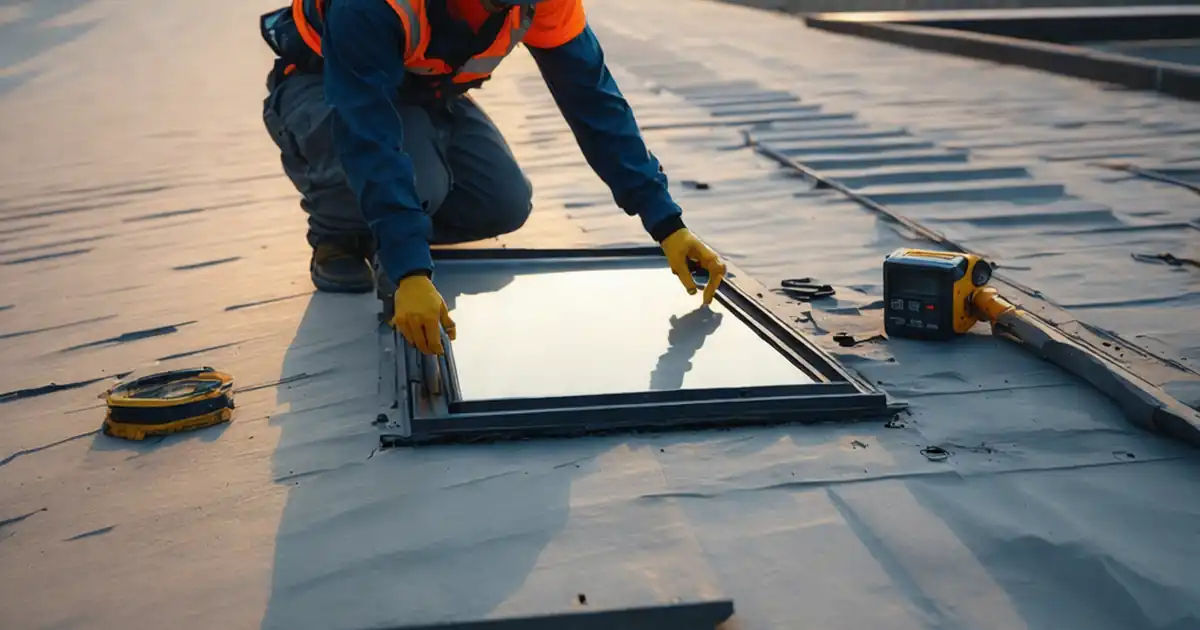
A skylight only installs cleanly when the curb is dimensionally true and structurally sound. Small errors at this stage amplify into binding frames, distorted gaskets, and leak paths. Start by confirming deck integrity and framing sizes match drawings, then control the curb’s internal dimensions and diagonals so the skylight seats without stress. Flatness at the bearing plane is just as critical; even a 4 mm ridge can twist the frame and telegraph into glazing stress. Anchoring layout must avoid embedded conflicts and maintain edge distances for pull-out strength. These checks are fast with the right tools—straightedge, digital level, calipers, scanner—and they create traceability through photos and readings. Recording tolerances and locations lets the installer address issues before equipment arrives on the roof, preventing rushed fixes and rework.
- Measure all sides and both diagonals for squareness.
- Keep flatness within 3 mm over 1 m.
- Maintain anchor edge distance at least twice diameter.
- Document locations with annotated photos.
- Scan anchoring zones to avoid clashes.
Waterproofing interfaces: where most failures begin
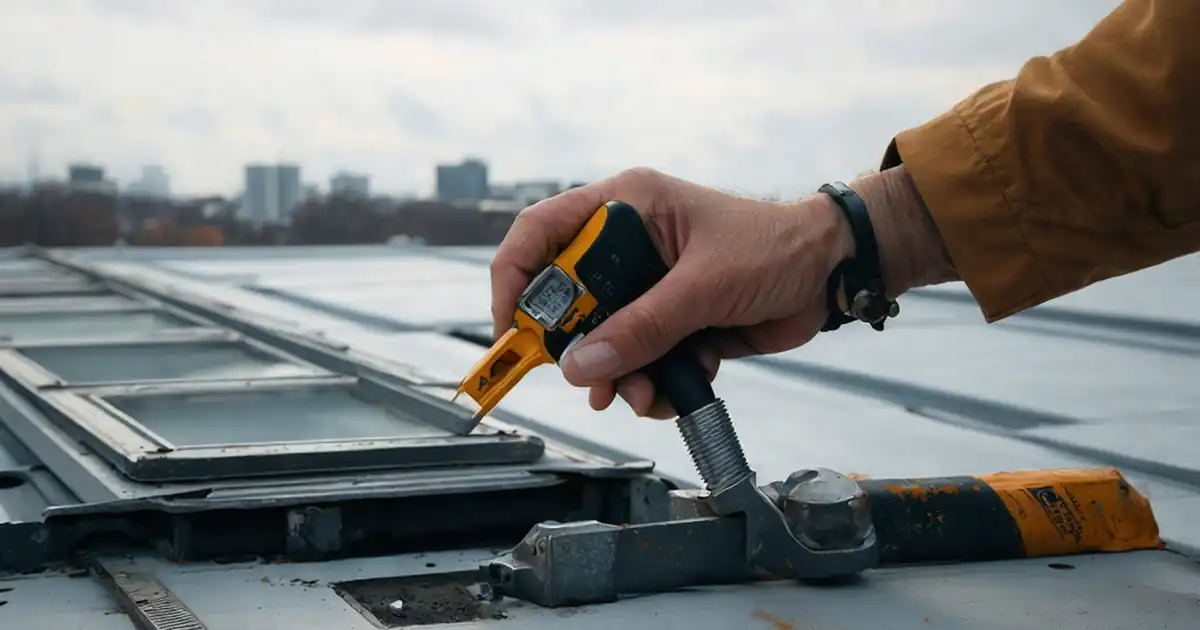
Most skylight leaks originate at curb-to-membrane interfaces, not through the glazing. Your aim is to verify continuous upturns, tight corner work, and secure terminations before hardware blocks access. Probe welded seams, look for fishmouths, and confirm termination bar torque and sealant integrity. Upturn heights often vary by system; when in doubt, follow the approved project specifications and authority requirements. If a reglet or counterflashing is detailed, ensure the chase is clean and deep enough to receive sealant and clips. Sample adhesion and pull-out tests provide objective acceptance, while lot numbers and expiry dates preserve traceability. Photo-document each side and corner before the skylight lands, because after installation, evidence is concealed and repairs become invasive.
- Probe seams every 200 mm for bond.
- Corner work shows no fishmouths or voids.
- Record sealant lot and expiry dates.
- Log torque checks on termination bars.
- Photograph every corner before install.
Drainage, detailing, and evidence that withstands audits
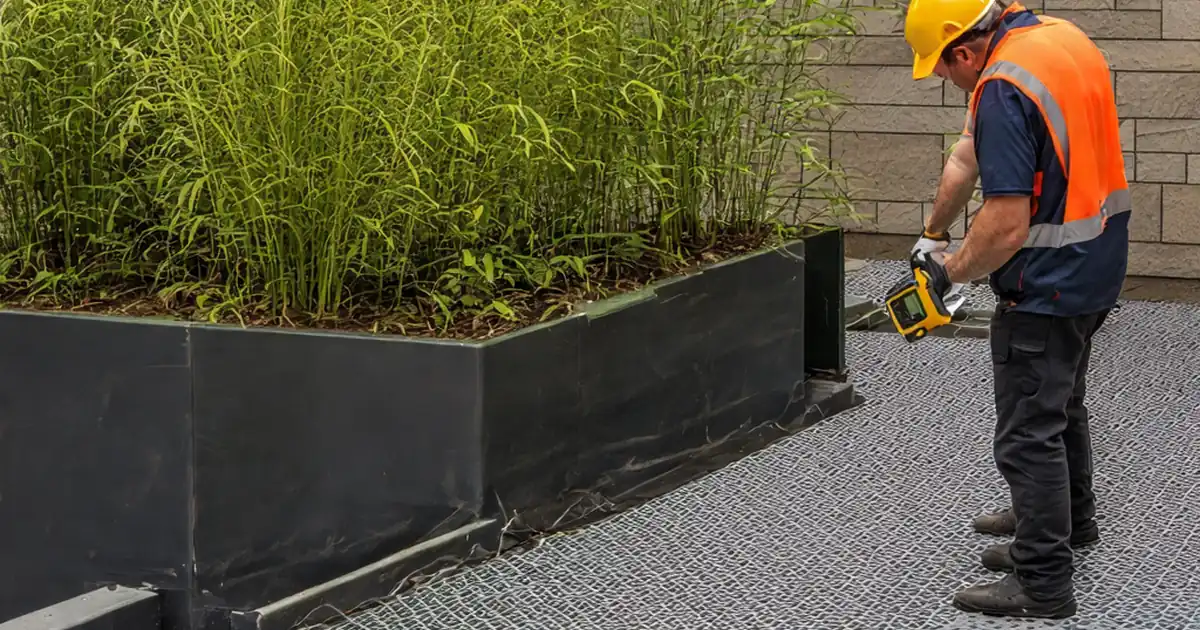
Drainage controls longevity. Confirm slope at the curb’s top plane, add crickets where drawn, and perform a controlled hose test to reveal ponding risks before the skylight blocks water paths. Equally important is housekeeping: clean openings prevent gasket damage and allow accurate dry-fits to confirm clearances. Integrating thermal breaks or insulation at the curb wall controls condensation and improves energy performance. Throughout, gather evidence—tape and level readings, close-ups of terminations, video of water tests—tagged to locations. This creates a defensible record for handover and warranties, proving the installation started on a dry, true, and prepared base, and supports rapid closeout with fewer punch items.
- Verify minimum 2% fall where detailed.
- Add crickets per drawings to split flow.
- Run hose tests and record videos.
- Vacuum debris to protect gaskets.
- Capture labeled photos and readings.
How to use this skylight curb preparation checklist
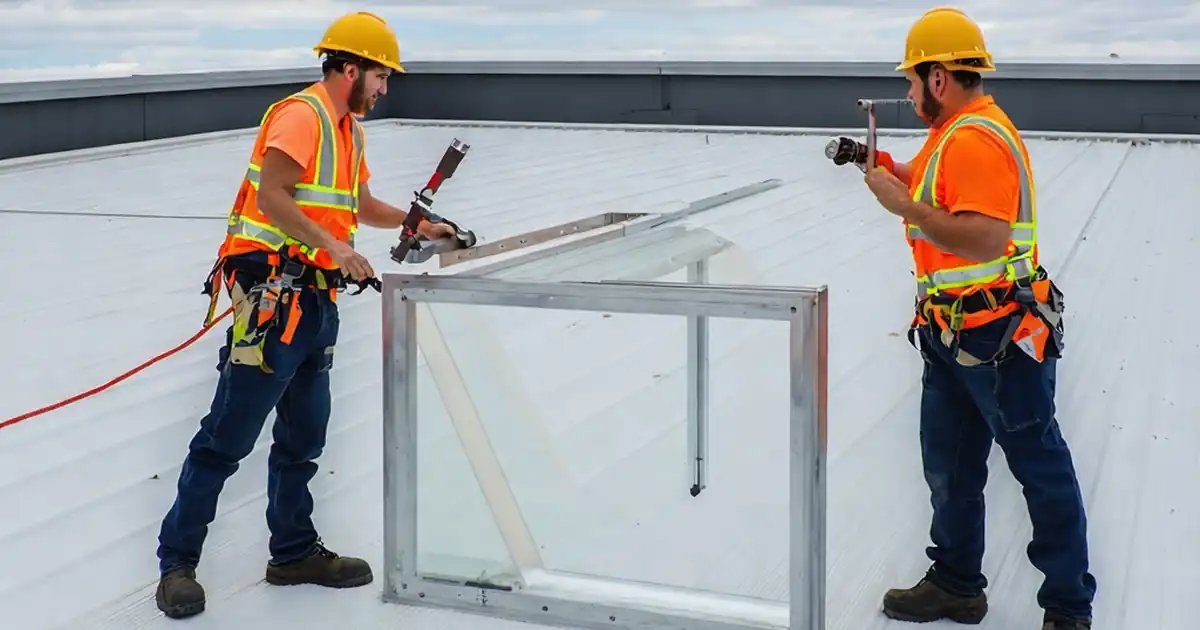
- Preparation: Gather steel tape, digital level, straightedge (1 m), calipers, moisture meter, scanner, torque wrench, probe tools, PPE (gloves, eye protection, harness), and project drawings/submittals.
- Verify site conditions: Ensure safe roof access, fall protection, dry surfaces for accurate readings, and lighting sufficient for photos and measurements.
- Open the interactive checklist: Start a new session, select location/elevation, and preload drawings so each item can be tagged to plan references.
- Tick and comment in sequence: For each item, enter measurements, attach photos/videos, add comments, and flag nonconformances with corrective actions and due dates.
- Quality controls: Record lot numbers, torque values, and test results directly in fields; use mandatory fields to prevent incomplete submissions.
- Export and share: Generate a commentable report and export as PDF/Excel; share the QR-secured link with stakeholders for review.
- Sign-off: Capture digital signatures from contractor, roofing lead, and inspector; archive the QR-authenticated record in project folders.
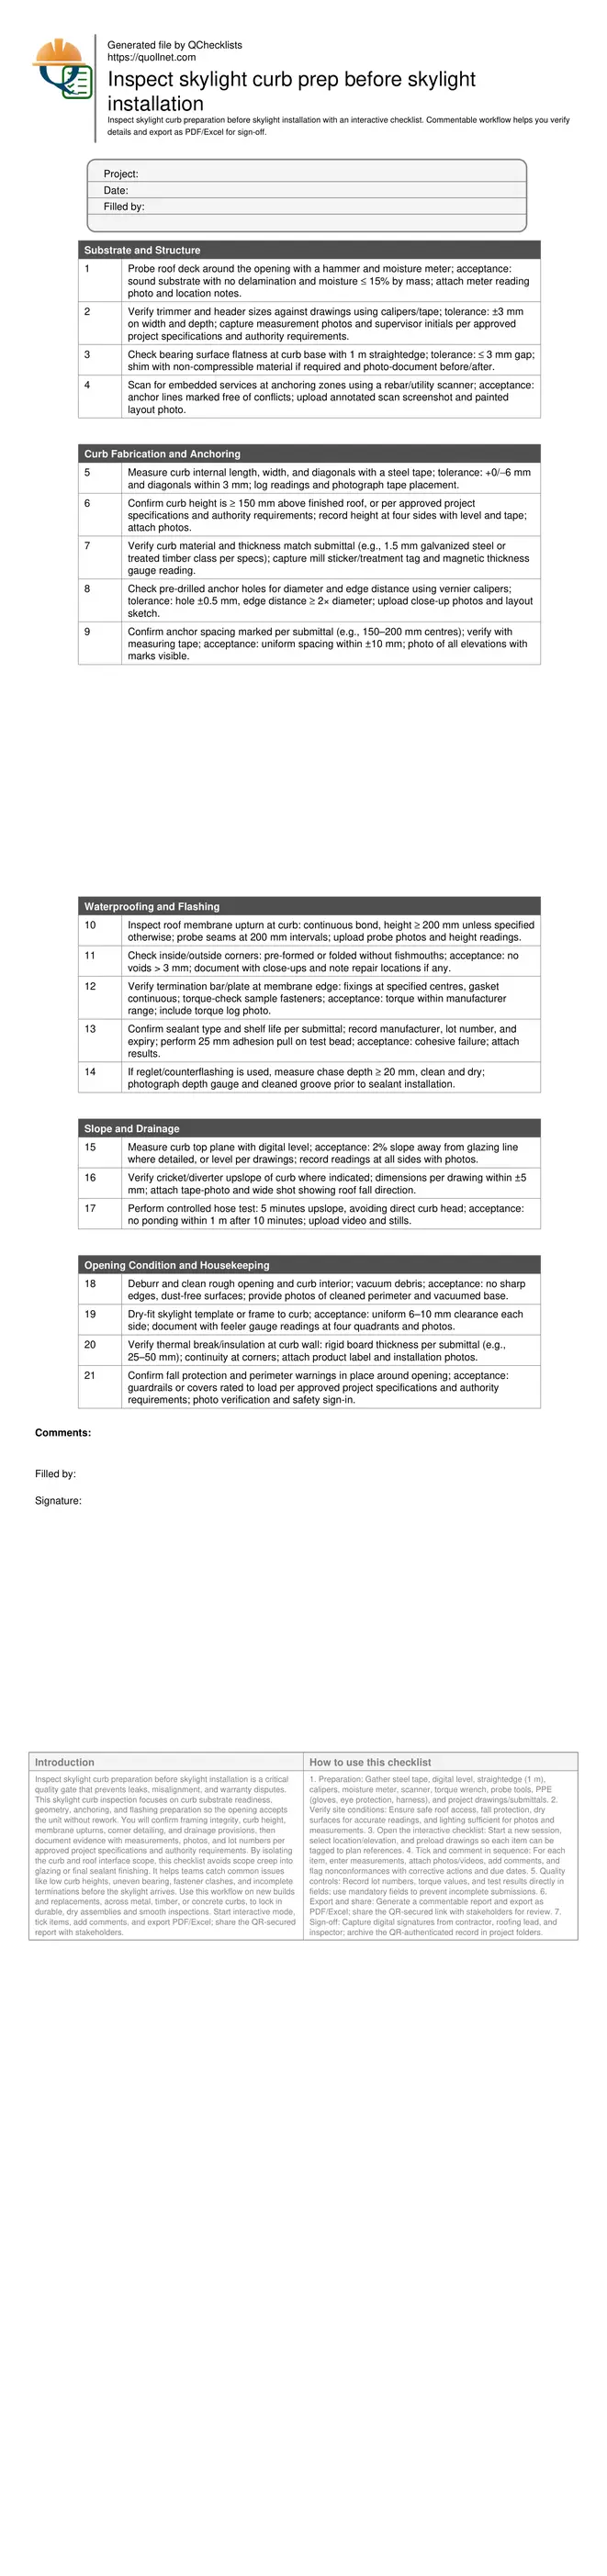
Call to Action
- Start Checklist Tick off tasks, leave comments on items or the whole form, and export your completed report to PDF or Excel—with a built-in QR code for authenticity.
- Download Excel - Skylight Curb Prep Inspection
- Download PDF - Skylight Curb Prep Inspection
- View Image - Skylight Curb Prep Inspection
Cite & Embed
“Skylight Curb Prep Inspection by Quollnet”
with a link to
this source page.
FAQ
Question: What tolerances are acceptable for skylight curb dimensions before installation?
Question: Can I perform the curb inspection if the roof is wet or during rain?
Question: What evidence should I capture to prove curb readiness for skylight installation?
Question: Which issues most frequently delay skylight installation at the curb?
Related Articles
Broader reading and guidance connected to this checklist topic.
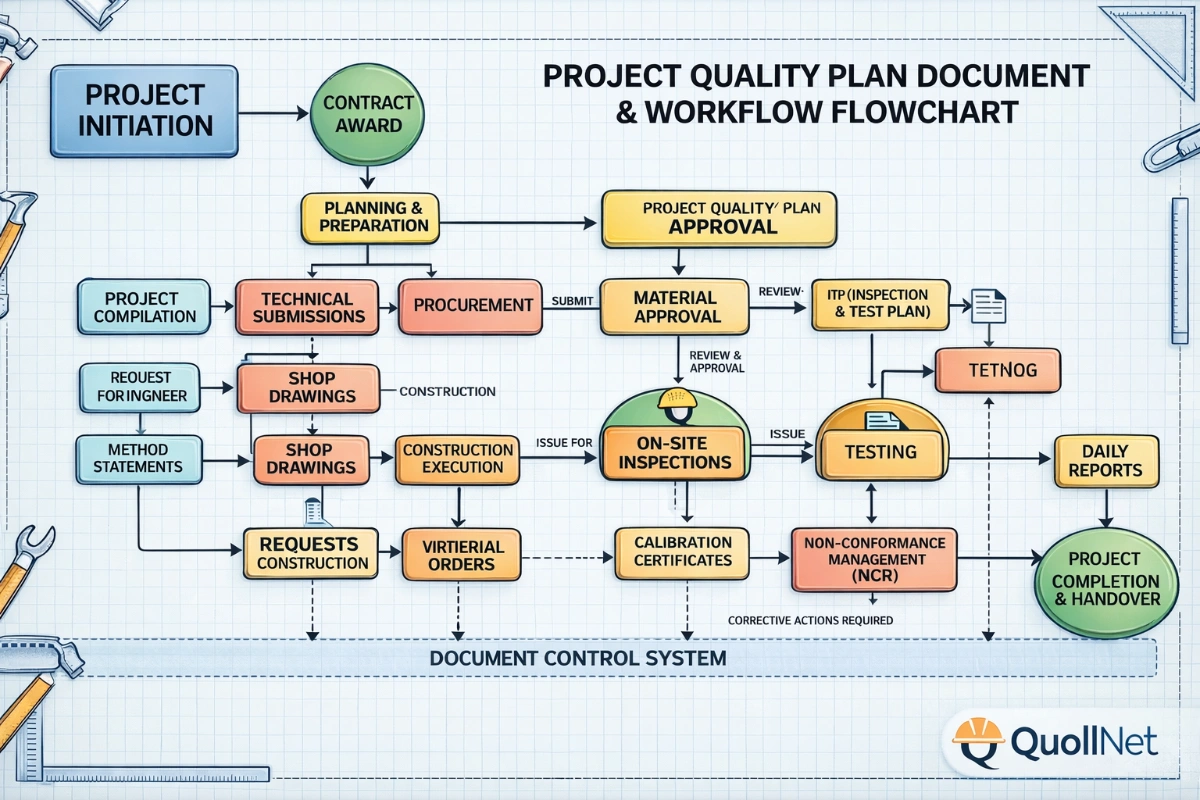


Master Construction Project Cashflow With Cashflowpot
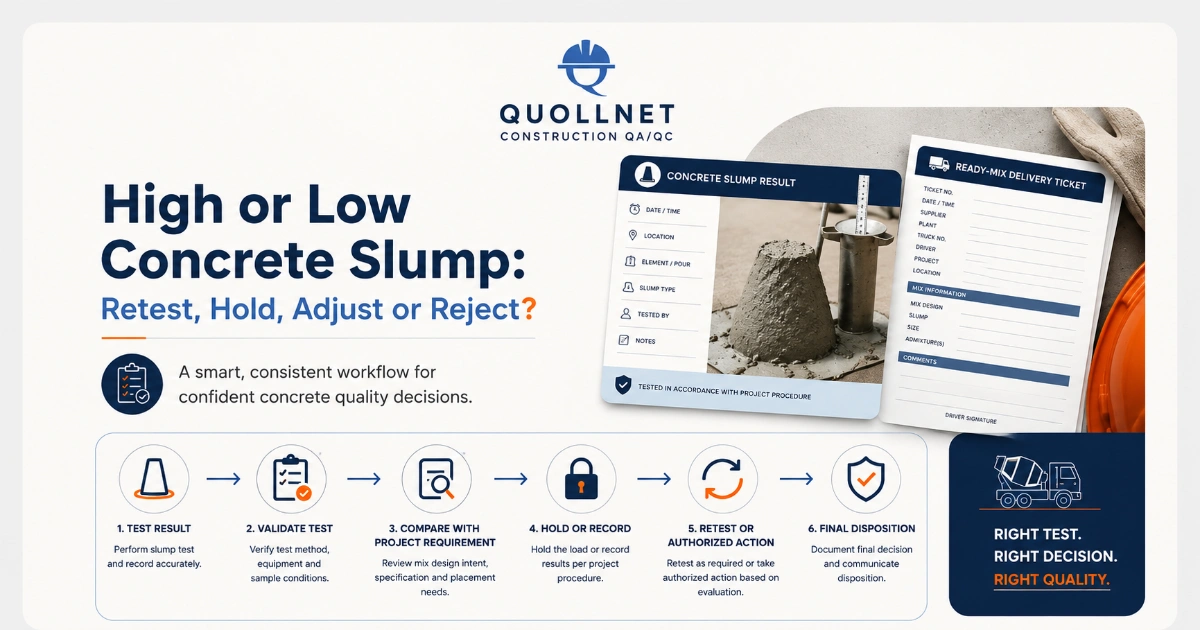
High Or Low Concrete Slump: Retest, Hold, Adjust Or Reject?
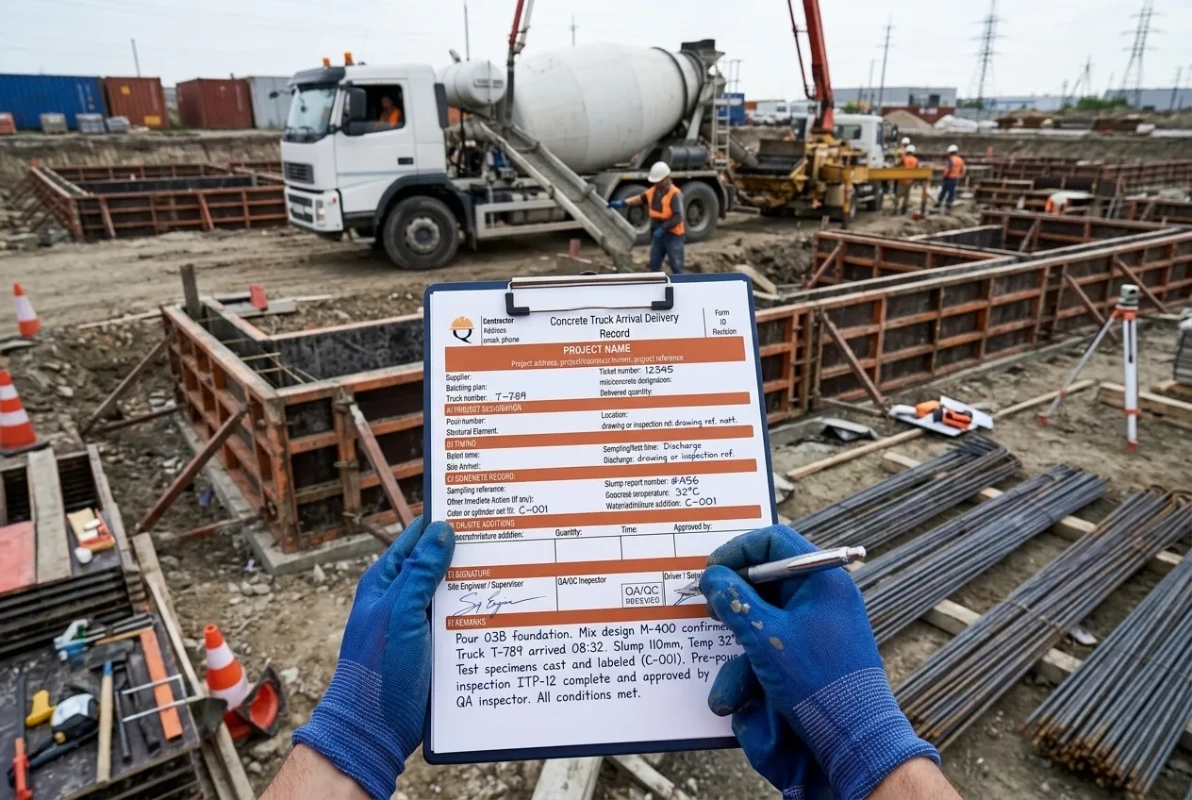
Concrete Truck Arrival & Delivery Record Template
Related Checklists
Keep the workflow moving with nearby templates chosen from similar checklist content.