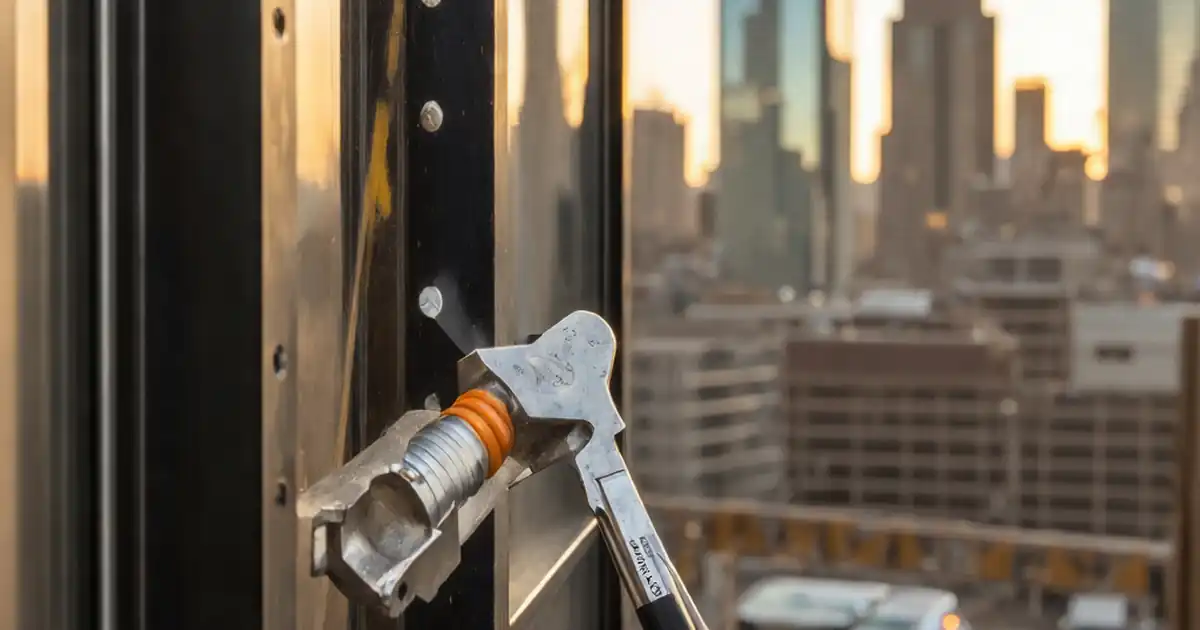
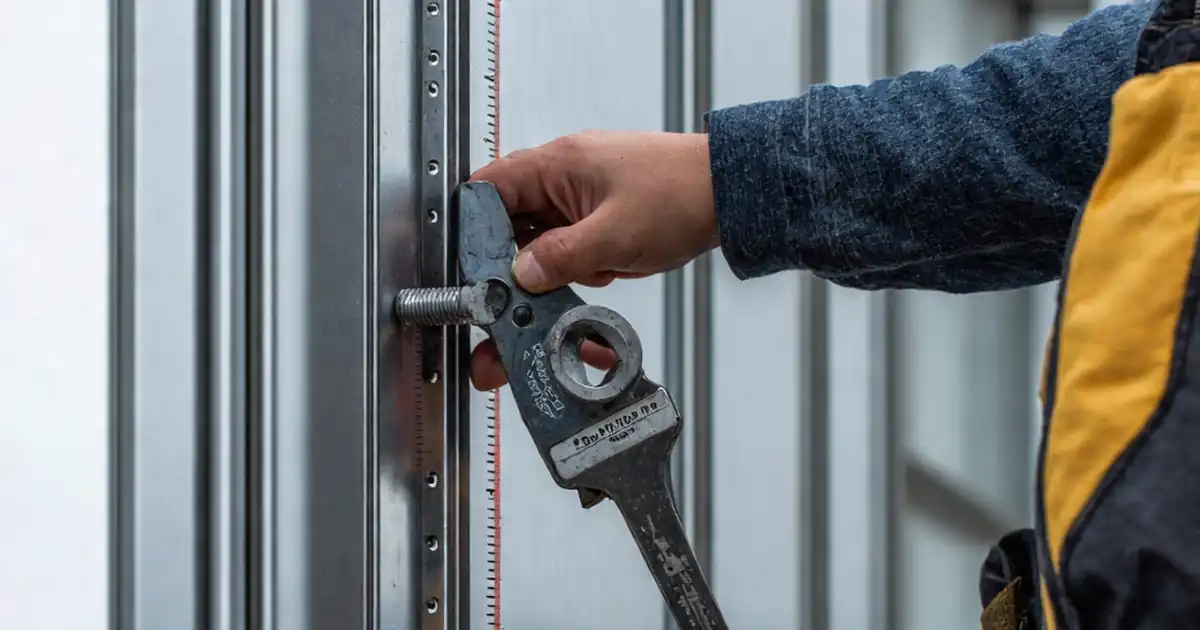
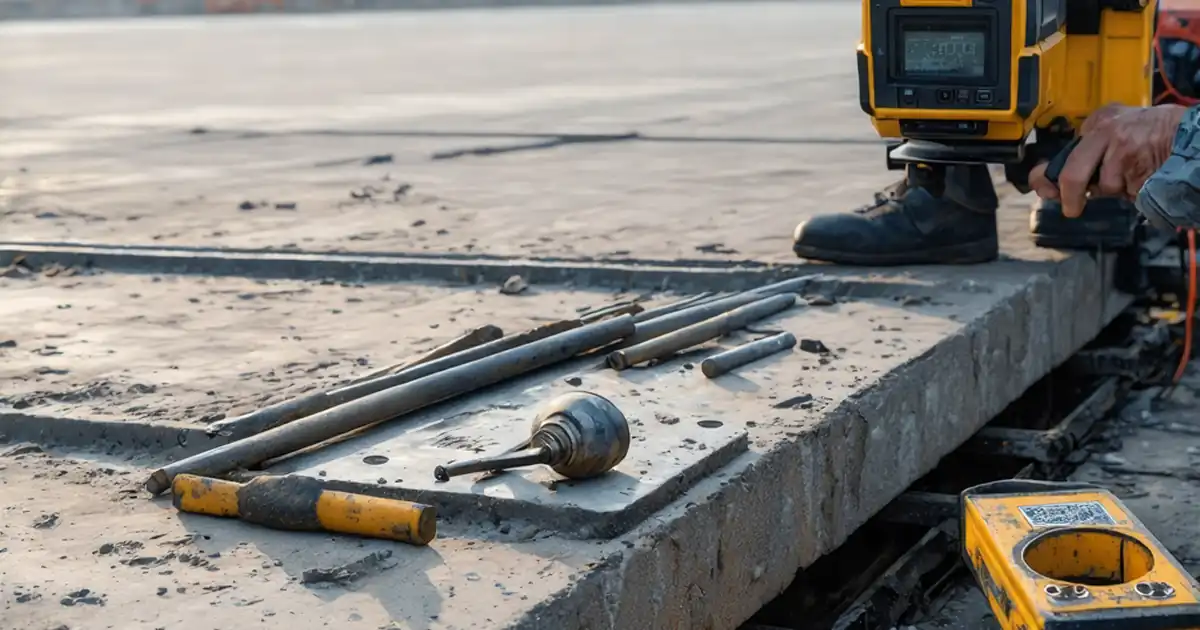
Inspect Façade Bracket Torque Verification and Inspection Records
Definition: Inspect façade bracket torque verification and inspection records is a practical checklist for site engineers to confirm torque values, anchor compatibility, and complete documentation before, during, and after façade bracket installation.
- Verify specified N·m torque with calibrated tools and clear tolerances.
- Prevent bracket slip, rotation, and cladding failure through consistent torque.
- Capture photos, readings, lot numbers, and signatures for full traceability.
- Interactive, commentable checklist with export and QR code authentication.
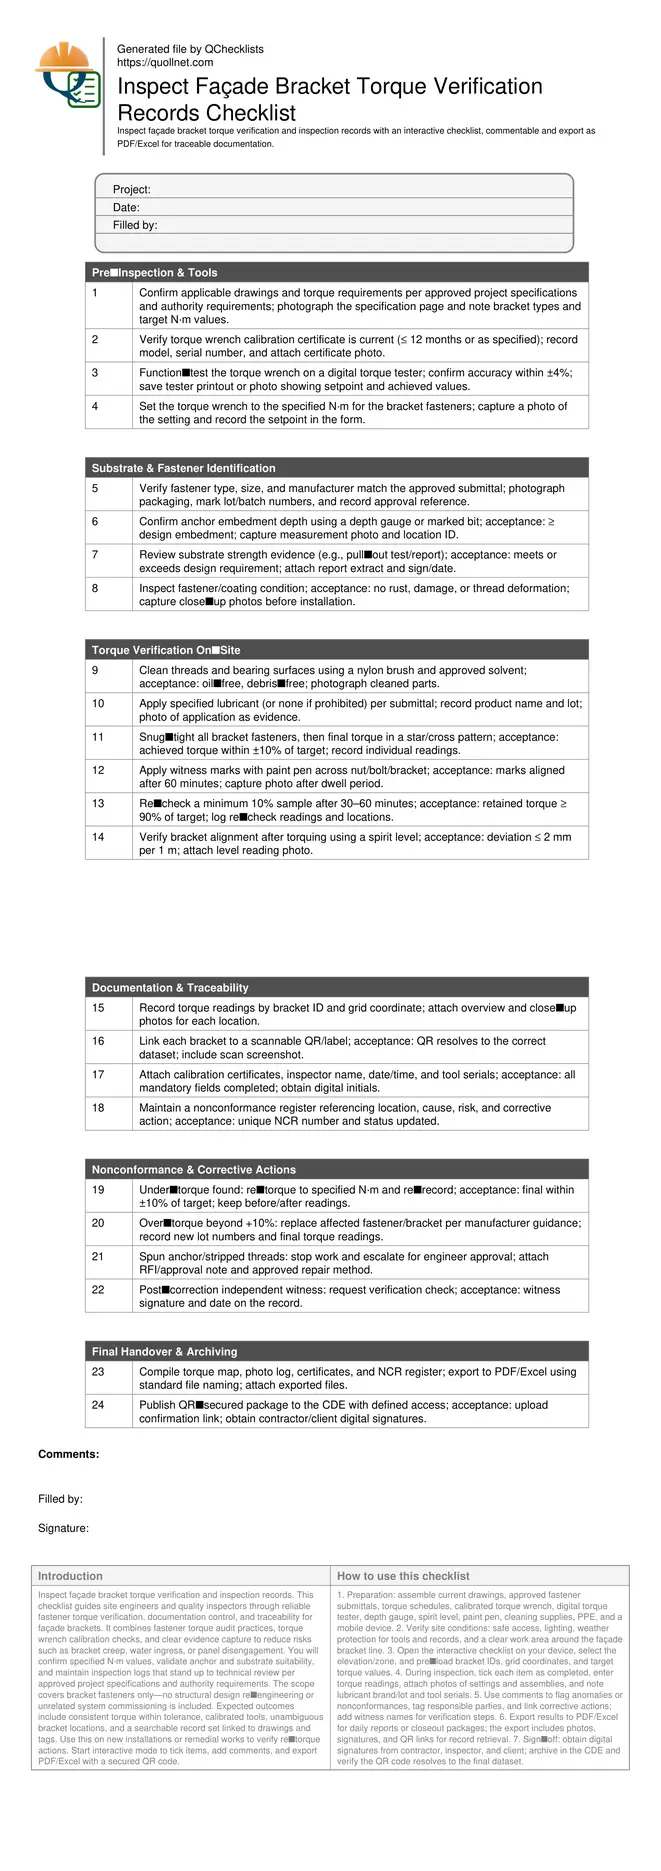
Inspect façade bracket torque verification and inspection records. This checklist guides site engineers and quality inspectors through reliable fastener torque verification, documentation control, and traceability for façade brackets. It combines fastener torque audit practices, torque wrench calibration checks, and clear evidence capture to reduce risks such as bracket creep, water ingress, or panel disengagement. You will confirm specified N·m values, validate anchor and substrate suitability, and maintain inspection logs that stand up to technical review per approved project specifications and authority requirements. The scope covers bracket fasteners only—no structural design re‑engineering or unrelated system commissioning is included. Expected outcomes include consistent torque within tolerance, calibrated tools, unambiguous bracket locations, and a searchable record set linked to drawings and tags. Use this on new installations or remedial works to verify re‑torque actions. Start interactive mode to tick items, add comments, and export PDF/Excel with a secured QR code.
- Use this checklist to control bracket fastener torque with calibrated tools, defined tolerances, and systematic sequencing. It helps prevent slippage, racking, and premature loosening by standardizing preparation, torquing technique, and re‑checks, while capturing photo evidence and readings at each location for auditability.
- Drive full traceability by linking torque results to bracket IDs, drawing grid references, lot numbers, and calibration certificates. Attach inspector names, dates, and witness signatures so every fastener condition can be reconstructed quickly during handover or later forensic reviews.
- Interactive online checklist with tick, comment, and export features secured by QR code.
- Streamline closeout by compiling a torque map, photo log, and certificates into organized PDF/Excel exports. The workflow minimizes rework through early detection of under‑ or over‑torque, assigns corrective actions, and documents approvals per approved project specifications and authority requirements.
Pre‑Inspection & Tools
Substrate & Fastener Identification
Torque Verification On‑Site
Documentation & Traceability
Nonconformance & Corrective Actions
Final Handover & Archiving
Why torque verification of façade brackets matters
Façade brackets transfer loads from cladding to the primary structure, so reliable fastener torque is essential to prevent creep, racking, and eventual panel disengagement. Under‑torque can allow slip and water ingress, while over‑torque risks thread damage, anchor rotation, or brittle failures. A disciplined process verifies specified N·m values, ensures tools are calibrated, and standardizes technique and sequencing. This checklist emphasizes preparation (clean threads, correct lubricant), controlled run‑down to snug, and final torque in a cross pattern to equalize clamp force. Witness marks and timed re‑checks confirm torque retention. Coupled with location‑based documentation, these steps create traceable evidence that meets project specifications and authority requirements. A typical jobsite win: early detection of a lubricant mismatch that would have caused inconsistent readings across elevations, resolved before panels were hung, saving rework and delays.
- Aim for final torque within ±10% of target.
- Use torque wrenches verified within ±4% accuracy.
- Apply cross pattern to balance clamp loads.
- Use clean, dry threads unless lubricant specified.
- Record every reading with photo evidence.
Field methods, tolerances, and acceptance cues
Begin with a review of drawings, approved submittals, and torque schedules, then verify tool calibration and accuracy on a tester. Confirm fastener type and anchor embedment meet the design intent. Cleanliness affects friction; remove debris and oils, and only apply the specified lubricant. Snug all fasteners first, then torque to the setpoint using steady, controlled pulls with a click‑type or digital wrench. Employ a star/cross pattern for multi‑bolt brackets to even clamp force. Mark assemblies with paint for visual movement checks. Re‑check a representative sample after 30–60 minutes to confirm relaxation is within limits. Align brackets after torquing; plumb/level tolerances should be confirmed against project requirements. Capture photos of the wrench setting, readings, and final assemblies to validate quality and support later audits.
- Re‑check at least 10% for torque retention.
- Keep ambient conditions noted in records.
- Reject damaged threads and corroded fasteners.
- Document lubricant brand, lot, and application.
- Photograph level/plumb readings after torque.
Documentation, traceability, and closeout records
Strong records convert a good installation into a defensible one. Log each torque reading against a bracket ID and drawing coordinate; attach overview and macro photos. Maintain links to tool serials, calibration certificates, fastener lot numbers, and personnel details. Nonconformances should show location, risk, corrective action, and approvals. Use QR labels to connect physical brackets to their digital records for quick retrieval during inspections and handover. At closeout, compile a torque map, photo log, certificates, and NCR register into structured PDF/Excel exports. Store the package in the common data environment with defined permissions. This provides rapid traceability for warranty, maintenance, or incident investigations and aligns with approved project specifications and authority requirements.
- Use unique IDs for every bracket location.
- Attach calibration certs and tool serial numbers.
- Maintain an NCR log with clear status.
- Export PDF/Excel and archive in the CDE.
- Secure records with QR code access.
How to Use This Torque Verification Checklist
- Preparation: assemble current drawings, approved fastener submittals, torque schedules, calibrated torque wrench, digital torque tester, depth gauge, spirit level, paint pen, cleaning supplies, PPE, and a mobile device.
- Verify site conditions: safe access, lighting, weather protection for tools and records, and a clear work area around the façade bracket line.
- Open the interactive checklist on your device, select the elevation/zone, and pre‑load bracket IDs, grid coordinates, and target torque values.
- During inspection, tick each item as completed, enter torque readings, attach photos of settings and assemblies, and note lubricant brand/lot and tool serials.
- Use comments to flag anomalies or nonconformances, tag responsible parties, and link corrective actions; add witness names for verification steps.
- Export results to PDF/Excel for daily reports or closeout packages; the export includes photos, signatures, and QR links for record retrieval.
- Sign‑off: obtain digital signatures from contractor, inspector, and client; archive in the CDE and verify the QR code resolves to the final dataset.
Call to Action
- Start Checklist Tick off tasks, leave comments on items or the whole form, and export your completed report to PDF or Excel—with a built-in QR code for authenticity.
- Download Excel - Façade Bracket Torque Verification & Records Inspection
- Download PDF - Façade Bracket Torque Verification & Records Inspection
- View Image - Façade Bracket Torque Verification & Records Inspection
Cite & Embed
“Façade Bracket Torque Verification & Records Inspection by Quollnet”
with a link to
this source page.

FAQ
Question: What torque tolerance should I accept for façade bracket fasteners?
Question: How often must my torque wrench be calibrated for this work?
Question: Do I need lubricant on bracket fasteners during torque verification?
Question: What documentation proves compliance during handover?
Related Articles
Broader reading and guidance connected to this checklist topic.



Master Construction Project Cashflow With Cashflowpot

Is It Important To Customize Your Qr Code And How To Do It?
Related Checklists
Keep the workflow moving with nearby templates chosen from similar checklist content.