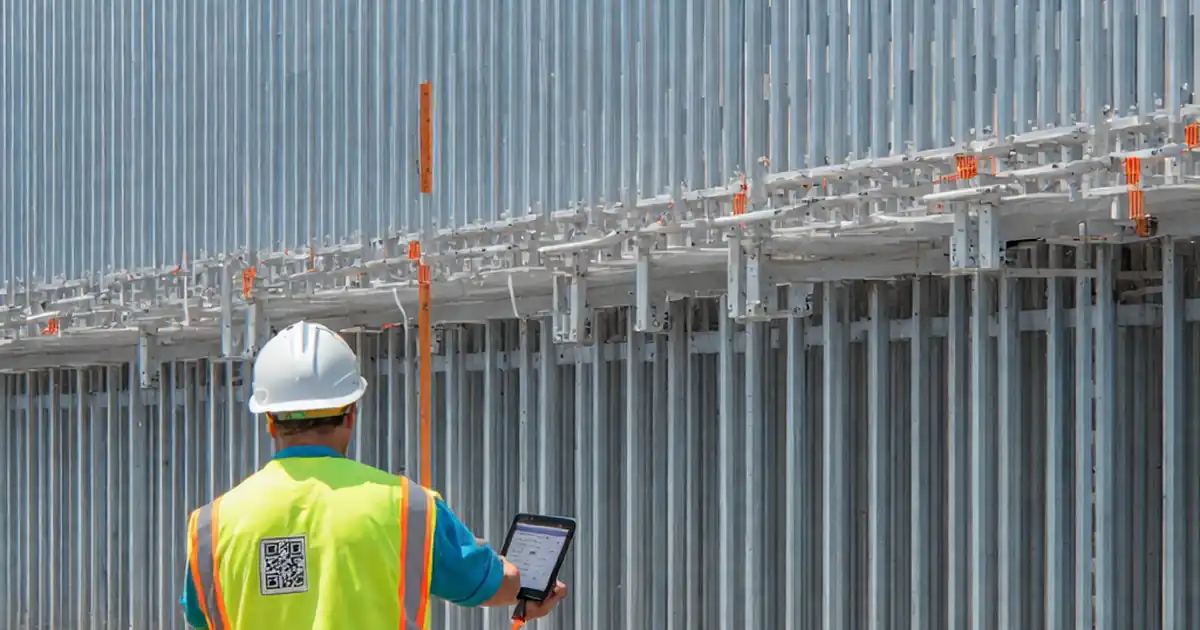
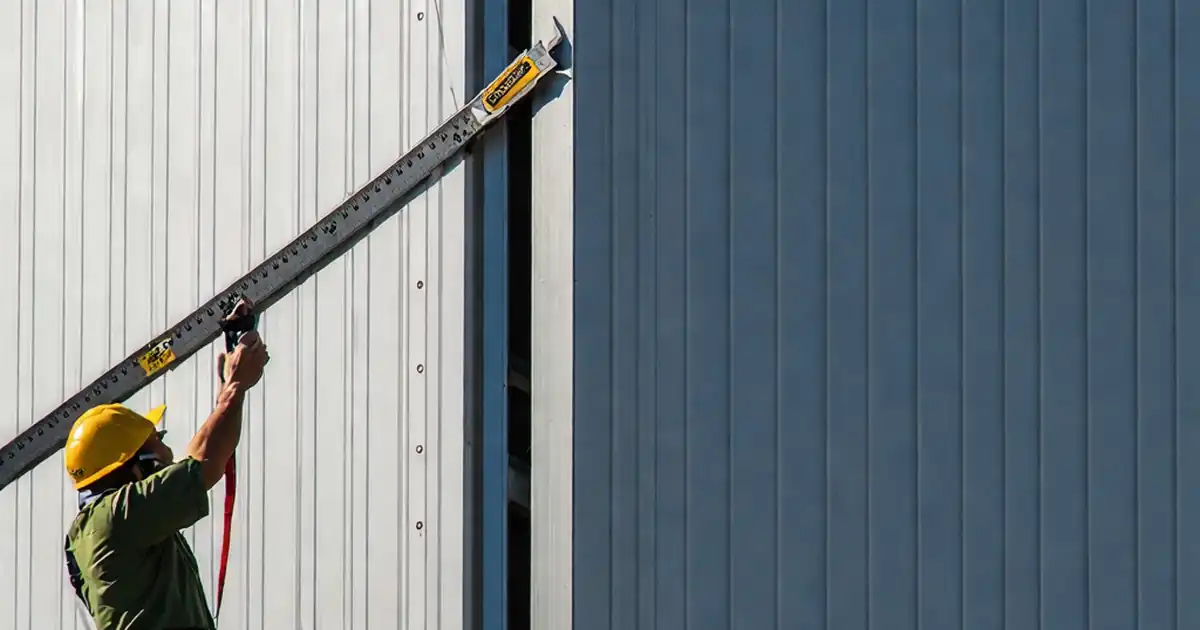
Inspect aluminum cladding fasteners and concealed fixing systems
Definition: Inspect aluminum cladding fasteners and concealed fixing systems to verify structural performance, corrosion control, and correct tolerances for rainscreen façades, tailored for QA/QC inspectors, site engineers, and specialist installers.
- Confirm correct components, tools, and tolerances before panel installation.
- Prevent corrosion, loosening, and misalignment through methodical verification.
- Capture torque, depth, and alignment evidence with photos and logs.
- Use interactive, commentable, export workflow with QR code authentication.
Inspect aluminum cladding fasteners and concealed fixing systems to ensure panels are secured with the right hardware, correctly torqued, isolated from galvanic risk, and aligned to specified tolerances. This checklist focuses on rainscreen cladding assemblies using hidden fixings such as undercut anchors, kerf clips, and rail hooks, alongside any limited visible screws or rivets. We verify material compatibility, bracket and rail geometry, edge distances, cavity ventilation, and movement joints per approved project specifications and authority requirements. The scope is limited to mechanical attachment quality, not full façade fire strategy or structural design calculations. By applying calibrated tools, recording lot numbers, and checking embedment depths, you avoid panel slippage, oil-canning, water ingress, and premature corrosion. The outcome is a consistent, traceable installation with documented torque, alignment, and pull-test records that support handover and warranty. Start in interactive mode to tick steps, add comments and photos, and export PDF/Excel with a secure QR for field validation.
- This checklist standardizes verification of aluminum cladding fasteners and concealed fixings, covering torque control, embedment depth, joint uniformity, and isolation from galvanic corrosion. It helps avoid panel movement, water ingress, and premature degradation through documented inspections.
- Field-ready methods use calibrated wrenches, depth gauges, feeler gauges, calipers, and laser levels. Acceptance cues include measured torque values, edge distances, joint width tolerances, cavity continuity, and fastening batch traceability linked to elevations and panel IDs.
- Interactive online checklist with tick, comment, and export features secured by QR code. Capture photos, attach certificates, and issue actions instantly, enabling transparent coordination among installers, QA/QC, and consultants with time-stamped evidence and sign-offs.
- Practical outputs include torque and pull-test logs, alignment photos with scales, isolation verification, and lot tracking. Clear closeout steps consolidate approvals, NCR closures, and warranties, supporting compliance with approved project specifications and authority requirements.
Pre-Installation & Documentation
Materials & Components
Substructure & Isolation
Fasteners & Concealed Fixings
Installation & Alignment
Verification & Handover
Concealed systems: forces, corrosion, and correct tooling
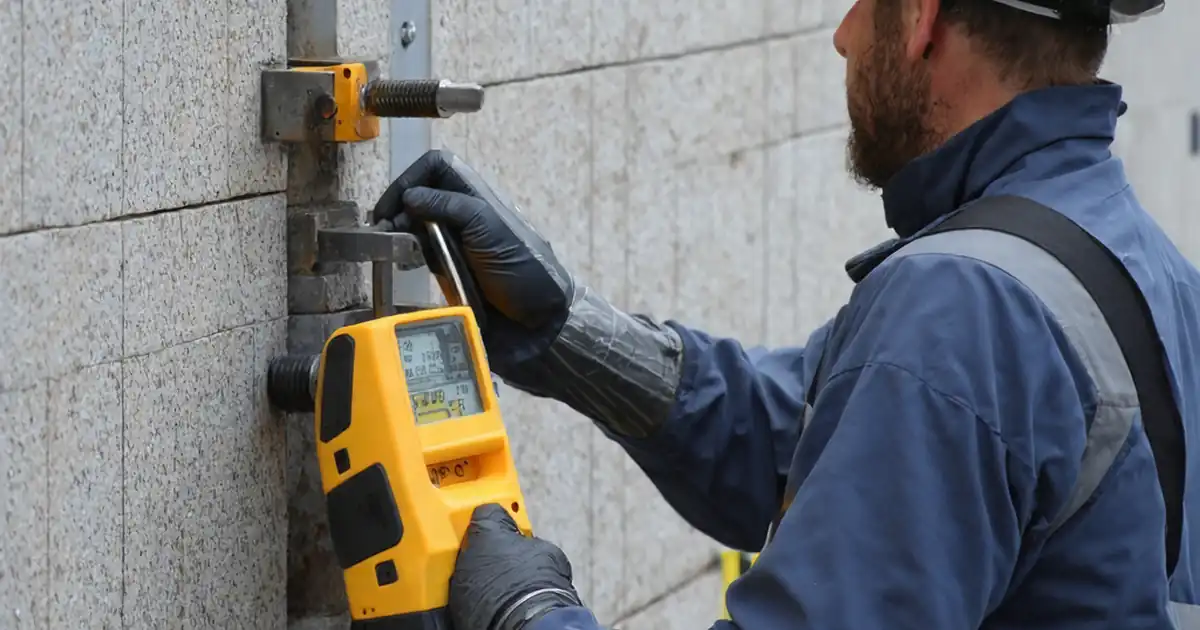
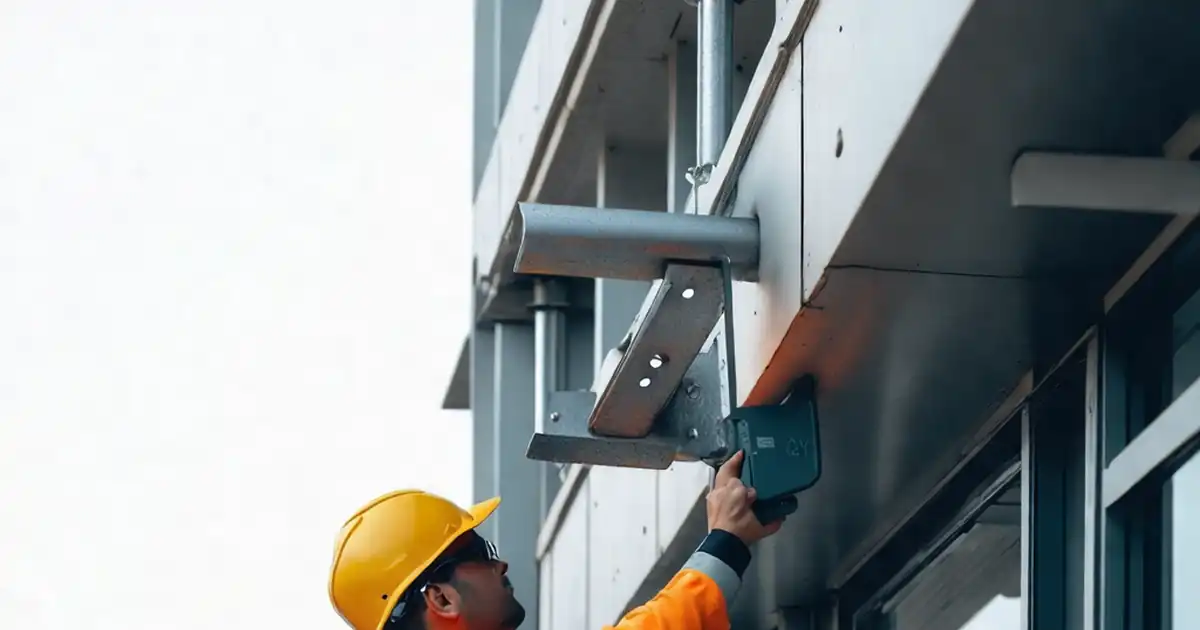
Concealed fixings transfer wind and gravity loads from aluminum panels to rails, so correct edge distances, embedment depths, and torque matter. Undercut anchors require precise drilling and setting to seat the expansion zone without cracking the panel. Kerf clips and rail hooks must fully engage while maintaining designed clearances to accommodate movement. Mixed-metal interfaces can trigger galvanic corrosion if isolation pads or coatings are missing or discontinuous. Use calibrated wrenches, depth gauges, and go/no-go tools supplied for the system. Record lot numbers, calibration details, and each measured value to build traceability. Clean swarf immediately to prevent staining and bimetallic cells. Acceptability is visual and metrological: clean threads, undamaged heads, depth within tolerance, and no panel stress marks or “oil-canning.” Evidence includes close-up photos with scales, readings logs, and signed checks per approved project specifications and authority requirements.
- Use the manufacturer’s depth stop and gauge for undercut anchors.
- Measure edge distances; avoid cracks and stress concentrations.
- Ensure isolation layers are continuous at all metal interfaces.
- Capture torque values per panel; keep a calibrated tool log.
- Remove swarf and debris promptly to prevent staining.
Alignment, thermal movement, and water management
Even perfect fasteners fail if panels cannot move freely. Joint widths must be uniform and sized to ambient temperature at installation. Brackets and rails must sit within tight tolerances to keep lippage low and joints straight. Cavity ventilation and drainage behind the rainscreen are vital; blocked outlets lead to trapped moisture and accelerated corrosion. Coordinate with adjacent elements, ensuring fire barriers and gaskets remain intact while preserving ventilation where required. Check that protective films are removed in sequence to prevent adhesion or differential weathering. Acceptance focuses on measurable outcomes: uniform joints, plumb/level within tolerance, unobstructed drainage paths, and intact firestops and gaskets per approved project specifications. Photo evidence should show measuring scales on joints and cavity probes confirming clear paths, with each elevation and bay referenced to drawings for traceability.
- Record ambient temperature and applied joint gaps.
- Verify lippage and straightness with a 2 m straightedge.
- Confirm ventilation paths are continuous and unobstructed.
- Protect, then remove films without leaving residues.
- Maintain fire barriers continuity where required.
Traceability, testing, and closeout confidence
Quality relies on traceability. Start with approved drawings and submittals, then tie each inspected item to elevation grids and panel IDs. Maintain a torque log and, when specified, perform on-site pull tests with calibrated devices to validate anchor performance. Capture material certificates, batch numbers, and calibration records. Use photos with time, location, and a scale to prove dimensions and conditions. Document corrective actions via comments and NCRs, then retest and rephoto after remediation. Closeout requires signed checklists, attached evidence, and record copies shared with stakeholders. Archiving with QR-secured links ensures anyone on site can validate the exact revision and evidence chain later, supporting warranties and future maintenance. Always align acceptance with approved project specifications and authority requirements for a defensible, audit-ready handover package.
- Link every reading to panel ID and elevation grid.
- Attach batch certs and calibration records to each lot.
- Perform sample pull tests where specified and log results.
- Use photos with scales, timestamps, and locations.
- Close NCRs and document retests before handover.
How to use this aluminum cladding fixings inspection checklist
- Preparation: gather approved drawings, submittals, ITP, calibrated torque wrench, depth gauge, calipers, feeler gauges, 2 m straightedge, laser level, pull-tester, PPE, and access permits.
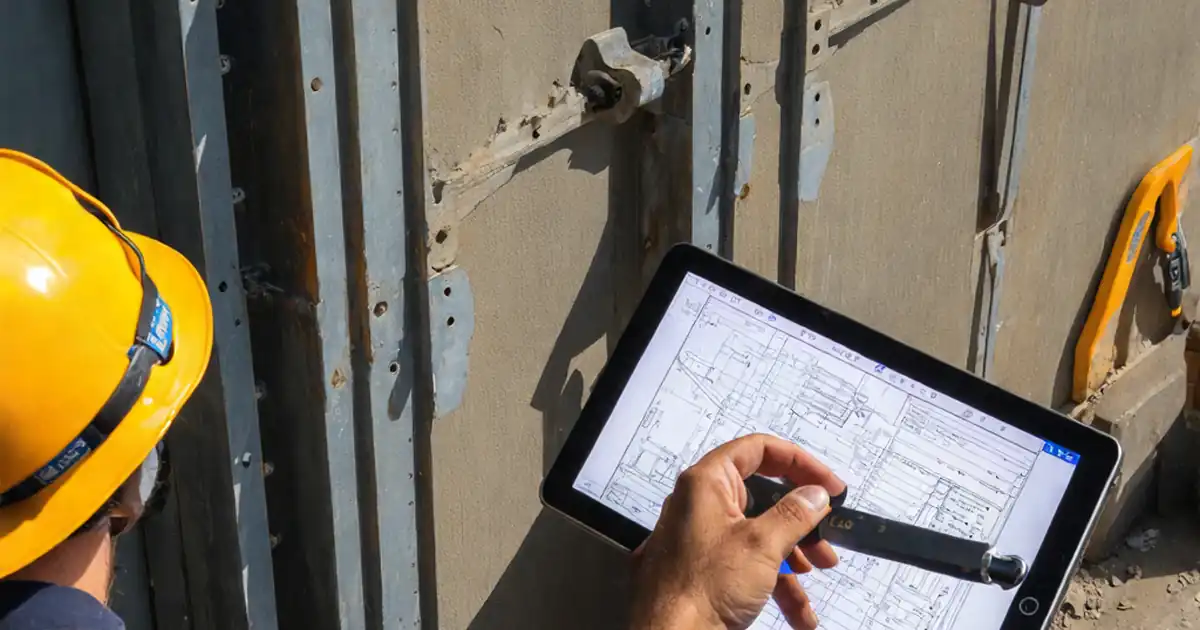
- Open the interactive checklist; select project, elevation, and bay. Preload drawings and system manuals; scan the QR to link field photos to the correct location.
- Conduct inspections step-by-step. Tick items as verified, capture photos with scales, and enter measured values (N·m, mm, °C) and batch or serial numbers.
- Using the Interactive Checklist: add comment threads for findings, tag responsible parties, assign due dates, and track closures for NCRs or punch items.
- Export results to PDF/Excel with embedded photos and logs. Share with installers, QA/QC, and consultants; store in the project document control system.
- Sign-Off: capture digital signatures from the installer and QA/consultant. Archive the package and verify QR authentication for on-site validation.
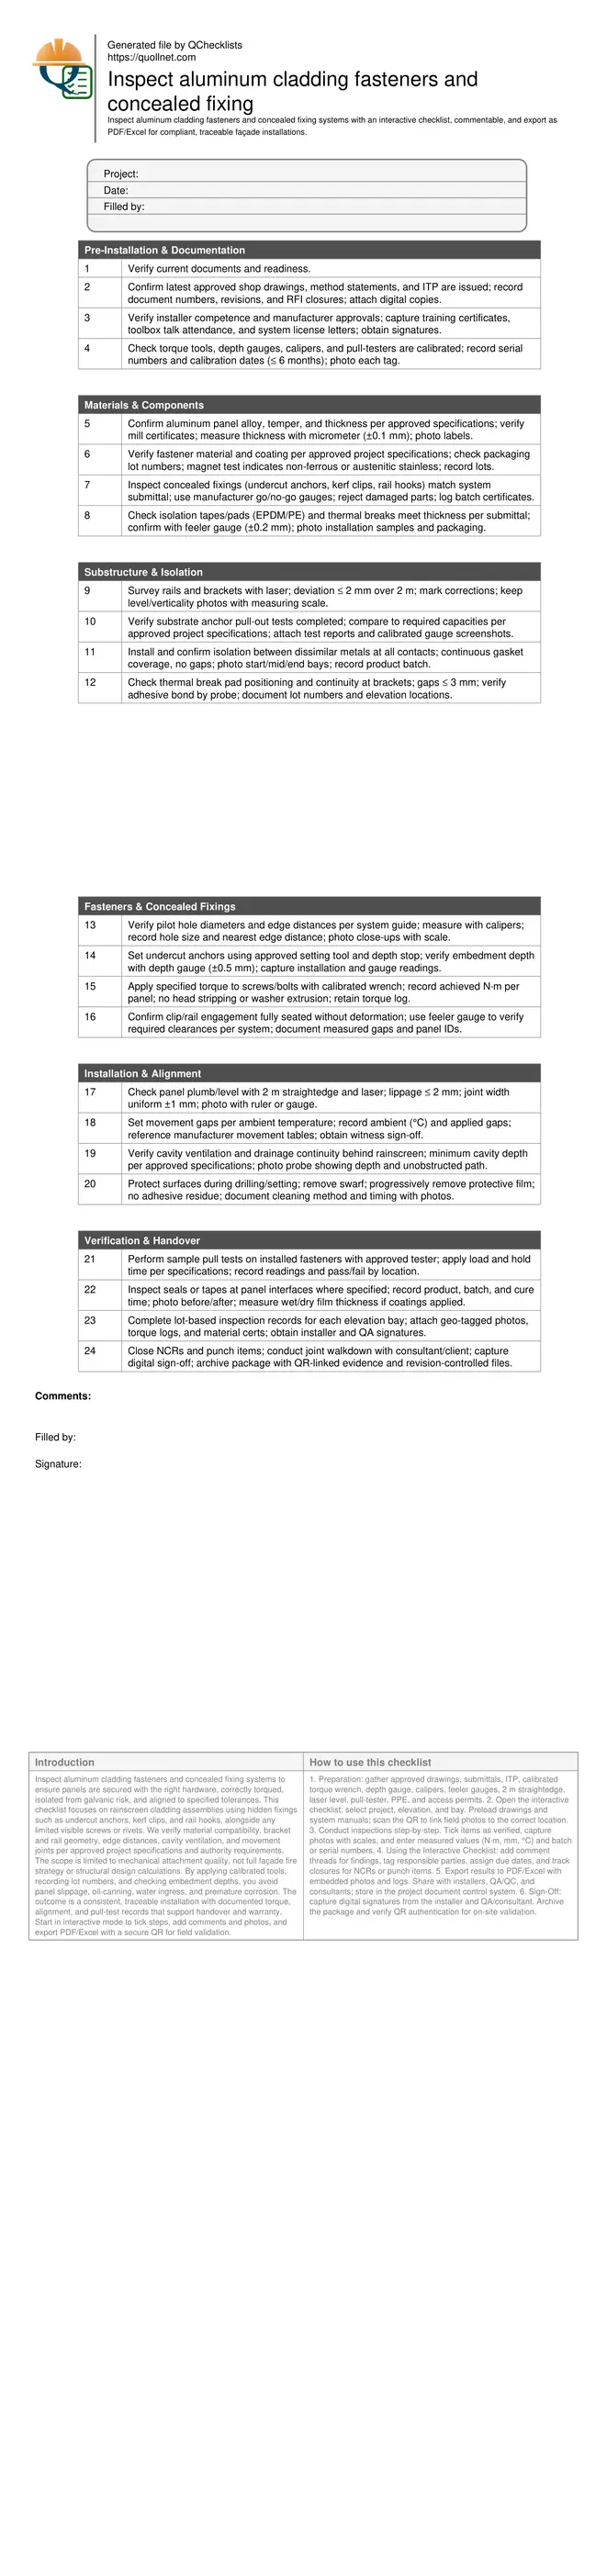
Call to Action
- Start Checklist Tick off tasks, leave comments on items or the whole form, and export your completed report to PDF or Excel—with a built-in QR code for authenticity.
- Download Excel - Aluminum Cladding Fasteners & Concealed Fixings Inspection
- Download PDF - Aluminum Cladding Fasteners & Concealed Fixings Inspection
- View Image - Aluminum Cladding Fasteners & Concealed Fixings Inspection
Cite & Embed
“Aluminum Cladding Fasteners & Concealed Fixings Inspection by Quollnet”
with a link to
this source page.
FAQ
Question: What torque should I apply to aluminum cladding fasteners?
Question: How can I confirm undercut anchors are properly set in panels?
Question: How do I prevent galvanic corrosion between fixings and substructure?
Question: What tolerances are acceptable for joints and alignment in aluminum cladding?
Related Articles
Broader reading and guidance connected to this checklist topic.

Fidic Site Instruction Form – Free Download And Usage Tips

Is It Important To Customize Your Qr Code And How To Do It?
Related Checklists
Keep the workflow moving with nearby templates chosen from similar checklist content.