Inspect Aluminum Cladding Support Framing Before Panel Installation
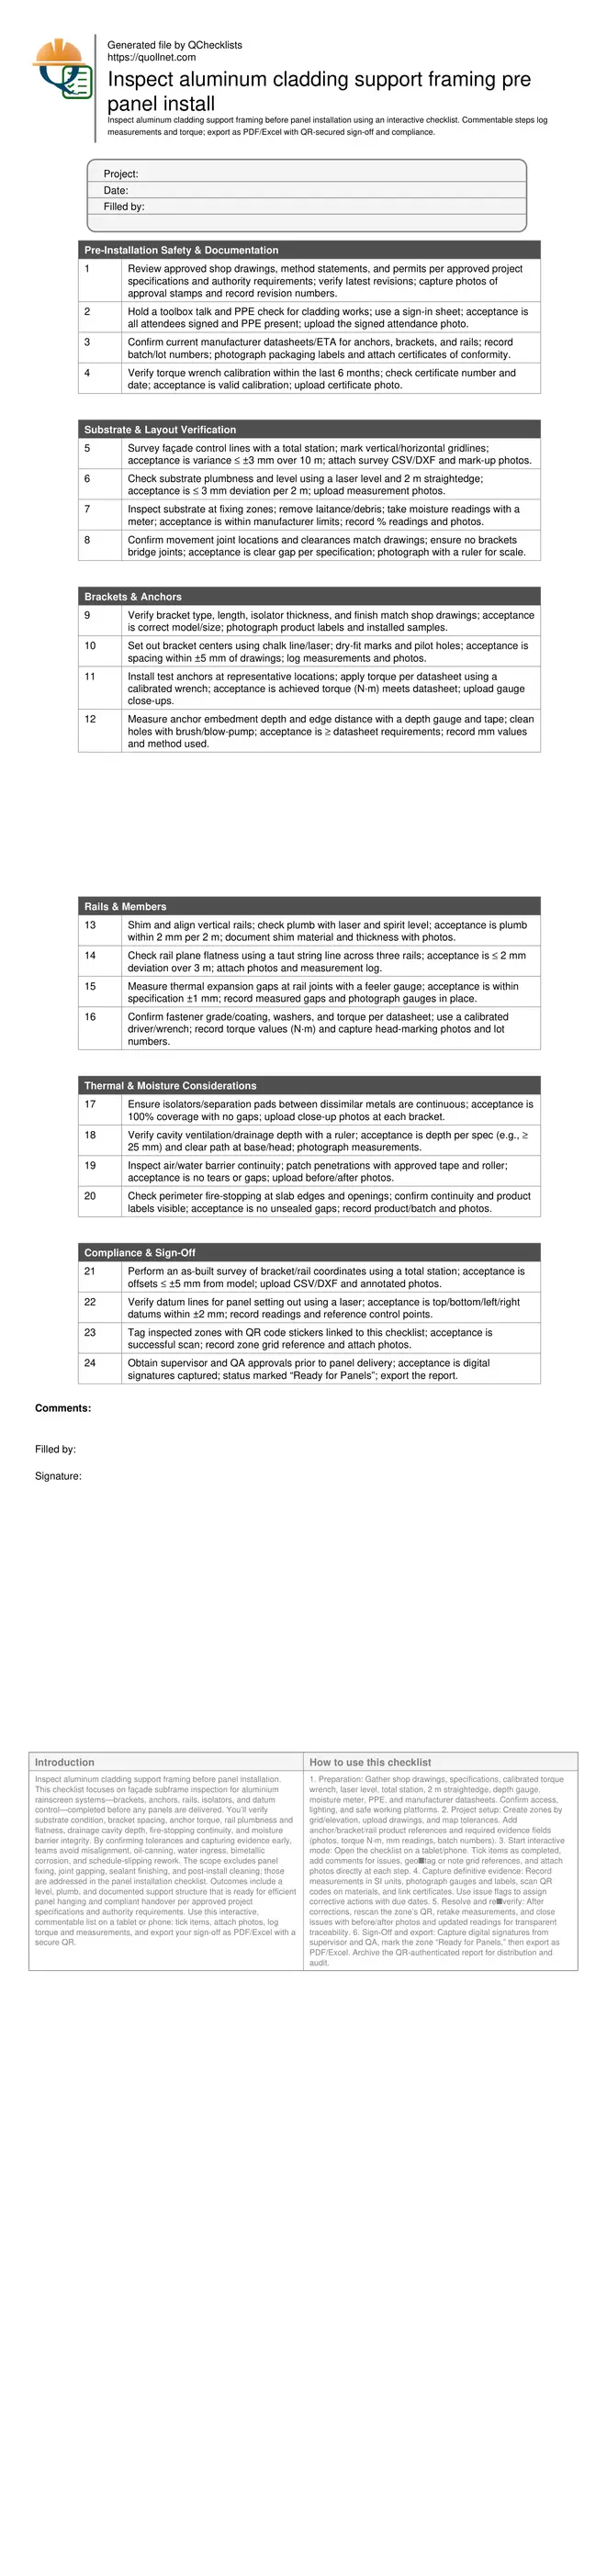
Definition: Inspect aluminum cladding support framing before panel installation is a field-ready checklist for façade supervisors and site engineers, verifying alignment, fixings, isolation, and tolerances before rainscreen panels are hung.
- Verify alignment, fixings, isolation, and moisture/fire barriers are ready.
- Prevent rework, water ingress, corrosion, and costly panel misalignment.
- Use laser levels, torque wrenches, total stations, photos, and measurements.
- Interactive, commentable checklist with export and QR code authentication.
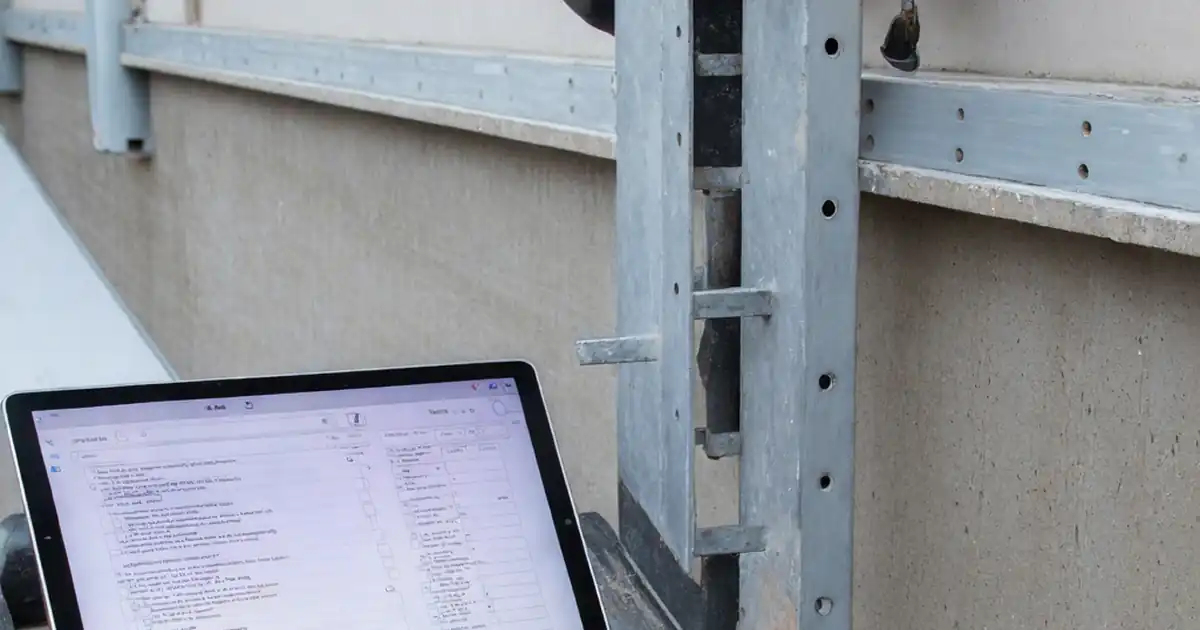
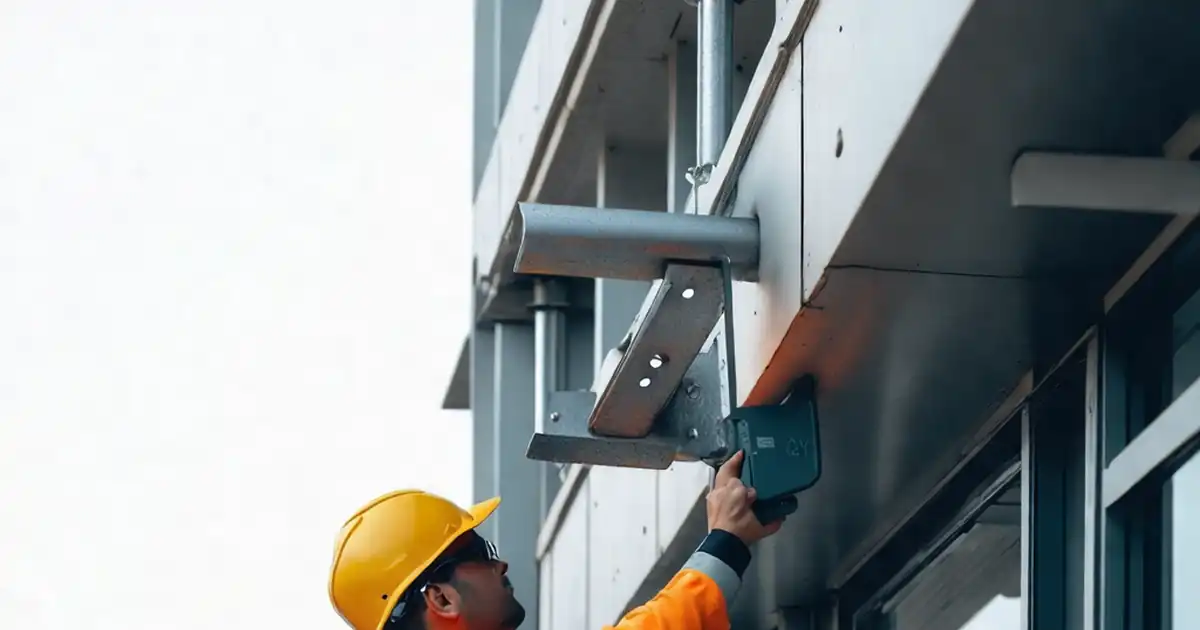
Inspect aluminum cladding support framing before panel installation. This checklist focuses on façade subframe inspection for aluminium rainscreen systems—brackets, anchors, rails, isolators, and datum control—completed before any panels are delivered. You’ll verify substrate condition, bracket spacing, anchor torque, rail plumbness and flatness, drainage cavity depth, fire-stopping continuity, and moisture barrier integrity. By confirming tolerances and capturing evidence early, teams avoid misalignment, oil-canning, water ingress, bimetallic corrosion, and schedule-slipping rework. The scope excludes panel fixing, joint gapping, sealant finishing, and post-install cleaning; those are addressed in the panel installation checklist. Outcomes include a level, plumb, and documented support structure that is ready for efficient panel hanging and compliant handover per approved project specifications and authority requirements. Use this interactive, commentable list on a tablet or phone: tick items, attach photos, log torque and measurements, and export your sign-off as PDF/Excel with a secure QR.
- Confirm bracket layout, anchor torque, rail plumbness, drainage cavity depth, and fire-stopping continuity before panels arrive. Early verification minimizes rework, protects weatherproofing performance, and keeps the façade program predictable.
- Acceptance cues translate drawings into measurable outcomes: plumb within 2 mm per 2 m, flatness within 2 mm over 3 m, bracket spacing within ±5 mm, and anchor torque per manufacturer data—each supported by photos and logs.
- Interactive online checklist with tick, comment, and export features secured by QR code.
- Traceability is built in: capture batch and lot numbers, torque readings (N·m), measurement files (CSV/DXF), and signatures, then export as PDF/Excel for distribution and audit-ready records per approved project specifications and authority requirements.
Pre-Installation Safety & Documentation
Substrate & Layout Verification
Brackets & Anchors
Rails & Members
Thermal & Moisture Considerations
Compliance & Sign-Off
Why early framing inspection prevents rework
The support framing sets every cladding panel’s final position, so early inspection delivers exponential value. Verifying bracket spacing, anchor torque, rail plumbness, and plane flatness before panels arrive reduces rework and protects programme certainty. Misaligned rails force oversized shimming, visible lipping, and oil-canning. Under‑torqued anchors risk slippage; over‑torqued anchors can crush isolators or damage substrates. Poor drainage cavities and damaged air/water barriers route water into insulation and interiors. This checklist codifies acceptance cues that translate drawings into measurable, repeatable outcomes: plumb within 2 mm per 2 m, flatness within 2 mm over 3 m, spacing within ±5 mm, and torque readings matching manufacturer data. Evidence—photos, measurements, and batch records—builds traceability for sign-off per approved project specifications and authority requirements. Use it before any panel is lifted, while access is clear and corrections are inexpensive.
- Find and fix deviations while access is unobstructed.
- Protect weatherproofing and insulation from hidden defects.
- Lock in datums to speed panel setting out.
- Create audit-ready evidence as you verify.
Tools, methods, and tolerances that drive consistency
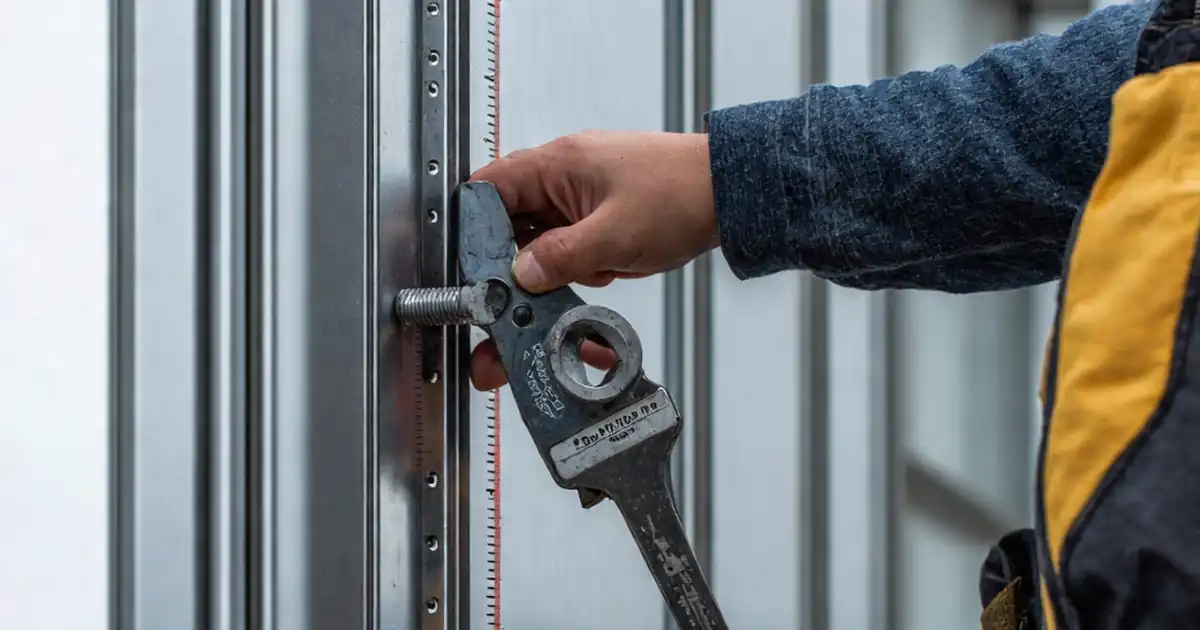
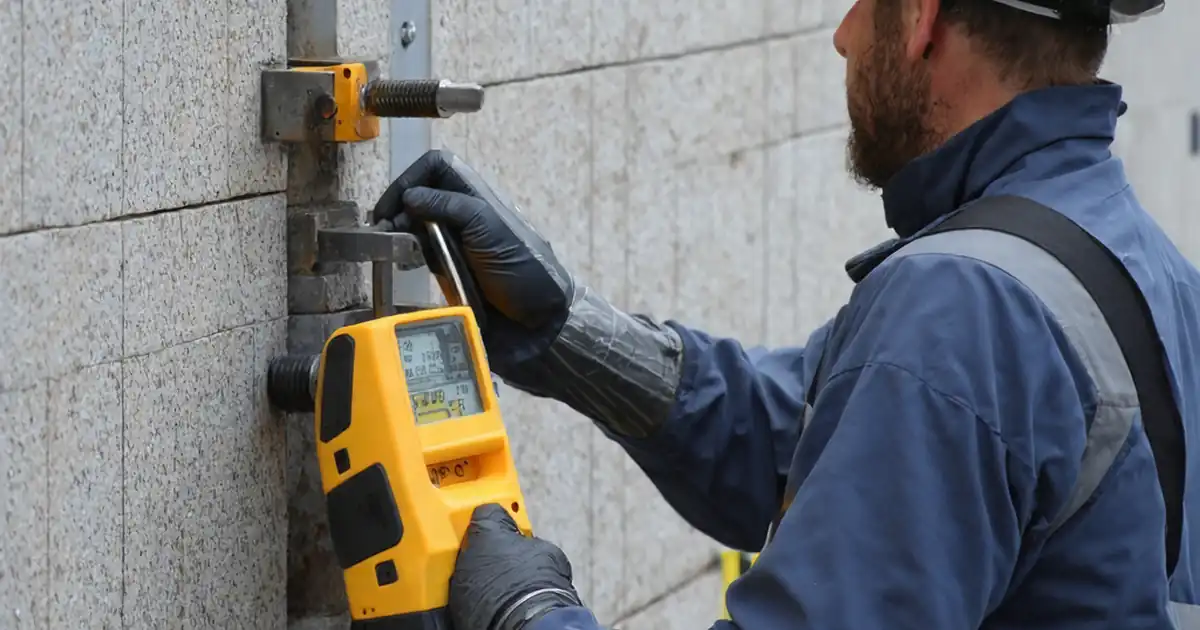
Consistent outcomes depend on the right methods and calibrated tools. Use a total station to confirm control lines and bracket coordinates, a laser level for plumb and datums, a 2 m straightedge or string line for plane checks, and feeler gauges for controlled expansion gaps. A calibrated torque wrench verifies anchor and fastener tightening per manufacturer datasheets. Depth gauges confirm embedment, while moisture meters validate substrate readiness. Define acceptance tolerances in advance and apply them zone by zone. Record readings in SI units—millimetres and newton‑metres—and attach photos of gauges at the point of measurement. When tools are calibrated and methods are repeatable, issues become visible, measurable, and easy to resolve long before panels appear on site.
- Use calibrated tools with visible certificates.
- Measure and record in SI units consistently.
- Photograph gauges at the measurement moment.
- Apply the same tolerances across zones.
Documentation, traceability, and closeout
Defects often stem from unclear responsibility and missing records. Capture product labels, batch and lot numbers, torque values, and measurement files as you go. Link each note to a grid reference and elevation so future teams can trace issues quickly. Photograph isolators, fire-stopping, and moisture barrier patches before rails obscure them. Store all evidence with timestamps and user signatures. At closeout, export the inspection as PDF/Excel and share with stakeholders; the QR-secured report provides authenticity in the field. This strengthens compliance, accelerates approvals, and prevents disputes by showing exactly what was inspected, where, and with what results—per approved project specifications and authority requirements.
- Capture labels, batches, and certificates early.
- Tie notes to locations and elevations.
- Export PDF/Excel with QR authentication.
- Secure digital signatures for approvals.
How to use this interactive pre-install framing inspection checklist
- Preparation: Gather shop drawings, specifications, calibrated torque wrench, laser level, total station, 2 m straightedge, depth gauge, moisture meter, PPE, and manufacturer datasheets. Confirm access, lighting, and safe working platforms.
- Project setup: Create zones by grid/elevation, upload drawings, and map tolerances. Add anchor/bracket/rail product references and required evidence fields (photos, torque N·m, mm readings, batch numbers).
- Start interactive mode: Open the checklist on a tablet/phone. Tick items as completed, add comments for issues, geo‑tag or note grid references, and attach photos directly at each step.
- Capture definitive evidence: Record measurements in SI units, photograph gauges and labels, scan QR codes on materials, and link certificates. Use issue flags to assign corrective actions with due dates.
- Resolve and re‑verify: After corrections, rescan the zone’s QR, retake measurements, and close issues with before/after photos and updated readings for transparent traceability.
- Sign-Off and export: Capture digital signatures from supervisor and QA, mark the zone “Ready for Panels,” then export as PDF/Excel. Archive the QR-authenticated report for distribution and audit.
Call to Action
- Start Checklist Tick off tasks, leave comments on items or the whole form, and export your completed report to PDF or Excel—with a built-in QR code for authenticity.
- Download Excel - Aluminum Cladding Support Framing Pre-Install Inspection
- Download PDF - Aluminum Cladding Support Framing Pre-Install Inspection
- View Image - Aluminum Cladding Support Framing Pre-Install Inspection
Cite & Embed
“Aluminum Cladding Support Framing Pre-Install Inspection by Quollnet”
with a link to
this source page.

FAQ
Question: What tolerances should I use for rails and brackets before panel installation?
Question: Which evidence is essential to capture during the support framing inspection?
Question: How do I handle deviations discovered during inspection?
Question: When should this inspection occur relative to panel delivery and access equipment?
Related Articles
Broader reading and guidance connected to this checklist topic.



Related Checklists
Keep the workflow moving with nearby templates chosen from similar checklist content.