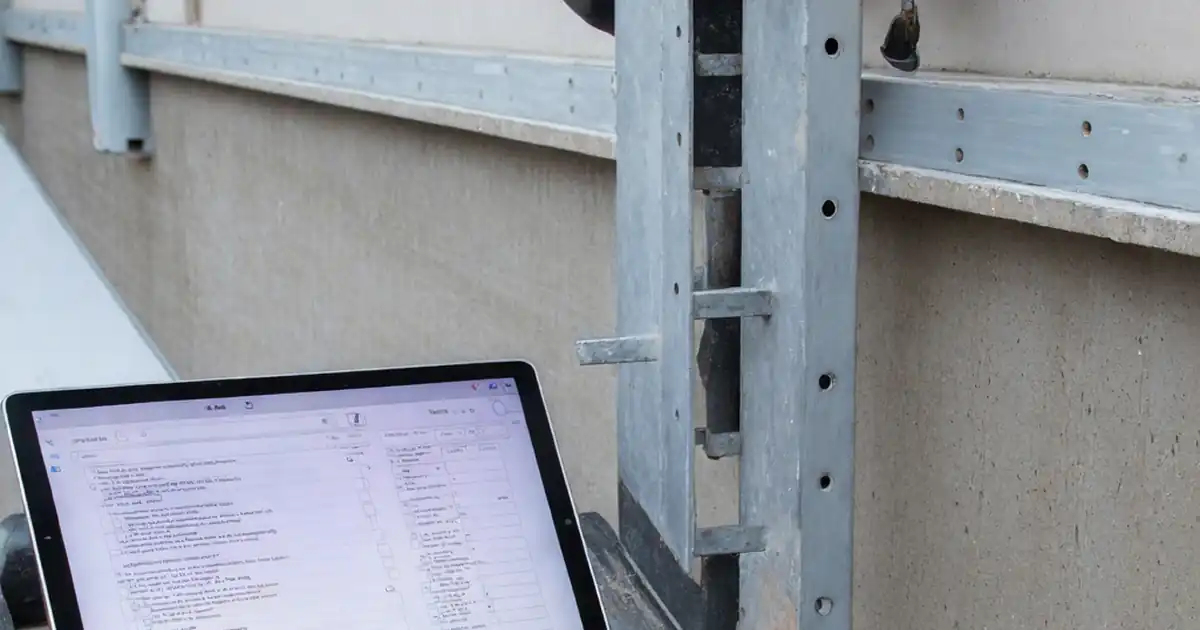
Inspect Curtain Wall Brackets for Alignment and Torque
Definition: Inspect curtain wall brackets for alignment and torque after installation guides site engineers and QA inspectors to confirm bracket alignment, anchor seating, and torque compliance on completed assemblies.
- Verify plumb, level, and standoff against approved tolerances and drawings.
- Measure and record torque values in N·m with calibrated tools.
- Capture photos, lot numbers, and signatures for full traceability.
- Interactive, commentable checklist with export and QR code verification.
Inspect curtain wall brackets for alignment and torque after installation is essential to ensure panels seat correctly, loads transfer safely, and movements occur as designed. This checklist focuses on post-installation bracket alignment verification, torque verification of anchors and bolts, and documentation of evidence for quality records. It excludes panel glazing checks, air–water testing, and structural analysis beyond visual and measurable bracket criteria. You will confirm plumb/level, bracket standoff, slot centering for movement, and fastener torque per approved project specifications and authority requirements. By controlling these factors, you reduce risks of panel drift, water ingress, racking, noise, and premature fatigue. The workflow supports field-ready practices: laser and string-line alignment checks, calibrated torque application in stages, witness marking, and photo-backed sign-off. Use this interactive, commentable checklist to tick items, add field notes, and export as PDF/Excel with a QR-secured audit trail.
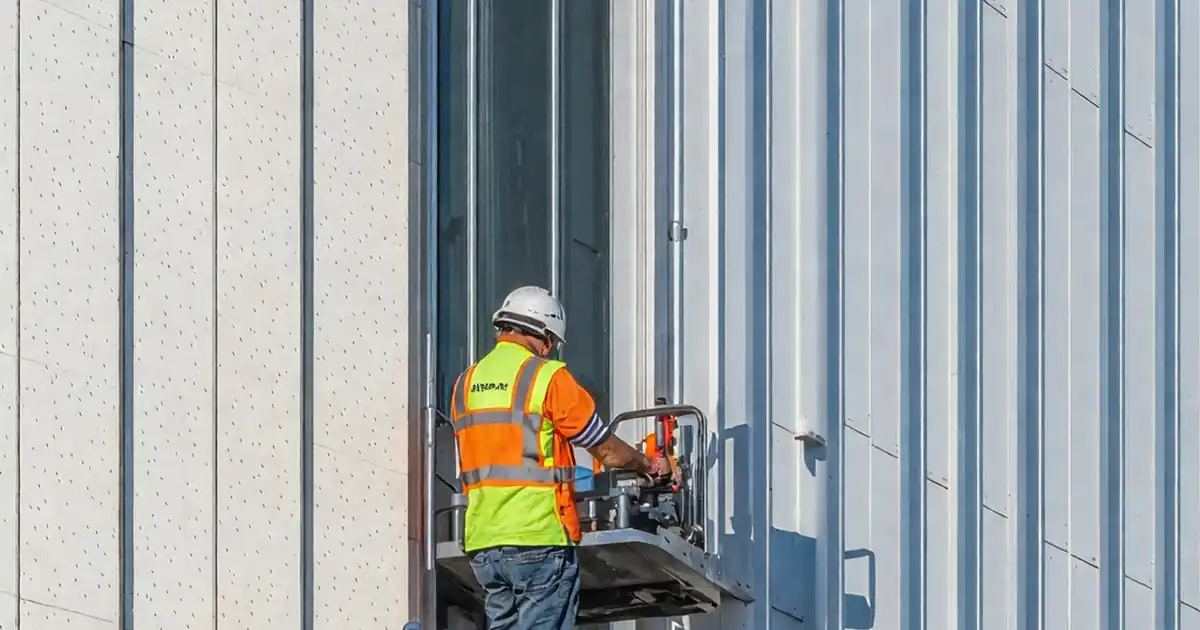
- Validate bracket alignment, projection, and slot positioning to maintain panel datum, thermal movement allowances, and consistent façade reveals. Document plumb, level, and standoff readings with laser and gauges for defensible acceptance records.
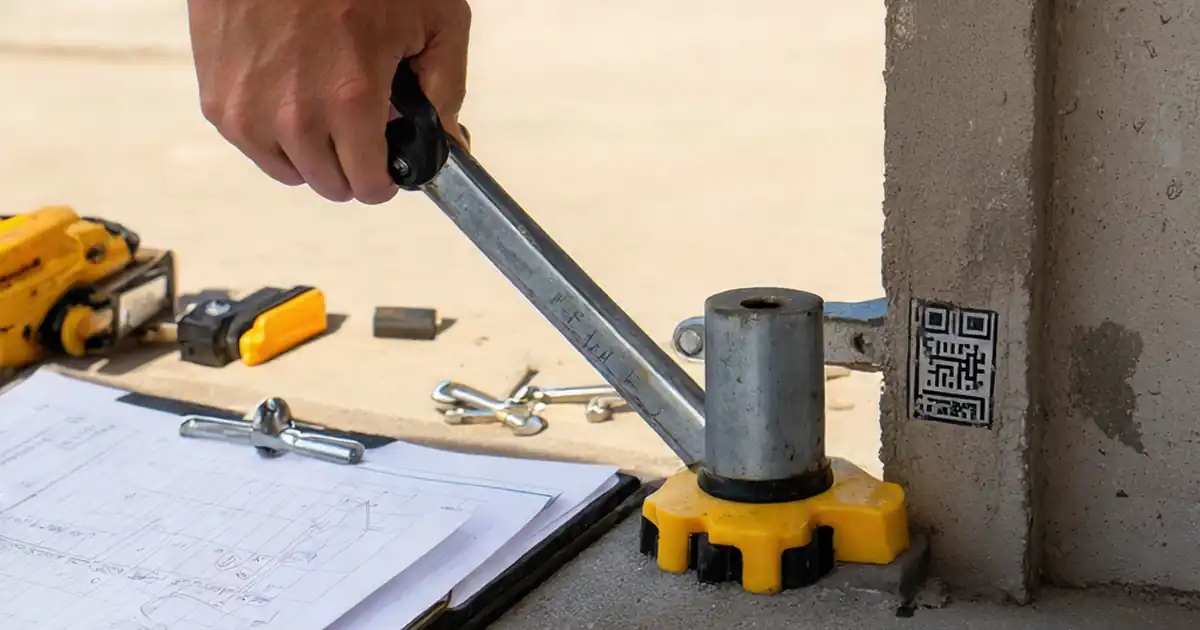
- Apply and record specified torque in N·m using calibrated wrenches and required sequences. Mark fasteners, verify relaxation, and capture photos to prevent loosening, panel drift, and differential movement failures over service life.
- Create traceable evidence: photos of head markings and substrates, torque logs, calibration certificates, and as-built markups. This supports closeout, handover, and dispute avoidance with clear, time-stamped field data.
- Interactive online checklist with tick, comment, and export features secured by QR code.
Preparation and Safety
Documentation and References
Bracket Alignment Verification
Fastener and Substrate Checks
Torque Verification
Finalization and Records
Field-proven alignment checks that keep panels on datum
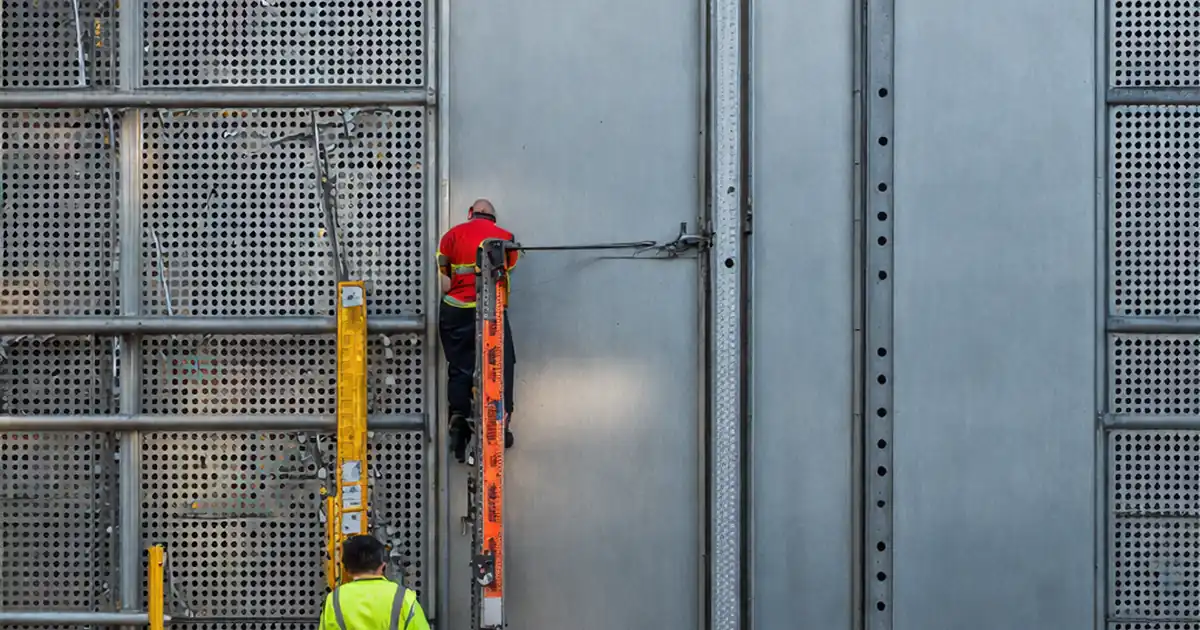
Accurate bracket alignment controls panel reveal lines, gasket compression, and long-term serviceability. Begin with a common reference: set laser control lines and confirm zero points on each elevation. Use a laser or digital level to check plumb while a string line reveals local bow. Measure standoff with a depth gauge at consistent locations to avoid skewed readings from fillets or welds. Centering bolts within slots preserves thermal movement and building drift allowances; over-tightening off-center bolts can lock the system and telegraph stress into mullions. Shim stacks should bear across the full bracket footprint without rocking. Accept brackets that meet approved tolerances, or the stricter of drawings and specifications. Reject those with edge-distance violations or cracked substrates. Document readings in millimetres with photos of devices in place for defensible acceptance.
- Use a single control datum per elevation to avoid compounded errors.
- Measure standoff clear of sealant beads and weld crowns.
- Center slots to maintain designed movement allowances.
- Reject point-loaded shims; ensure full-face bearing.
- Record laser and gauge readings with embedded photos.
Reliable torque application and verification on installed brackets
Torque verification prevents loosening, panel drift, and water ingress from joint misalignment. Select the correct torque method for the fastener system—torque-only, torque-angle, or tension indicators—then verify your wrench calibration and apply staged tightening where specified. Mark each fastener with a paint witness line before final pass to confirm movement occurred. Perform a sample back-off or re-check after relaxation; embedment and gasket compression can reduce retained torque. For stainless bolts, follow manufacturer lubrication requirements to mitigate galling and friction variability. If the fastener spins without reaching torque or the substrate crushes, stop and raise a nonconformance for engineering review. Always record N·m achieved, tool ID, and sequence used; photos of markings and head stamps strengthen traceability.
- Use calibrated wrenches with certificates within validity.
- Apply staged torque to minimize settlement effects.
- Mark fasteners to confirm rotation during tightening.
- Re-check torque after short dwell for relaxation.
- Escalate immediately if torque cannot be achieved.
Documentation that stands up to audits and closeout reviews
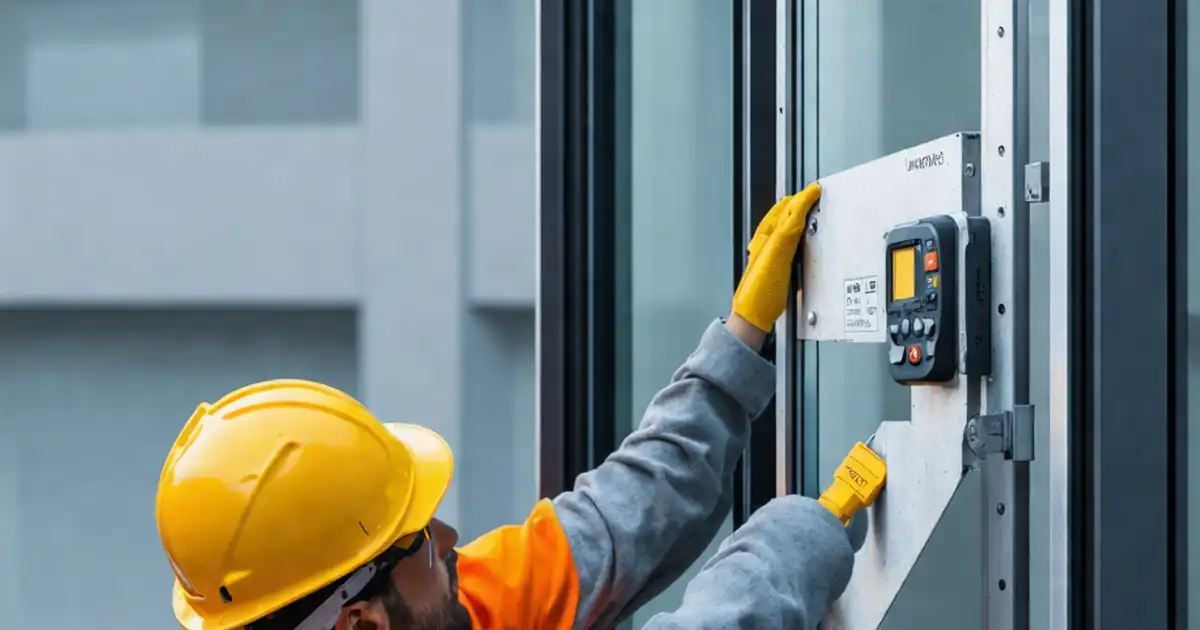
Clear records reduce disputes and speed handover. Capture bracket IDs tied to elevation grids, head markings, and material labels to connect field conditions with submittals. Embed photos directly alongside measurements and torque entries so reviewers can verify readings without returning to site. As-built markups showing final plumb, level, and standoff consolidate acceptance data on one sheet per elevation. Use QR-linked exports so supervisors, consultants, and authorities access a single, version-controlled package. Nonconformances should note location, cause, and proposed corrective action; after rework, repeat only the affected checks and capture fresh evidence. Digital signatures from installer and inspector complete the chain-of-custody for quality assurance and compliance.
- Tie every photo to a bracket ID and grid location.
- Include tool IDs and calibration dates in torque logs.
- Maintain version control with QR-linked exports.
- Mark as-built elevations with final readings.
- Close NCRs with before/after evidence and sign-off.
How to Use This Curtain Wall Bracket Inspection Checklist
- Prepare tools and conditions: laser or digital level, string line, depth gauge, calibrated torque wrench, paint marker, PPE, safe access, current drawings, and approved torque data.
- Open the interactive checklist, select project, elevation, and zone. Sync the latest approved drawings and bracket schedule to ensure correct IDs and tolerances.
- Enter or import bracket IDs and specified torque values by fastener type. Attach calibration certificates and set staged torque prompts if required.
- Perform alignment checks. Input plumb, level, and standoff readings in mm; attach photos of measuring devices. Add comments where deviations or obstructions occur.
- Execute torque verification. Follow the defined sequence, log achieved N·m for each fastener, and add photos of witness marks and head stamps.
- Flag nonconformances with bracket ID, cause, and proposed action. Assign to responsible party with due dates and request reinspection through the comment thread.
- Complete final checks, apply tamper-evident torque seal, and capture as-built markups. Obtain installer and inspector digital signatures within the checklist.
- Export the package as PDF/Excel with embedded photos and a QR-secured link. Distribute to stakeholders and archive per the project QA plan.
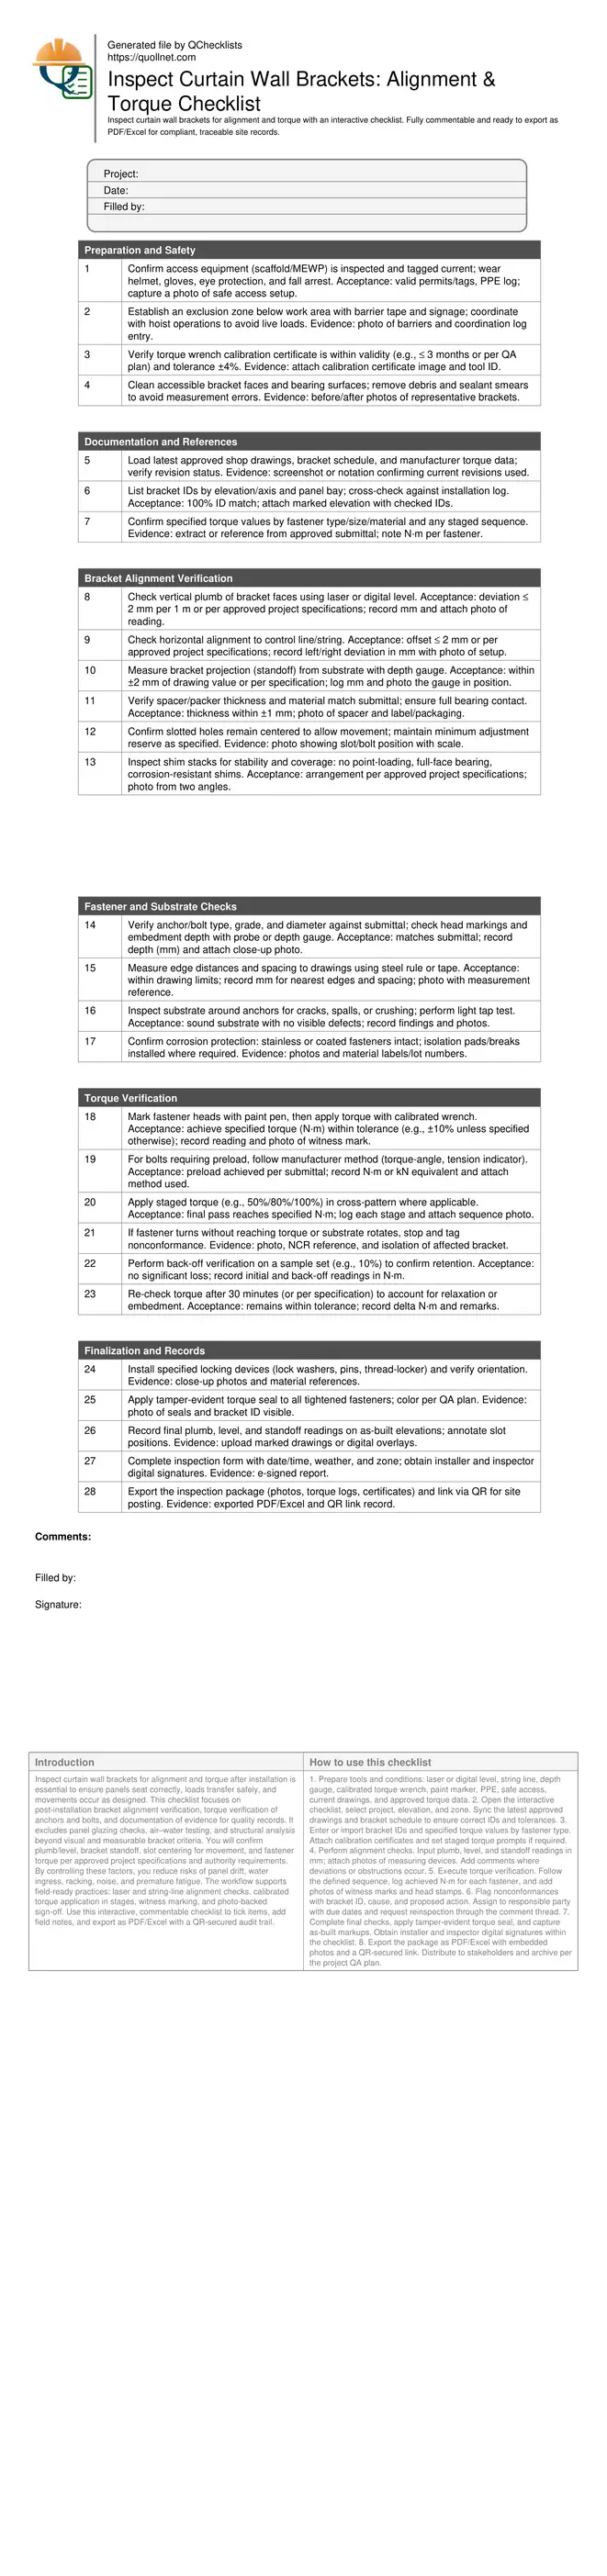
Call to Action
- Start Checklist Tick off tasks, leave comments on items or the whole form, and export your completed report to PDF or Excel—with a built-in QR code for authenticity.
- Download Excel - Curtain Wall Bracket Alignment & Torque Inspection
- Download PDF - Curtain Wall Bracket Alignment & Torque Inspection
- View Image - Curtain Wall Bracket Alignment & Torque Inspection
Cite & Embed
“Curtain Wall Bracket Alignment & Torque Inspection by Quollnet”
with a link to
this source page.
FAQ
Question: What alignment tolerance should I use for curtain wall brackets?
Question: How often must torque wrenches be calibrated on site?
Question: Do I need to re-torque after initial tightening?
Question: What evidence should I capture during bracket inspections?
Related Articles
Broader reading and guidance connected to this checklist topic.

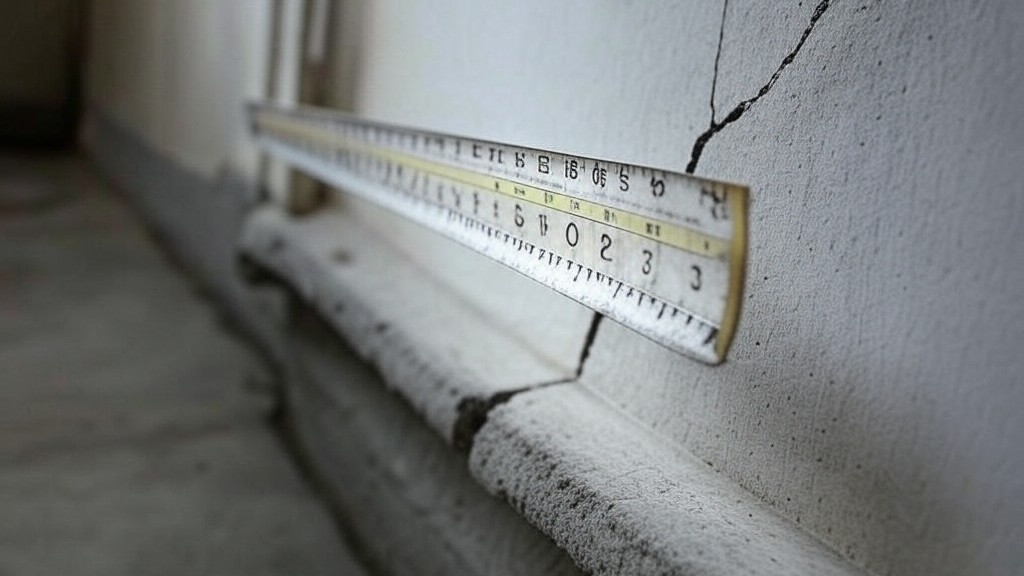
Is The Crack You See On Your Wall Serious Or Minor Cosmetic Issue?

Related Checklists
Keep the workflow moving with nearby templates chosen from similar checklist content.