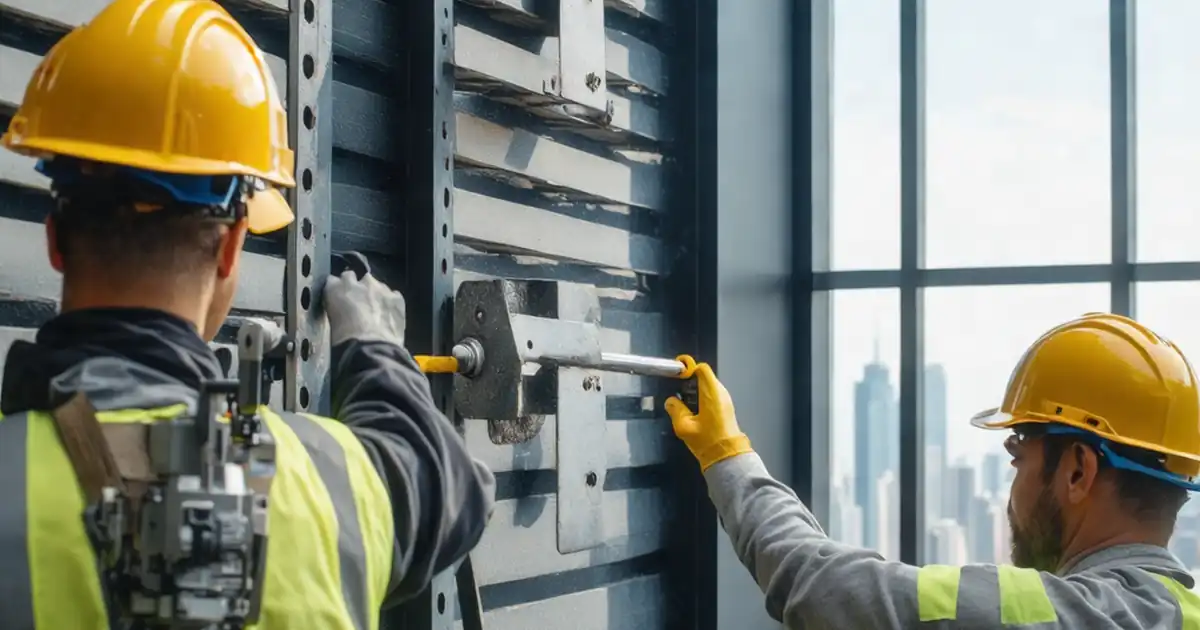
Curtain Wall Anchor Pre‑Fixing Inspection Checklist
Definition: Inspect curtain wall anchor installation before mullion fixing guides site engineers and façade supervisors to verify anchors, substrates, and torque/testing compliance prior to installing mullions and commencing glazing operations.
- Confirm drawings, TDS, and approvals match location and scope.
- Measure layout, edge distances, embedment, and torque against specifications.
- Capture photos, readings, and labels for full traceability and sign-off.
- Interactive, commentable checklist with export and QR code verification.
Inspect curtain wall anchor installation before mullion fixing is a focused quality and safety hold‑point that verifies every anchor and bracket before mullions are placed. This pre‑installation review, also known as a curtainwall anchor check or façade bracket verification, confirms layout, edge distances, embedment, torque, and substrate suitability. By catching issues early—like mislocated holes, inadequate curing of chemical anchors, incorrect fastener grades, or bracket misalignment—you prevent costly rework, loss of watertightness, and compromised structural performance. The checklist also supports traceability through batch records, calibrated tool logs, and photo evidence tied to gridlines. The scope stops at anchor/bracket condition and proof readiness for mullions; it does not cover mullion alignment, glazing, or sealants. Outcomes include compliant, documented anchorage points, smooth consultant sign‑off, and reliable installation sequencing. Use this interactive page to tick items, add comments and photos, and export results to PDF/Excel; each inspection can be sealed with a QR code for verification.
- This pre‑fixing anchor inspection prevents misdrilling, inadequate embedment, and torque errors that lead to alignment drift and facade distress. It locks in bracket geometry and load paths, ensuring mullion slots align within design movement allowances and minimizing downstream rework, delays, and material waste across adjacent bays and floors.
- You gain full traceability by recording drawing revisions, TDS references, calibration data, lot numbers, photos, and measured values in SI units. Evidence links to specific gridlines and elevations, creating a defensible audit trail for consultant reviews, handovers, and warranty files while streamlining NCR closeouts and variation claims.
- Field‑ready acceptance cues—like ±3 mm to grid, ±1 mm over 1 m level, perpendicularity within 2°, and pull‑test confirmation—give crews clear pass/fail guidance. Practical prompts ensure substrates are clean, rebar avoided, curing respected, and coatings repaired, so anchors achieve design capacity without compromising corrosion resistance.
- Interactive online checklist with tick, comment, and export features secured by QR code.
Documentation & Approvals
Substrate & Layout Verification
Anchor Hardware & Corrosion Protection
Drilling, Embedment & Fixing Quality
Alignment, Tolerances & Proof Testing
Why a pre‑fixing anchor inspection prevents costly facade rework
Anchors set the geometry and load path for mullions; small errors amplify through the curtain wall. A focused pre‑fixing inspection catches mislocated holes, inadequate edge distances, and damaged coatings before they compromise capacity or corrosion resistance. On site, crews often face uneven slab edges, congested rebar, or dust‑clogged holes—each reduces bond or clamp performance. Verifying substrate soundness, cleaning sequences, and calibrated torque ensures anchors achieve design values. This step also verifies bracket flatness and plumb/level so mullions seat without forced alignment that can introduce stress and water‑management issues. Practical acceptance cues—±3 mm to grid, ±1 mm over 1 m level, and ≤2° out‑of‑perpendicular—give installers simple pass/fail guidance. Real‑world example: a bay with mis‑drilled holes 10 mm off grid was flagged here; the team re‑laid the pattern, avoided notching the mullion, and preserved the drainage plane. The result is reliable alignment, predictable movement accommodation, and less rework during glazing and sealing.
- Hold points stop errors before mullions hide anchors.
- Clean holes and correct torque deliver design capacity.
- Plumb and level brackets protect drainage and seals.
- Traceability reduces NCRs and accelerates approvals.
Methods, measurements, and acceptance cues for robust anchorage
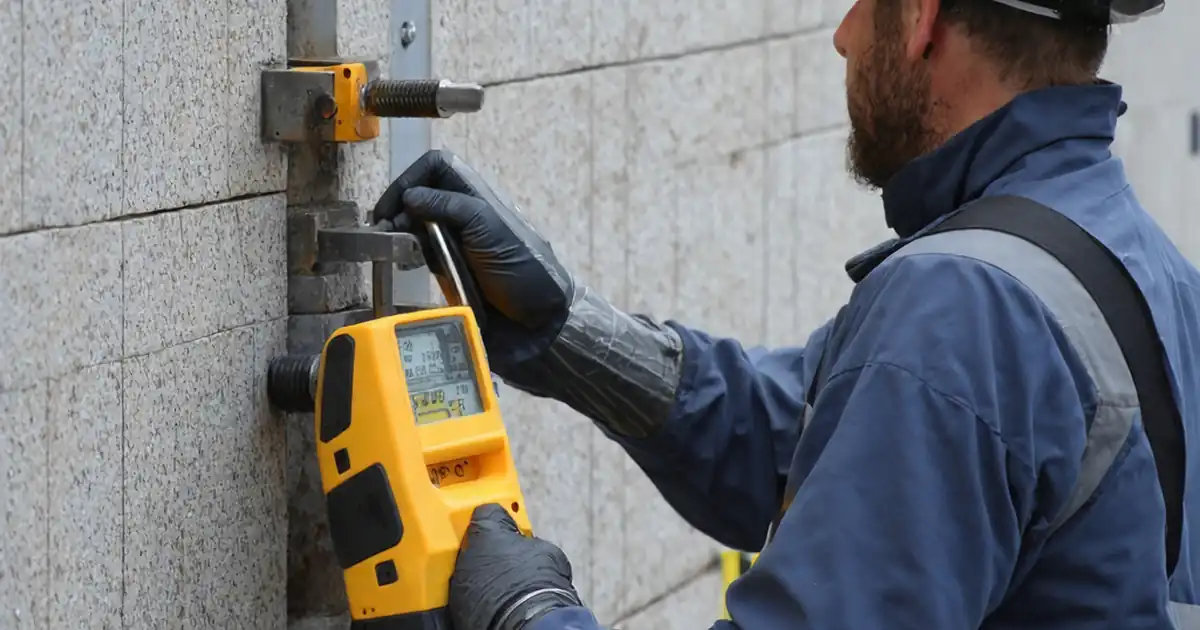
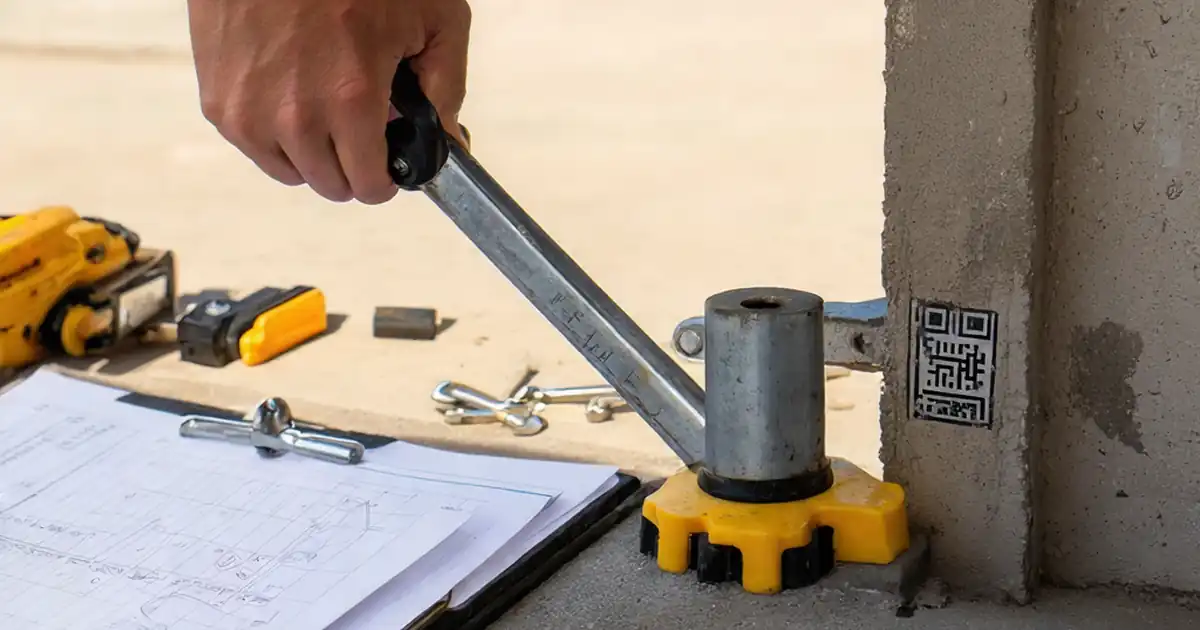
Use total stations or lasers to fix anchor centers to grid and record deviations. Scan for rebar to prevent cutting primary reinforcement; if clashes occur, shift per approved details. Drill with a sharp, sized bit; measure diameter and depth with callipers and depth gauges. For chemical anchors, brush‑blow cycles and cure times depend on temperature—log ambient conditions to prove compliance. For mechanical anchors, evacuate dust and seat to full embedment. Tighten to specified torque with a calibrated wrench; re‑verify after 10–15 minutes if relaxation is expected by the manufacturer. Check bracket flatness with a straightedge and feelers, and confirm plumb/level digitally. Where slots allow movement, record offsets to prove thermal/seismic allowance remains. If the ITP calls for proof tests, use a calibrated pull tester and capture graphs. Acceptance references always default to approved project specifications and authority requirements, with field readings recorded in SI units for transparency.
- Measure and record: grid, depth, diameter, torque, temperature.
- Scan substrates to avoid rebar and embedded services.
- Follow TDS sequences for cleaning and curing.
- Use calibrated tools; capture serials and certificates.
- Log offsets to confirm movement allowances.
Documentation, traceability, and sign‑off that withstand audits
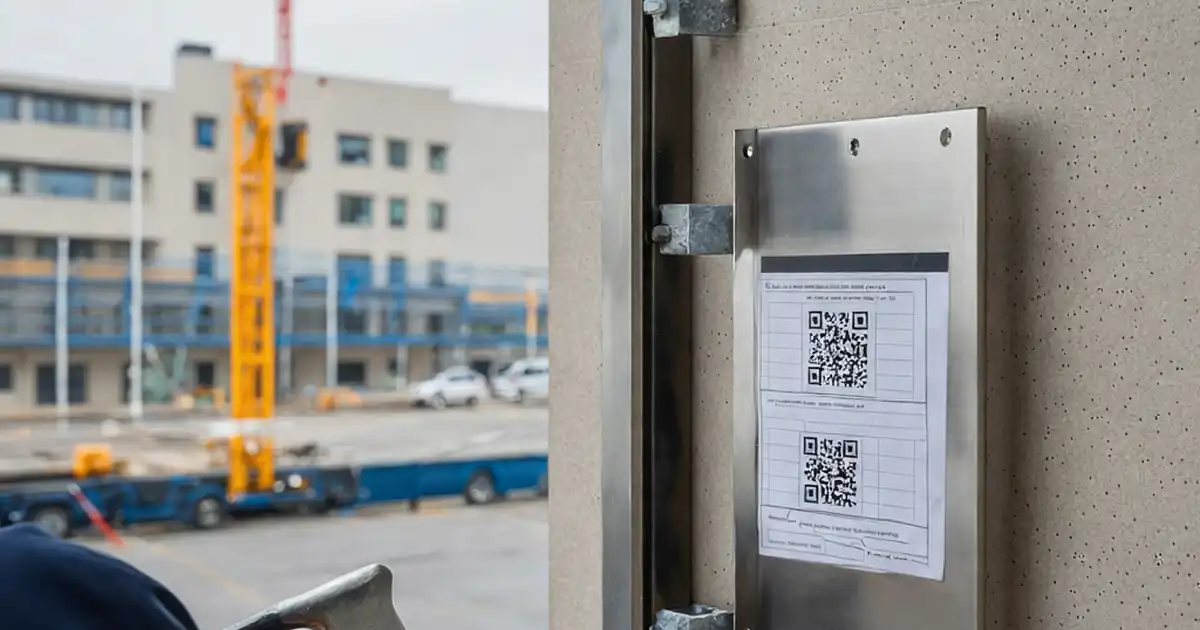
Reliable anchor installations are as much about documentation as workmanship. Start by confirming drawing revisions and submittal approvals, then link lot numbers and packaging labels to each location. Photos should show cleaned holes, gauge readings, torque displays, DFT checks, and pull‑test graphs. For adhesive anchors, record mix times, cartridge batch numbers, and cure durations before applying load. Where coatings were repaired, attach the system datasheet and measured dry‑film thickness. Tie each anchor group to a QR‑coded tag so anyone scanning onsite can retrieve the exact checklist, measurements, and sign‑offs. Distribute the exported PDF/Excel to the main contractor, consultant, and facade subcontractor, ensuring version control. This process streamlines consultant reviews, avoids repeated openings of finishes, and supplies defendable evidence during warranty or claim events. The outcome is a closed hold‑point with clear accountability, enabling mullion installation to proceed confidently and efficiently.
- Attach TDS, approvals, and batch/lot evidence.
- Photograph gauges while readings are visible.
- Record adhesive cure times before loading.
- Tag locations with QR for instant retrieval.
How to Use This Curtain Wall Anchor Pre‑Fixing Checklist
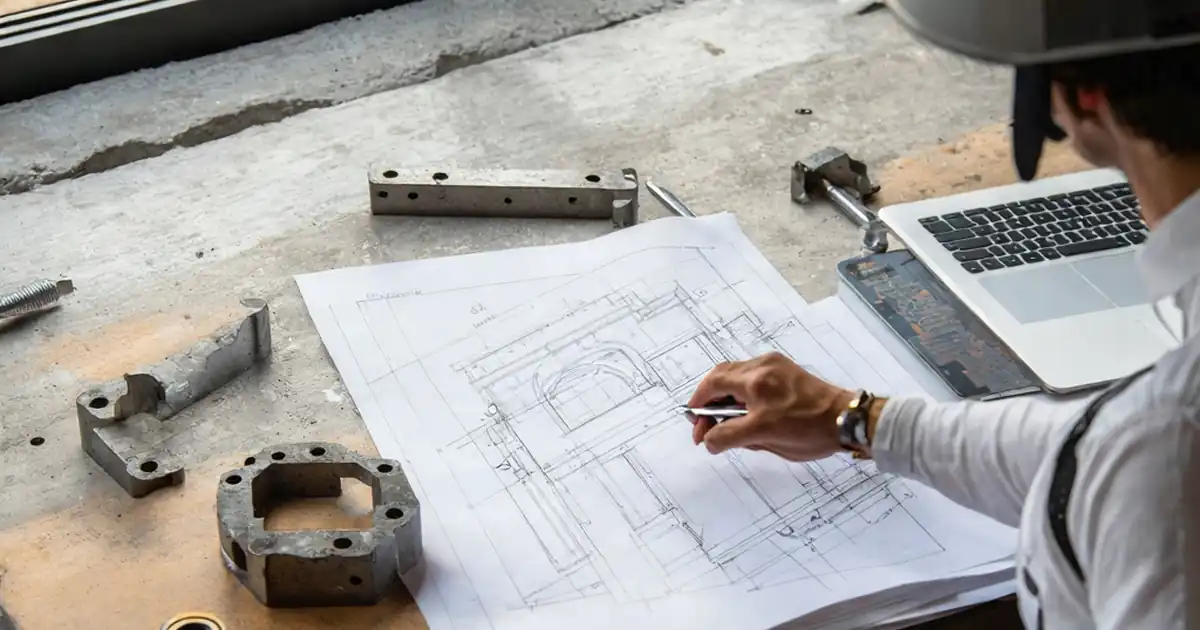
- Preparation: Gather approved drawings, method statement, ITP, and manufacturer TDS. Prepare tools: total station/laser, scanner, drill bits, depth gauge, callipers, straightedge, digital level, torque wrench, pull tester, DFT gauge, thermometer/hygrometer, PPE. Ensure safe access (scaffold/MEWP), permits to drill, lighting, and clean substrates.
- Using the Interactive Checklist: Open interactive mode on a tablet/phone, select grid/elevation, and tick each item. Add comments, photos, and measurements in SI units. Link lot numbers, calibration certificates, and QR labels. When complete, export the record to PDF/Excel and share with stakeholders.
- Sign‑Off: Obtain digital signatures from installer, QA/QC, and consultant as required. Confirm adhesive cure times and proof tests are included. Archive the report in the project CDE; the QR code authenticates the exported file for future audits and handover.
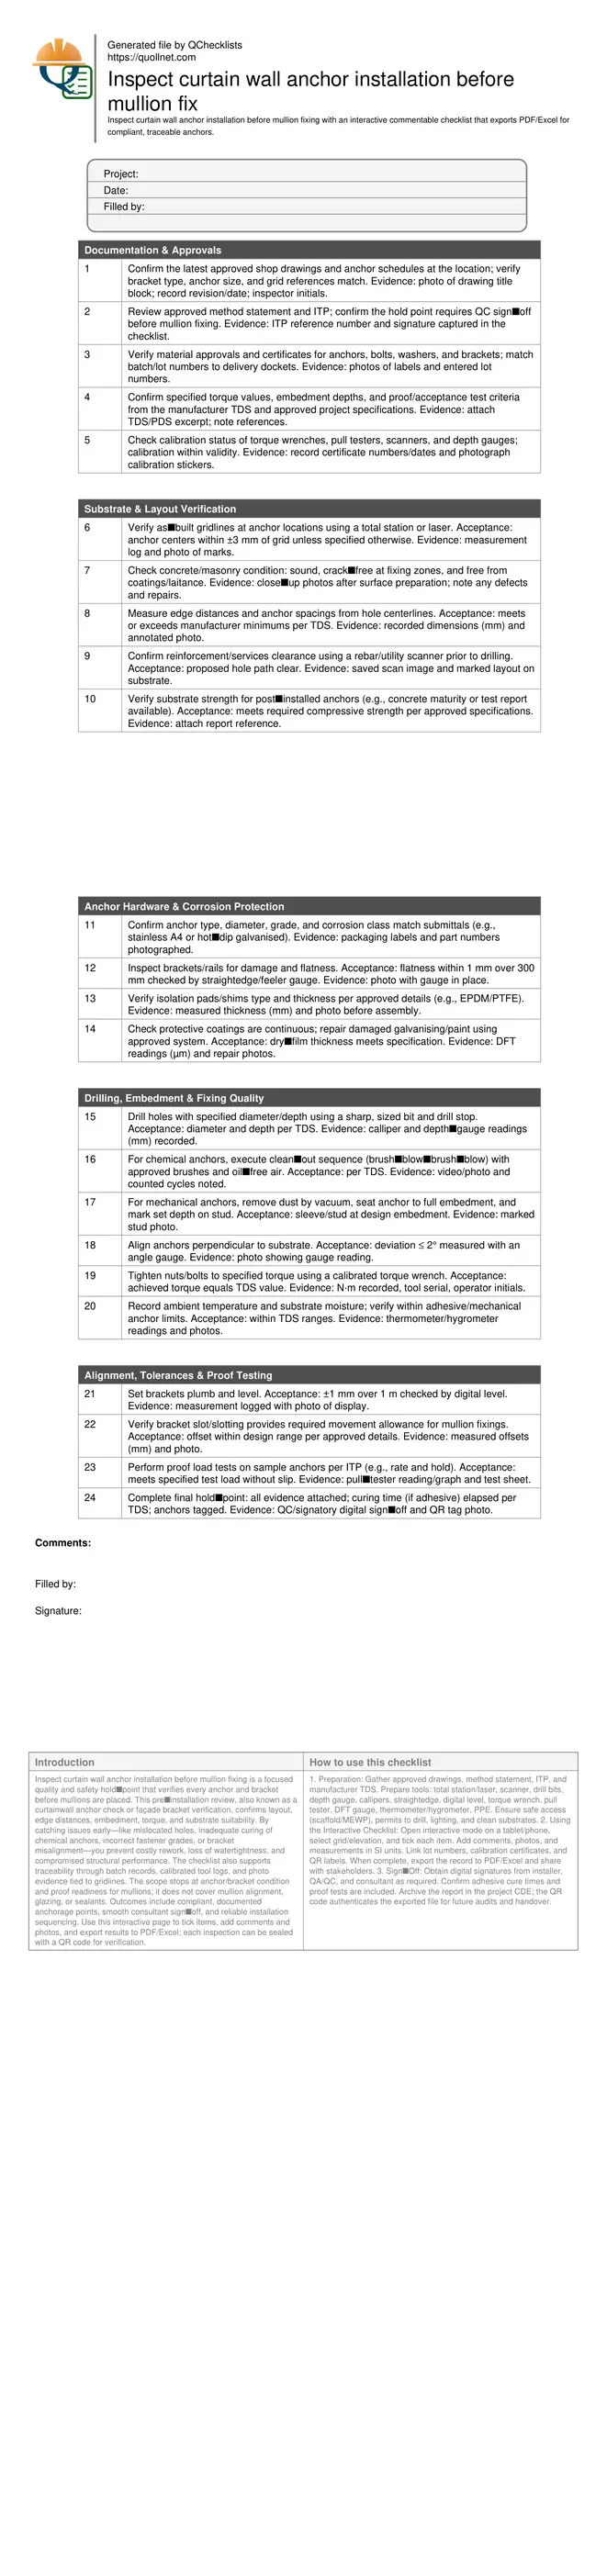
Call to Action
- Start Checklist Tick off tasks, leave comments on items or the whole form, and export your completed report to PDF or Excel—with a built-in QR code for authenticity.
- Download Excel - Curtain Wall Anchor Pre‑Fixing Inspection
- Download PDF - Curtain Wall Anchor Pre‑Fixing Inspection
- View Image - Curtain Wall Anchor Pre‑Fixing Inspection
Cite & Embed
“Curtain Wall Anchor Pre‑Fixing Inspection by Quollnet”
with a link to
this source page.

FAQ
Question: What tolerances should I apply when locating curtain wall anchors before fixing mullions?
Question: How do I verify torque on mechanical anchors and bracket bolts?
Question: What is required for chemical anchors regarding cleaning and curing?
Question: How do I handle inadequate edge distances or rebar clashes at the drilling point?
Related Articles
Broader reading and guidance connected to this checklist topic.



Is It Important To Customize Your Qr Code And How To Do It?

Related Checklists
Keep the workflow moving with nearby templates chosen from similar checklist content.