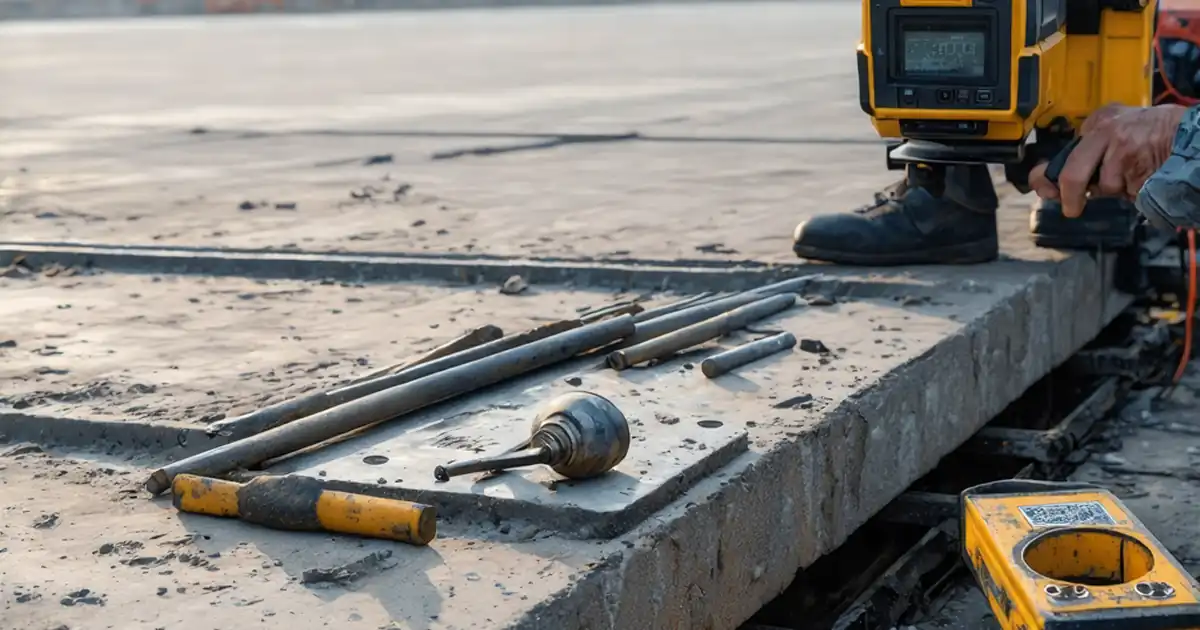
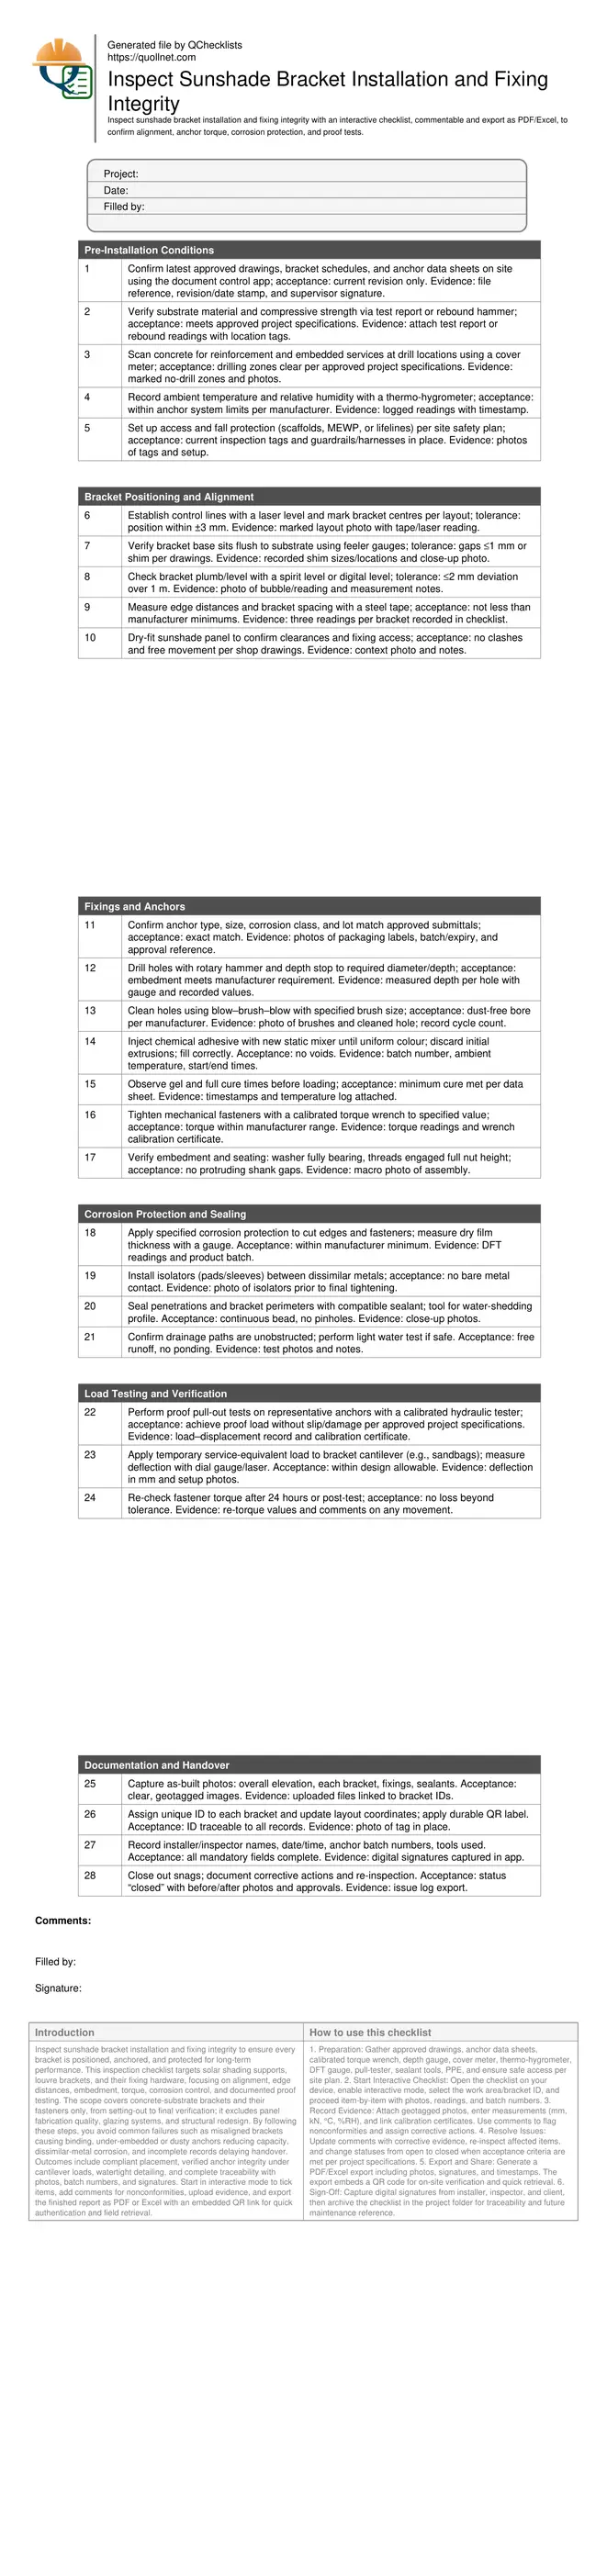
Inspect Sunshade Bracket Installation and Fixing Integrity
Definition: Inspect sunshade bracket installation and fixing integrity for construction supervisors, installers, and QA inspectors, verifying alignment, anchors, corrosion protection, and documented proof testing for durable, compliant solar shading assemblies.
- Verify positioning, edge distances, and anchor embedment against approved drawings.
- Record torque, cure times, and pull-test results with photo evidence.
- Control corrosion, sealing, and isolation to extend service life.
- Interactive, commentable checklist with export and QR code for traceability.
Inspect sunshade bracket installation and fixing integrity to ensure every bracket is positioned, anchored, and protected for long-term performance. This inspection checklist targets solar shading supports, louvre brackets, and their fixing hardware, focusing on alignment, edge distances, embedment, torque, corrosion control, and documented proof testing. The scope covers concrete-substrate brackets and their fasteners only, from setting-out to final verification; it excludes panel fabrication quality, glazing systems, and structural redesign. By following these steps, you avoid common failures such as misaligned brackets causing binding, under-embedded or dusty anchors reducing capacity, dissimilar-metal corrosion, and incomplete records delaying handover. Outcomes include compliant placement, verified anchor integrity under cantilever loads, watertight detailing, and complete traceability with photos, batch numbers, and signatures. Start in interactive mode to tick items, add comments for nonconformities, upload evidence, and export the finished report as PDF or Excel with an embedded QR link for quick authentication and field retrieval.
- This checklist streamlines sunshade bracket inspections from setting-out to handover. It defines acceptance cues for alignment, edge distances, embedment, torque, curing times, and sealant finishes, while capturing robust evidence: photos, lot numbers, calibration certificates, and signatures. The result is traceable, defensible documentation that accelerates approvals and reduces rework.
- Practical methods ensure anchors meet performance: controlled drilling, verified hole cleaning, adhesive gel/cure observance, and calibrated torque application. Field-proven tolerances and cues—such as levelness limits, flush seating, continuous beads, and drainage—help inspectors make quick, correct calls and prevent long-term water ingress and loosening.
- Load verification and corrosion management are embedded: representative pull-out testing, cantilever deflection checks, re-torque after stabilization, isolating dissimilar metals, and measured coating thicknesses. Clear closeout steps resolve snags with before/after evidence, creating auditable as-built records aligned with approved project specifications and authority requirements.
- Interactive online checklist with tick, comment, and export features secured by QR code.
Pre-Installation Conditions
Bracket Positioning and Alignment
Fixings and Anchors
Corrosion Protection and Sealing
Load Testing and Verification
Documentation and Handover
Setting-Out Precision and Acceptance Cues
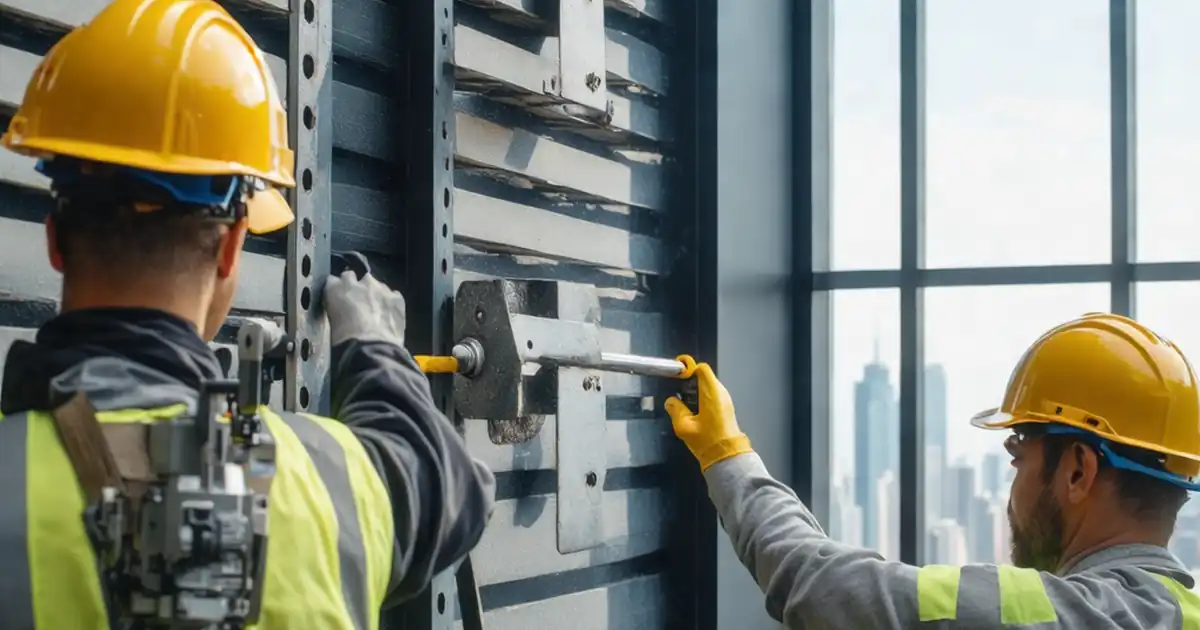
Accurate setting-out underpins every successful sunshade bracket installation. Begin with verified control lines and shop drawings, then mark bracket centres using a laser. Minor misplacements cascade into panel misalignment, binding, and water traps. Confirm flush contact between bracket bases and the substrate; even small gaps concentrate loads and invite loosening. Where tolerances require shimming, document material and thickness so future inspectors understand load paths. Edge distances and bracket spacing must respect manufacturer minima to preserve concrete breakout capacity and enable service access. During trial-fit, check that fixing points are accessible and that adjacent panels won’t clash. Practical acceptance cues include: bracket centrelines within ±3 mm, deviation from level/plumb contained within 2 mm over 1 m, and continuous support under the base (or documented shims). Photos of marked lines, gauge readings, and level bubbles provide persuasive evidence. These steps reduce rework, speed approvals, and protect long-term performance of the shading assembly.
- Mark centres with a laser, verify against drawings.
- Record level/plumb readings with photos.
- Confirm flush contact or document shims.
- Respect minimum edge distances and spacing.
- Dry-fit panels to expose clashes early.
Anchors: Drilling, Cleaning, Torque, and Cure
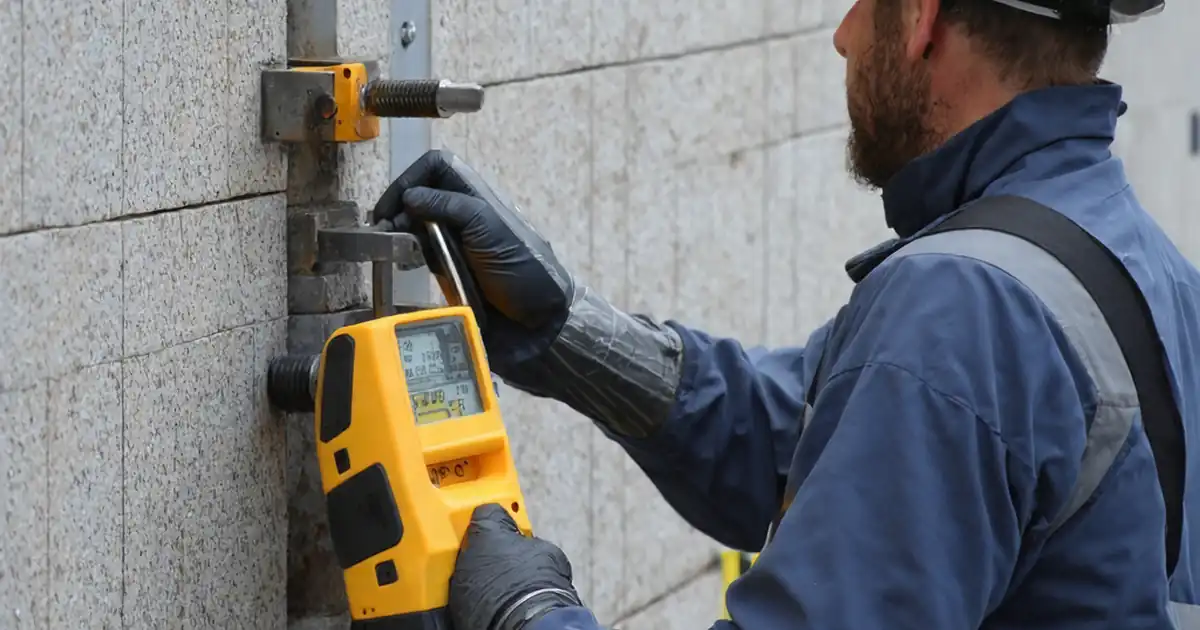
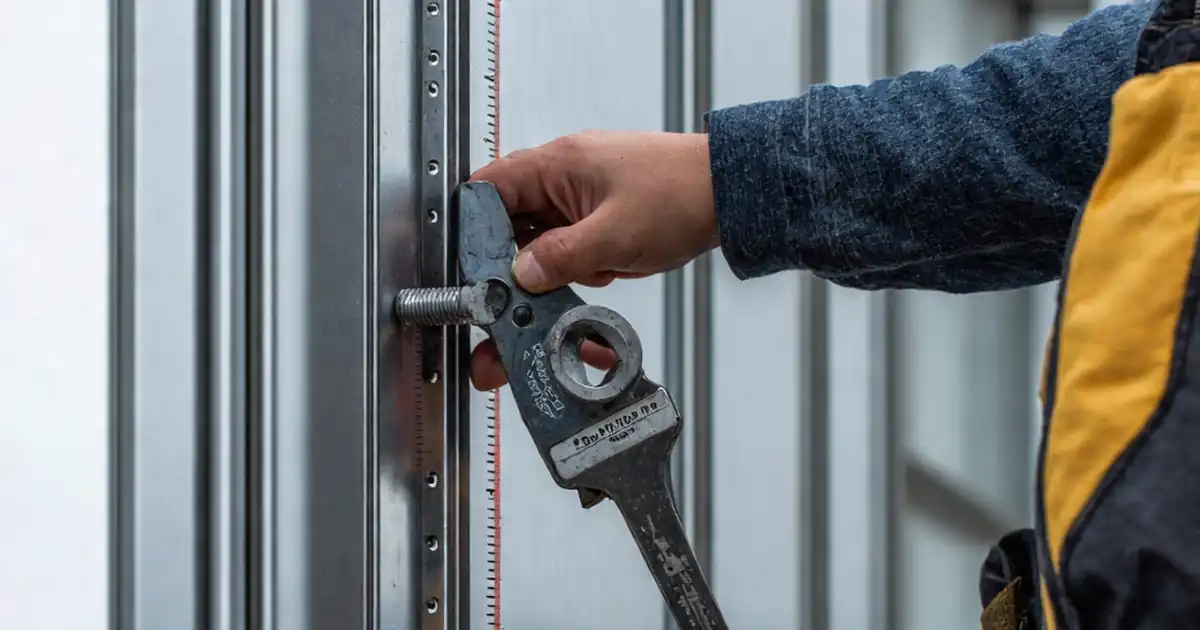
Anchor performance depends on controlled drilling, rigorous hole cleaning, and respect for adhesive cure times or mechanical torque requirements. Use a depth stop to avoid under-embedment; measure each hole with a gauge. In adhesive systems, blow–brush–blow removes dust that can halve bond capacity; record brush size and cycle count. Track gel and full cure periods against ambient temperature to avoid premature loading. For mechanical fasteners, a calibrated torque wrench is essential: record achieved torque and the wrench’s calibration date. After loading or temperature swings, a re-torque check confirms stability. Acceptance cues include: measured embedment per data sheet, dust-free bores, observed gel/cure windows, and torque within the stated range. Typical nonconformities—short holes, dusty bores, mixed expired adhesive, or uncalibrated torque tools—are preventable through disciplined logging and photos that tie actions to locations.
- Measure depth and embedment for every hole.
- Clean bores using blow–brush–blow sequence.
- Observe gel and cure times before loading.
- Record torque values and calibration proof.
- Re-torque after stabilization or proof tests.
Corrosion Control, Sealing, and Proof Verification
Outdoor sunshade brackets demand robust corrosion control and watertight detailing. Apply specified protective coatings to cut edges and fasteners, then verify with a dry film thickness gauge. Isolate dissimilar metals using pads, sleeves, or washers to interrupt galvanic couples. Seal all penetrations and bracket perimeters, tooling beads to shed water and avoid pinholes. Confirm drainage pathways remain open and free of ponding. Verification closes the loop: representative pull-out tests demonstrate anchor capacity, while cantilever loading with measured deflection validates bracket stiffness. After testing, a re-torque confirms that fasteners have not relaxed. Comprehensive documentation—photos, batch numbers, calibration certificates, and signatures—produces auditable records for handover and future maintenance, per approved project specifications and authority requirements.
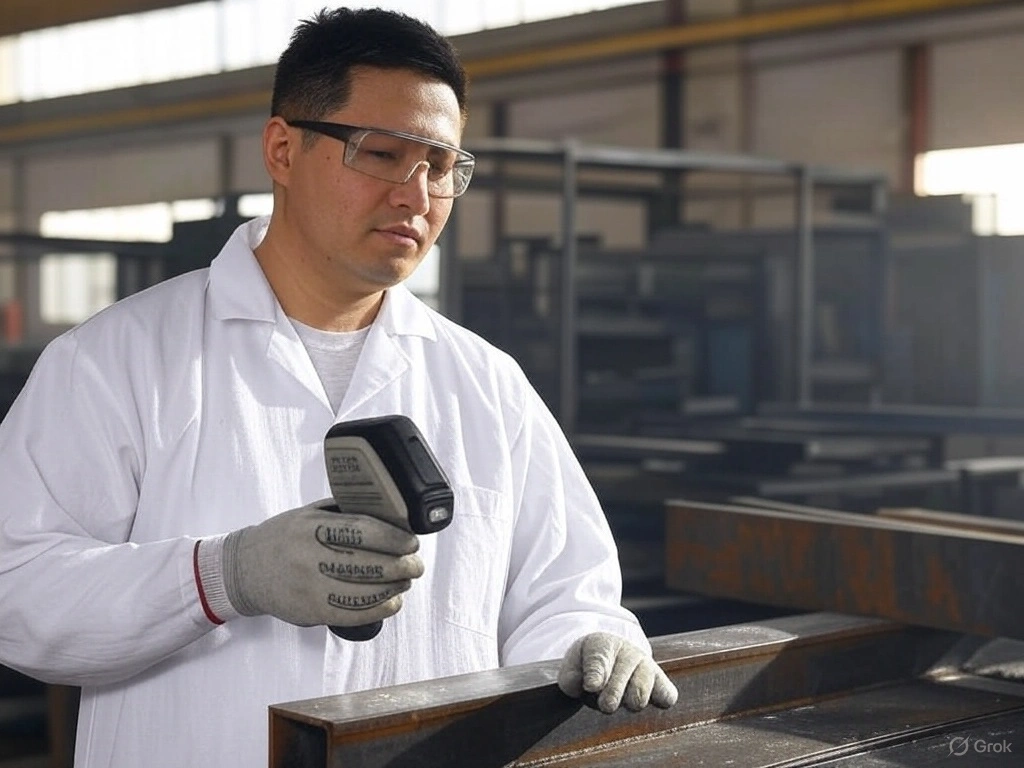
- Measure coating thickness against datasheet minima.
- Isolate dissimilar metals to prevent corrosion.
- Seal perimeters with continuous, tooled beads.
- Verify drainage paths remain unobstructed.
- Record test loads and deflection in millimetres.
How to Use This Sunshade Bracket Inspection Checklist
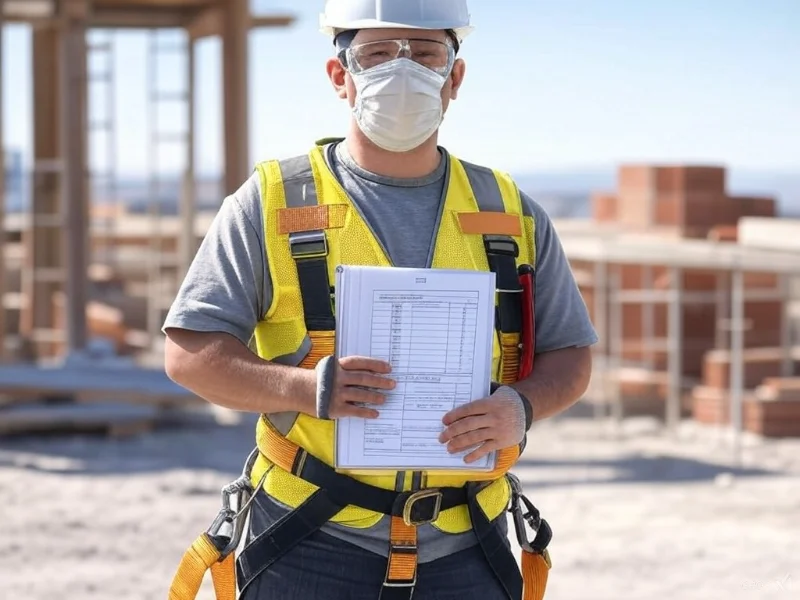
- Preparation: Gather approved drawings, anchor data sheets, calibrated torque wrench, depth gauge, cover meter, thermo-hygrometer, DFT gauge, pull-tester, sealant tools, PPE, and ensure safe access per site plan.
- Start Interactive Checklist: Open the checklist on your device, enable interactive mode, select the work area/bracket ID, and proceed item-by-item with photos, readings, and batch numbers.
- Record Evidence: Attach geotagged photos, enter measurements (mm, kN, °C, %RH), and link calibration certificates. Use comments to flag nonconformities and assign corrective actions.
- Resolve Issues: Update comments with corrective evidence, re-inspect affected items, and change statuses from open to closed when acceptance criteria are met per project specifications.
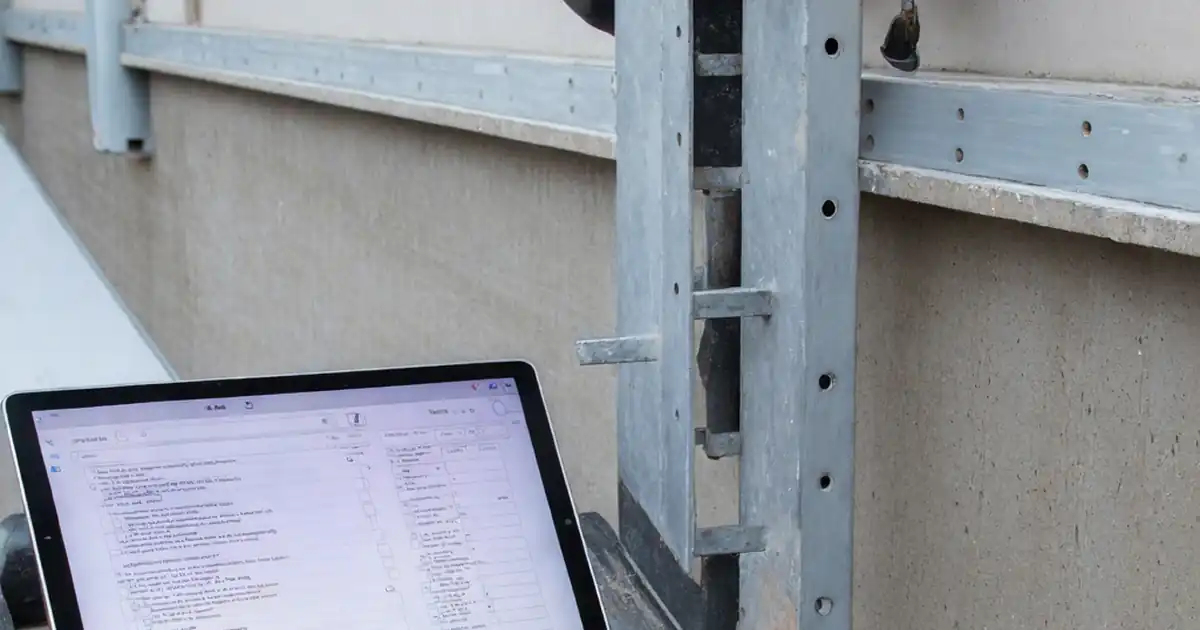
- Export and Share: Generate a PDF/Excel export including photos, signatures, and timestamps. The export embeds a QR code for on-site verification and quick retrieval.
- Sign-Off: Capture digital signatures from installer, inspector, and client, then archive the checklist in the project folder for traceability and future maintenance reference.
Call to Action
- Start Checklist Tick off tasks, leave comments on items or the whole form, and export your completed report to PDF or Excel—with a built-in QR code for authenticity.
- Download Excel - Sunshade Bracket Installation Inspection
- Download PDF - Sunshade Bracket Installation Inspection
- View Image - Sunshade Bracket Installation Inspection
Cite & Embed
“Sunshade Bracket Installation Inspection by Quollnet”
with a link to
this source page.

FAQ
Question: What if a drilled hole is deeper or wider than specified?
Question: When should torque be re-checked on sunshade bracket fasteners?
Question: How many pull-out tests are needed to validate anchors?
Question: Can I mix stainless steel brackets with aluminium shades without isolation?
Related Articles
Broader reading and guidance connected to this checklist topic.



Related Checklists
Keep the workflow moving with nearby templates chosen from similar checklist content.