Method Statement: Water Leak Detection System Installation for Data Center Raised Floors – Method Statement
AI-assisted method statement with matching ITP, PDF download, and Excel export.
More than a static template
Unlike a downloadable Word or PDF template, this method statement is an AI-assisted editable starting point connected directly to a matching Inspection and Test Plan. Every section is structured, project-adaptable, and ready to export.
- AI-assisted drafting — Customize every section with AI for your specific project scope.
- Linked ITP — A matching inspection and test plan is generated alongside the method statement.
- Multiple export formats — Download as a formatted PDF or editable Excel spreadsheet.
- Editable starting point, not a final document — Review, verify, and adjust all content against your project requirements before use.
Static template vs. Quollnet workflow
| Feature | Static template | Quollnet |
|---|---|---|
| Project-specific content | Manual fill-in required | AI-assisted customization |
| Linked ITP | Separate document, no link | Matching ITP included |
| Export formats | Usually PDF only | PDF and Excel |
| Structured sections | Free-form layout | 13 standardized sections |
| Saved to your account | Local file only | Cloud-saved, reusable |
| Content accuracy | You verify everything | AI-assisted, you still verify |
| Cost | Often free but time-intensive | Free to customize and download |
What you can customize
When you save this method statement to your account, every section becomes editable. The following 13 sections are included:
- Scope — Defines the activity and its boundaries.
- References — Standards, specifications, and drawings.
- Responsibilities — Roles and accountabilities.
- Resources — Labour, plant, and equipment summary.
- Materials — Materials and compliance requirements.
- Equipment — Tools and equipment details.
- Prerequisites — Hold points and pre-conditions.
- Method sequence — Step-by-step construction sequence.
- Safety controls — HSE risk controls and PPE.
- Environmental controls — Environmental mitigation measures.
- QA/QC — Quality inspection and test requirements.
- ITP — Inspection and Test Plan table (has its own page).
- Attachments — Referenced drawings and documentation.
Why this method statement is used
This method statement is used to define and communicate the approved procedure for carrying out method statement: water leak detection system installation for data center raised floors on site. It ensures the work is planned in advance, the correct resources and controls are in place, and all personnel understand responsibilities, sequence, quality requirements, and safety controls before work begins. It aligns site execution with the documented scope and acceptance expectations.
Who uses this method statement
This method statement is used by contractors, site supervisors, project engineers, QA/QC engineers, HSE officers, consultants, and client representatives. It serves as a shared reference for planning, execution, supervision, inspection, and approval of the activity on site.
When it is prepared and submitted
The method statement is prepared before the work activity starts and submitted as part of the pre-construction documentation package for review and approval.
Who reviews or approves it
The method statement is usually submitted to the client representative, consultant, resident engineer, or project management consultant for review and approval before the work commences.
Important approval note
This method statement is an AI-assisted editable starting point, not a pre-approved document. Before use on any project, all content must be reviewed and approved by the relevant parties (superintendent, principal contractor, or client representative) in accordance with your contract and project quality plan.
For example: if your specification requires a departure from a referenced standard, that departure must be documented and approved separately — this method statement will not capture that automatically. Always verify against your applicable drawings, specifications, and regulatory requirements.
Method statement content
Scope
Inclusions
- Install linear water sensing cable beneath raised floors in white space, MEP galleries, and around water-bearing equipment (CRAH/CRAC units, chilled water manifolds, humidifiers) as shown on IFC/shop drawings.
- Install zoning modules/controllers, power supplies, and communication interfaces (e.g., dry contacts/Modbus to BMS/DCIM).
- Provide leader/jumper cables, end terminations, and cable support/retention hardware.
- Execute identification, labeling, and as-built floor plan mapping with cable chainage and zone boundaries.
- Perform pre-functional checks and 100% functional verification via wet-cloth testing for each zone.
- Integrate alarm points to BMS/DCIM and verify annunciation, tagging, and resets.
- Provide O&M deliverables, training, and handover test records.
Exclusions
- Fire alarm system programming (beyond dry contact interface, if required) unless stated in contract.
- Civil works or raised floor structural modifications beyond minor drilling for clips where permitted.
- Replacement of damaged base-build tiles or MEP pipework.
Objectives
- Early leak detection with unambiguous zone identification and rapid BMS annunciation.
- Installation consistent with data center cleanliness, uptime, and change-control requirements.
References
| Document Type | Reference / Number | Revision | Notes |
|---|---|---|---|
| IEC 60364 (relevant parts) [Verify per project specifications] | |||
| BS EN 50174 series / TIA-942 (guidance) [Verify per project specifications] | |||
| NFPA 70 (NEC) or local electrical code [Verify per local regulations] | |||
| NFPA 70E / IEC 60364-4-41 (safety) [Verify per local regulations] | |||
| OEM data sheets and IOM manuals (project-approved) | Do not apply megger testing to sensing cables unless explicitly permitted by OEM. | ||
| ISO 14001 (guidance) [Verify per project EMS] |
Responsibilities
| Role | Responsibility | Name / Party |
|---|---|---|
| Project Manager | Contractor Project Manager | Contractor |
| Site Engineer | Site Engineer (ELV) | Contractor |
| HSE Officer | HSE Officer | Contractor |
| QA/QC Engineer | QA/QC Engineer | Contractor |
| Consultant | Consultant/Engineer | Engineer |
| Client/FM | Client/FM Representative | Client |
Resources
| Resource Type | Description | Quantity | Remarks |
|---|---|---|---|
| Personnel | Overall site and stakeholders coordination. | 1 | |
| Personnel | ELV installation and terminations; BMS interface. | 2–4 [Verify per scope] | |
| Personnel | Labeling, routing assistance, and housekeeping. | 1–2 | |
| Personnel | System setup, controller programming, protocol integration. | 1 | |
| Personnel | HSE inspections, permits, and toolbox talks. | 1 (shared) |
Materials
| Material | Specification / Grade | Quantity | Remarks |
|---|---|---|---|
| Linear water sensing cable | OEM-approved type, LSZH outer jacket, halogen-free [Verify per project]. | ||
| Leader/Jumper cable | Twisted pair, 22–24 AWG, LSZH, OEM-compatible connectors. | ||
| End-of-line termination kit | OEM-specified EOL parts. | ||
| Zoning/locating controller | 24 VDC supply, dry contacts, Modbus/RS-485 or Ethernet [Verify per project]. | ||
| Power supply/MCB | 24 VDC ±10%, 1–3 A, UL/CE listed [Verify per project]. | ||
| Adhesive-backed bases/clips | LSZH, UL94 V-0; stainless screws where mechanical fixing is allowed. | ||
| Labels/markers | Heat-shrink or laminated labels; print per project standard. |
Equipment
| Equipment | Capacity / Type | Quantity | Inspection Required |
|---|---|---|---|
| Digital multimeter / OEM cable tester | |||
| Laptop with OEM software/drivers | |||
| Portable label printer | |||
| Task lights, anti-static mats, ESD wrist straps, vacuum cleaner (HEPA) |
Prerequisites
- Approved shop drawings, data sheets, and method statement; ITP accepted by Consultant.
- Permits: Permit to Work, Hot/Cold Work permits as applicable, Electrical LV permit (for power-up), and access permit to white space. [Verify per project HSE plan and local regulations]
- Change management: Approved MOP/CRQ, defined work window, communication plan with Client/FM and BMS team.
- Material approvals and delivery inspections completed; OEM installation manuals available on site.
- Power availability: Dedicated 24 VDC or AC-to-DC supply from UPS-backed distribution, isolated and labeled.
- Coordination with MEP: Final routes clear of obstructions; underfloor space cleaned; tiles lifted by authorized personnel only.
- Tools calibrated and inspected; moisture test kit (clean water, lint-free cloths, drip tray, absorbent pads) prepared.
- ESD and cleanliness controls briefed; dust control measures in place; housekeeping plan agreed.
- Risk assessment and toolbox talk conducted specific to underfloor works and wet-cloth testing.
Method Sequence
| Step | Activity | Description | Responsibility | Inspection / Hold Point |
|---|---|---|---|---|
| 1 | Pre-start coordination and area preparation | Conduct kickoff with FM/BMS/MEP. Barricade work zone. Lift required floor tiles with authorized lifters. Place anti-tip supports for tiles as needed. Verify cleanliness of slab and pedestals. | Site Engineer | Yes |
| 2 | Material verification | Check controllers, sensing/leader cables, EOL kits, connectors, labels, and clips against approved submittals. Inspect for damage; verify OEM batch/length markings. | QA/QC Engineer | Yes |
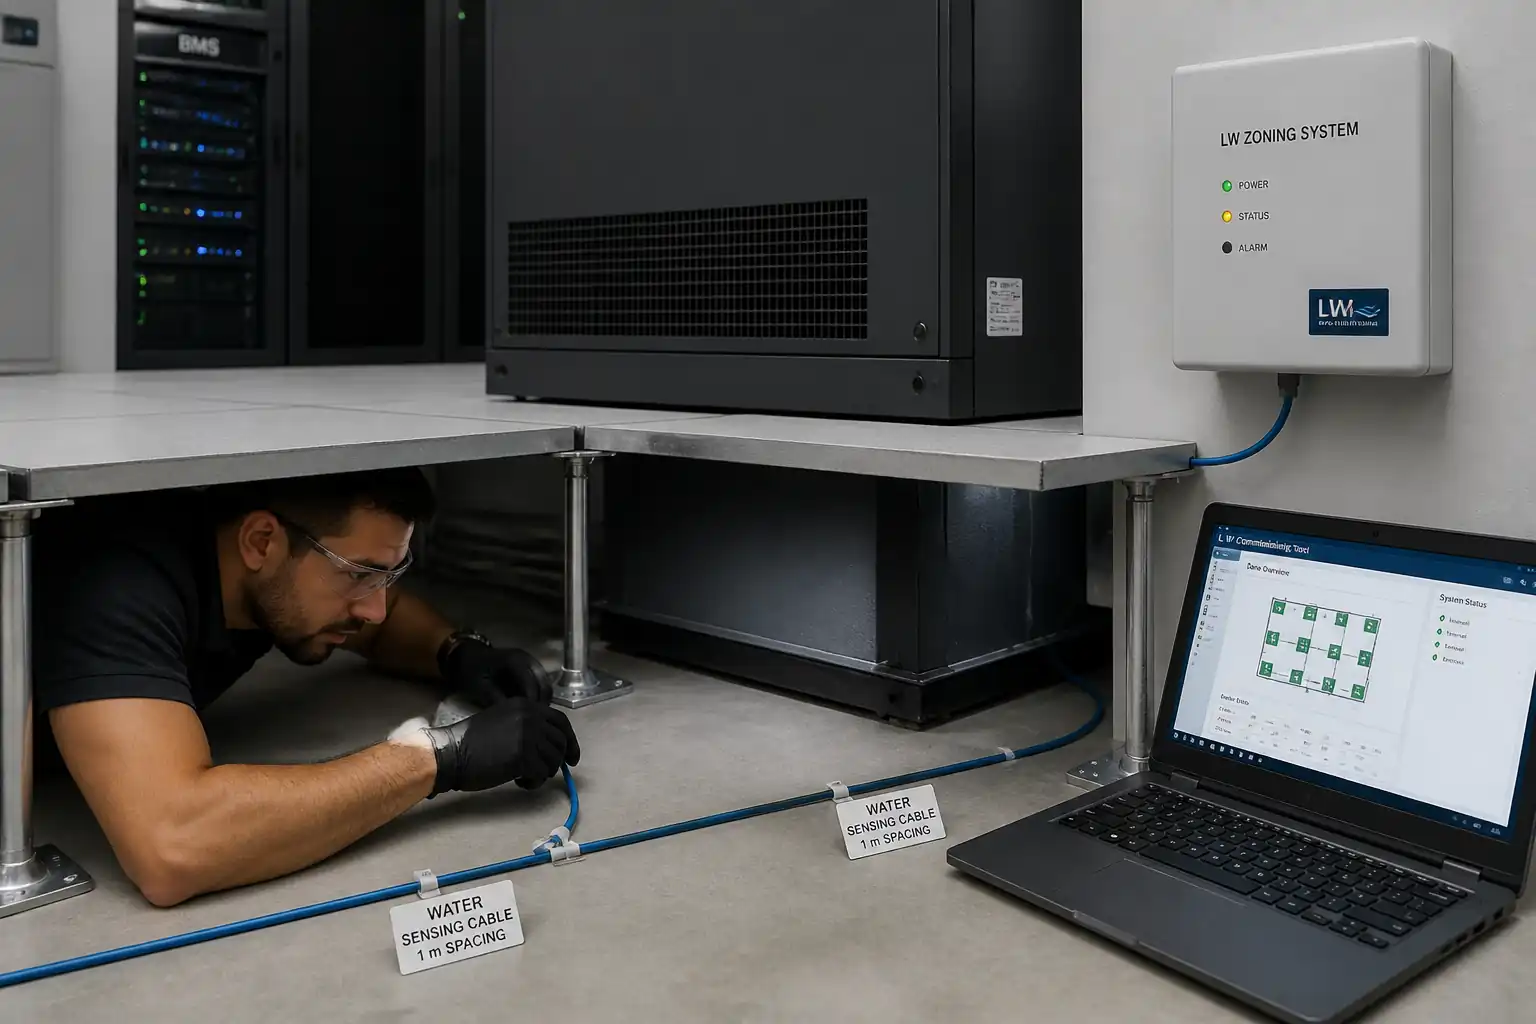
| 3 | Route survey and marking | Survey underfloor to confirm routes around water-bearing equipment and along perimeters. Maintain separation from power/EMI sources. Mark clip points at ≤1.0 m spacing and within 0.3 m of every change in direction. | Site Engineer | Yes |
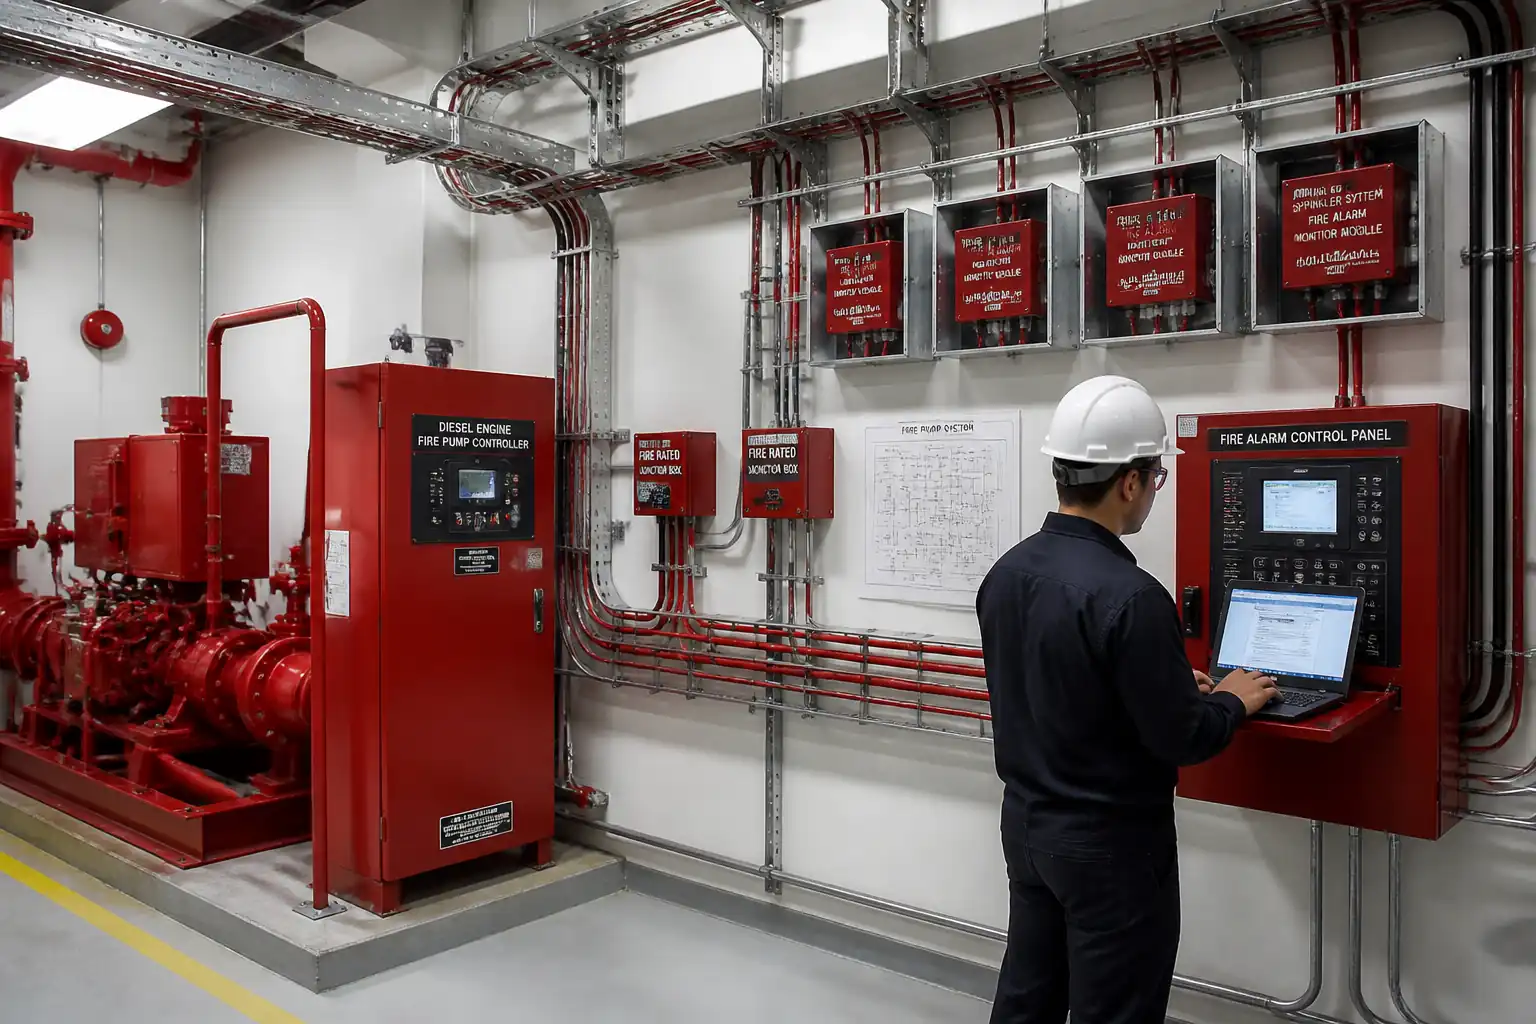
| 4 | Install controller(s) and power | Mount controllers on wall/rack at 1.4–1.6 m AFFL. Provide 24 VDC ±10% supply from UPS-backed source via dedicated 2P MCB (2–6 A) with lockable isolation and labeling. Earth/ground per code. | ELV Technician | Yes |
| 5 | Leader/jumper cable installation | Route leader cables from controller to start of sensing path using LSZH conduit/sleeving where crossing walkways. Secure at ≤1.0 m intervals; avoid strain at terminations; install grommets where penetrating panels. | ELV Technician | Yes |
| 6 | Sensing cable installation | Lay sensing cable along marked routes around risk areas (e.g., 150–300 mm offset from pipe centerlines; beneath CRAC/CRAH perimeters). Fix with clips/adhesive bases at ≤1.0 m spacing and within 0.15–0.30 m of corners. Avoid contact with sharp edges and sources of heat >60°C. Do not overtighten clips. | ELV Technician | Yes |
| 7 | End-of-line termination and labeling | Install EOL termination at cable end as per OEM. Affix permanent labels to controller, leader cables, zones, EOL points, and every 5 m chainage or at every change of direction as per project standard. | ELV Technician | Yes |
| 8 | Alarm and BMS interface wiring | Terminate dry contacts (NO/NC as specified) and/or RS-485/Ethernet to BMS/DCIM. Fit 120 Ω termination for RS-485 where required. Separate SELV from LV circuits per code; maintain identification. | ELV Technician | Yes |
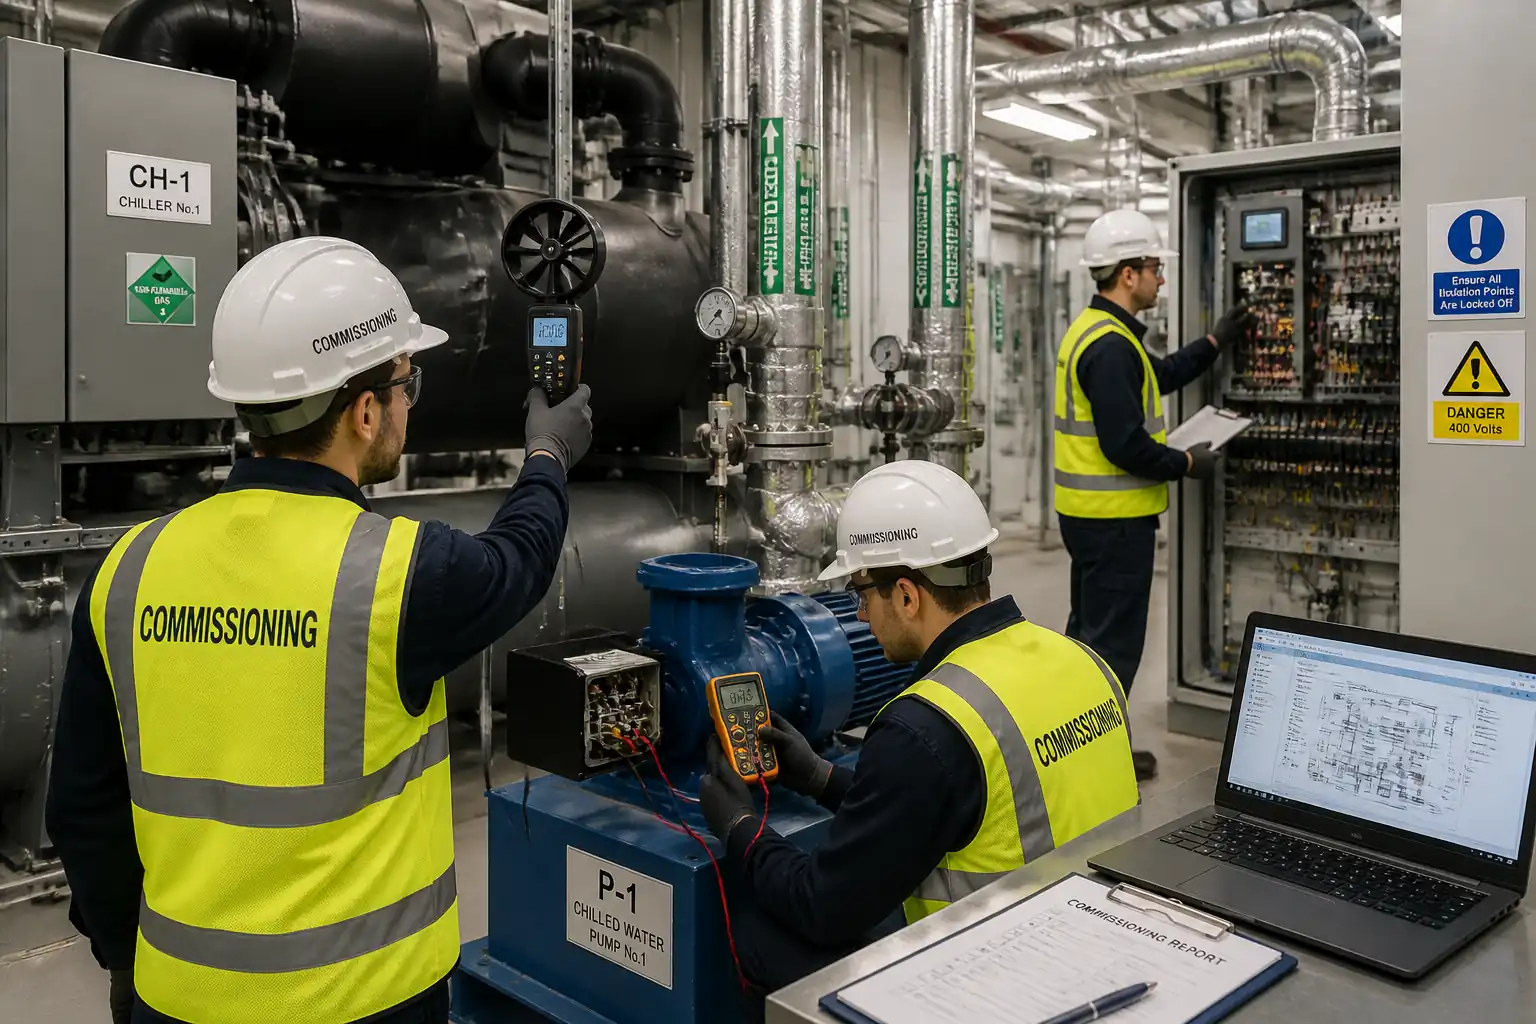
| 9 | Controller configuration and baseline | Power-up and set zones/addresses. Input cable lengths; set alarm thresholds, delays, and latching/reset behavior. Record baseline readings (capacitance/resistance/impedance as available). | Commissioning Engineer | Yes |
| 10 | Wet-cloth functional test (100% of zones) | Apply a clean, lint-free cloth moistened with potable/DI water (approx. 100×100 mm) to sensing cable at test points (start/mid/end per zone). Contact duration 5–10 s. Observe controller response and BMS annunciation. Remove cloth; dry cable; verify return-to-normal. | Commissioning Engineer | Witness |
| 11 | BMS/DCIM integration test | Trigger alarms and verify BMS/DCIM reception, correct tag, priority, and graphics. Verify latching/acknowledge/reset sequences and event logging. | Commissioning Engineer + BMS Engineer | Witness |
| 12 | As-built mapping and documentation | Capture final cable routing on floor plans with chainage every 1 m, zone boundaries, controller IDs, leader cable routes, and EOL locations. Update label schedules and O&M manuals. | Site Engineer / CAD Technician | Yes |
| 13 | Training and handover | Provide end-user training on alarm recognition, basic troubleshooting, cleaning/drying procedure, and periodic test method. Submit all records and warranties. | Project Manager / Commissioning Engineer | Yes |
Health, Safety, and Environment – Task-Specific Safety Controls
Key Hazards and Controls
- Hazard: Underfloor trip/fall and unstable raised floor tiles
- Consequence: Sprains, fractures, falling objects into plenums
- Engineering/Procedural Control: Use authorized tile lifters; replace tiles with temporary support panels or guard rails; maintain 3-point contact; limit open area; keep tools tethered.
- Required PPE: Safety shoes, gloves, eye protection
- Collective Preventive Measure: Barricades and signage around open floor areas
-
Inspection/Permit/Supervision: Daily area inspection by Site Engineer; Permit to Work approval; HSE oversight
-
Hazard: Live LV circuits during controller power-up
- Consequence: Electric shock, arc flash (low likelihood but severe consequence)
- Engineering/Procedural Control: Isolate at MCB; verify absence of voltage before termination; use SELV/PELV for controls; follow lockout/tagout (LOTO)
- Required PPE: Insulated gloves (as required), safety glasses, arc-rated PPE where justified by risk assessment
- Collective Preventive Measure: Barriers and clear labeling of energized panels
-
Inspection/Permit/Supervision: Electrical work permit; supervision by qualified technician; [Verify per project HSE plan and local regulations]
-
Hazard: Introduction of water during wet-cloth tests
- Consequence: Water ingress to live equipment, slip hazard
- Engineering/Procedural Control: Use minimal moisture on cloth; place absorbent pads and drip trays; maintain clearance from live equipment; perform tests outside energized equipment footprints where possible
- Required PPE: Nitrile gloves, safety shoes with slip-resistant soles
- Collective Preventive Measure: Secondary containment (absorbent berms); spotter monitors for drips
-
Inspection/Permit/Supervision: Test plan approved; HSE/Client witness for critical areas
-
Hazard: Contact with sharp edges/metal pedestals underfloor
- Consequence: Cuts, lacerations; cable sheath damage leading to false alarms
- Engineering/Procedural Control: Deburr edges; use grommets/bushings; route away from sharp corners
- Required PPE: Cut-resistant gloves, long sleeves
- Collective Preventive Measure: Pre-task inspection and marking of hazards
-
Inspection/Permit/Supervision: QA/QC to verify protection at penetrations
-
Hazard: Poor ergonomics and constrained postures in underfloor space
- Consequence: Strains, MSDs, dropped objects
- Engineering/Procedural Control: Use kneeling mats; rotate tasks; plan short-duration access; use tool pouches
- Required PPE: Knee protection, gloves
- Collective Preventive Measure: Work-rest cycles and team handling for reels
-
Inspection/Permit/Supervision: HSE to monitor duration and posture risks
-
Hazard: Interaction with existing critical ICT/MEP services
- Consequence: Service interruption, overheating if airflow paths blocked
- Engineering/Procedural Control: Maintain airflow paths; do not cover perforated tiles; coordinate with FM on CRAC/CRAH clearances; no storage underfloor
- Required PPE: Standard site PPE
- Collective Preventive Measure: Change-control approvals; spotter to maintain equipment clearances
-
Inspection/Permit/Supervision: FM/BMS presence during critical works; adherence to MOP
-
Hazard: Static discharge (ESD) near sensitive electronics
- Consequence: Equipment damage or latent faults
- Engineering/Procedural Control: Use anti-static mats/wrist straps when handling electronic modules; maintain humidity per site standard
- Required PPE: ESD wrist strap as needed
- Collective Preventive Measure: ESD-safe work area setup
-
Inspection/Permit/Supervision: Supervisor to verify ESD controls in place
-
Hazard: Housekeeping and FOD (foreign object debris)
- Consequence: Trip hazards, blockage of airflow
- Engineering/Procedural Control: Clean-as-you-go; HEPA vacuum; containerize offcuts and packaging immediately
- Required PPE: Safety shoes, gloves
- Collective Preventive Measure: Daily housekeeping audit
-
Inspection/Permit/Supervision: HSE walkdowns; close-out photos before tile reinstatement
-
Note: Where exact controls depend on local law or project HSE plan, apply: [Verify per project HSE plan and local regulations]
Environmental Controls
- Spill Prevention: Use minimal water for testing; place absorbent pads and drip trays. Keep spill kits within 10 m. Prohibit wet testing directly above live switchgear.
- Waste Management: Collect cable offcuts, backing strips, used cloths, and packaging in segregated containers. Dispose per site waste plan (plastic, metal, general). Maintain waste transfer notes. [Verify per project EMS]
- Adhesives and VOCs: Use low-VOC, LSZH adhesives suitable for indoor ICT spaces. Ensure adequate ventilation; cap adhesives immediately after use.
- Noise and Vibration: Limit to hand tools; schedule any drilling during approved hours; use vibration-dampened tools.
- Dust Control: Use HEPA vacuum; avoid sweeping. Reinstall tiles promptly to protect airflow and cleanliness.
- Energy and Power: Use UPS-backed circuits efficiently; de-energize tools when not in use; switch off temporary lighting when leaving.
- Environmental Incidents: Report and log any spill, leak, or waste nonconformance immediately; implement corrective actions.
Quality Assurance / Quality Control
QA Inputs
- Approved submittals: Controllers, sensing/leader cables, EOL kits, labels, and accessories.
- OEM installation manuals and configuration guides.
- Calibrated test instruments and signed ITP.
Installation Quality Requirements
- Cable Routing: Clip spacing ≤1.0 m; bend radius ≥ 5× cable OD; avoid sharp edges; separation from power cables ≥50 mm (cross at 90°). [Verify per project]
- Placement: Route within 150–300 mm from water-bearing equipment and pipe centerlines unless otherwise detailed. Avoid areas subject to constant condensation unless OEM-approved.
- Identification: Labels on controllers, cables, zones, EOLs, at ~5 m intervals and direction arrows at each turn. Tagging per project standard.
- Controller Mounting: Height 1.4–1.6 m AFFL; clearances ≥150 mm; terminals torqued per OEM (typ. 0.4–0.6 Nm) [Verify per OEM].
Testing and Acceptance
- 100% zone functional testing with wet cloth at start/mid/end of each zone.
- Alarm Response: ≤60 s to alarm; correct zone annunciation. For locating systems: distance accuracy within ±1 m or ±2% of zone length (greater governs). [Verify per OEM/project]
- BMS Integration: All points mapped; correct descriptors, priorities, and graphics; event logging verified.
- Restoration: System returns to normal within ≤5 min after drying; no latent faults.
Documentation
- As-built floor plans with chainage every 1 m; zone boundaries; controller addresses; leader and EOL locations.
- Test sheets, baseline readings, photos before tile reinstatement, calibration certificates.
- O&M manuals, warranty documents, and training records.
Nonconformance and Corrections
- Record any false alarms, mislabeling, or failed tests as NCRs; rectify routing, terminations, or configuration; re-test affected zones (100%).
Special Note
- Do not perform insulation resistance testing on sensing cables unless OEM explicitly authorizes a method and voltage.
Attachments
- Approved shop drawings and cable routing plans.
- OEM data sheets and installation/operation manuals for controllers and sensing cables.
- Label schedule and tag numbering convention.
- Pre-start checklist, permits, and toolbox talk records.
- In-process inspection checklists and photo documentation.
- Functional test sheets (wet-cloth tests) with timestamps and results.
- BMS/DCIM point list, integration matrix, and test reports.
- As-built floor plans (PDF and CAD) with chainage, zones, controller IDs, leader routes, and EOLs.
- Calibration certificates for test instruments.
- Training materials, attendance records, warranty and O&M manuals.
This content is a read-only public reference. Download or customize to get an editable version.
ITP preview
The first inspection activities from the linked ITP for Method Statement: Water Leak Detection System Installation for Data Center Raised Floors:
| Activity | Inspection / Test | Acceptance Criteria | Responsibility | Record |
|---|---|---|---|---|
| Pre-start documentation and permits | Review and verify permits, MOP, drawings, material approvals | All approvals in place; risk assessment communicated; toolbox talk conducted | Project Manager / HSE | Pre-start checklist, permits, TBT record |
| Material delivery inspection | Visual inspection, model verification vs. submittals | Correct models; no damage; certificates available | QA/QC Engineer | Material inspection report, photos |
| Underfloor route readiness | Check cleanliness, obstructions, airflow paths, and tile support | Area clean; safe access; airflow not obstructed | Site Engineer / HSE | Area readiness checklist |
Showing 3 of 10 inspection activities. View full ITP →
Related Inspection and Test Plan
An Inspection and Test Plan (ITP) is available for Method Statement: Water Leak Detection System Installation for Data Center Raised Floors. The ITP defines the inspection activities, acceptance criteria, hold and witness points, responsible parties, and records required to verify the work described in this method statement.
View the Method Statement: Water Leak Detection System Installation for Data Center Raised Floors ITP →Frequently asked questions
Continue with related Quollnet resources connected to this method statement.