G
Guest

Instruction complémentaire de l’architecte AIA (ASI) – formulaire gratuit et conseils d’utilisation

Téléchargez notre formulaire gratuit d’instruction complémentaire de l’architecte AIA (ASI). Apprenez à l’utiliser pour des changements mineurs sans impact sur coût ou délai.

Instruction complémentaire de l’architecte AIA (ASI) – formulaire gratuit et conseils d’utilisation
French version

Instruction complémentaire de l’architecte AIA (ASI) – formulaire gratuit et conseils d’utilisation


Introduction

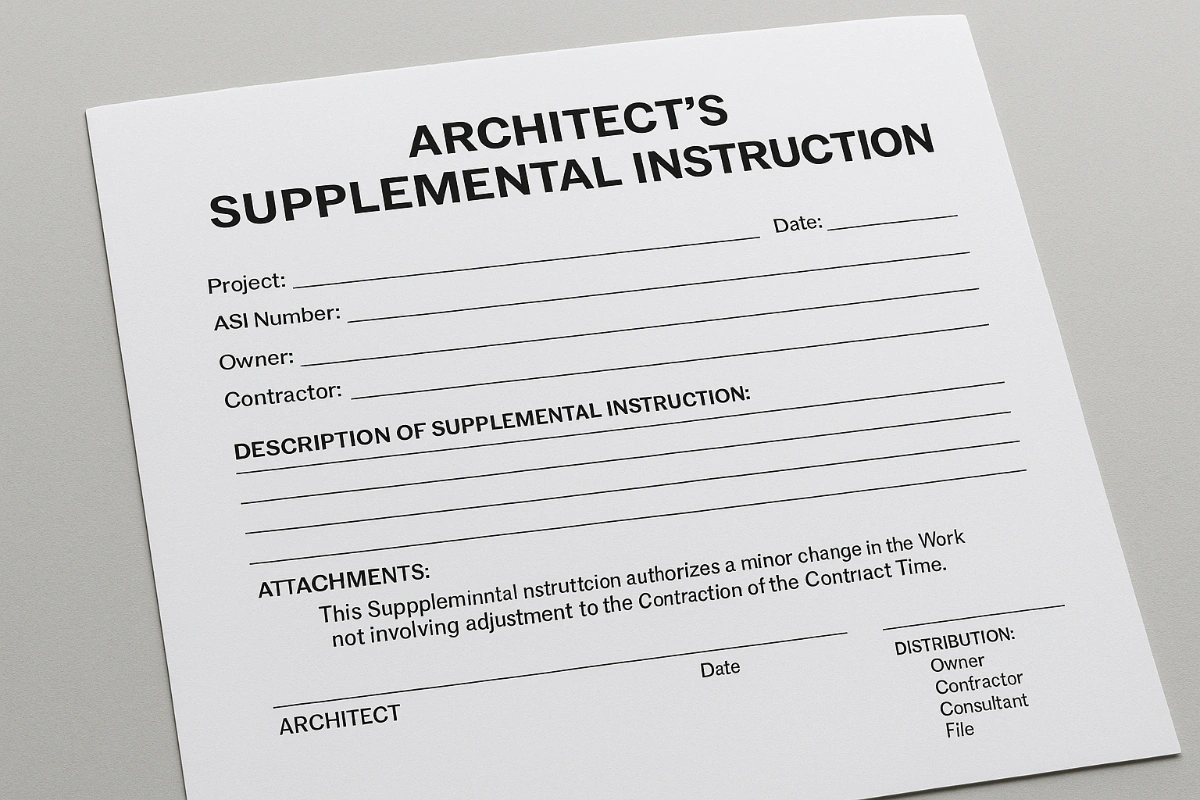
Dans le cadre des AIA A201 – Conditions générales du contrat de construction, une instruction complémentaire de l’architecte (ASI) permet à l’architecte d’autoriser une modification mineure des travaux qui n’affecte pas le montant du contrat ni le délai contractuel.

Comme les ASI ne s’appliquent qu’aux changements sans coût et sans incidence sur le délai, elles sont souvent utilisées pour des clarifications, de petits ajustements ou des corrections mineures. Si l’entrepreneur estime qu’une ASI aura un impact sur le coût ou le délai, elle doit être convertie en Construction Change Directive (CCD) ou en ordre de changement.

Ce mini-guide se concentre sur le formulaire AIA ASI disponible en téléchargement gratuit sur Quollnet, et montre comment l’utiliser efficacement dans vos projets.

Télécharger le formulaire AIA ASI – PDF, Excel, WebP


Objet du formulaire ASI

Le formulaire ASI fournit une méthode standardisée pour émettre des instructions qui :

  • Clarifient les détails de conception sans modifier le prix ni le planning.

  • Conservent une trace écrite des ajustements mineurs.

  • Garantissent que toutes les parties concernées (Maître d’ouvrage, Entrepreneur, Consultants) sont informées.


Quand utiliser une ASI

Exemples de situations valables pour une ASI :

  • Ajustements mineurs de dimensions.

  • Clarifications sur les finitions, les couleurs ou les matériaux.

  • Détails supplémentaires pour une conception déjà approuvée.

  • Correction d’erreurs non critiques dans les plans/spécifications.

Si une modification proposée affecte le coût ou le planning — même légèrement — elle ne doit pas être émise sous forme d’ASI. Utilisez plutôt une CCD ou un ordre de changement.

Pour un contexte plus large sur les instructions en construction, consultez notre Guide complet des instructions de chantier.


Comment remplir le formulaire ASI

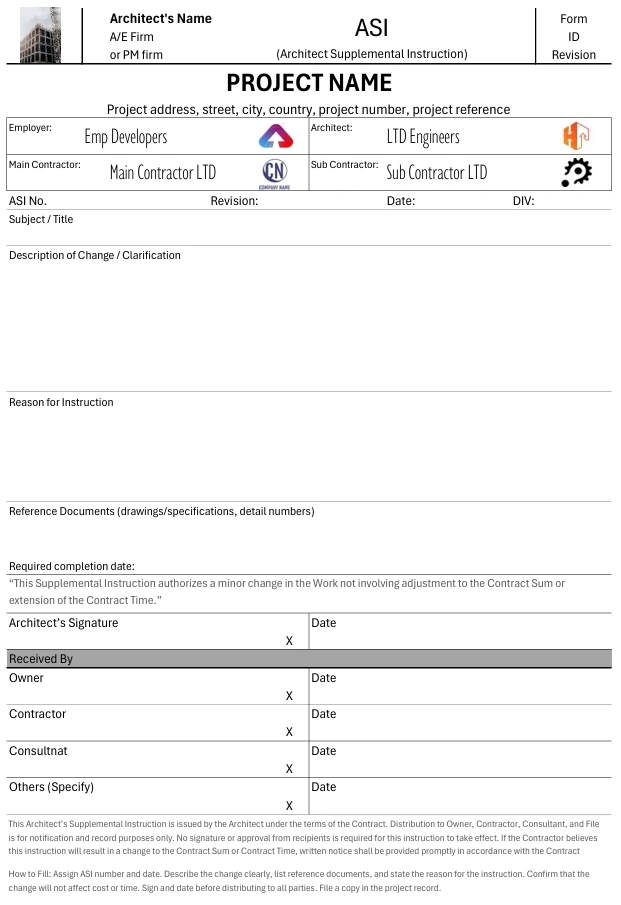
En-tête :

  • Nom et numéro du projet.

  • Noms du Maître d’ouvrage, de l’Entrepreneur et de l’Architecte.

  • Numéro et date de l’ASI.

Détails de l’instruction :

  • Description du changement/de la clarification.

  • Documents de référence (plans, spécifications, RFIs).

  • Motif de l’instruction.

Déclaration d’autorisation :

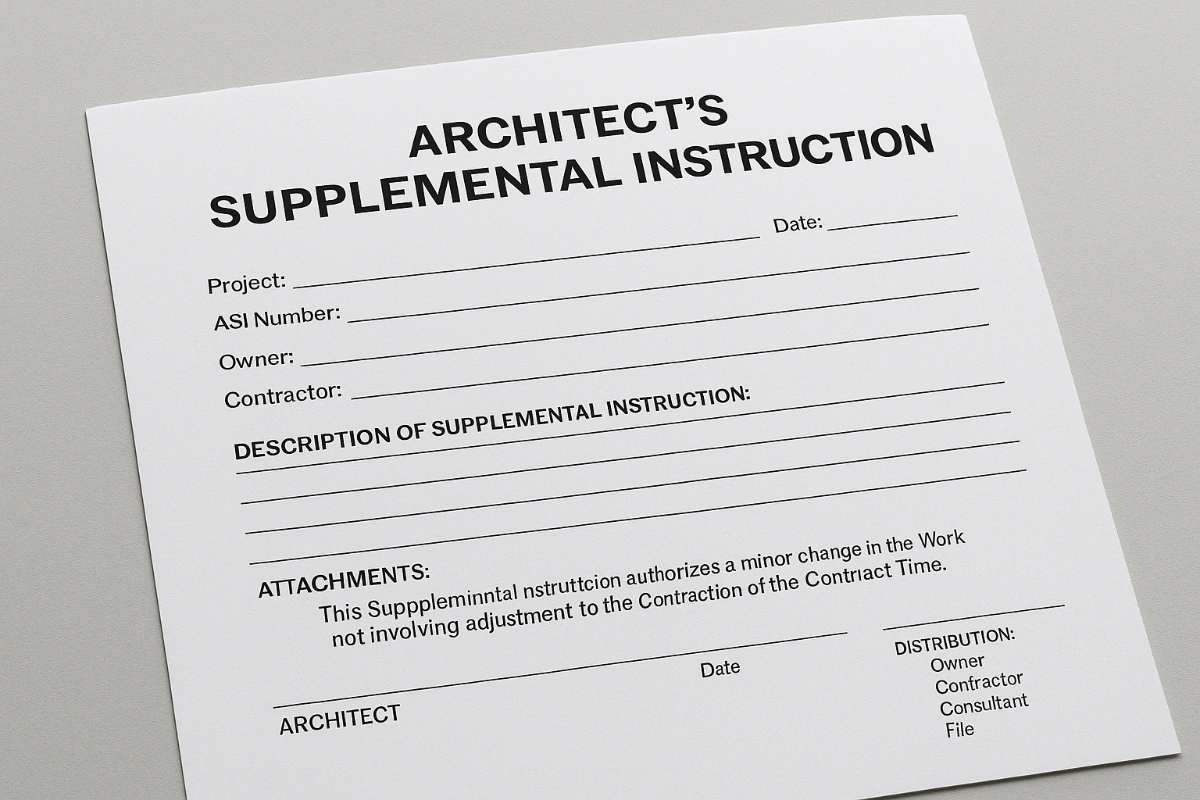
« Cette instruction complémentaire autorise une modification mineure des travaux n’impliquant aucun ajustement du montant du contrat ni prolongation du délai contractuel. »

Signatures et diffusion :

  • Signature et date de l’Architecte.

  • Liste de diffusion (Maître d’ouvrage, Entrepreneur, Consultants, Dossier).


Bonnes pratiques pour utiliser les ASI

  1. Confirmer l’absence d’impact sur le coût et le délai avant émission.

  2. Décrire clairement les changements pour éviter toute ambiguïté.

  3. Inclure des références aux plans/spécifications pertinents.

  4. Tenir un registre des ASI pour suivre toutes les instructions émises.

  5. Assurer une diffusion rapide à toutes les parties concernées.


Télécharger le formulaire

Télécharger le formulaire AIA ASI – PDF
Télécharger le formulaire AIA ASI – Excel
Télécharger le formulaire AIA ASI – WebP


Lectures associées

Hana Kim's photo
Hana Kim
@WaterSenseHana
Aug 30, 2026
0
0
1
1

Related Checklists


Inspect precast façade joints, shims, packers after erection
✅ 27 items
Inspect precast façade panel joints, shims, and packers after erection to confirm that each panel-to-panel interface is uniform, supported, and ready for sealing. This post-erection inspection targets precast cladding panels and focuses on joint geometry, shim stacks, and packers at bearing and restraint points. By validating joint widths, offsets, and movement allowances, you reduce risks of water ingress, façade cracking, noise transmission, and premature sealant failure. Verifying approved shim and packer materials, stack heights, and bearing contact prevents point-loading and corner spalls, while confirming backer rod sizing and drainage paths preserves long-term performance. The checklist stays strictly within joints, shims, and packers—no sealant application or structural fixings commissioning beyond their impact on joint function. Use the steps to capture measurements, photos with scales, product lot numbers, and sign-offs per approved project specifications and authority requirements. Start interactive mode to tick items, add comments, and export your record as PDF/Excel with a secure QR.
Repair Driven Pile Heads/Splices: Weld, QA and Coating
✅ 22 items
Repair driven pile heads/splices is a focused jobsite process to restore integrity of driven steel pile heads and welded splices after driving. This checklist addresses pile head repair, pile splice welding, weld rectification, protective coating application, and QA records. It explicitly excludes driving logs and production data, concentrating instead on defect identification, alignment and fit-up, qualified welding, nondestructive testing, and corrosion protection. By following these steps, teams reduce structural risk from crack propagation, misalignment, and coating failure, while creating a defensible audit trail. Each instruction pairs a method or tool with acceptance evidence—measurements in millimetres, temperature readings, NDT reports, coating thicknesses, photos, material heat numbers, and signatures—per approved project specifications and authority requirements. Use this checklist to organize work zones, capture approvals, and prevent rework, ensuring consistent, traceable repairs that stand up to independent review. Start in interactive mode to tick tasks, add comments, and export PDF/Excel with a secure QR for field sign-off.
Inspect Façade Final Cleaning & Protective Film Removal
✅ 26 items
Inspect façade final cleaning and protective film removal is the final quality gate before handover. This checklist guides façade inspectors, contractors, and facility representatives through safe, consistent removal of temporary protective films, followed by residue treatment and spotless final cleaning. It covers glass, coated aluminum, and composite cladding surfaces, ensuring methods align with manufacturer data sheets and approved project specifications and authority requirements. By structuring access controls, weather checks, peel techniques, adhesive remover dwell times, deionized-water rinsing, and squeegee finishing, you avoid common risks such as scratching, chemical staining, sealant swelling, trapped debris, and irreversible coating damage. Acceptance cues use practical tolerances like lighting levels (lux), viewing distances, peel angles, and solution mix ratios so decisions are objective and defensible. Outcomes include a uniformly clean façade, zero visible residue, and a verified record of materials and conditions. Start in interactive mode to tick items, add comments, upload photos, and export PDF/Excel via a secure QR.
Inspect façade thermal bridge treatment and insulation continuity
✅ 24 items
Inspect façade thermal bridge treatment and insulation continuity is a focused quality assurance activity that confirms continuous insulation and effective thermal breaks across the building envelope. This checklist supports façade insulation continuity checks, thermal bridging mitigation, and thermal break inspection at slabs, anchors, parapets, openings, and penetrations. The scope covers material verification, substrate readiness, installation tolerances, air/vapour barrier interfaces, and evidence capture. It excludes detailed structural, fire-stopping, or acoustic performance reviews beyond what affects thermal continuity. Getting this right prevents cold spots, interstitial condensation, mould risk, and energy waste while delivering predictable U-values and occupant comfort. You will confirm drawings and submittals, measure thicknesses, control jointing and fastener layouts, test adhesion and airtight transitions, and document compliance with photos, readings, and signatures per approved project specifications and authority requirements. Use this interactive checklist to tick items, add comments with location tags, and export your records to PDF/Excel; a QR code secures traceability on site.
Retaining wall stem reinforcement (vertical) inspection
✅ 24 items
Retaining wall stem reinforcement (vertical) inspection confirms the vertical rebar is installed to the approved drawings before any concrete is placed. This focused checklist supports vertical rebar checking, retaining wall steel fix inspection, and bar spacing and cover checks on the stem only, excluding concreting. You will verify bar sizes and spacing, concrete cover using spacers and a covermeter/template, lap splice lengths or couplers, and detailing around openings and embedded items. By capturing measurements, photos, and approvals, you reduce risks of inadequate cover, misaligned bars, insufficient development, congestion at openings, and costly rework. The outcome is a compliant, durable stem that accepts formwork and subsequent concreting without clashes, while meeting the approved project specifications and authority requirements. Use this as a hold‑point inspection: measure, mark any corrections, and record evidence for quality assurance. Start the interactive mode to tick items, leave comments for the steel fixer, and export your completed record to PDF/Excel with a secured QR code.

Related Articles


Request For Inspection For Contractors
⏳ 2 min read
Demande D'inspection Pour Les Entrepreneurs
Téléchargez gratuitement des formulaires de demande d'inspection professionnels / modèles pour les projets de construction aux formats Word, PDF et Excel. Parfaits pour les entrepreneurs, consultants et sous-traitants, ces modèles garantissent la conformité et les processus d'inspection. Gratuits et personnalisables ! Vous n'avez pas besoin de vous inscrire
Site Instructions Construction Legal And Forms
⏳ 6 min read
Instructions De Chantier En Construction : Guide Juridique Et Modèles
Découvrez la portée juridique des instructions de chantier (ingénieur, architecte, PM, ASI, ordres de travail) selon FIDIC, JCT, NEC et AIA, avec modèles gratuits.
Aia Architects Supplemental Instruction Form
⏳ 2 min read
Aia Architect’s Supplemental Instruction (asi) – Free Form And Usage Tips
Download our free AIA Architect’s Supplemental Instruction (ASI) form. Learn how to use it for minor changes with no cost/time impact, per AIA contracts.
Fidic Site Instruction Form Download Usage
⏳ 3 min read
Formulaire D’instruction De Chantier Fidic – Téléchargement Gratuit Et Conseils D’utilisation
Téléchargez gratuitement notre formulaire d’instruction de chantier FIDIC. Apprenez à l’utiliser dans toute édition FIDIC, à suivre les variations et à prévenir les litiges.
Can Ncr Lead To Termination
⏳ 8 min read
Un Ncr Peut-il Entraîner Une Résiliation ? Le Risque Caché Derrière Le « Notice To Correct »
Un NCR ne résilie pas un contrat à lui seul, mais il peut fonder un défaut si un Notice to Correct/Cure est émis puis ignoré. Comprenez la chaîne NCR→notice→défaut.