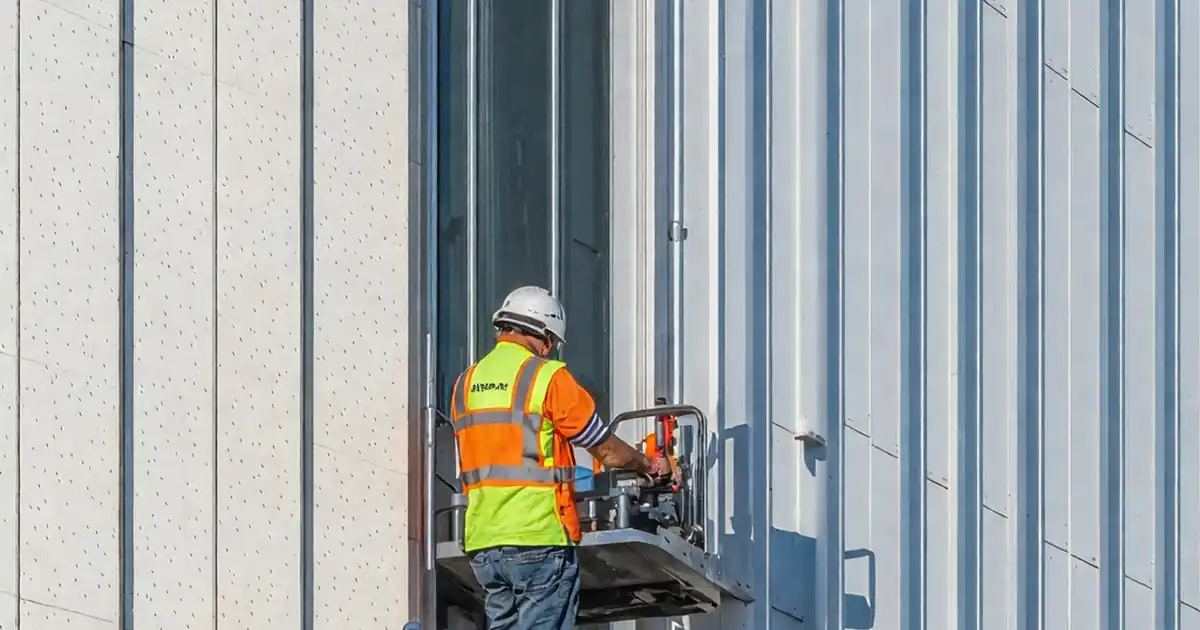
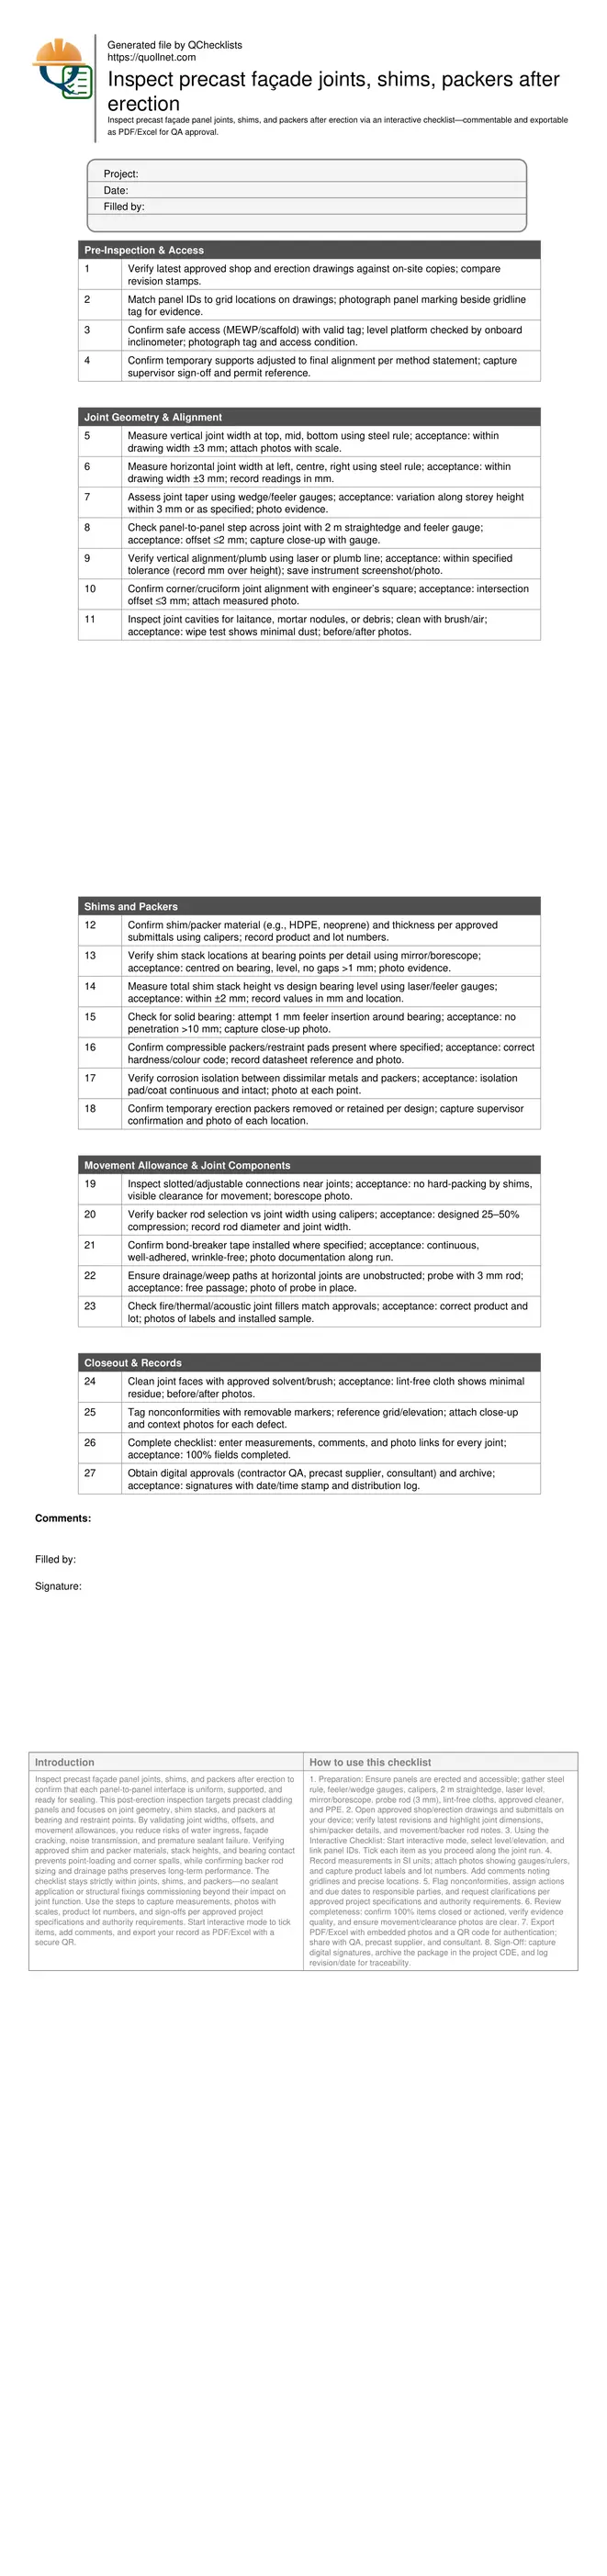
Inspect precast façade panel joints, shims, and packers after erection
Definition: Inspect precast façade panel joints, shims, and packers after erection to verify joint geometry, bearing, and movement allowances for building envelopes, intended for site engineers, QA/QC inspectors, and precast installers.
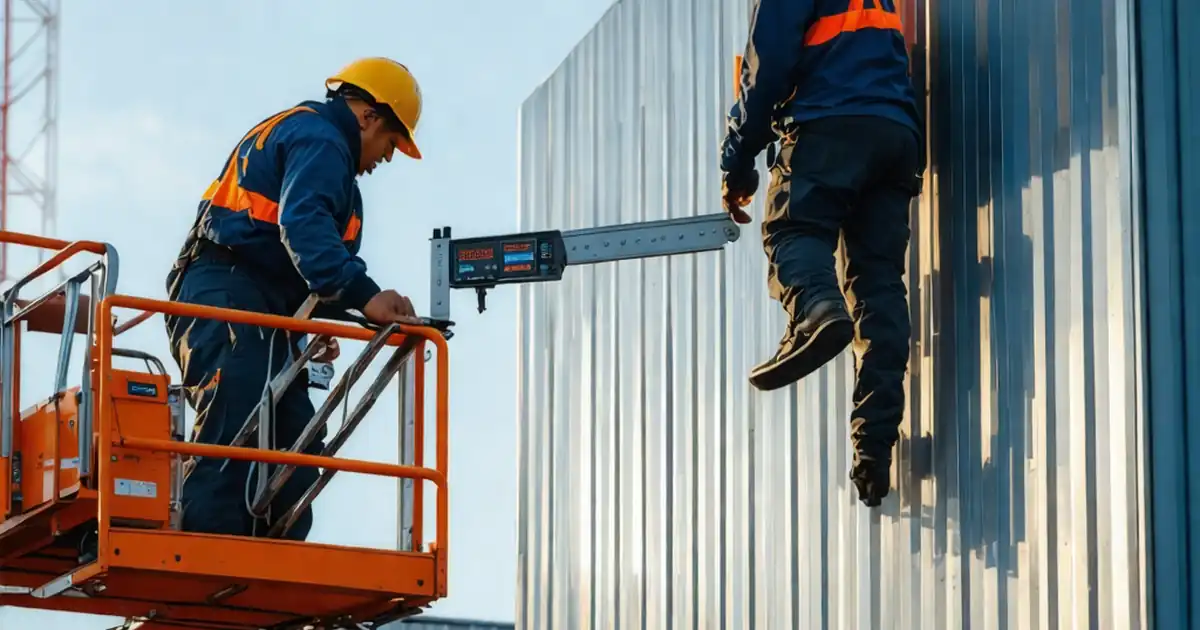
- Measure joint widths and offsets with gauges and laser tools.
- Verify shim stacks, packers, and bearing levels match approvals.
- Confirm movement allowance, backer rods, and drainage continuity.
- Interactive, commentable checklist; export to PDF/Excel with QR code.
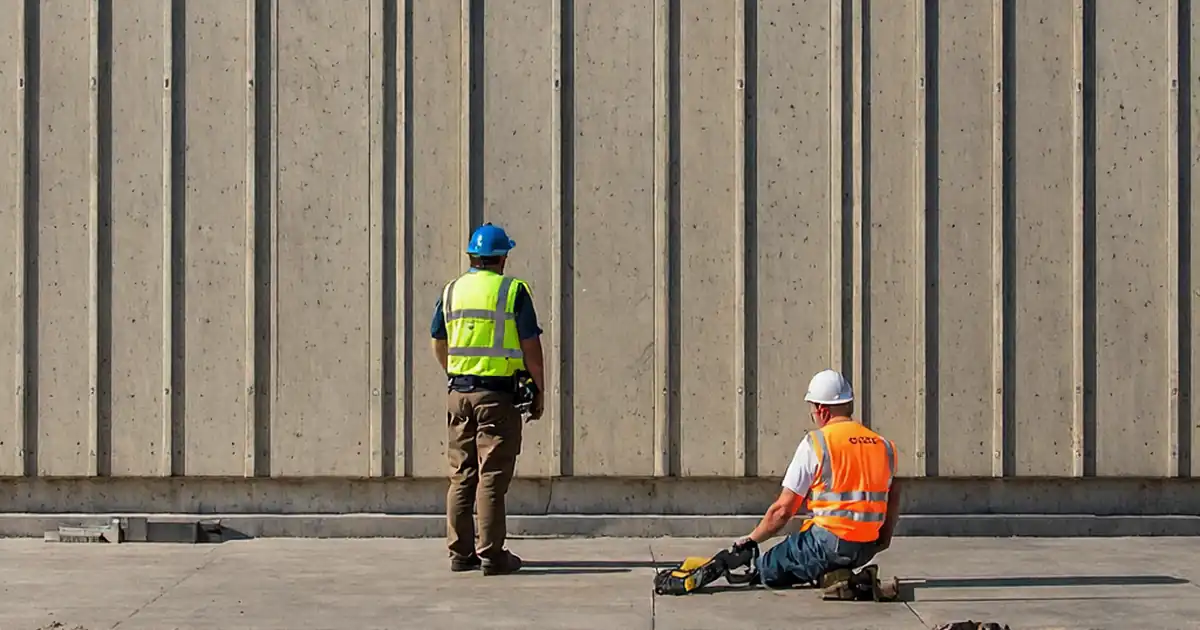
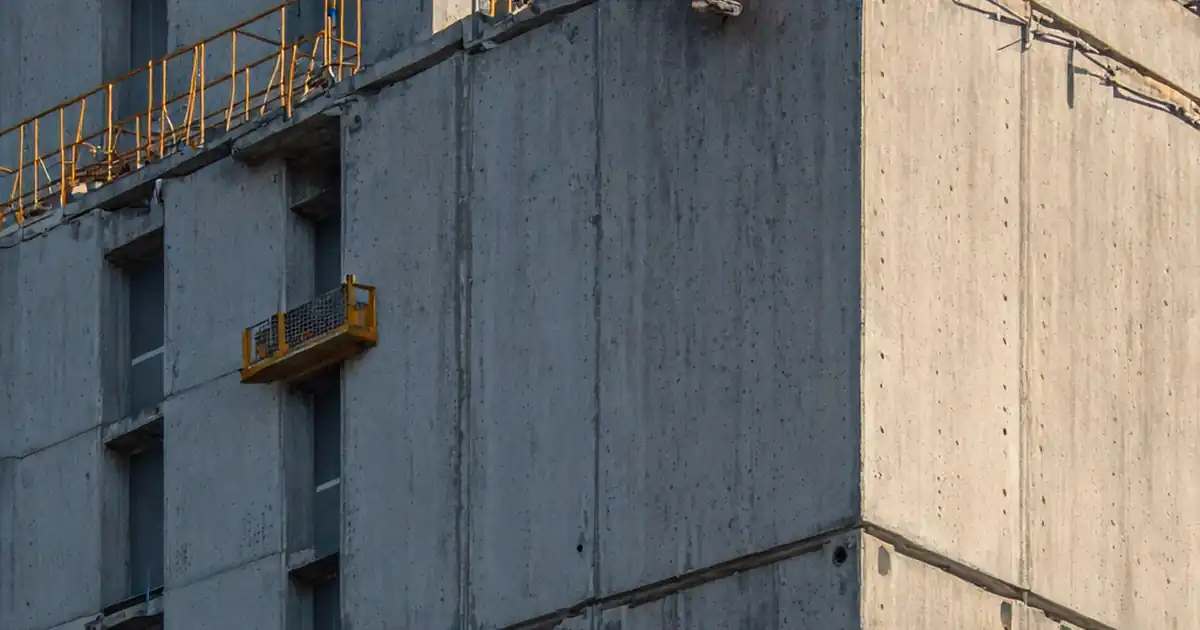
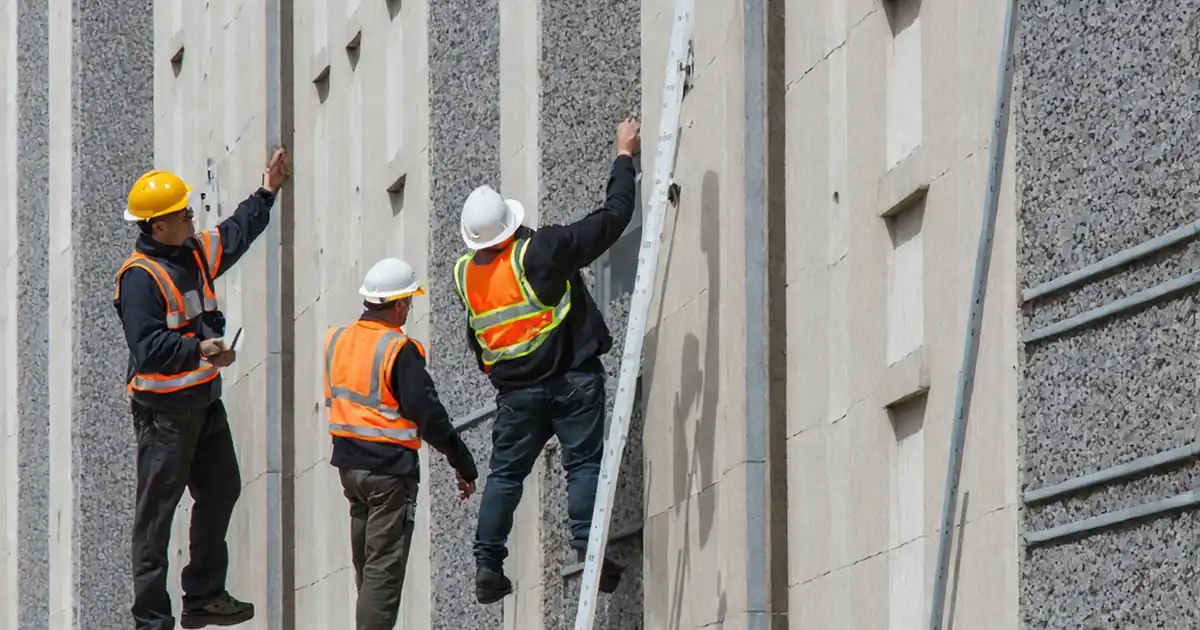
Inspect precast façade panel joints, shims, and packers after erection to confirm that each panel-to-panel interface is uniform, supported, and ready for sealing. This post-erection inspection targets precast cladding panels and focuses on joint geometry, shim stacks, and packers at bearing and restraint points. By validating joint widths, offsets, and movement allowances, you reduce risks of water ingress, façade cracking, noise transmission, and premature sealant failure. Verifying approved shim and packer materials, stack heights, and bearing contact prevents point-loading and corner spalls, while confirming backer rod sizing and drainage paths preserves long-term performance. The checklist stays strictly within joints, shims, and packers—no sealant application or structural fixings commissioning beyond their impact on joint function. Use the steps to capture measurements, photos with scales, product lot numbers, and sign-offs per approved project specifications and authority requirements. Start interactive mode to tick items, add comments, and export your record as PDF/Excel with a secure QR.
- Systematic post-erection checks of precast façade joints, shims, and packers ensure correct joint width, alignment, bearing, and movement allowances before sealing. The process reduces leakage, spalling, and rework by capturing field measurements, photographic evidence, and approvals tied to grid locations.
- Acceptance cues are practical and measurable: joint width within drawing tolerances, panel-to-panel step limited, verified shim stack heights and solid bearing, correct backer rod compression, and clear drainage. Each instruction specifies method, tools, and evidence required for reliable sign-off.
- Interactive online checklist with tick, comment, and export features secured by QR code. Field teams attach photos with rulers, record lot numbers, and request clarifications, creating a traceable as-built record synchronized with approved drawings and revision controls for fast closeout.
- Focused scope on joints, shims, and packers after erection avoids overlap with unrelated systems. The checklist aligns with approved project specifications and authority requirements, helping teams prevent costly remedial works and improving façade durability, weatherproofing, and aesthetic uniformity.
Pre-Inspection & Access
Joint Geometry & Alignment
Shims and Packers
Movement Allowance & Joint Components
Closeout & Records
Why joint geometry and alignment must be verified post-erection
Uniform joint geometry governs sealant performance, drainage, and visual continuity. After erection, measure vertical and horizontal joint widths at multiple points to confirm compliance with approved shop drawings. Check panel-to-panel step with a 2 m straightedge and feeler gauges to avoid sharp offsets that telegraph through sealant or trap water. Use a laser or plumb line to verify verticality so cumulative tolerances do not stack and force rework at higher levels. Clean joint cavities of laitance or debris that can obstruct backer rods or drainage paths. Corner and cruciform joints deserve particular attention because misalignment is highly visible and can split sealant beads under movement. Document readings in millimetres and include photos with a physical scale. This evidence-based approach de-risks water ingress, aesthetic mismatch, and premature sealant failure, and it provides a defensible record for closeout per approved project specifications and authority requirements.
- Measure joint widths at three points per joint run.
- Limit panel step across joints to tight, specified tolerances.
- Verify plumb and line to prevent cumulative drift.
- Clean cavities to support backer rod and drainage.
Shims and packers: bearing, materials, and movement
Shims and packers transfer loads and set final elevations, so their material, arrangement, and bearing quality are critical. Confirm approved materials (e.g., HDPE, neoprene) and thicknesses by caliper and submittal check. At bearing points, stacks must be centred, level, and provide solid contact; attempt to insert a 1 mm feeler to identify voids that cause point-loading and spalls. Measure total stack height to maintain design bearing level within tight tolerances. Where required, compressible restraint packers and isolation pads prevent corrosion and allow movement. Avoid hard-packing slotted connections; movement clearance must remain visible. Validate backer rod sizing for 25–50% compression so sealant can move without tearing. Finally, confirm drainage or weep continuity in horizontal joints. Record photos of stacks, labels, and gauges, plus lot numbers, to tie each bearing location to traceable evidence.
- Record material types, colours, and lot numbers.
- Centre and level shim stacks at every bearing.
- Test for solid bearing with a 1 mm feeler.
- Maintain movement clearance at slotted details.
- Size backer rods for correct compression.
Evidence, acceptance cues, and closeout essentials
Strong documentation accelerates approvals and prevents disputes. Photograph each measurement with a visible scale and note the exact gridline/elevation. Attach product labels and datasheets for backer rods, packers, and fillers. Acceptance cues include joint widths within drawing tolerances, panel step limited to tight millimetre values, shim stack heights within ±2 mm of design, no voids at bearing, and continuous bond-breaker tape where specified. Use a 3 mm probe to confirm horizontal drainage continuity. Mark nonconformities with removable tags, reference drawing coordinates, and issue actions with target dates. Capture digital signatures from QA, the precast supplier, and the consultant. Export a consolidated PDF/Excel with embedded photos and a QR code linking to the authenticated record. This traceable workflow establishes a clear chain of evidence per approved project specifications and authority requirements.
- Photograph readings with a ruler or gauge in frame.
- Reference gridlines and elevations for every entry.
- Export a QR-secured PDF/Excel package.
- Collect digital signatures for closeout.
How to execute and close out this interactive inspection
- Preparation: Ensure panels are erected and accessible; gather steel rule, feeler/wedge gauges, calipers, 2 m straightedge, laser level, mirror/borescope, probe rod (3 mm), lint-free cloths, approved cleaner, and PPE.
- Open approved shop/erection drawings and submittals on your device; verify latest revisions and highlight joint dimensions, shim/packer details, and movement/backer rod notes.
- Using the Interactive Checklist: Start interactive mode, select level/elevation, and link panel IDs. Tick each item as you proceed along the joint run.
- Record measurements in SI units; attach photos showing gauges/rulers, and capture product labels and lot numbers. Add comments noting gridlines and precise locations.
- Flag nonconformities, assign actions and due dates to responsible parties, and request clarifications per approved project specifications and authority requirements.
- Review completeness: confirm 100% items closed or actioned, verify evidence quality, and ensure movement/clearance photos are clear.
- Export PDF/Excel with embedded photos and a QR code for authentication; share with QA, precast supplier, and consultant.
- Sign-Off: capture digital signatures, archive the package in the project CDE, and log revision/date for traceability.
Call to Action
- Start Checklist Tick off tasks, leave comments on items or the whole form, and export your completed report to PDF or Excel—with a built-in QR code for authenticity.
- Download Excel - Precast Façade Joint, Shim, and Packer Inspection
- Download PDF - Precast Façade Joint, Shim, and Packer Inspection
- View Image - Precast Façade Joint, Shim, and Packer Inspection
Cite & Embed
“Precast Façade Joint, Shim, and Packer Inspection by Quollnet”
with a link to
this source page.

FAQ
Question: When should I inspect precast façade joints, shims, and packers after erection?
Question: What tolerances are typical for joint width and panel step across joints?
Question: How do I check shim stacks and packers that are hard to see?
Question: What evidence should I capture for a defensible closeout?
Question: How should I address deviations found during inspection?
Related Articles
Broader reading and guidance connected to this checklist topic.

Plasticizers And Superplasticizers: How They Affect Concrete Slump


How To Create Your First Sang In 4 Easy Steps
Download Excel Format Snag List

Related Checklists
Keep the workflow moving with nearby templates chosen from similar checklist content.