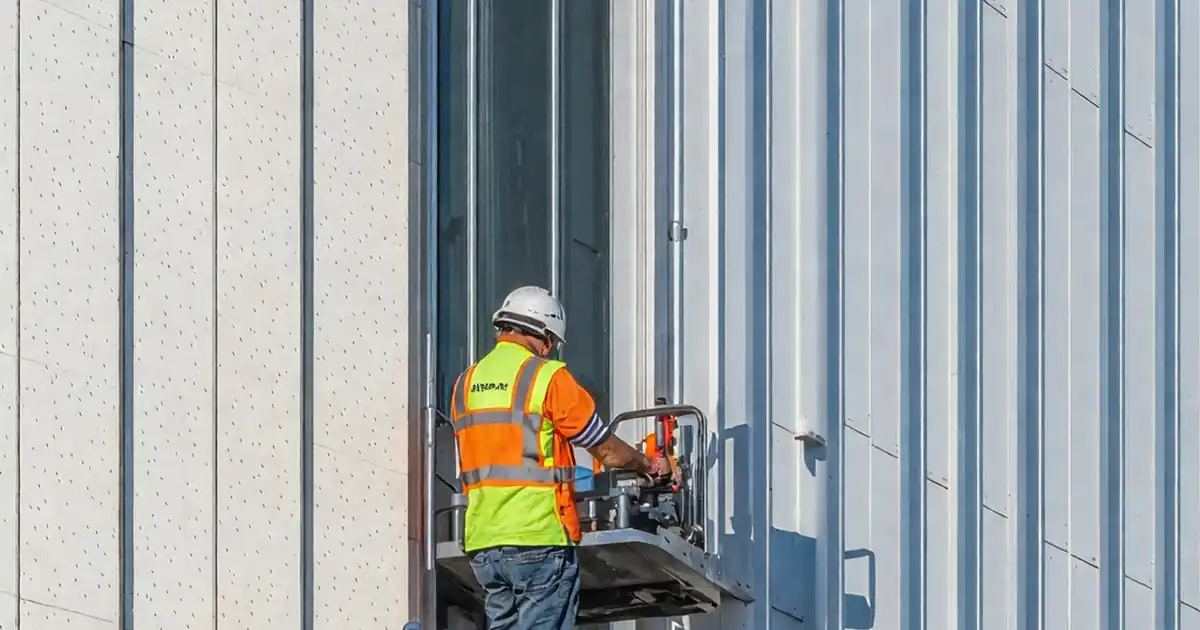
GRC/GFRC Panel Installation & Joint Alignment Inspection
Definition: Inspect GRC or GFRC panel installation and joint alignment for façade quality, guiding supervisors and installers through dimensional checks, fixings verification, weatherproofing continuity, and documented acceptance per approved project specifications and authority requirements.
- Verify plumb, level, joint width, and plane within tight tolerances
- Confirm anchors, shims, and sealants meet specified performance criteria
- Capture photo evidence, measurements, and approvals for traceable QA
- Interactive, commentable checklist with export and QR code sign-off
Inspect GRC or GFRC panel installation and joint alignment to ensure façade accuracy, durability, and consistent appearance. This checklist supports inspections of glassfibre reinforced concrete cladding, including GFRC façade panels, joint width control, panel plumbness, and sealant continuity. It focuses on installed panels only—design calculations, casting quality, and off-site curing are outside scope and must be confirmed via submittals. By verifying substructure datums, anchor engagement, torque, shim/bedding uniformity, and drainage continuity, you reduce risks like water ingress, rattling, stress cracking, and uneven shadow lines. Acceptance cues and practical tolerances are stated in SI units, with reminders to follow approved project specifications and authority requirements where stricter. The result is a watertight, aligned, and documented installation ready for consultant sign-off. Use this interactive checklist to tick items, add comments, attach photos and readings, and export your report to PDF/Excel; start by scanning the QR to authenticate your session.
- Assure façade uniformity by surveying datums, confirming bracket positions, and checking panel plumb, level, and plane to tight, practical tolerances. Proper setting-out avoids stepped joints, gapping, and shadow misalignment across long elevations.
- Reduce rework by verifying mechanical fixings with calibrated torque wrenches, logging shim sizes, and confirming restraint anchor engagement. Captured evidence—photos, torque logs, and survey CSVs—supports rapid approvals and traceable close-out.
- Improve weatherproofing by sizing backer rods correctly, controlling sealant depth and profile, and keeping drainage paths unobstructed. Document environmental conditions to ensure reliable curing and long-term joint performance.
- Interactive online checklist with tick, comment, and export features secured by QR code.
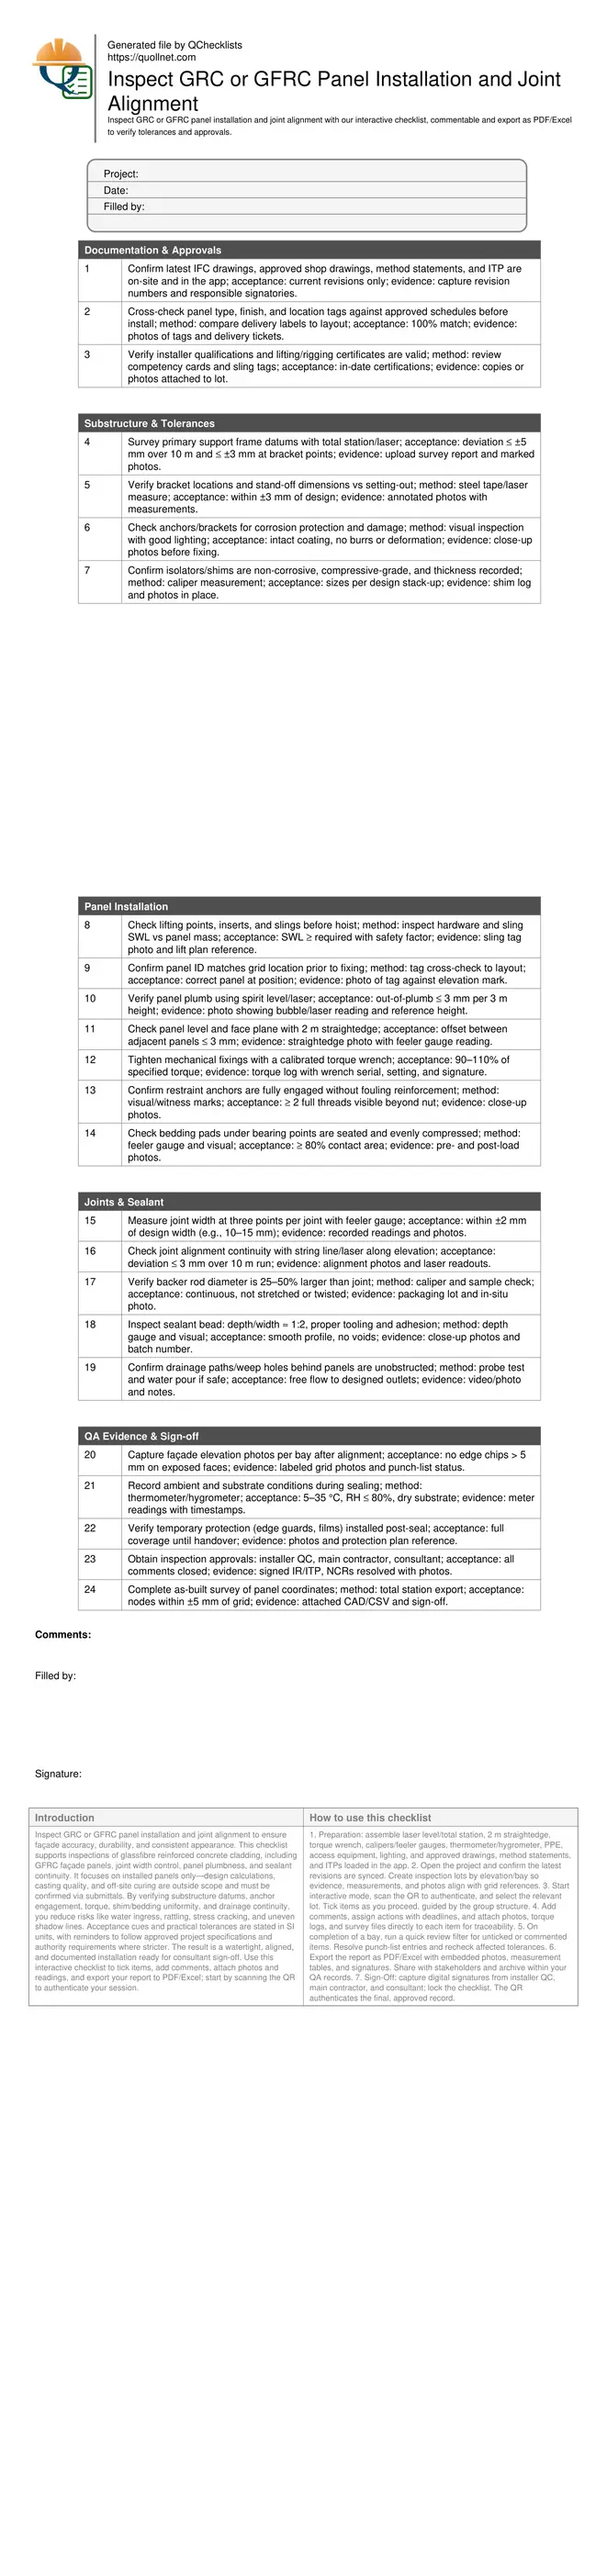
Documentation & Approvals
Substructure & Tolerances
Panel Installation
Joints & Sealant
QA Evidence & Sign-off
Setting-Out Precision and Practical Tolerances
Accurate setting-out underpins a clean, continuous façade line. Begin by validating the primary support frame with a total station, tying into control datums and benchmarking bracket coordinates. Minor bracket adjustments (±3 mm) often resolve long-run misalignment that would otherwise create stepped joints and uneven shadow gaps. Use a calibrated laser to confirm vertical and horizontal control lines before each bay. During installation, check panel plumb, level, and plane using a 2 m straightedge and spirit level; keep cumulative error in check by referencing back to fixed datums every third panel. Log all measurements in SI units and capture marked photos. When tolerances clash with site conditions, escalate early and adjust shimming strategically rather than forcing fixings. Always prioritize the approved project specifications and authority requirements if they demand tighter control.
- Survey datums first; adjust brackets to within ±3 mm.
- Re-check alignment every third panel to limit drift.
- Use 2 m straightedge for plane; document readings.
- Capture marked photos aligned to grid references.
- Follow stricter project tolerances where specified.
Fixings, Supports, and Load Transfer Confidence
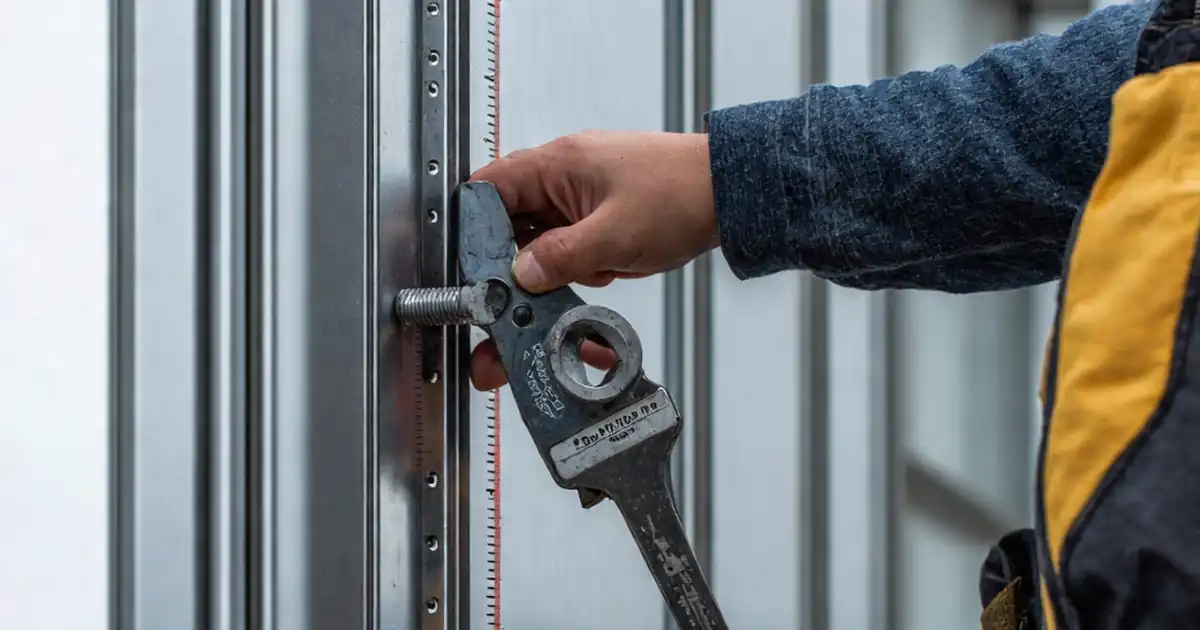
Panels rely on correctly specified fixings and consistent load transfer to avoid cracking and rattling. Use a calibrated torque wrench to achieve 90–110% of the specified torque, recording wrench serials and results. Confirm full thread engagement at restraints and avoid interference with internal reinforcement. Bedding pads must bear evenly with at least 80% contact to spread loads and prevent point stress. Where stand-offs are required, use non-corrosive shims recorded by thickness to maintain geometry and thermal breaks. Avoid over-tightening, which can induce stress into the GFRC skin. A practical workflow is dry-fit, measure, adjust shims, re-fit, then final torque with a witness mark. Photographs of each connection and a concise torque log allow rapid third-party verification and close-out.
- Calibrated torque wrench; log 90–110% of target.
- Ensure ≥ 2 threads visible beyond nut.
- Record shim materials and thicknesses.
- Bedding pads ≥ 80% contact under load.
- Witness-mark nuts after final torque.
Joint Control, Sealant Performance, and Drainage
Consistent joint width and depth ensure visual continuity and weatherproofing. Measure joint widths at three points per joint and maintain within ±2 mm of design. Select a backer rod 25–50% larger than the joint to achieve the 1:2 sealant depth-to-width ratio; avoid stretching that thins the profile. Apply sealant to clean, dry substrates within environmental limits (5–35 °C, RH ≤ 80%), tooling to a smooth, concave profile. Keep drainage paths and weeps open behind the cladding; consider a controlled water test if safe and approved. Document sealant batch numbers, lot certificates, and curing times, then protect edges from accidental damage. These controls reduce water ingress, staining, and premature joint failure.
- Joint width within ±2 mm of design.
- Backer rod 25–50% larger than joint.
- Sealant depth:width ≈ 1:2, smooth profile.
- Apply within 5–35 °C, RH ≤ 80%.
- Keep drainage paths and weeps unobstructed.
How to Use This GRC/GFRC Installation Inspection Checklist
- Preparation: assemble laser level/total station, 2 m straightedge, torque wrench, calipers/feeler gauges, thermometer/hygrometer, PPE, access equipment, lighting, and approved drawings, method statements, and ITPs loaded in the app.
- Open the project and confirm the latest revisions are synced. Create inspection lots by elevation/bay so evidence, measurements, and photos align with grid references.
- Start interactive mode, scan the QR to authenticate, and select the relevant lot. Tick items as you proceed, guided by the group structure.
- Add comments, assign actions with deadlines, and attach photos, torque logs, and survey files directly to each item for traceability.
- On completion of a bay, run a quick review filter for unticked or commented items. Resolve punch-list entries and recheck affected tolerances.
- Export the report as PDF/Excel with embedded photos, measurement tables, and signatures. Share with stakeholders and archive within your QA records.
- Sign-Off: capture digital signatures from installer QC, main contractor, and consultant; lock the checklist. The QR authenticates the final, approved record.
Call to Action
- Start Checklist Tick off tasks, leave comments on items or the whole form, and export your completed report to PDF or Excel—with a built-in QR code for authenticity.
- Download Excel - GRC/GFRC Panel Installation & Joint Alignment Inspection
- Download PDF - GRC/GFRC Panel Installation & Joint Alignment Inspection
- View Image - GRC/GFRC Panel Installation & Joint Alignment Inspection
Cite & Embed
“GRC/GFRC Panel Installation & Joint Alignment Inspection by Quollnet”
with a link to
this source page.
FAQ
Question: What tolerances are acceptable for GRC/GFRC panel alignment and joint widths?
Question: How should I correct a misaligned panel or out-of-tolerance joint?
Question: Which environmental conditions are required for sealant application on GFRC joints?
Question: How can I verify anchor fixings without damaging the panels?
Related Articles
Broader reading and guidance connected to this checklist topic.

Concrete Cube Curing: Site Storage, Water Tank & Laboratory Requirements

Fidic Site Instruction Form – Free Download And Usage Tips


How To Create Your First Sang In 4 Easy Steps

Is It Important To Customize Your Qr Code And How To Do It?
Related Checklists
Keep the workflow moving with nearby templates chosen from similar checklist content.