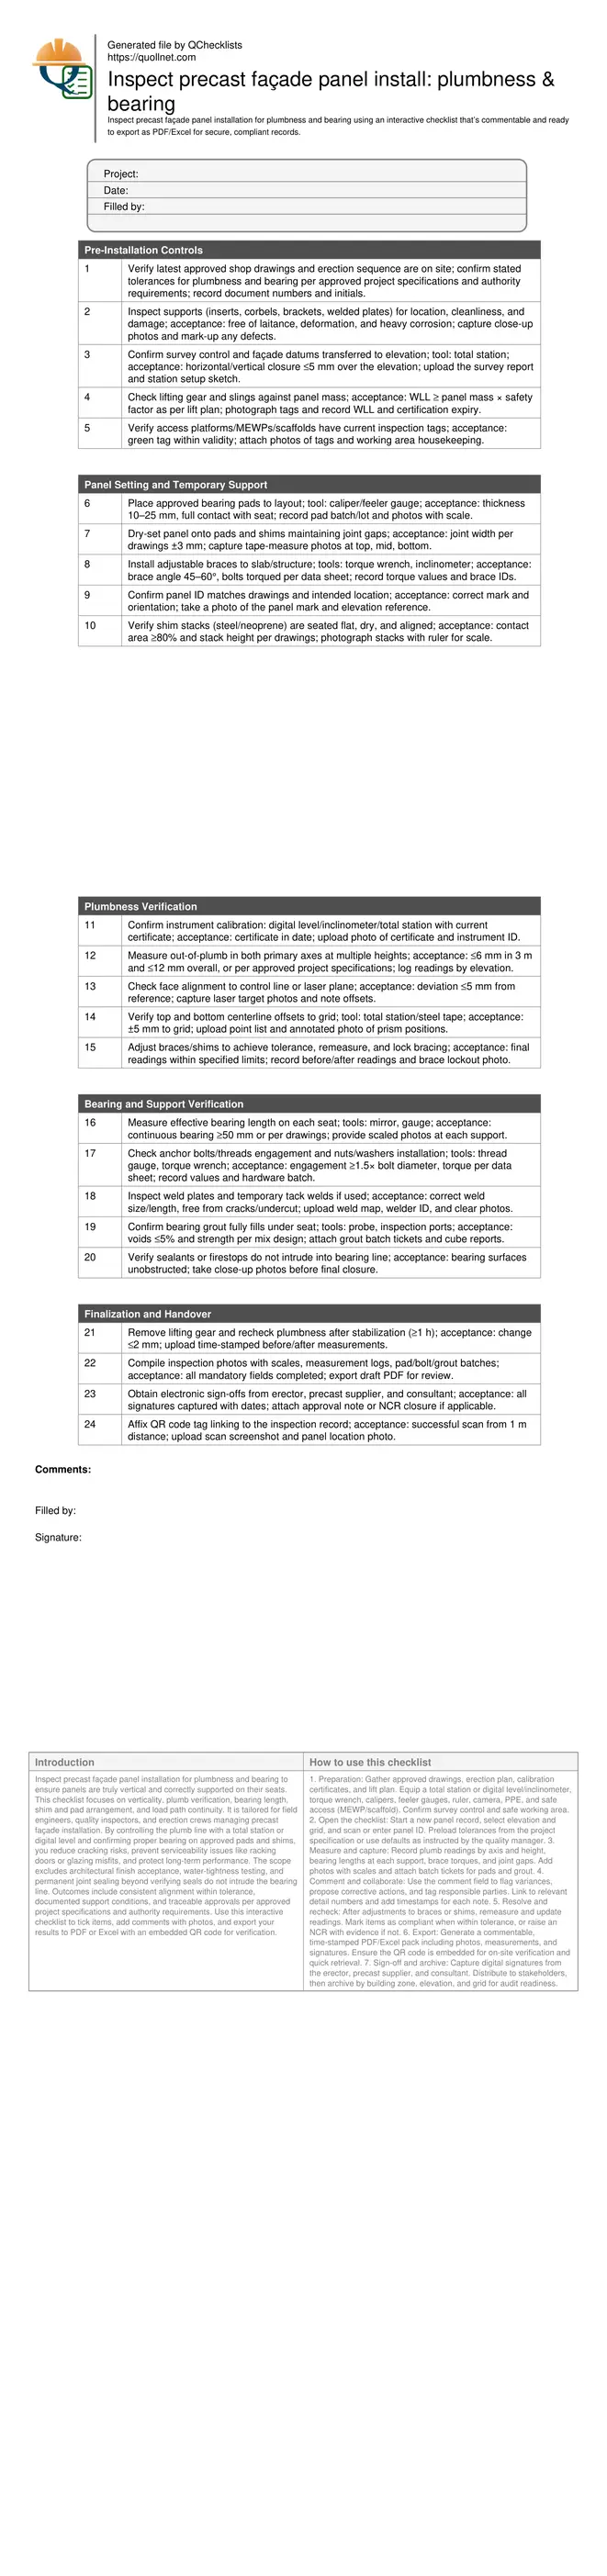
Inspect precast façade panel installation for plumbness and bearing
Definition: Inspect precast façade panel installation for plumbness and bearing with a field-ready checklist for site engineers and inspectors, focusing on vertical alignment, seating, shim packs, bearing pads, and documentation.
- Verify verticality with calibrated instruments and record precise readings.
- Confirm seating, shims, and pads meet approved bearing tolerances.
- Capture photo evidence, batch data, and signatures for traceability.
- Interactive, commentable checklist with export and QR code verification.
Inspect precast façade panel installation for plumbness and bearing to ensure panels are truly vertical and correctly supported on their seats. This checklist focuses on verticality, plumb verification, bearing length, shim and pad arrangement, and load path continuity. It is tailored for field engineers, quality inspectors, and erection crews managing precast façade installation. By controlling the plumb line with a total station or digital level and confirming proper bearing on approved pads and shims, you reduce cracking risks, prevent serviceability issues like racking doors or glazing misfits, and protect long-term performance. The scope excludes architectural finish acceptance, water-tightness testing, and permanent joint sealing beyond verifying seals do not intrude the bearing line. Outcomes include consistent alignment within tolerance, documented support conditions, and traceable approvals per approved project specifications and authority requirements. Use this interactive checklist to tick items, add comments with photos, and export your results to PDF or Excel with an embedded QR code for verification.
- Systematic verification of vertical alignment using calibrated instruments ensures façade panels remain within project tolerances, minimizing cumulative drift and preventing cladding stress, glazing misalignment, and downstream rework. Records include readings by height, device ID, and operator initials.
- Focused bearing inspection validates pad type, shim stack contact, seat cleanliness, and effective bearing length. Proper load transfer improves durability, limits cracking at corners and fixings, and supports reliable load paths back to the structure.
- Documentation-first workflow captures photos with scales, batch and lot numbers for pads and grout, torque values, and weld identifiers. This provides robust traceability that simplifies consultant reviews and closes nonconformities faster.
- Interactive online checklist with tick, comment, and export features secured by QR code. Field teams collaborate in real-time, attach measurements and sketches, then export compliant inspection packs to PDF or Excel for archiving and submittal.
Pre-Installation Controls
Panel Setting and Temporary Support
Plumbness Verification
Bearing and Support Verification
Finalization and Handover
Plumbness methods that deliver repeatable, defensible results
Achieving true verticality starts with calibrated instruments and consistent measurement routines. A total station offers high accuracy for mapping offsets to grid, while a digital level or inclinometer provides quick out-of-plumb checks at multiple heights. Establish stable instrument setups, sight to verified control points, and record readings at the panel’s left and right edges to detect twist. Always measure in both orthogonal façades to prevent hidden bias from uneven shimming. If deviations exceed tolerance, adjust braces incrementally, remeasure, and lock the settings. Document the instrument ID, certificate validity, operator initials, and time stamps for traceability. On congested elevations, reflective targets or plumb lasers speed alignment while minimizing access risks. Frequent short checks during settling limit rework after the crane releases. Acceptance should follow the drawings and approved project specifications, with clear notes where site conditions require an agreed deviation and corrective action.
- Measure both axes at several heights per panel.
- Log instrument ID, calibration date, and operator.
- Adjust in small increments and remeasure immediately.
- Use targets or lasers to reduce access risks.
- Capture photos with scales near readings.
Bearing integrity: pads, shims, and seats working together
Reliable load transfer depends on clean seats, correct pad type, and well-aligned shim stacks. Bearing pads should fully contact both the concrete seat and the panel, with thickness and hardness matching submittals. Shim stacks need broad, flat contact to prevent point loading and should be positioned per the shop drawings to avoid eccentricity. Measure effective bearing length and confirm grout placement, especially under corbels or ledges where voids can form. Check bolts, welds, and plates for correct size and engagement; torque or weld parameters should match the manufacturer data and approved project specifications. Do not allow sealants or firestops to intrude into the bearing line, as they can compromise seating. Photograph each support with a ruler, record pad and grout batch numbers, and note anchor IDs. Clear, repeatable evidence enables quick sign-off and avoids costly rework after façade closure.
- Seats clean, dry, and free of laitance.
- Pads and shims with ≥80% contact area.
- Measure and photograph bearing length.
- Record pad and grout batch numbers.
- Prevent sealants from fouling the seat.
Controlling risk with documentation and timely rechecks
Even small misalignments can escalate across multiple panels, so meticulous documentation and timely rechecks are essential. Capture measurements by height and axis, with before/after values when adjustments are made. Include photos with measurement scales, instrument setups, and brace lockouts. After removing lifting gear, allow short stabilization time and recheck plumbness; creep or shim settlement often reveals millimetre changes that are simple to correct early. Consolidate all evidence—survey reports, torque values, weld maps, and material batches—into a single inspection record. Use comments to explain site constraints or agreed variances, and ensure each action references the relevant drawing detail. Export the final pack for review and archive it under the elevation and grid reference. This practice reduces disputes, accelerates approvals, and supports compliance with approved project specifications and authority requirements.
- Recheck after crane release and stabilization.
- Capture before/after values for adjustments.
- Use comments to explain variances.
- Export and archive by elevation and grid.
How to use this interactive plumbness and bearing checklist
- Preparation: Gather approved drawings, erection plan, calibration certificates, and lift plan. Equip a total station or digital level/inclinometer, torque wrench, calipers, feeler gauges, ruler, camera, PPE, and safe access (MEWP/scaffold). Confirm survey control and safe working area.
- Open the checklist: Start a new panel record, select elevation and grid, and scan or enter panel ID. Preload tolerances from the project specification or use defaults as instructed by the quality manager.
- Measure and capture: Record plumb readings by axis and height, bearing lengths at each support, brace torques, and joint gaps. Add photos with scales and attach batch tickets for pads and grout.
- Comment and collaborate: Use the comment field to flag variances, propose corrective actions, and tag responsible parties. Link to relevant detail numbers and add timestamps for each note.
- Resolve and recheck: After adjustments to braces or shims, remeasure and update readings. Mark items as compliant when within tolerance, or raise an NCR with evidence if not.
- Export: Generate a commentable, time-stamped PDF/Excel pack including photos, measurements, and signatures. Ensure the QR code is embedded for on-site verification and quick retrieval.
- Sign-off and archive: Capture digital signatures from the erector, precast supplier, and consultant. Distribute to stakeholders, then archive by building zone, elevation, and grid for audit readiness.
Call to Action
- Start Checklist Tick off tasks, leave comments on items or the whole form, and export your completed report to PDF or Excel—with a built-in QR code for authenticity.
- Download Excel - Precast Façade Panel Plumbness and Bearing Inspection
- Download PDF - Precast Façade Panel Plumbness and Bearing Inspection
- View Image - Precast Façade Panel Plumbness and Bearing Inspection
Cite & Embed
“Precast Façade Panel Plumbness and Bearing Inspection by Quollnet”
with a link to
this source page.
FAQ
Question: What plumbness tolerance should I use for precast façade panels?
Question: How do I measure effective bearing length accurately?
Question: When should I recheck plumbness after setting the panel?
Question: What evidence is essential for consultant approval?
Related Articles
Broader reading and guidance connected to this checklist topic.


Is It Important To Customize Your Qr Code And How To Do It?


Improve Your Project Handover Process With Snag List Tracking App

Related Checklists
Keep the workflow moving with nearby templates chosen from similar checklist content.