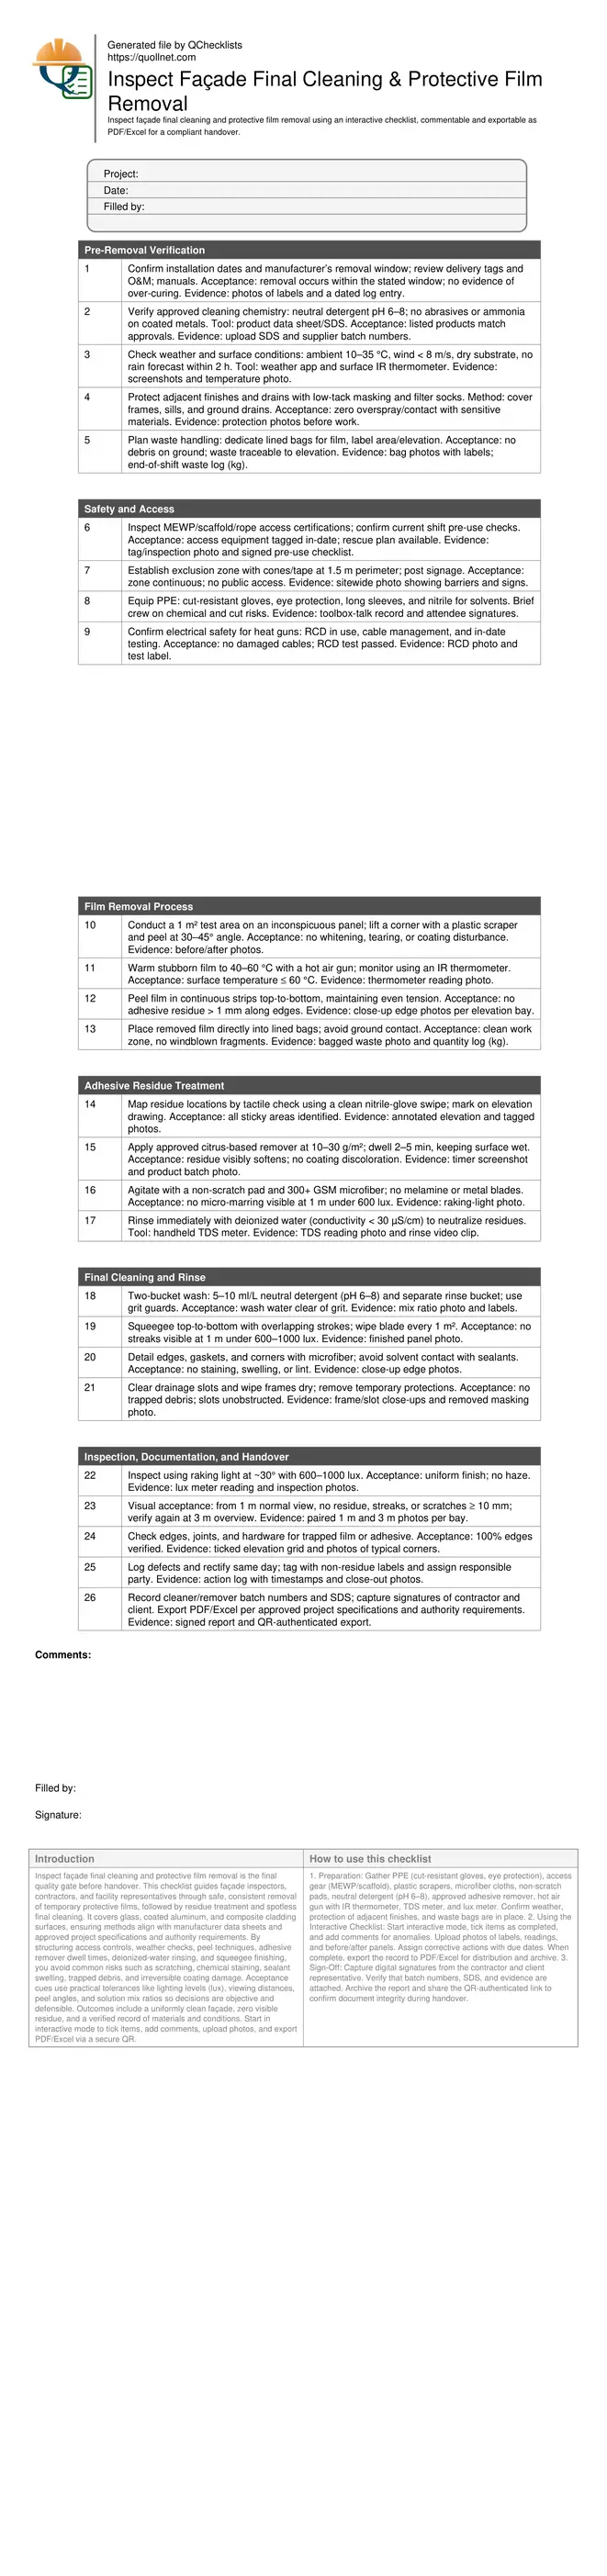
Inspect Façade Final Cleaning and Protective Film Removal
Definition: Inspect façade final cleaning and protective film removal for contractors and site inspectors, confirming safe methods, residue-free finishes, and documented acceptance before façade handover.
- Verify correct timing, approved materials, and safe access before removal.
- Control peel, residue treatment, and rinsing to prevent surface damage.
- Capture photos, readings, and batch data for traceable acceptance records.
- Interactive, commentable checklist with export and QR code authentication.
Inspect façade final cleaning and protective film removal is the final quality gate before handover. This checklist guides façade inspectors, contractors, and facility representatives through safe, consistent removal of temporary protective films, followed by residue treatment and spotless final cleaning. It covers glass, coated aluminum, and composite cladding surfaces, ensuring methods align with manufacturer data sheets and approved project specifications and authority requirements. By structuring access controls, weather checks, peel techniques, adhesive remover dwell times, deionized-water rinsing, and squeegee finishing, you avoid common risks such as scratching, chemical staining, sealant swelling, trapped debris, and irreversible coating damage. Acceptance cues use practical tolerances like lighting levels (lux), viewing distances, peel angles, and solution mix ratios so decisions are objective and defensible. Outcomes include a uniformly clean façade, zero visible residue, and a verified record of materials and conditions. Start in interactive mode to tick items, add comments, upload photos, and export PDF/Excel via a secure QR.
- This checklist governs the final removal of façade protective films and subsequent cleaning, emphasizing correct timing, safe access, and material compatibility. It helps prevent glass scratches, coating dulling, and sealant damage by defining objective methods, tolerances, and measurable acceptance criteria with photographic evidence.
- Practical steps include weather and access verification, test-panel trials, controlled heating, residue-softening with approved removers, two-bucket washing, deionized rinsing, and raking-light inspection. Each instruction references tools, concentrations, temperatures, or lux levels to produce consistent, residue-free finishes ready for client sign-off.
- Documentation requirements cover photos at set distances, lux meter and IR thermometer readings, detergent mix ratios, remover dwell times, and batch/SDS records. Consolidate evidence, assign actions, and timestamp sign-offs to deliver a transparent, auditable handover package aligned with approved project specifications and authority requirements.
- Interactive online checklist with tick, comment, and export features secured by QR code.
Pre-Removal Verification
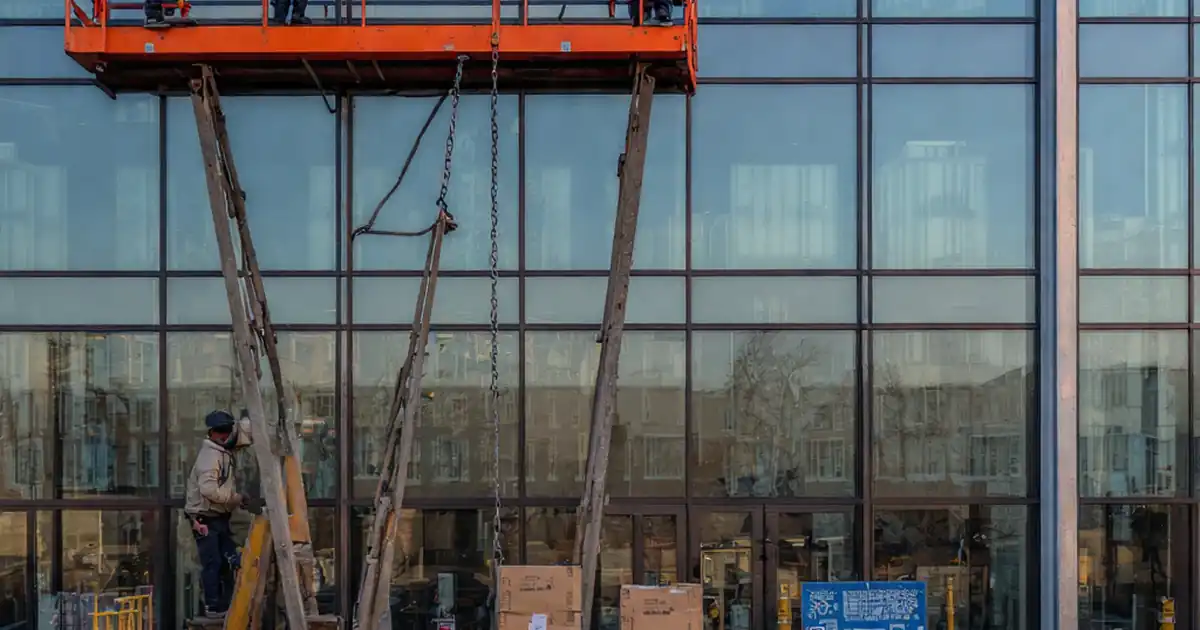
Safety and Access
Film Removal Process
Adhesive Residue Treatment
Final Cleaning and Rinse
Inspection, Documentation, and Handover
Plan Timing, Materials, and Access Before You Peel
Final façade cleaning succeeds when planning is tight. Protective films that overstay can harden, making removal risky for coatings and seals. Start by confirming the manufacturer’s removal window against delivery tags and site records, then verify that detergents and removers are approved and compatible. Neutral detergents (pH 6–8) and non-abrasive tools protect glass and coated aluminum; aggressive solvents can stain or swell sealants. Weather also matters: aim for 10–35 °C, wind under 8 m/s, and no rain within two hours to avoid streaks and re-contamination. Prepare access safely with tagged MEWPs or scaffold, an exclusion zone, and a clear waste plan so film doesn’t become windblown debris. Always trial a discreet 1 m² area to prove the method before scaling. Capture baseline photos of surfaces and protections—these become your benchmark if disputes arise. Solid preparation reduces rework, prevents damage, and sets measurable expectations for the crew and the client.
- Confirm removal window against delivery tags and O&M manuals.
- Use neutral detergents; verify compatibility via SDS and approvals.
- Target 10–35 °C, wind < 8 m/s, no rain for 2 h.
- Tag access equipment; set exclusion zones and waste plan.
- Run a 1 m² trial and record baseline photos.
Execute Controlled Film Removal and Residue Treatment
Peel technique defines finish quality. Lift a corner with a plastic scraper and peel at 30–45° to minimize residue. For stubborn films, apply controlled heat (40–60 °C) with an IR-checked gun—excess heat risks coating damage. If adhesive remains, use a citrus-based remover at thin, even coverage, maintaining wet dwell for 2–5 minutes. Agitate gently with a non-scratch pad and high-GSM microfiber; avoid metal blades and melamine pads that can haze glass. Immediately rinse with deionized water (conductivity < 30 µS/cm) to neutralize residues. Work top-to-bottom to prevent streaking, then finish with squeegee passes and edge detailing. Throughout, bag waste at source and keep the work zone clean. Document temperatures, dwell times, and product batches to prove the process stayed within safe parameters and approvals.
- Peel at 30–45° after lifting a clean corner.
- Limit surface temperature to ≤ 60 °C with IR checks.
- Apply remover 2–5 minutes; keep the surface wet.
- Rinse with deionized water; verify < 30 µS/cm.
- Avoid abrasive pads and metal blades entirely.
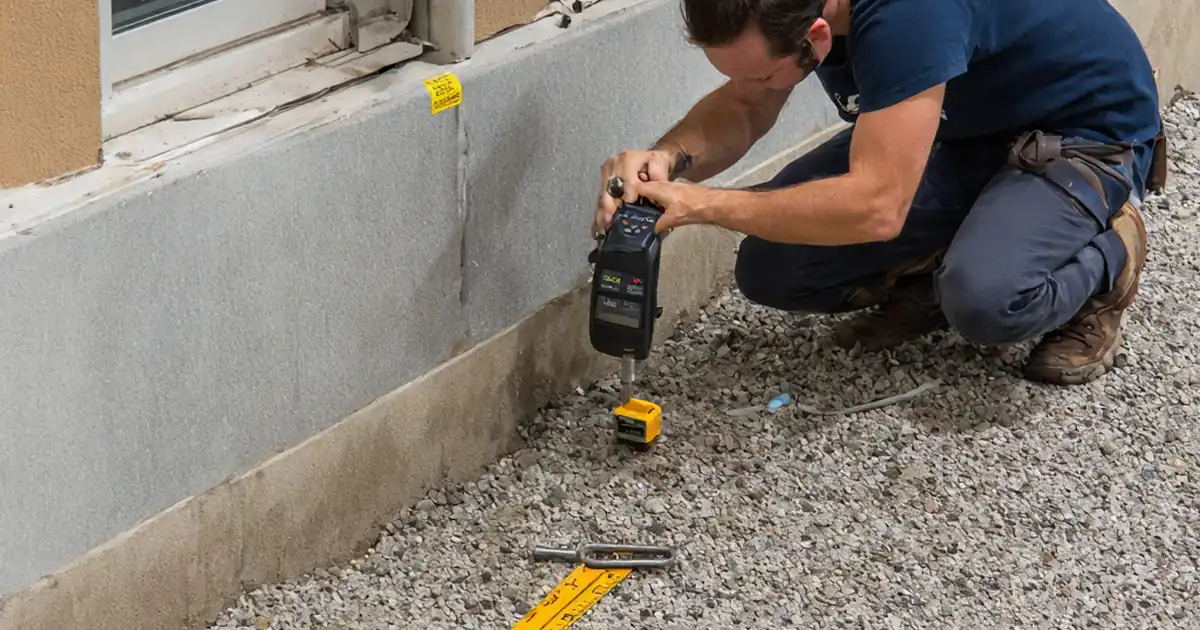
Inspect Under Defined Lighting and Close Out with Evidence
Acceptance should be objective. Inspect panels using raking light at approximately 30° with 600–1000 lux, then review from 1 m normal view and a 3 m overview. Criteria: no visible residue, no streaks, and no scratches ≥ 10 mm. Check edges, joints, and hardware for trapped film or softened adhesive, then confirm drainage slots are clear and frames dry. Record detergent mix ratios (5–10 ml/L), remover dwell times, IR temperatures, TDS readings, and lux values alongside before/after photos. Tag any defects, assign corrective actions, and close them with timestamped photos. Finally, capture batch numbers and SDS for all chemicals used, gather digital signatures, and export a QR-authenticated PDF/Excel report per approved project specifications and authority requirements. This transparent trail protects stakeholders and speeds handover.
- Use 600–1000 lux raking light at ~30°.
- Accept from 1 m normal view and 3 m overview.
- No residue, streaks, or scratches ≥ 10 mm.
- Record mix ratios, temps, dwell times, and TDS.
- Export a signed, QR-authenticated report.
How to Use This Façade Cleaning & Film Removal Checklist
- Preparation: Gather PPE (cut-resistant gloves, eye protection), access gear (MEWP/scaffold), plastic scrapers, microfiber cloths, non-scratch pads, neutral detergent (pH 6–8), approved adhesive remover, hot air gun with IR thermometer, TDS meter, and lux meter. Confirm weather, protection of adjacent finishes, and waste bags are in place.
- Using the Interactive Checklist: Start interactive mode, tick items as completed, and add comments for anomalies. Upload photos of labels, readings, and before/after panels. Assign corrective actions with due dates. When complete, export the record to PDF/Excel for distribution and archive.
- Sign-Off: Capture digital signatures from the contractor and client representative. Verify that batch numbers, SDS, and evidence are attached. Archive the report and share the QR-authenticated link to confirm document integrity during handover.
Call to Action
- Start Checklist Tick off tasks, leave comments on items or the whole form, and export your completed report to PDF or Excel—with a built-in QR code for authenticity.
- Download Excel - Façade Final Cleaning & Film Removal Inspection
- Download PDF - Façade Final Cleaning & Film Removal Inspection
- View Image - Façade Final Cleaning & Film Removal Inspection
Cite & Embed
“Façade Final Cleaning & Film Removal Inspection by Quollnet”
with a link to
this source page.
FAQ
Question: When should protective film be removed from a façade?
Question: What if adhesive residue remains after peeling the film?
Question: How can I avoid scratching glass or coated cladding during cleaning?
Question: What acceptance criteria should be documented for handover?
Related Articles
Broader reading and guidance connected to this checklist topic.
Retention In Construction: Formulas, Bonds & Accounting Guide


Safety In Construction: The Role Of Periodic Safety Checklists
Related Checklists
Keep the workflow moving with nearby templates chosen from similar checklist content.