Excavation Safety Controls Checklist
Definition: Excavation Safety Controls Checklist helps site supervisors verify access/egress, edge protection, lighting, and exclusion zones at each excavation stage, excluding shoring design, to reduce fall, collision, and entrapment risks.
- Verify safe access/egress is staged and unobstructed for crews.
- Confirm edge protection prevents falls and material roll-ins.
- Validate lighting and visibility meet task and route needs.
- Interactive, commentable, export-ready checklist with QR code verification.
Excavation Safety Controls Checklist helps teams verify access and egress, edge protection, lighting, and exclusion zones as the dig progresses. This excavation access and egress focus prevents slips and delays; robust trench edge protection and plant exclusion zones reduce falls, collisions, and roll-ins; and appropriate temporary lighting maintains visibility during early mornings, evenings, and night work. The scope is intentionally narrow: stage-appropriate controls for people and plant around open excavations; shoring design and structural stability calculations are excluded and addressed separately per approved project specifications and authority requirements. The outcome is a safer, tidier, and more efficient workface, with fewer stoppages, documented evidence, and clear roles for operators, spotters, and supervisors. Use this checklist to plan controls for initial breakout, mid-depth digging, and final trimming, updating as conditions change after rain or depth increases. Tick items, add comments, attach photos and readings, and export to PDF/Excel with a QR code for verification.
- Control excavation risks by matching access/egress, edge protection, lighting, and exclusion zones to the current digging stage. Reduce falls, collisions, and entrapment while keeping routes clear, illuminated, and signposted with measurable acceptance cues and photo evidence.
- Set practical, auditable tolerances: walkway widths, guardrail heights, lighting lux levels, and plant set-backs. Capture measurements, equipment IDs, and time-stamped photos to demonstrate compliance with approved project specifications and authority requirements throughout shifting site conditions.
- Interactive online checklist with tick, comment, and export features secured by QR code. Use device cameras for photo evidence, attach lux meter readings, and log radio checks, then export records to supervisors, principal contractors, and clients for transparent sign-off.
- Designed for initial breakout, mid-depth excavation, and final trimming phases. The checklist emphasizes real-time adjustments following depth changes or rain events, ensuring barriers, signage, and exclusion zones are re-established and verified before resuming operations and personnel access.
Access and Egress
Edge Protection
Lighting and Visibility
Exclusion Zones and Traffic Control
Emergency Preparedness and Monitoring
Access and egress that match the excavation stage
Safe access and egress change with excavation depth, traffic flow, and weather. Early stages may rely on tied ladders near the workface; as depth and footfall increase, ramps or stair towers become essential. Aim for clear routes with ≥0.6 m width, anti-slip treads, handrails, and good drainage. Ladders should extend at least 1 m above the landing and be tied at both ends at a 1:4 slope. Keep spoil, hoses, and cables 1 m clear of egress points to prevent trips and roll-ins. Where water and mud accumulate, install pumps and mats so that access surfaces remain dry and firm. For frequent use, ramps should achieve ≤1:4 gradient with cleats at 300 mm centres. Document your checks with measurements, photos, and equipment IDs, then update controls as the dig transitions from initial breakout to mid-depth and final trimming.
- Keep at least one egress within 10 m of work areas.
- Ladders extend ≥1 m above landing and are tied-off.
- Ramps ≤1:4 gradient with cleats at 300 mm centres.
- Maintain 1 m setback for spoil from edges and egress.
Edge protection and exclusion zones people respect
Edge protection prevents people and materials from entering the excavation. Use guardrails with a 1.1 m top rail, mid-rail, and 150 mm toe board; ensure gaps are small enough to stop tools and debris. Set pedestrian barriers back at least 2 m where practical, and build a modest bund to stop roll-ins. For plant, calculate an exclusion radius that covers tail swing plus an additional buffer; mark the ground and install barriers or cones. Keep wheels and tracks at least 1 m from the edge unless a designed platform exists and has been approved per approved project specifications and authority requirements. Assign a spotter with radio communications to control entries and crossings. Refresh controls after depth changes or rain, and photograph the layout for records.
- Guardrails: 1.1 m top rail, mid-rail, toe board ≥150 mm.
- Set pedestrian barriers ≥2 m back from edges.
- Plant exclusion: tail swing plus ≥1 m buffer.
- Use a trained spotter and radio checks each shift.
Lighting and visibility prevent missteps and strikes
Visibility degrades quickly in excavations due to depth, shadows, and dust. Provide task lighting to achieve at least 200 lx on working faces, and 50 lx on access routes, verified by a calibrated lux meter at three representative points. Position towers to aim light downward, keeping glare out of operator sightlines and reducing harsh shadows across steps and edges. Mark barriers with reflective mesh or tape for night recognition. Protect electrical connections to at least IP65 and supply via RCDs ≤30 mA; keep cables off the ground where possible. Add emergency lighting to egress routes with ≥60 minutes of backup capacity and label last test dates. Take photos at night to confirm performance and record meter readings for assurance.
- ≥200 lx at workface; ≥50 lx on routes, measured.
- Aim lights to reduce glare and hard shadows.
- IP65 fittings and RCDs ≤30 mA for supply.
- Emergency lighting with ≥60 minutes backup.
How to Use This Excavation Safety Controls Checklist
- Preparation: review excavation drawings, sequencing, and stage; assemble tools—tape, inclinometer, lux meter, radios, camera; confirm available barriers, signs, ladders, ramps, lighting towers, RCDs, and first aid.
- Open the interactive checklist on a mobile or tablet. Select the excavation area and stage (initial, mid-depth, final), then assign responsible persons for access, edges, lighting, and exclusion controls.
- Walk the route clockwise from approach to egress, then anti-clockwise for a second pass. Take measurements, note nonconformities, and add time-stamped photos directly to the relevant item comments.
- Hold a short huddle with operators and spotter to validate exclusion boundaries and lighting orientation. Perform radio checks, lux checks, and ladder tie checks; record readings and names in the app.
- Resolve issues or assign actions with due dates. When complete, export the checklist as PDF/Excel and share with the supervisor and principal contractor for review.
- Sign-Off: capture digital signatures from site supervisor and foreman. Archive the signed record with its QR code for authentication and future auditing.

Call to Action
- Start Checklist Tick off tasks, leave comments on items or the whole form, and export your completed report to PDF or Excel—with a built-in QR code for authenticity.
- Download Excel - Excavation Safety Controls Checklist
- Download PDF - Excavation Safety Controls Checklist
- View Image - Excavation Safety Controls Checklist
Cite & Embed
“Excavation Safety Controls Checklist by Quollnet”
with a link to
this source page.

FAQ
Question: Which excavation stages does this checklist cover?
Question: How often should exclusion zones be re-checked during excavation?
Question: What lighting levels are appropriate for safe excavation work?
Question: Does this checklist include shoring or structural support design?
Related Articles
Broader reading and guidance connected to this checklist topic.


Is It Important To Customize Your Qr Code And How To Do It?

Open Ncrs At Taking-over / Dlp: What Happens At Handover And How To Escalate

Safety In Construction: The Role Of Periodic Safety Checklists

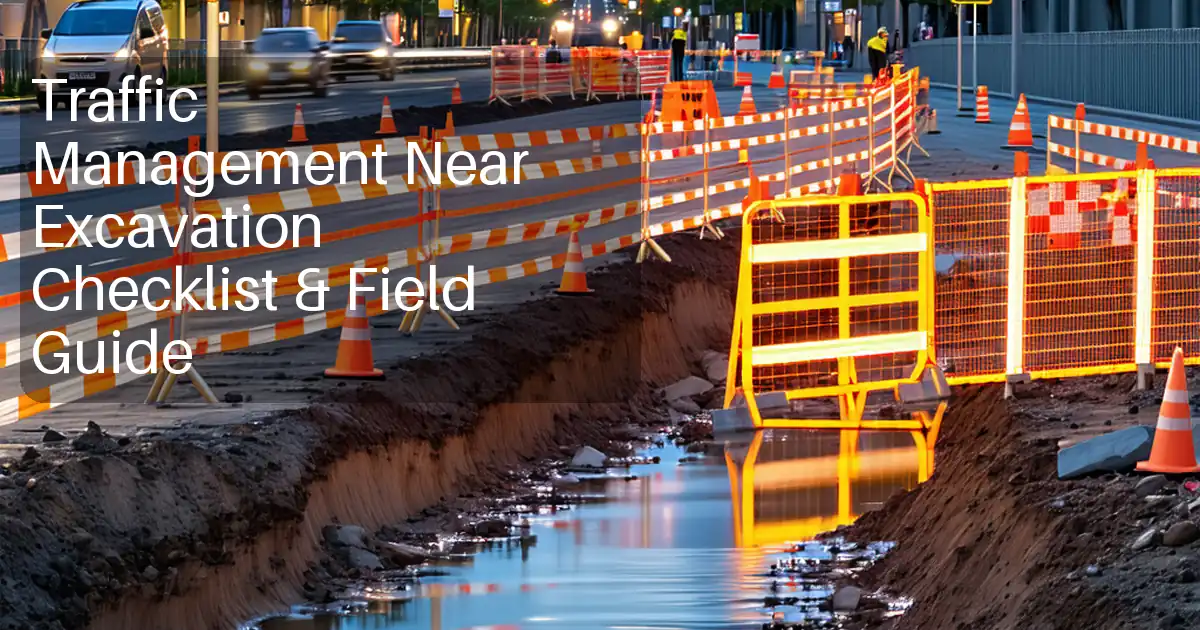
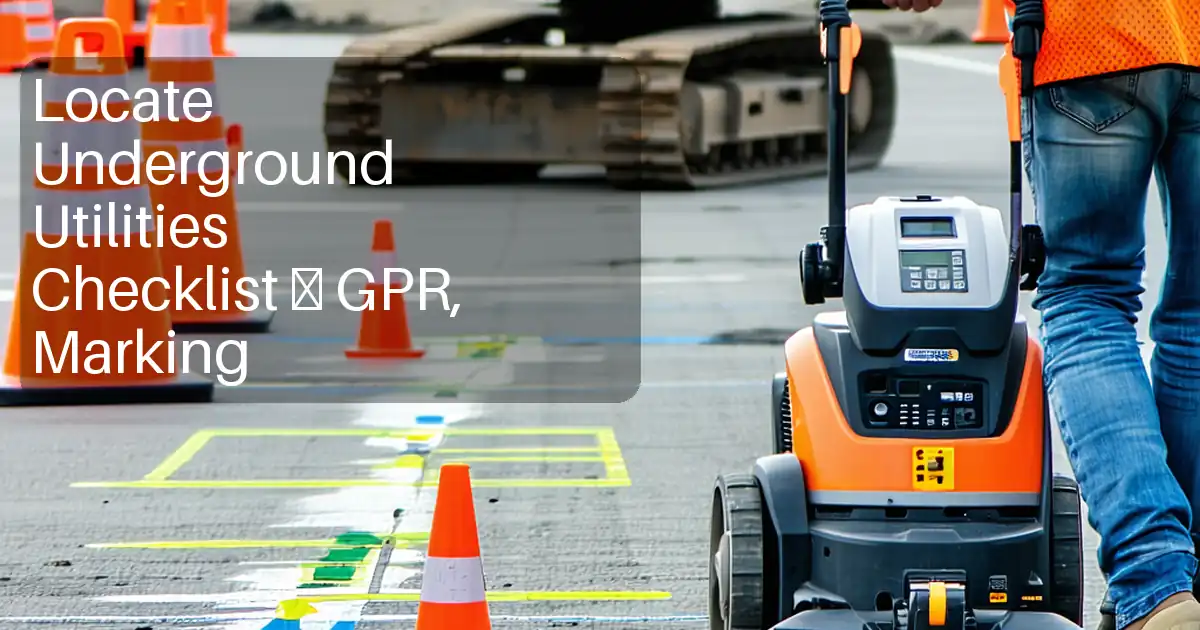
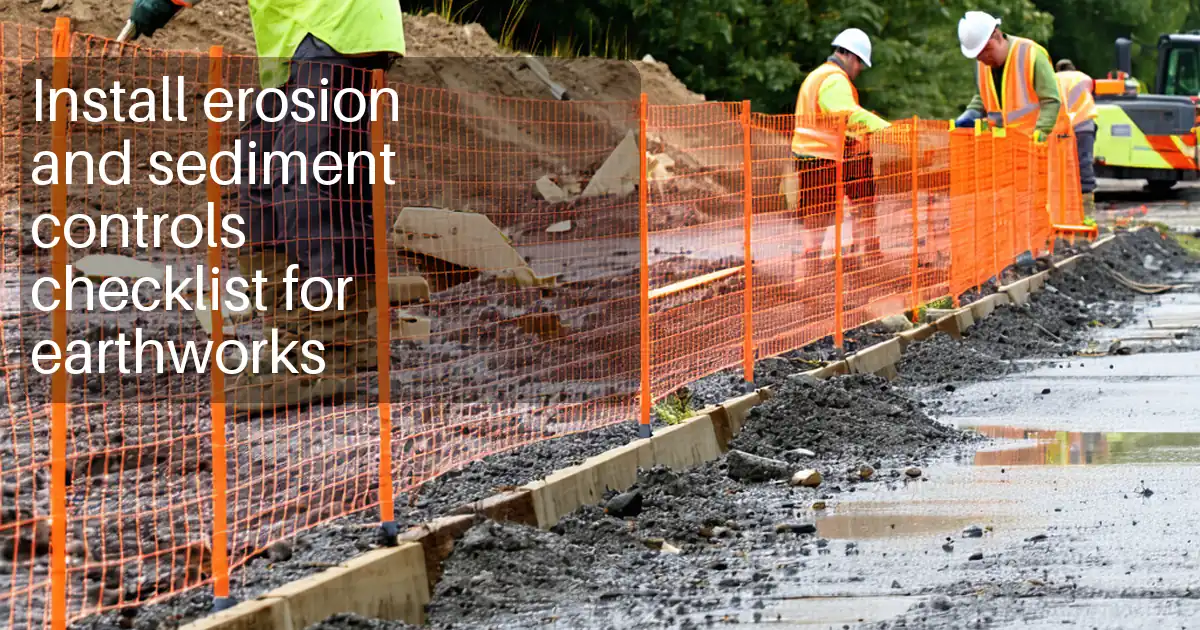
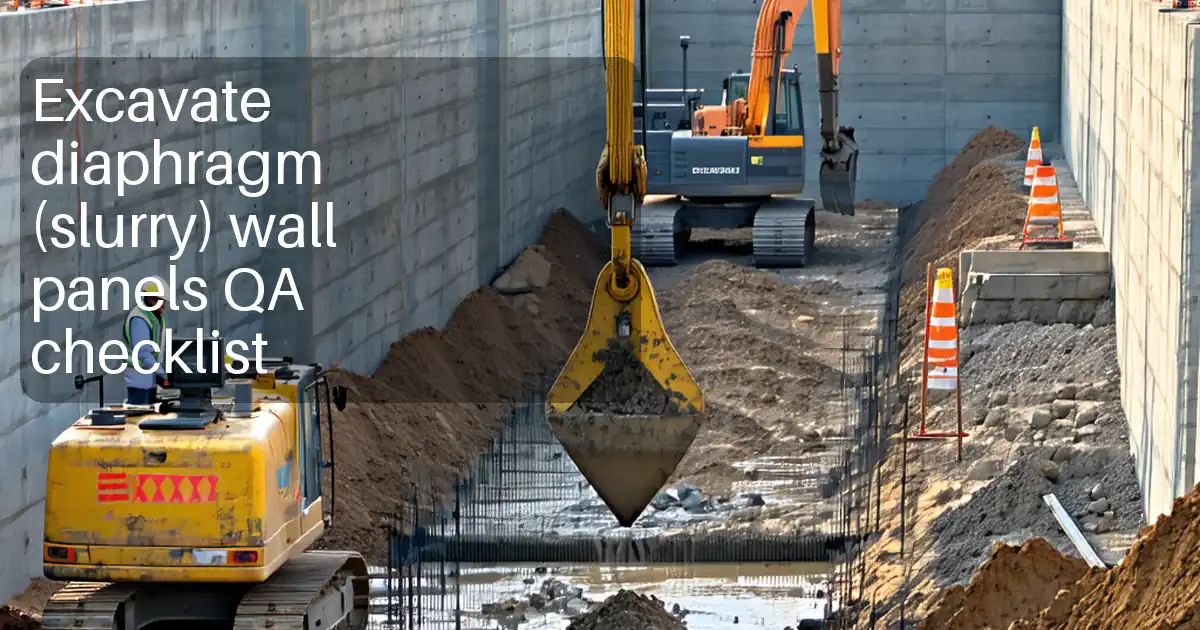
Related Checklists
Keep the workflow moving with nearby templates chosen from similar checklist content.