Inspect Façade Glass Quality for Scratches, Chips, and Distortion
Definition: Inspect façade glass quality for scratches, chips, and distortion using standardized visual and optical methods for site QA teams, ensuring compliant, defect-free glazing across curtain wall façades before practical completion and handover.
- Systematic visual and optical checks under controlled lighting and viewing distances.
- Detect and record scratches, chips, and distortion with photos and measurements.
- Align findings with approved project specifications and authority requirements.
- Interactive, commentable checklist with export and QR code verification.
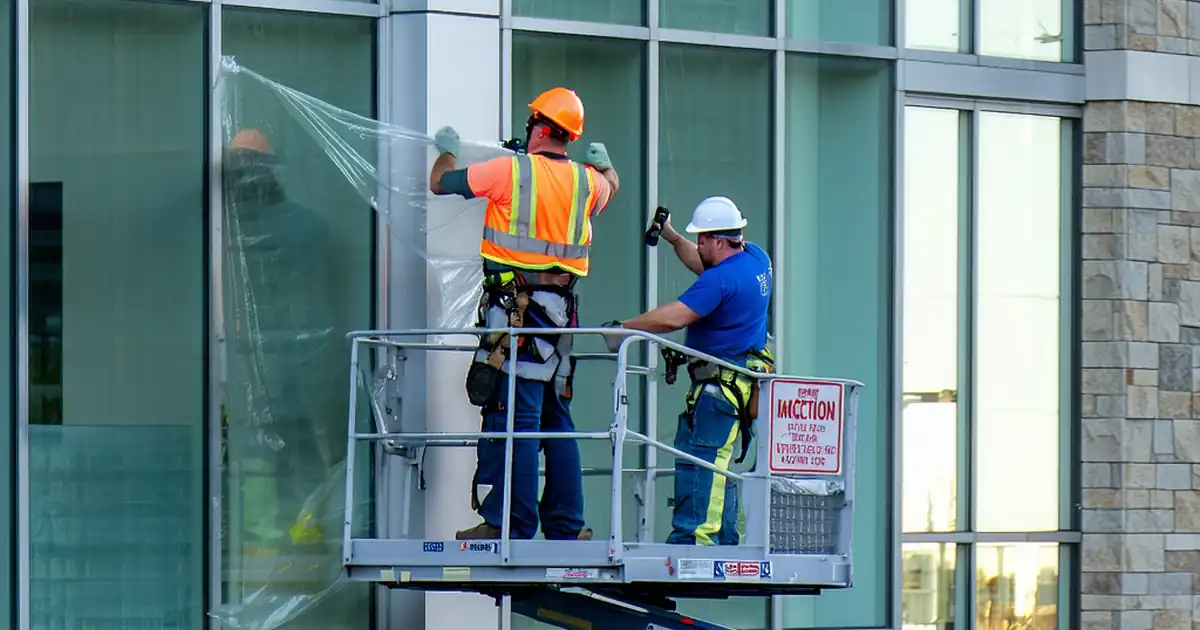
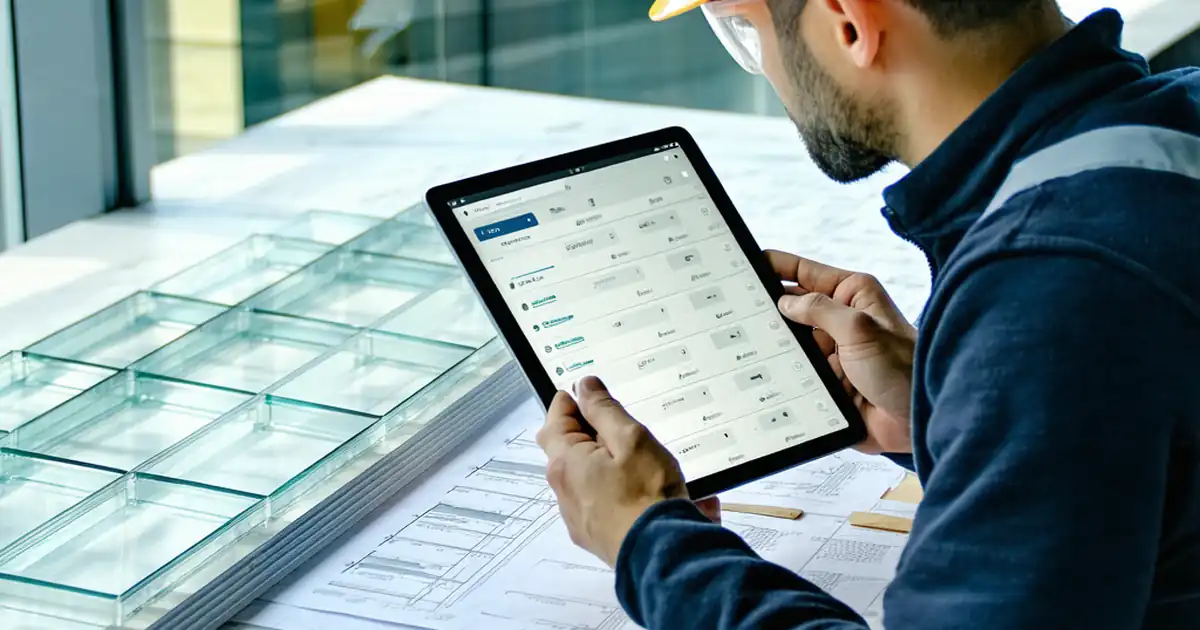
Inspect façade glass quality for scratches, chips, and distortion is a focused, field-ready process to validate installed glazing before handover. This checklist supports glazing inspection across curtain walls, addressing surface defects, edge chips and spalls, and optical distortion such as roller wave or local bow. It defines viewing conditions, tools, and documentation so results are repeatable and defensible. By verifying glass against approved project specifications and authority requirements, teams reduce rework, avoid warranty disputes, and protect the building’s visual performance. The scope stays on exterior façade glass panels and their visible faces; it excludes frame alignment, sealant quality, structural performance, and unrelated envelope trades. Practical methods—diffuse lighting, set viewing distances, reflection grid tests, and macro photography with scales—ensure consistent acceptance decisions. Outcomes include traceable pane IDs, defect mapping, a clear disposition for repair or replacement, and complete records for sign-off. Use this interactive checklist: tick items, add comments, and export PDF/Excel with a secure QR.
- Achieve consistent glazing QA by standardizing viewing distance, lighting, and optical assessments. This reduces subjectivity when classifying scratches and chips, and ensures distortion evaluations—roller wave, bow, or local ripples—are carried out the same way across all elevations and phases.
- Capture defensible evidence with macro photos, measurements in millimetres, and pane IDs linked to lot numbers. This improves traceability, speeds subcontractor responses, and supports timely decisions on cleaning, repair, or replacement without repeating inspections or risking scope creep.
- Interactive online checklist with tick, comment, and export features secured by QR code. This enables real-time collaboration among site teams, consultants, and manufacturers, while preserving an auditable trail that can be shared instantly and archived against project records and authority requirements.
- Minimize rework and punch list churn by aligning acceptance with approved project specifications. Consistent methods—reflection grids, straightedges, and loupe inspections—help differentiate true defects from cleaning residue, glare artifacts, or temporary temperature effects during commissioning.
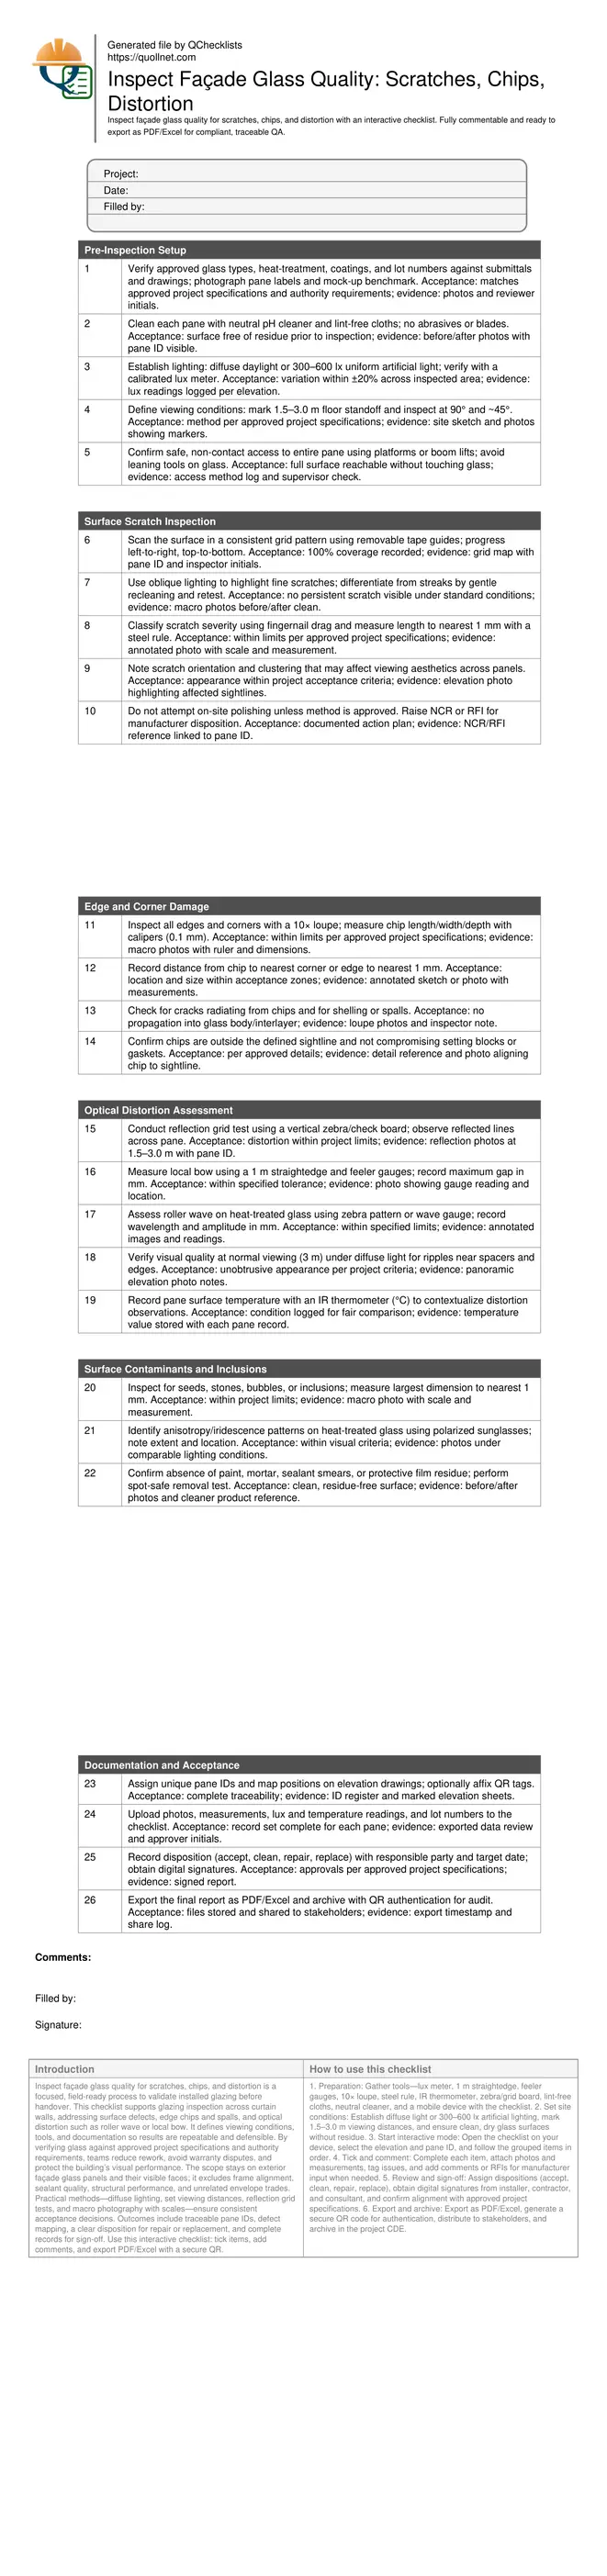
Pre-Inspection Setup
Surface Scratch Inspection
Edge and Corner Damage
Optical Distortion Assessment
Surface Contaminants and Inclusions
Documentation and Acceptance
Consistent Visual Methods for Scratches and Chips
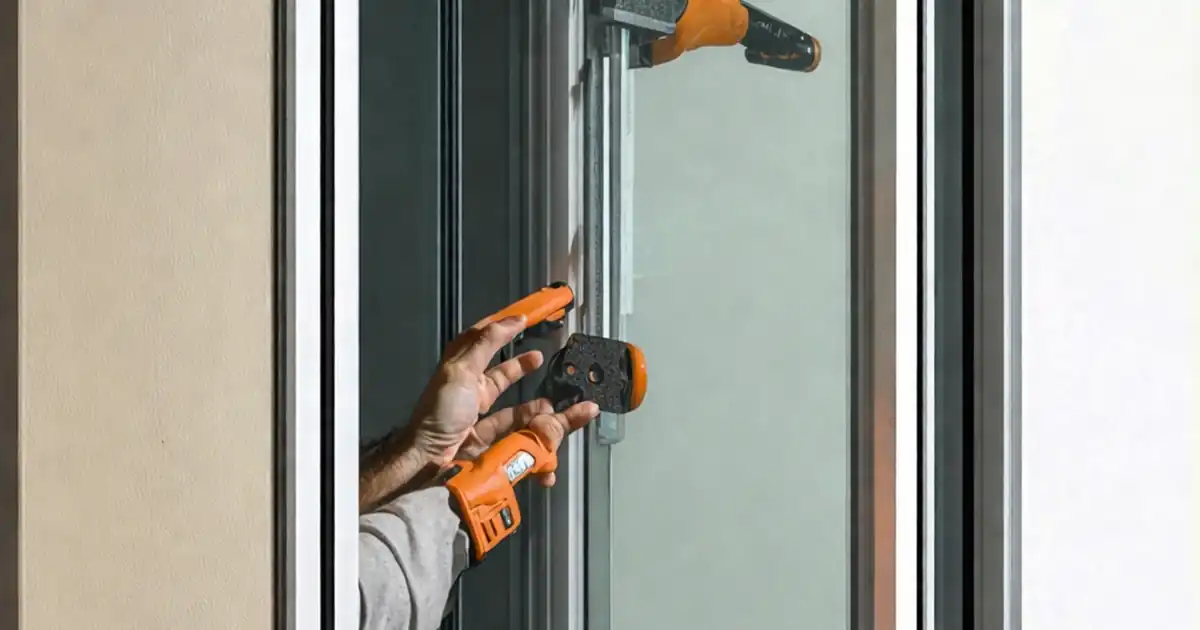
Visual evaluation is most reliable when viewing distance, lighting, and cleanliness are controlled. Diffuse daylight or uniform 300–600 lx artificial light reduces glare artifacts. Mark a 1.5–3.0 m viewing distance and scan each pane in a repeatable grid. For scratches, first prove a mark is not residue by recleaning; then classify severity using a fingernail drag and measure length in millimetres. Macro photos with a scale enable impartial review later. For edge damage, use a 10× loupe and calipers to size chips and note their location relative to corners and sightlines. Document any crack propagation from a chip and exclude safety hazards by avoiding contact with edges. Acceptance must be based on approved project specifications and authority requirements, not ad‑hoc judgements. Capture evidence pane-by-pane to ensure consistent dispositions—clean, repair, replace—are defensible and efficient.
- Use diffuse light or 300–600 lx artificial illumination.
- Inspect at 1.5–3.0 m, 90° and ~45° angles.
- Confirm marks are not residue before classifying.
- Measure defects in millimetres with a scale.
- Reference acceptance to approved specifications.
Practical Optical Distortion Assessment On Site
Optical distortion must be assessed with simple, repeatable tools. A reflection grid or zebra board quickly reveals roller wave and localized bow; photograph the reflected lines to create comparable records. Use a 1 m straightedge with feeler gauges to quantify bow by measuring the maximum gap in millimetres at midspan or suspected areas. Observe from 3 m under diffuse light to judge the overall aesthetic, especially near spacers or edges where ripples are common. Record surface temperature in degrees Celsius; heat gradients can exaggerate or mask waviness during commissioning. Do not rely solely on phone screens or ad-hoc reflections, as perspective and exposure vary. Always align acceptance with the approved project specifications and authority requirements so borderline cases can be escalated to manufacturers with credible data.
- Photograph grid reflections across full pane width.
- Measure bow gaps with a 1 m straightedge.
- Judge aesthetics from 3 m under diffuse light.
- Record surface temperature in degrees Celsius.
- Escalate borderline readings with full evidence.
Traceability, Evidence, and Defect Resolution
Quality outcomes depend on traceable, well-structured records. Assign each pane a unique ID linked to its lot number and elevation. Store macro photos, measurements, lux and temperature readings, and sketches in a single checklist entry so reviewers can make quick, fair decisions. Map defects on elevation drawings to spot patterns, like recurring chips from handling or directional scratches from cleaning tools. For each observation, state the disposition—accept, clean, repair, or replace—and the responsible party with a due date. Use digital signatures to confirm consensus among the installer, main contractor, and consultant. Finally, export the full package to PDF/Excel and archive with a QR for audits. This closes the loop and prevents repeat inspections while keeping the scope anchored to visible glass quality only.
- Assign pane IDs and maintain a register.
- Attach photos with visible measurement scales.
- Log lux, temperature, and viewing distance.
- Map defects on elevation drawings.
- Secure digital signatures before export.
How to Use This Façade Glass Quality Inspection Checklist
- Preparation: Gather tools—lux meter, 1 m straightedge, feeler gauges, 10× loupe, steel rule, IR thermometer, zebra/grid board, lint-free cloths, neutral cleaner, and a mobile device with the checklist.
- Set site conditions: Establish diffuse light or 300–600 lx artificial lighting, mark 1.5–3.0 m viewing distances, and ensure clean, dry glass surfaces without residue.
- Start interactive mode: Open the checklist on your device, select the elevation and pane ID, and follow the grouped items in order.
- Tick and comment: Complete each item, attach photos and measurements, tag issues, and add comments or RFIs for manufacturer input when needed.
- Review and sign-off: Assign dispositions (accept, clean, repair, replace), obtain digital signatures from installer, contractor, and consultant, and confirm alignment with approved project specifications.
- Export and archive: Export as PDF/Excel, generate a secure QR code for authentication, distribute to stakeholders, and archive in the project CDE.
Call to Action
- Start Checklist Tick off tasks, leave comments on items or the whole form, and export your completed report to PDF or Excel—with a built-in QR code for authenticity.
- Download Excel - Façade Glass Quality Inspection – Scratches, Chips, Distortion
- Download PDF - Façade Glass Quality Inspection – Scratches, Chips, Distortion
- View Image - Façade Glass Quality Inspection – Scratches, Chips, Distortion
Cite & Embed
“Façade Glass Quality Inspection – Scratches, Chips, Distortion by Quollnet”
with a link to
this source page.
FAQ
Question: What viewing distance and lighting should I use to assess façade glass defects?
Question: How do I differentiate scratches from residue or cleaning streaks?
Question: What simple tools can I use to assess optical distortion onsite?
Question: When should a pane be repaired or replaced rather than cleaned?
Related Articles
Broader reading and guidance connected to this checklist topic.


Improve Your Project Handover Process With Snag List Tracking App
Retention In Construction: Formulas, Bonds & Accounting Guide
Related Checklists
Keep the workflow moving with nearby templates chosen from similar checklist content.