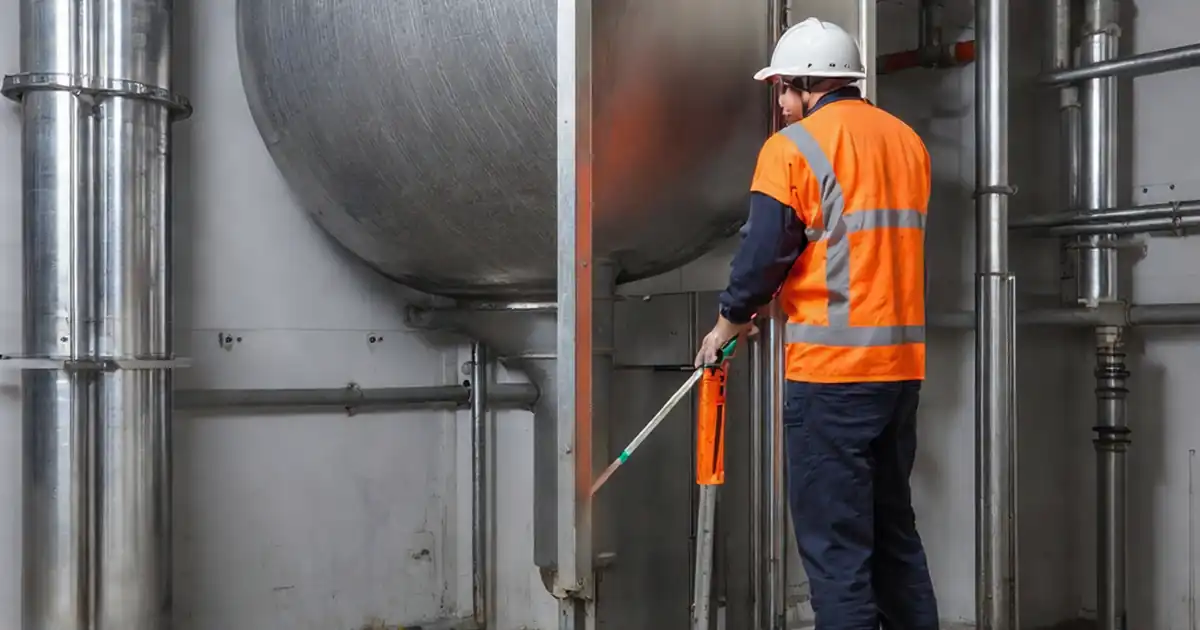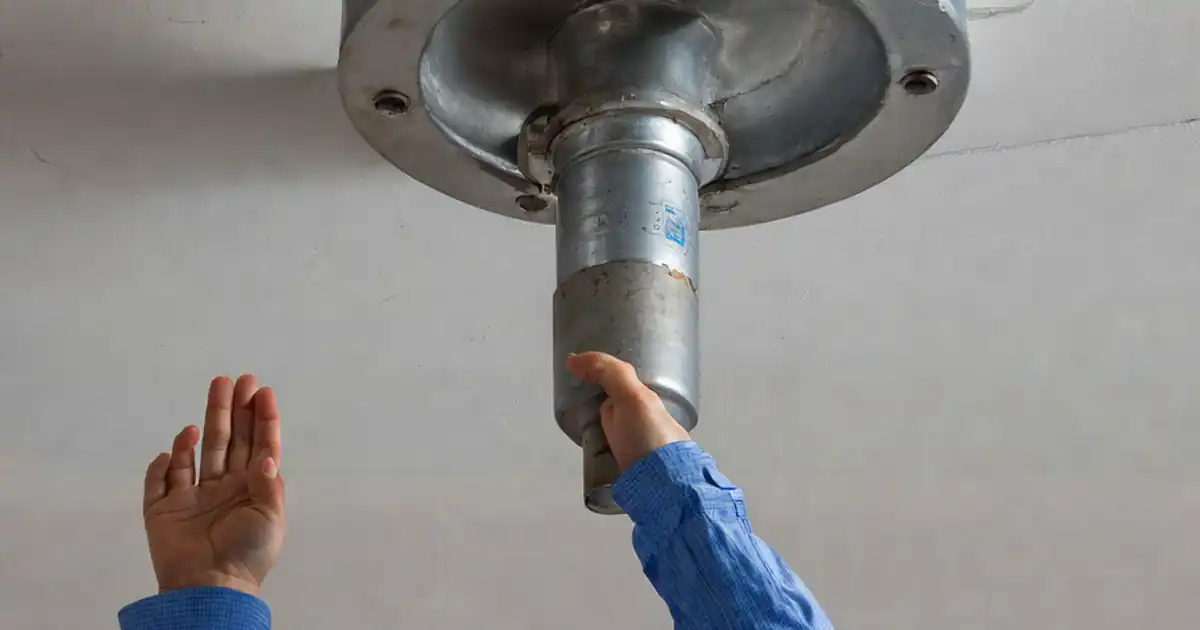
A duct branch take-off connection inspection checks the branch connection’s location, size, orientation, fitting geometry, attachment, and sealing against approved project details and applicable manufacturer instructions.
- Use approved layouts, schedules, connection details, and project sealing specifications as the inspection basis.
- Examine fitting condition, opening fit, seating, and attachment as well as the sealed joint.
- Record inaccessible or unverifiable conditions as unresolved, not passed.
- Visual sealing checks do not establish measured air leakage performance.
The checklist
Take-Off Location
- Verify the take-off location against the approved duct layout.
Branch Connection Size
- Verify the branch connection size against the approved duct schedule or drawings.
Take-Off Orientation
- Verify the take-off orientation matches the branch routing shown on the approved drawings.
Fitting Type and Entry Geometry
- Verify the fitting type and entry geometry match the approved connection detail.
Fitting Condition
- Check the take-off fitting for dents, distortion, or collapsed sections that restrict its opening or prevent proper seating.
Main-Duct Opening Fit
- Verify the main-duct opening size and shape match the fitting requirements in the approved connection detail or applicable manufacturer instructions.
Cut Metal and Loose Fragments
- Inspect the main-duct opening for leftover cutouts, hanging metal, or loose fragments.
Internal Fitting Projections
- Verify internal tabs, collars, or other fitting projections conform to the approved connection detail.
Flange or Collar Seating
- Verify the take-off flange or collar is seated against the main duct as shown in the applicable connection detail, without unintended gaps.
Attachment Method and Arrangement
- Verify the attachment method and fastener arrangement match the approved connection detail and applicable fitting manufacturer instructions. Flag conflicting requirements for resolution.
Fastener Condition
- Inspect installed fasteners for loose, missing, or stripped connections.
Main-Duct Attachment Surface
- Inspect the main-duct surface around the connection for tearing, buckling, or pull-through at attachment points.
Secure Take-Off Attachment
- Confirm the installed attachment holds the take-off firmly to the main duct, without looseness at the connection. Do not use a force test that could damage the duct or fitting.
Sealing Material
- Verify the installed sealing material matches the project specification and is suitable for the duct materials and connection type according to its manufacturer instructions.
Joint Perimeter Sealing
- Inspect the full take-off-to-main joint perimeter for continuous sealing without visible gaps, cracks, or lifting.
Fastener Penetration Sealing
- Verify fastener penetrations are sealed where required by the approved sealing detail.
Preview the printable checklist
Preview page one below. Open the image or download the PDF for all pages.

At a glance
- Establish the correct drawing, connection detail, and manufacturer instruction references before inspecting.
- Assess geometry, attachment, and sealing separately; an acceptable appearance in one area does not verify the others.
- Flag conflicting requirements for resolution rather than choosing an unsupported installation method.
- Keep inspection conclusions within what can actually be observed or verified.
How to Use the Approved Inspection Checklist
- Gather the approved duct layout, relevant schedule or drawings, connection detail, sealing specification, and applicable manufacturer instructions.
- Identify the take-off connection and determine which conditions are accessible for inspection. Note any limitations before assigning results.
- Work through the approved checklist as issued, using the applicable references rather than assumed installation practices.
- Record observed discrepancies and conflicting requirements clearly. Mark inaccessible or unverifiable conditions as unresolved, not passed.
- Summarize the inspection findings without claiming measured air leakage performance from visual sealing checks.
Use project-specific details as the acceptance basis
Take-off arrangements vary, so there is no single fitting geometry or fastener pattern to assume for every connection. The approved layout establishes location and routing, while the duct schedule, connection detail, project specification, and applicable manufacturer instructions provide the relevant installation references.
- Identify the references applicable to the connection being inspected.
- Do not invent dimensions, fastener spacing, or sealing requirements when the governing detail is unavailable.
- Flag conflicting attachment requirements for resolution.
Consider the fitting and main-duct opening together
A fitting can appear correctly positioned while still having an opening mismatch, distortion, or poor seating. Evaluating the fitting and the main-duct opening together helps distinguish a correctly formed connection from one whose visible exterior conceals an unresolved condition.
- Use the approved detail to assess entry geometry and internal projections.
- Do not treat a sealed exterior as proof that the opening or internal condition is acceptable.
- Keep concealed or inaccessible conditions unresolved when they cannot be verified.
Separate secure attachment from joint sealing
Attachment and sealing serve different purposes in the inspection. A continuous seal does not demonstrate that fasteners are sound or that the main-duct attachment surface is undamaged. Likewise, a firmly attached fitting does not establish that the joint perimeter is continuously sealed.
- Evaluate attachment against the approved arrangement and applicable fitting instructions.
- Confirm firmness without applying a force test that could damage the duct or fitting.
- Assess sealing material compatibility and visible seal continuity independently of attachment.
Report only what the inspection establishes
Inspection records should distinguish verified conditions, observed defects, and unresolved conditions. Visual examination can identify visible sealing gaps, cracks, or lifting, but it cannot establish measured air leakage performance.
- Describe the observed condition and its location clearly.
- State when access or missing reference information prevents verification.
- Avoid presenting a visual sealing review as an air leakage test.