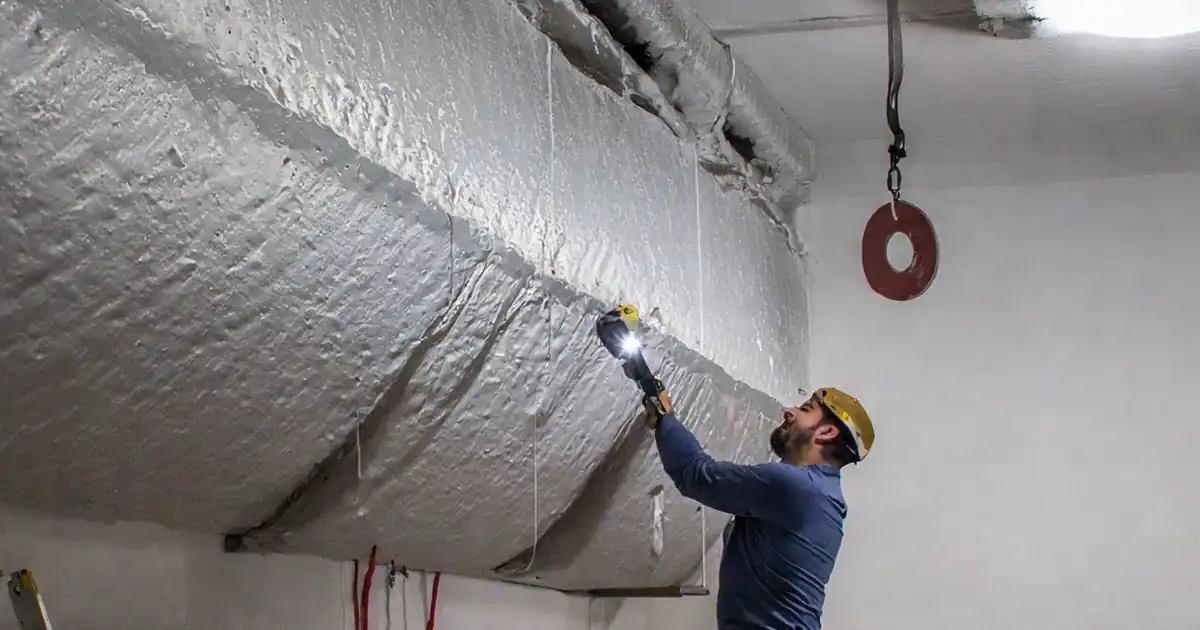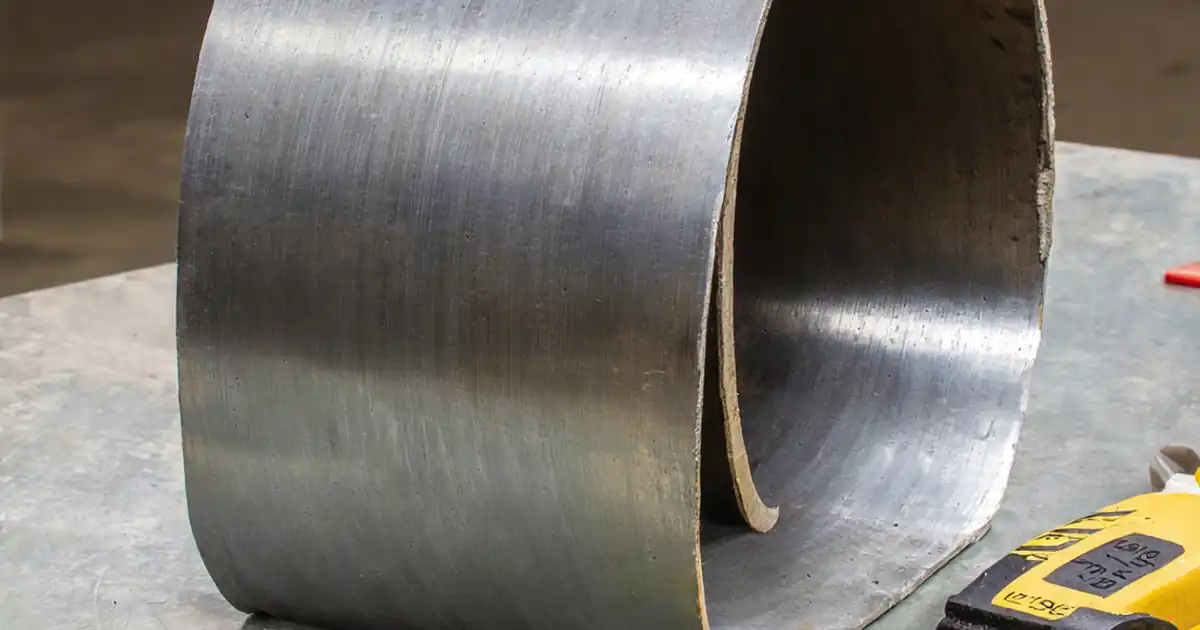
Rectangular duct radius elbow inspection checks a fabricated elbow’s dimensions, bend geometry, internal profile, seams, and airflow clearance against approved fabrication details.
- Use the approved fabrication and joint details as the inspection reference.
- Apply specified dimensional tolerances where provided.
- Check curved surfaces, transitions, and seams for unintended defects or projections.
- Assess sealing, turning vanes, and internal supports only where specified.
The checklist
Fabrication Reference
- Confirm the approved fabrication detail matches the elbow being inspected and identifies the required dimensions, bend geometry, and joint construction.
Inlet Dimensions
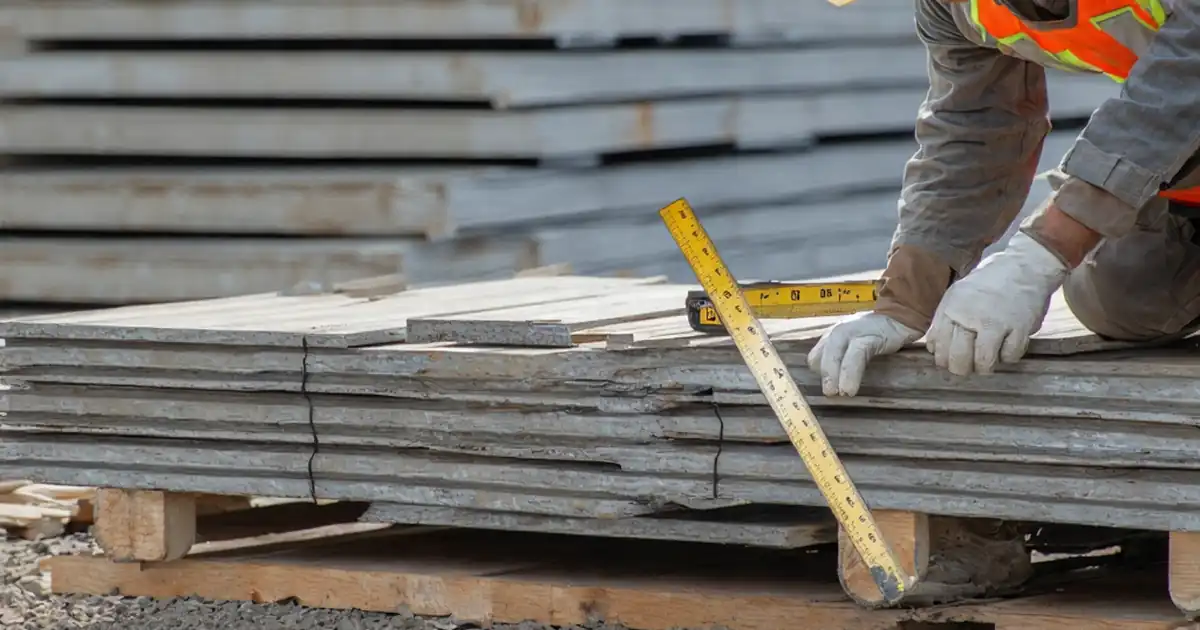
- Measure the inlet opening width and height and compare them with the approved fabrication detail, using specified tolerances where provided.
Outlet Dimensions
- Measure the outlet opening width and height and compare them with the approved fabrication detail, using specified tolerances where provided.
Bend Angle
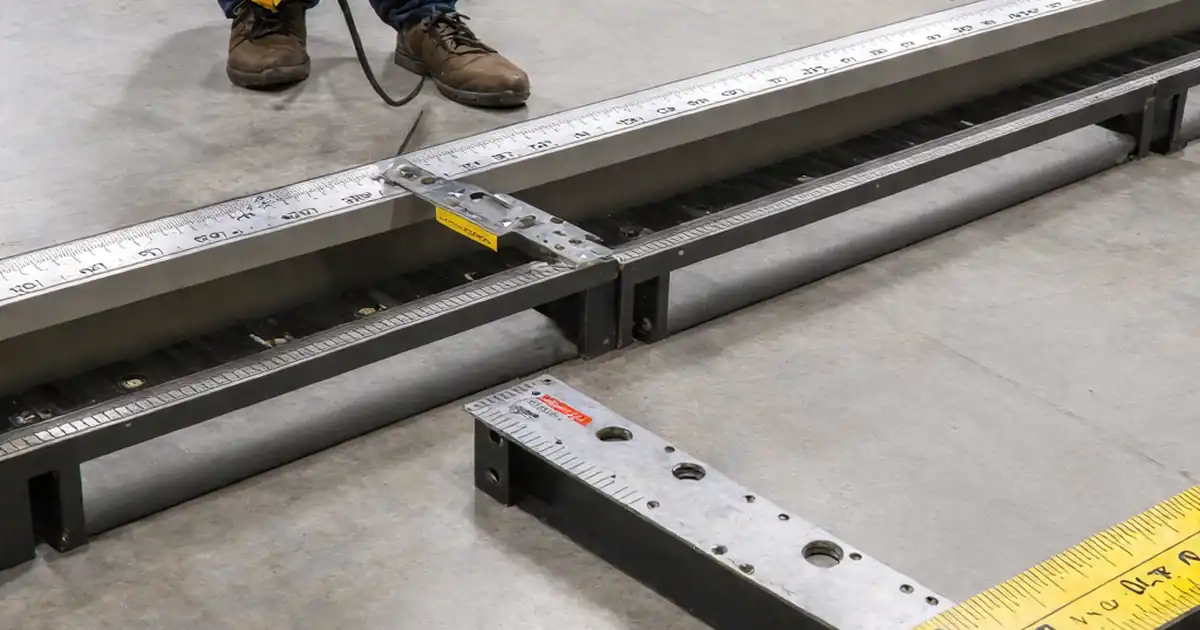
- Measure the bend angle and compare it with the approved fabrication detail, using the specified tolerance where provided.
Throat Radius
- Check the throat radius against the approved fabrication detail using a radius template or dimensional measurement, applying the specified tolerance where provided.
Heel Radius
- Check the heel radius against the approved fabrication detail using a radius template or dimensional measurement, applying the specified tolerance where provided.
Connection Face Fit
- Check the inlet and outlet connection faces for distortion that would prevent the specified mating fit.
Curved Surface Profile
- Inspect the internal curved surfaces throughout the bend for unintended kinks, buckling, dents, or abrupt contour changes. Use lighting and a mirror or camera where direct viewing is obstructed.
Straight-to-Curve Transitions
- Check the transitions between straight ends and curved sections for unintended steps or sharp offsets.
Internal Edge Finish
- Visually inspect exposed internal cut edges for burrs or sharp projections.
Seam Integrity
- Inspect each seam along its accessible length for unintended open gaps or splits.
Seam Construction
- Verify seam engagement and fastening, as applicable, against the specified joint detail.
Specified Seam Sealing
- Where seam sealing is specified, verify that the sealing material, location, and coverage match the specified sealing detail, with no visible breaks in required coverage.
Unintended Internal Projections
- Inspect the airflow passage for fastener ends, seam folds, or excess sealant projecting beyond the intended internal profile shown in the fabrication or joint details.
Vane and Support Arrangement
- Where turning vanes or internal supports are specified, verify their presence, orientation, and spacing against the approved fabrication detail.
Vane and Support Attachment
- Where turning vanes or internal supports are specified, verify their attachment points and fastening against the approved fabrication detail.
Foreign Material Clearance
- Inspect the full elbow interior for loose metal, swarf, packaging, tools, or other foreign material remaining in the airflow passage.
Preview the printable checklist
Preview page one below. Open the image or download the PDF for all pages.

At a glance
- Geometry checks cover inlet and outlet dimensions, bend angle, throat and heel radii, and connection face fit.
- Internal profile checks address curved surfaces, straight-to-curve transitions, exposed edges, and unintended projections.
- Seam checks distinguish integrity, specified construction, and sealing where required.
- Airflow clearance includes specified vane or support arrangements and the absence of foreign material.
How to Use the Approved Inspection Checklist
- Start with the approved fabrication and joint details that apply to the elbow, identifying specified dimensions, tolerances, and conditional features.
- Follow the checklist’s geometry checks, comparing measured dimensions, angles, and radii with the approved reference.
- Continue through the internal profile and seam checks, using lighting and viewing aids where direct access is obstructed.
- Apply the sealing, vane, and support checks only where those features are specified, then complete the interior clearance inspection.
Approved details define the inspection basis
The approved fabrication detail establishes the intended elbow geometry and construction. Measurements should be compared with that reference, using its specified tolerances where provided rather than an assumed allowance.
- Confirm that the reference applies to the elbow being inspected.
- Use the specified joint detail to assess seam construction.
- Keep conditional requirements tied to features actually specified.
Geometry and internal smoothness are distinct checks
Correct opening dimensions and radii do not by themselves establish a smooth internal passage. The curved surfaces and their transitions also need visual examination for unintended changes in contour.
- Throat and heel radii describe different boundaries of the bend.
- Connection face distortion can affect the specified mating fit.
- Lighting and a mirror or camera help reveal curved surfaces where direct viewing is obstructed.
Seam quality includes more than visible closure
A seam’s appearance, engagement, and fastening are related but separate inspection concerns. Where sealing is specified, its material, location, and coverage must also be assessed against the sealing detail.
- Accessible seam lengths are examined for unintended gaps or splits.
- Seam engagement and fastening are judged against the specified joint construction.
- Sealing is conditional and should not be treated as a universal requirement.
Clearance depends on the intended internal profile
Not every internal feature is an obstruction: turning vanes and supports may be part of the approved design. The inspection distinguishes these intended features from excess fastener ends, seam folds, sealant, or foreign material in the airflow passage.
- Compare internal projections with the fabrication or joint details.
- Assess vane and support arrangement and attachment only where specified.
- Examine the full interior for remaining loose material.