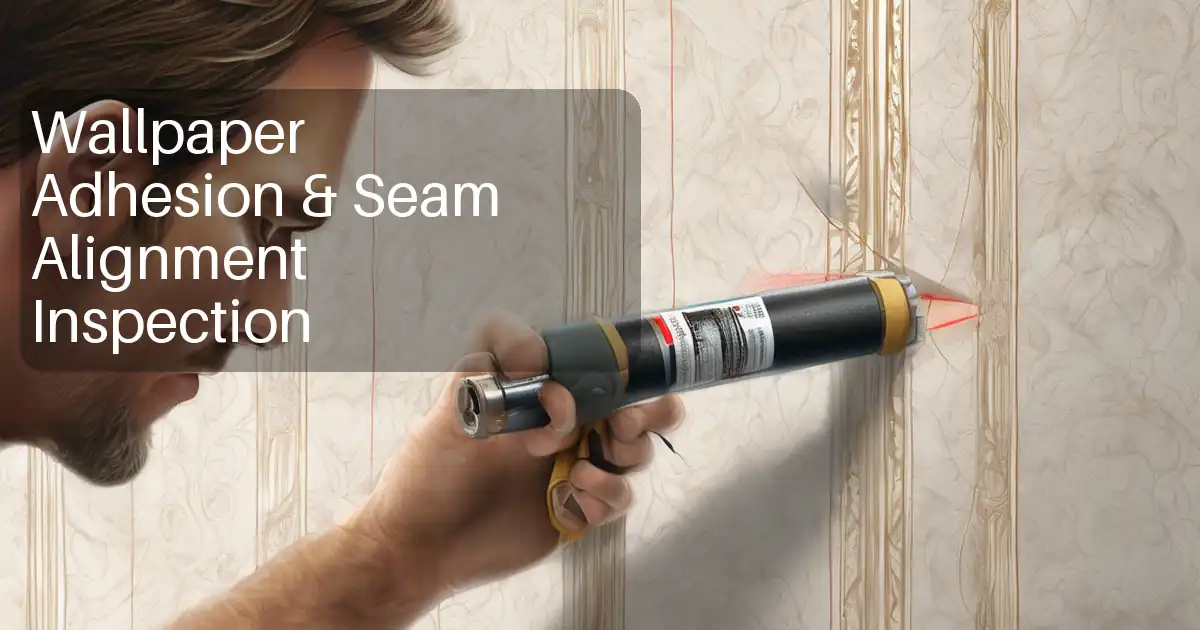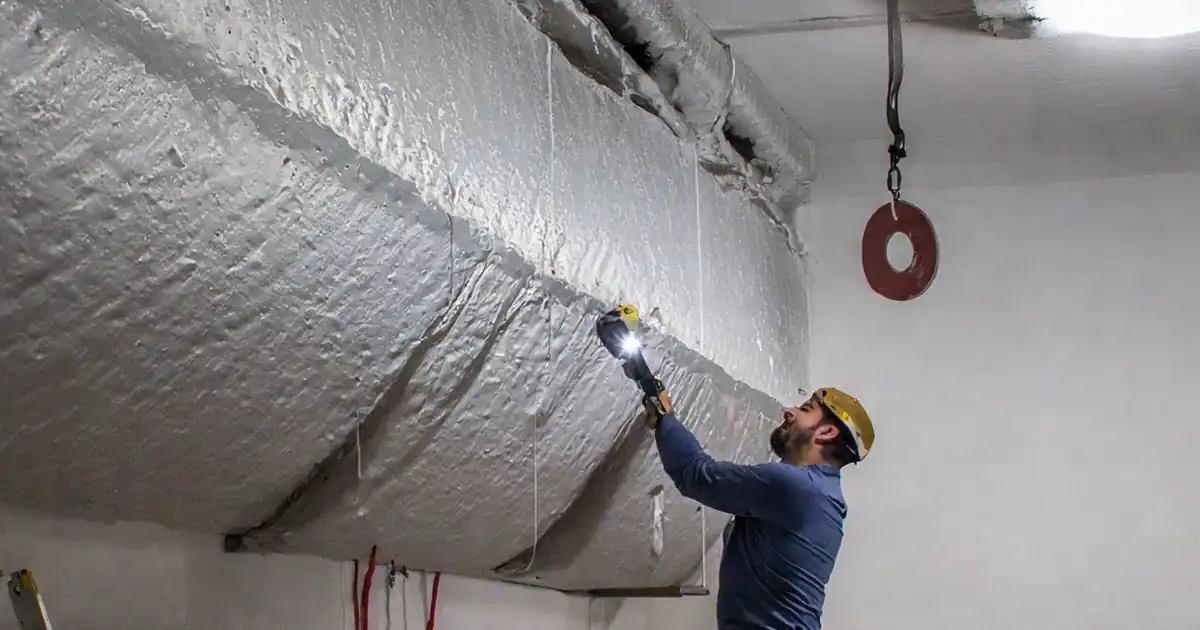
A focused field check, performed before insulation, to verify rectangular duct longitudinal seams are closed and continuously sealed with sound adhesion and accessible workmanship.
- Trace each seam end-to-end
- Confirm tight metal closure and joint engagement
- Verify continuous sealant bridging both sides
- Eliminate voids, pinholes, and missed spots
- Check adhesion and set/skin before covering
- Photograph and log products and results
The checklist
Locate and trace each longitudinal seam
- Identify the longitudinal seam on each rectangular duct section and follow it end-to-end.
Check seam metal closure
- Verify metal edges along the seam are tight with uniform contact and no visible gaps or openings.
Confirm lock/joint engagement
- Where lock seams or tabs are used, confirm they are fully engaged and not protruding or deformed.
Verify surface cleanliness and dryness
- Confirm the seam and adjacent metal are clean and free of oil, dust, loose debris, and visible moisture or condensation before sealing.
Record sealant/tape product details
- Document sealant (and tape, if used) brand/name, type, lot/batch, and shelf-life or expiration status from the container label present at the work area.
Confirm continuous sealant application
- Verify a continuous bead or coat is present along the entire longitudinal seam with no skips.
Check seam bridging and side bonding
- Ensure the sealant fully bridges the seam and adheres to both sides of the joint.
Inspect for voids and pinholes
- Scan the sealed seam for voids, pinholes, cracks, or missed spots; none should be present.
Assess sealant uniformity
- Confirm coverage is even with no bare metal showing and no excessive ridges, runs, or gaps.
Verify corners, terminations, and interruptions
- At corners, tie-ins at transverse joints or flanges, stiffeners, and where hardware crosses the seam, confirm sealing is continuous.
Check mesh reinforcement (if used)
- Where mesh is present, confirm it is fully embedded with no exposed fibers and is fully encapsulated in sealant.
Probe adhesion at sample points
- Gently lift at an edge with a fingernail or dull probe; sealant should remain bonded without lifting. Do not gouge or cut the seal.
Confirm set/skin before covering
- Lightly touch a discreet spot; sealant should be set/skinned and not smear or transfer to the finger or glove.
Inspect behind obstructions
- Use a flashlight and mirror to verify sealant continuity behind hangers, supports, and in tight spaces.
Check tape-sealed sections (if present)
- If sealing tape is used, confirm full contact, firm pressure along the length, tight laps, and no fishmouths, wrinkles, bubbles, or edge lift.
Verify no interior contamination
- Where the interior is visible, confirm no blobs, drips, or loose sealant are present inside the duct.
Mark and track defects
- Flag any voids or lifts for repair, then re-inspect corrected areas to confirm continuous coverage and adhesion.
Confirm all accessible areas sealed
- Verify seam sealing is complete and intact at all accessible locations that will be insulated, including upper and side faces and areas near hangers.
Photograph condition before insulation
- Capture overviews and close-ups showing seam coverage, adhesion check points, and identifiable locations for records.
Record inspection details
- Log duct ID, location, date/time, inspector name, and pass/fail status for each seam section.
Preview the printable checklist
Preview page one below. Open the image or download the PDF for all pages.

At a glance
- Follow each longitudinal seam from end to end while access is open.
- Verify tight metal contact, proper joint engagement, and clean, dry surfaces.
- Confirm a continuous sealant or tape application that bridges the seam with no defects.
- Spot-check adhesion and ensure sealant has set/skinned before insulation.
- Inspect corners, tie-ins, obstructions, and any reinforcement or tape details.
- Photograph and log locations, product details, and pass/fail outcomes.
How to perform the pre-insulation seam sealing inspection
- Set up safe access and gather a flashlight, mirror, dull probe, camera, marker, and your log. Confirm the seam area is clean and dry, and have product containers available to record details.
- Locate each rectangular duct’s longitudinal seam and trace it end-to-end, confirming tight metal closure and proper lock/joint engagement.
- Verify a continuous sealant bead or coat that bridges the seam and bonds to both sides; check corners, tie-ins, stiffeners, and areas near hangers.
- Scan for voids, pinholes, cracks, missed spots, runs, or bare metal. If mesh or tape is used, ensure mesh is fully embedded and tape has full contact with tight laps and no defects.
- Use a fingernail or dull probe to lightly check adhesion at sample points without gouging. Lightly touch a discreet area to confirm the sealant has set/skinned without transfer.
- Use a flashlight and mirror to verify continuity behind obstructions and in tight spaces. Where interiors are visible, confirm no drips or loose sealant inside the duct.
- Photograph overviews and close-ups showing seam coverage, adhesion check points, and identifiable locations. Record product brand/type, lot/batch, and shelf-life status.
- Mark defects for repair, re-inspect corrected areas, and log duct ID, location, date/time, inspector, and pass/fail for each seam section.
What this inspection verifies
The pre-insulation check confirms the seam is physically closed and continuously sealed, with proper adhesion and workmanship across all accessible faces. It also ensures details at corners, tie-ins, stiffeners, hangers, and terminations are addressed before they become hidden.
- Seam closure and joint engagement are uniform with no visible gaps
- Surfaces are clean, dry, and suitable for sealing
- Sealant or tape is continuous, bonded to both sides, and free of defects
- Corners, interruptions, and obstructions show uninterrupted coverage
Tools and setup
Have the essentials ready so the check is fast and thorough. Ensure the work area is safe and the product containers used on the seam are present for recording details.
- Flashlight and small mirror for tight/hidden views
- Dull probe or fingernail for gentle adhesion checks
- Camera/phone for overviews and close-ups
- Marker or tags to mark defects and label photo locations
- Log sheet or app to capture duct IDs and product information
Efficient inspection flow
Work in a consistent sequence so nothing is missed. Start where the seam begins, then proceed through features and obstructions, finishing with photos and records.
- Trace the seam continuously, checking metal closure and engagement
- Confirm the sealant bridges both sides with even coverage
- Scan for voids, pinholes, cracks, runs, or bare metal
- Check corners, tie-ins, stiffeners, and behind hangers with a mirror
- If mesh or tape is present, ensure correct embedment and full contact
Adhesion and set checks
A light touch confirms bond and readiness for covering without damaging the work. Only sample at discreet spots and avoid gouging.
- Gently lift an edge—sealant should remain bonded without lifting
- Lightly touch to confirm a set/skin has formed with no transfer
- Do not proceed to insulation until these conditions are met
Defects, photos, and records
Quick documentation speeds closeout and future traceability. Mark, repair, and re-inspect any defects, then capture proof.
- Mark voids or edge lifts and request correction
- Re-inspect repaired areas for continuous coverage and adhesion
- Photograph overviews and close-ups with identifiable locations
- Record duct ID, location, date/time, inspector, and pass/fail
- Log product brand, type, lot/batch, and shelf-life status