Parapet and façade transition waterproofing inspection checklist
Definition: Inspect waterproofing at parapet and façade transitions with this field-ready checklist for site engineers, validating membranes, terminations, drainage, and interfaces at upstands during installation, QA inspections, and handover.
- Verify upstand heights, laps, and terminations against approved details.
- Check compatibility, corner reinforcement, and continuous water-shedding geometry.
- Document measurements, photos, batch records, and sign-offs in one workflow.
- Interactive, commentable, export, QR code for authenticated records.
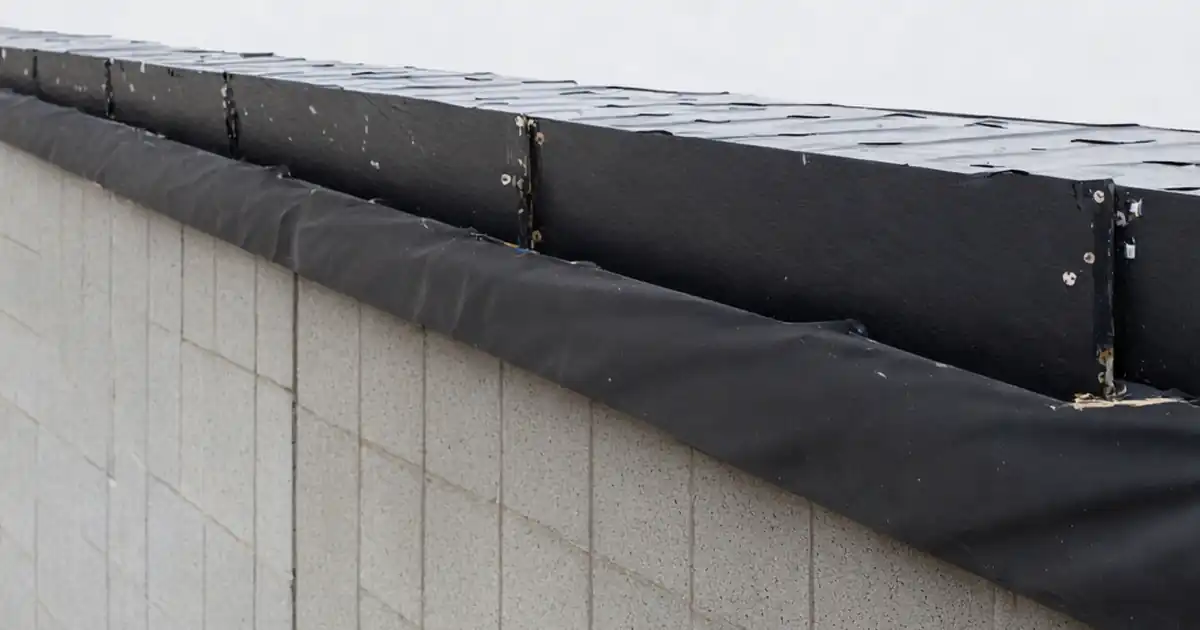
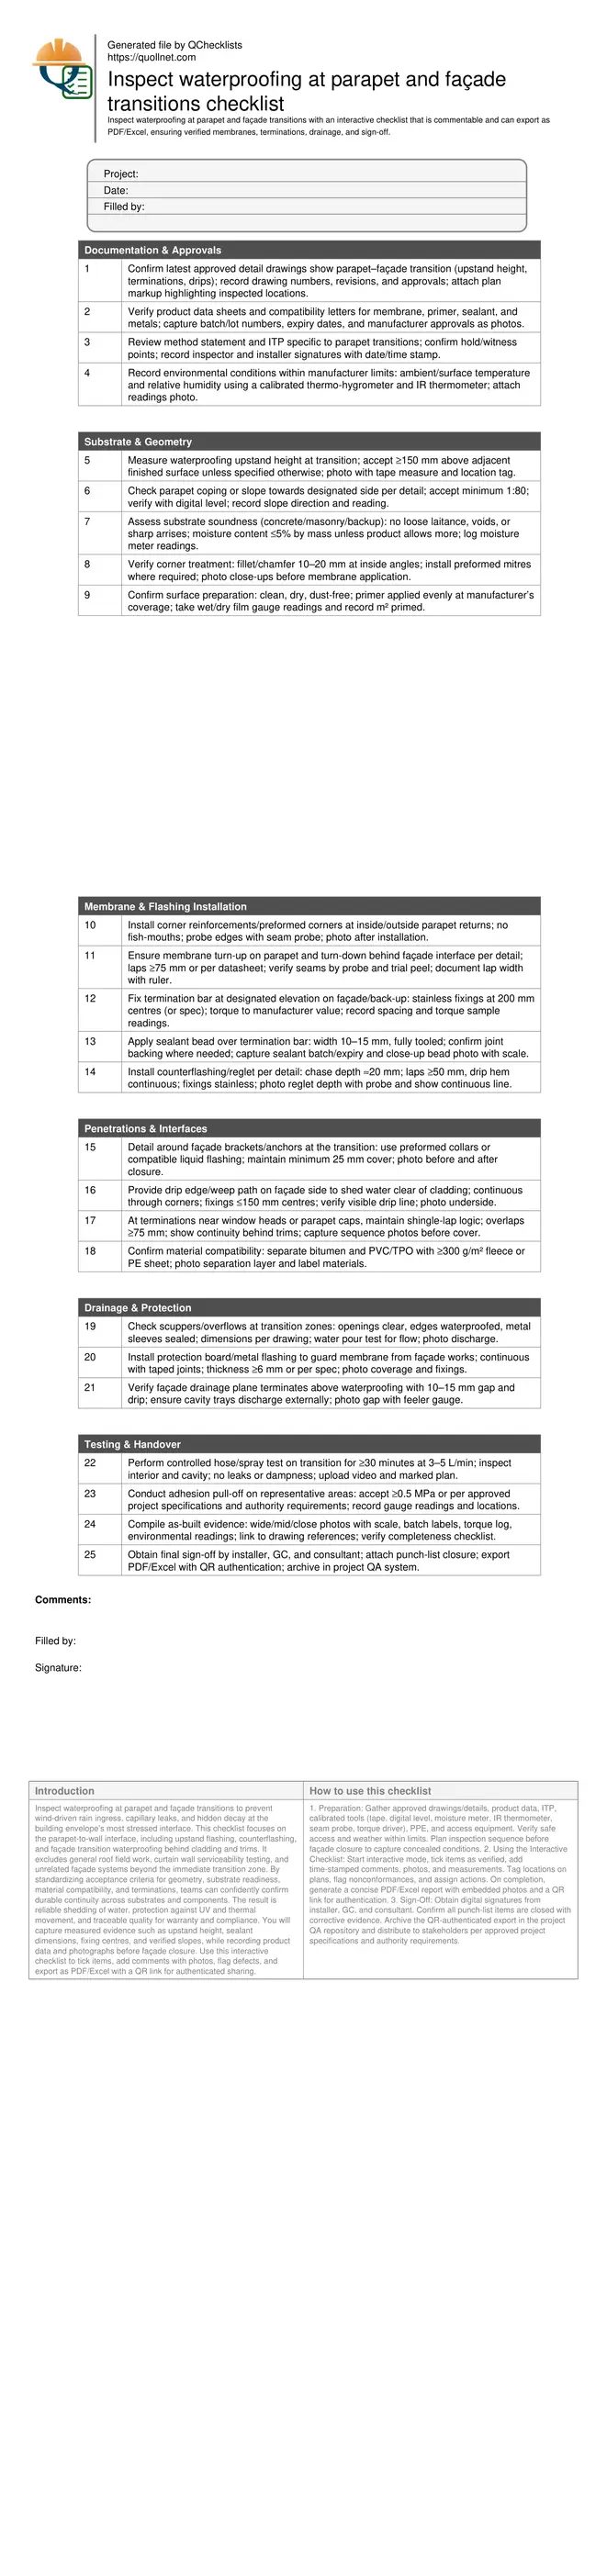
Inspect waterproofing at parapet and façade transitions to prevent wind-driven rain ingress, capillary leaks, and hidden decay at the building envelope’s most stressed interface. This checklist focuses on the parapet-to-wall interface, including upstand flashing, counterflashing, and façade transition waterproofing behind cladding and trims. It excludes general roof field work, curtain wall serviceability testing, and unrelated façade systems beyond the immediate transition zone. By standardizing acceptance criteria for geometry, substrate readiness, material compatibility, and terminations, teams can confidently confirm durable continuity across substrates and components. The result is reliable shedding of water, protection against UV and thermal movement, and traceable quality for warranty and compliance. You will capture measured evidence such as upstand height, sealant dimensions, fixing centres, and verified slopes, while recording product data and photographs before façade closure. Use this interactive checklist to tick items, add comments with photos, flag defects, and export as PDF/Excel with a QR link for authenticated sharing.
- Targeted inspection of the parapet-to-façade interface reduces leak risks from poor terminations, sharp corners, or incompatible materials. Practical tolerances and measurement methods help teams confirm continuous waterproofing where membranes, counterflashings, and cladding supports converge.
- Field-proven steps verify substrate soundness, primer coverage, corner reinforcement, termination bars, sealant beads, drip edges, weeps, and overflow details. Each item requests measurable evidence, photos with scale, batch numbers, and signatures for reliable traceability.
- Interactive online checklist with tick, comment, and export features secured by QR code. Teams can log defects, attach corrective evidence, and produce authenticated PDF/Excel records for consultants, owners, and warranty providers without duplicating paperwork.
Documentation & Approvals
Substrate & Geometry
Membrane & Flashing Installation
Penetrations & Interfaces
Drainage & Protection
Testing & Handover
Why parapet–façade transitions leak and how to inspect them
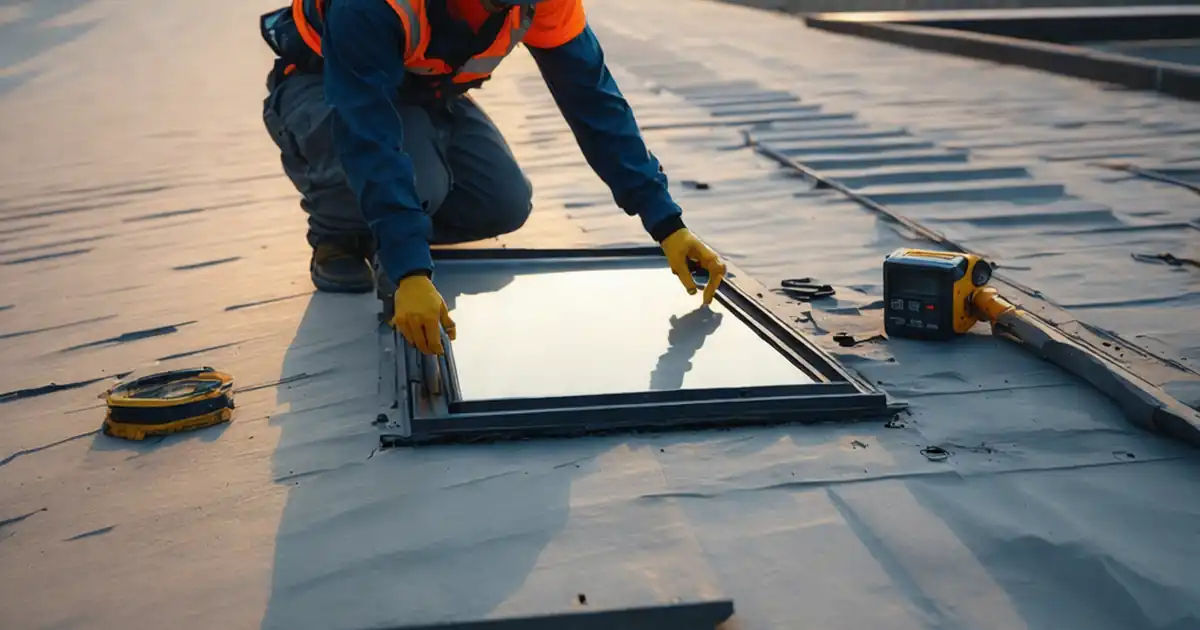
Transitions between parapets and façades are exposed to wind-driven rain, thermal movement, and complex geometry. Failures typically start at sharp inside corners, insufficient upstand height, discontinuous laps, or blocked weep paths that trap water behind cladding. During inspection, verify the water-shedding logic before looking at individual materials: water must fall away from the building via a continuous drip edge, slope, and drainage path. Measure upstands (target ≥150 mm unless specified), confirm a consistent slope (≥1:80), and ensure corners are eased with 10–20 mm fillets so membranes can sit flat without fish-mouths. Check substrates are clean, dry, and sound, with moisture within product limits. Primer coverage, reinforcement at corners, and correctly tooled sealant over termination bars are crucial acceptance cues. Document each check with photos showing a scale and location context, and capture batch numbers and environmental conditions to validate manufacturer requirements and warranties.
- Confirm continuous water-shedding geometry before material checks.
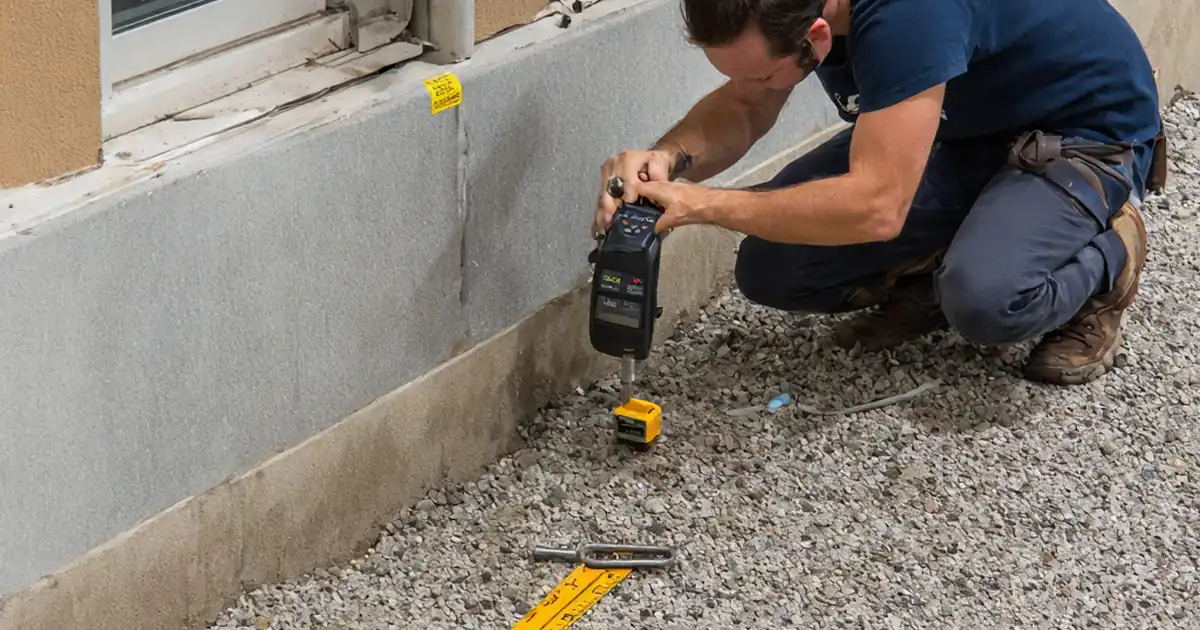
- Measure upstand height and slope with calibrated tools.
- Ease corners with fillets to avoid fish-mouths and stress.
- Document photos with scale, location, and batch numbers.
Materials, compatibility, and terminations that make details durable
A robust transition depends on compatible materials and secure terminations. Verify membranes and primers suit the substrate and each other; separate incompatible pairs (e.g., bitumen with PVC/TPO) using fleece or PE sheets. At the façade side, termination bars must be fixed at controlled centres with stainless fasteners and then sealed with a properly tooled bead. Counterflashings seated in a clean reglet (≈20 mm depth) with overlapped joints maintain protection and a functional drip. Reinforcements at inside/outside corners distribute stress and prevent pinholes. Around façade brackets or anchors, use preformed collars or liquid-applied flashing to maintain coverage without bulky build-up. Protect the finished membrane from later trades with boards or metal flashings. Consistently probe seams, spot-check lap widths, and record torque values to confirm installation quality and long-term serviceability.
- Use separation layers between incompatible materials.
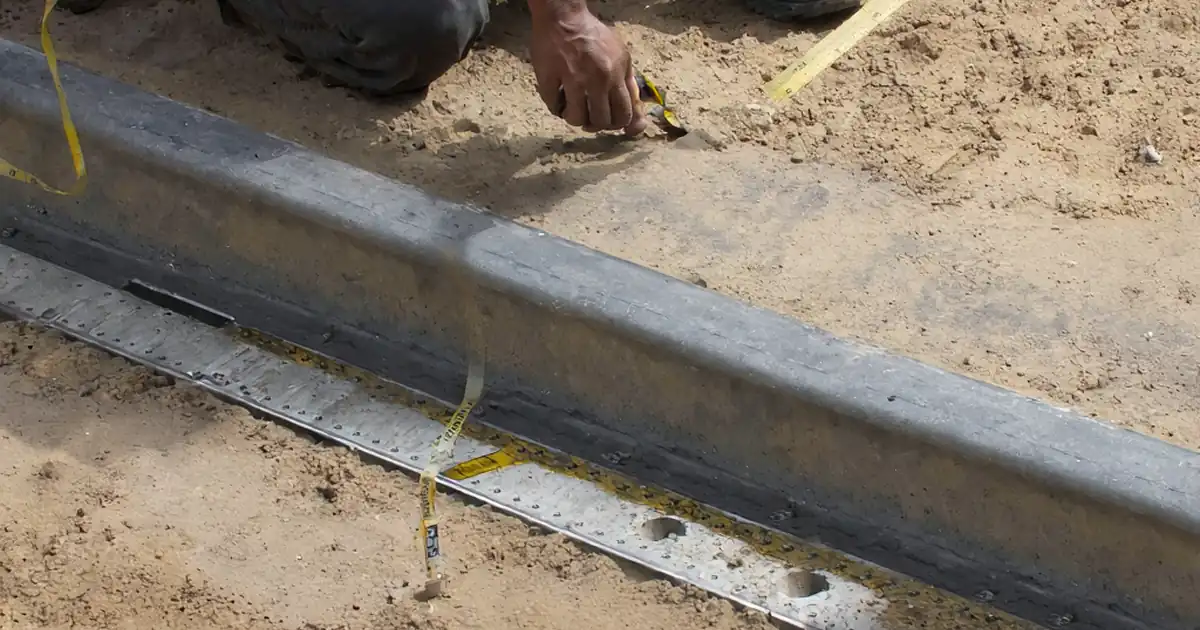
- Fix termination bars at set centres and seal over.
- Seat counterflashing in a clean, deep reglet.
- Reinforce corners and probe seams consistently.
Testing, documentation, and handing over a traceable envelope
Testing verifies what the eye can miss. A controlled hose test at the transition demonstrates continuity of laps, terminations, and drip lines under realistic wetting. Combine this with adhesion checks where specified to confirm bond strength. During closure, create a photographic chain-of-custody: wide view, mid view, and close-up with a ruler or gauge, referencing drawing locations. Log environmental conditions and tool calibrations to substantiate installation within manufacturer limits. Maintain a register of batch numbers for membranes, primers, and sealants to support warranty requirements. Before sign-off, review drainage features such as scuppers and weeps to ensure free discharge. Finally, export an authenticated record set with QR linkage so stakeholders can verify the integrity of documentation throughout the building’s life cycle.
- Run hose tests and inspect interiors simultaneously.
- Capture wide, mid, and close-up photos with scale.
- Record environmental and calibration evidence.
- Export authenticated records with QR linkage.
How to Use This Interactive Checklist
- Preparation: Gather approved drawings/details, product data, ITP, calibrated tools (tape, digital level, moisture meter, IR thermometer, seam probe, torque driver), PPE, and access equipment. Verify safe access and weather within limits. Plan inspection sequence before façade closure to capture concealed conditions.
- Using the Interactive Checklist: Start interactive mode, tick items as verified, add time-stamped comments, photos, and measurements. Tag locations on plans, flag nonconformances, and assign actions. On completion, generate a concise PDF/Excel report with embedded photos and a QR link for authentication.
- Sign-Off: Obtain digital signatures from installer, GC, and consultant. Confirm all punch-list items are closed with corrective evidence. Archive the QR-authenticated export in the project QA repository and distribute to stakeholders per approved project specifications and authority requirements.
Call to Action
- Start Checklist Tick off tasks, leave comments on items or the whole form, and export your completed report to PDF or Excel—with a built-in QR code for authenticity.
- Download Excel - Parapet–Façade Transition Waterproofing Inspection
- Download PDF - Parapet–Façade Transition Waterproofing Inspection
- View Image - Parapet–Façade Transition Waterproofing Inspection
Cite & Embed
“Parapet–Façade Transition Waterproofing Inspection by Quollnet”
with a link to
this source page.

FAQ
Question: What minimum upstand height should I accept at a parapet–façade transition?
Question: How do I verify material compatibility at the transition?
Question: When should I perform hose testing, and what flow rate is suitable?
Question: How can I document concealed areas before cladding or trims are installed?
Related Articles
Broader reading and guidance connected to this checklist topic.




3d Printed Concrete Qa/qc: Inspection, Process Control & Acceptance
Is The Crack You See On Your Wall Serious Or Minor Cosmetic Issue?
Related Checklists
Keep the workflow moving with nearby templates chosen from similar checklist content.