Shading Device Movement Limits & Collision Avoidance Test
Definition: Test shading device movement limits and collision avoidance for commissioning teams validating motorized roller shades against specified travel, end stops, and obstruction detection, minimizing damage, injury, and callbacks during handover.
- Confirms upper, lower, and intermediate limits with repeatable tolerances.
- Validates obstruction detection and anti-collision logic under controlled scenarios.
- Captures photos, readings, and signatures for traceable acceptance records.
- Interactive, commentable checklist with export and QR code.
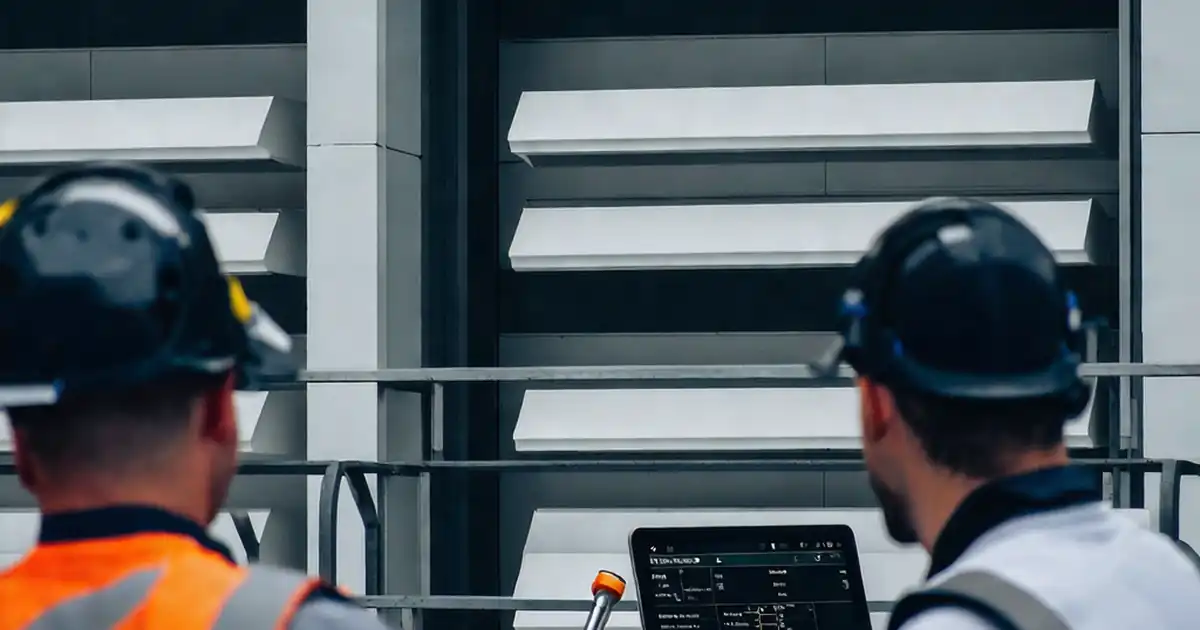
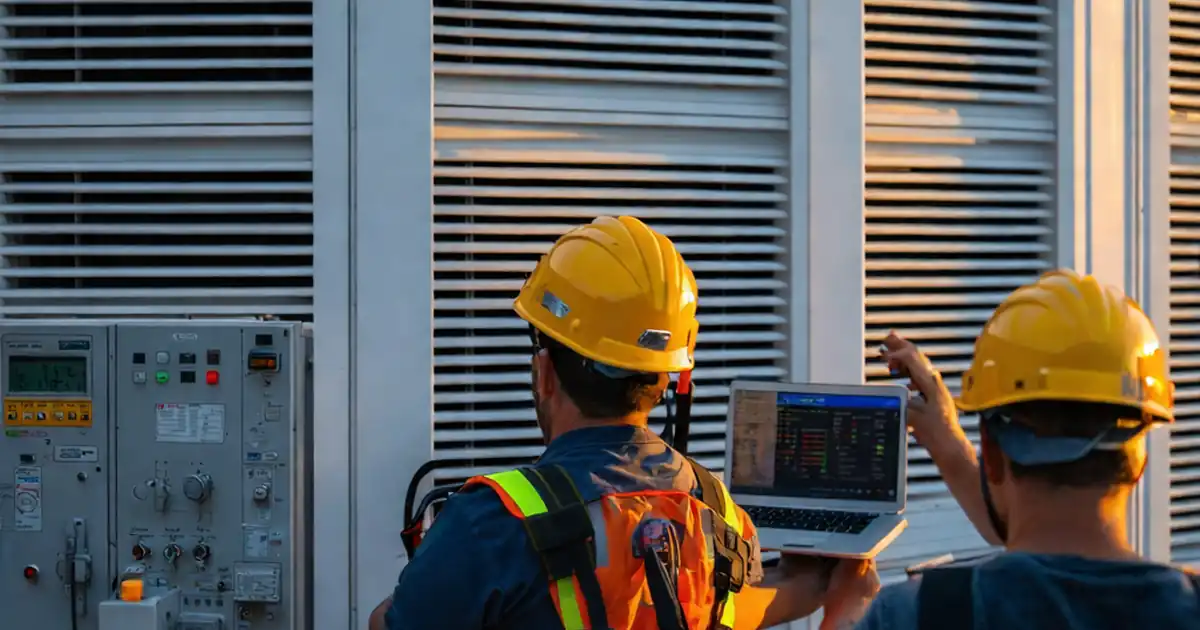
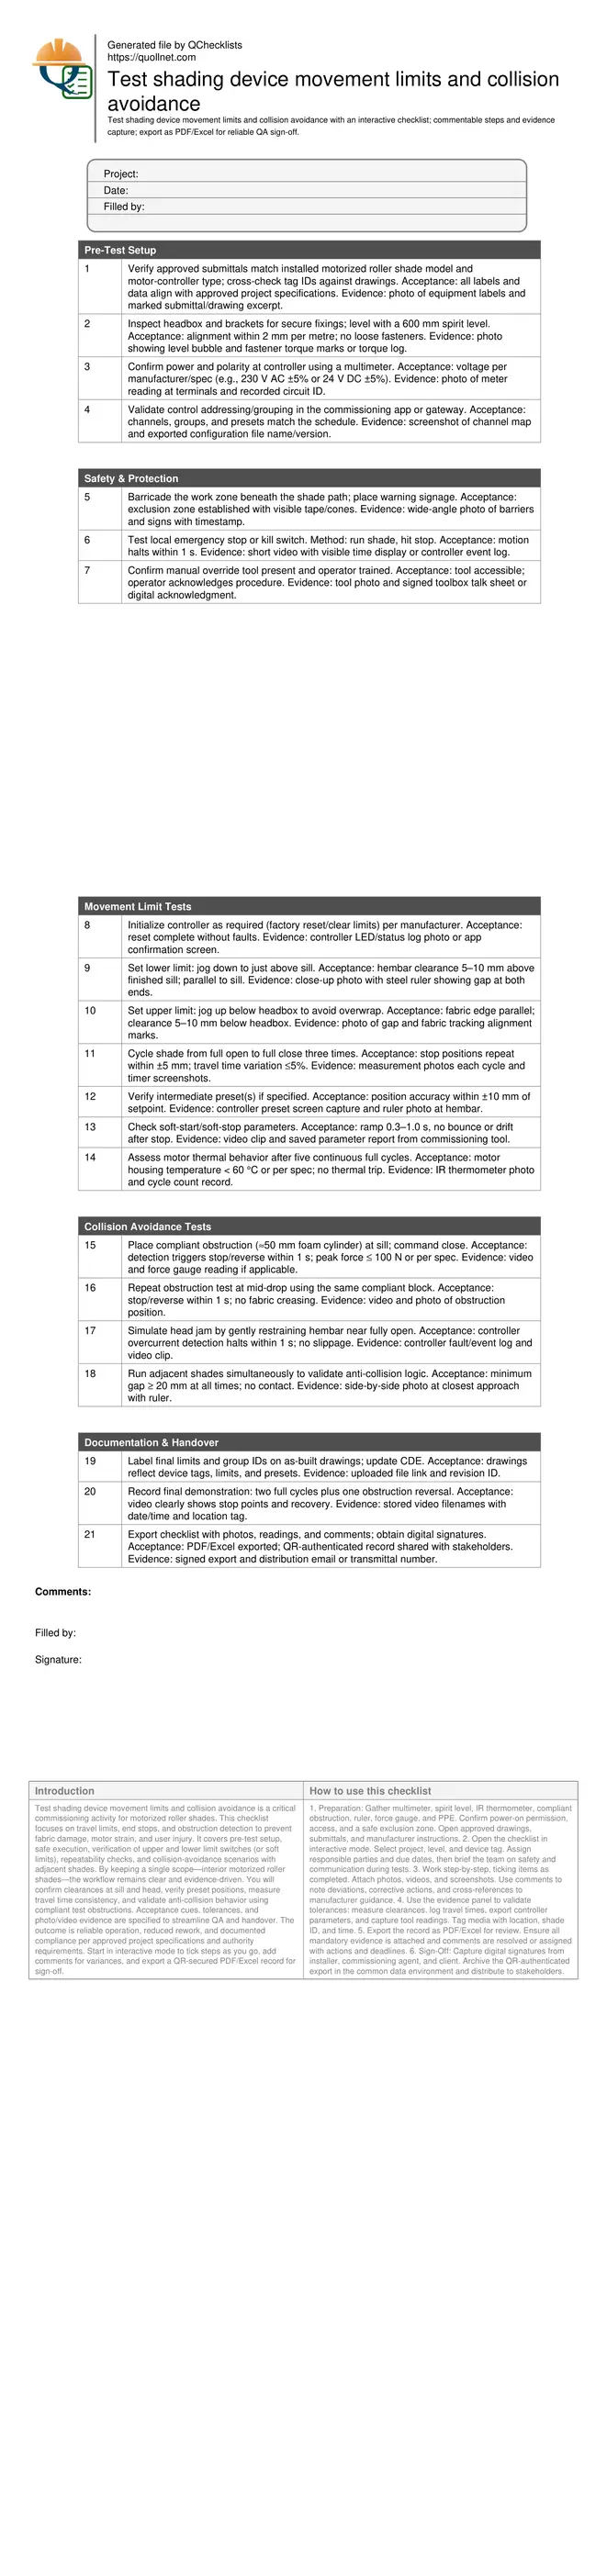
Test shading device movement limits and collision avoidance is a critical commissioning activity for motorized roller shades. This checklist focuses on travel limits, end stops, and obstruction detection to prevent fabric damage, motor strain, and user injury. It covers pre-test setup, safe execution, verification of upper and lower limit switches (or soft limits), repeatability checks, and collision-avoidance scenarios with adjacent shades. By keeping a single scope—interior motorized roller shades—the workflow remains clear and evidence-driven. You will confirm clearances at sill and head, verify preset positions, measure travel time consistency, and validate anti-collision behavior using compliant test obstructions. Acceptance cues, tolerances, and photo/video evidence are specified to streamline QA and handover. The outcome is reliable operation, reduced rework, and documented compliance per approved project specifications and authority requirements. Start in interactive mode to tick steps as you go, add comments for variances, and export a QR-secured PDF/Excel record for sign-off.
- This procedure verifies upper, lower, and intermediate travel limits on motorized roller shades. It prevents overrun, fabric telescoping, and motor overheating. Evidence-based steps require photos, instrument readings, and sign-offs, ensuring repeatability and traceable acceptance aligned with approved project specifications and authority requirements.
- Collision avoidance is validated with compliant obstructions at sill and mid-drop, plus head-jam simulation and adjacent-shade interaction. Measured response times, force thresholds, and clearances confirm safe behavior while protecting occupants, finishes, and equipment, and preventing warranty claims or operational downtime after handover.
- Interactive online checklist with tick, comment, and export features secured by QR code. It supports real-time collaboration between installer, commissioning agent, and client, enabling rapid punch-list closure, transparent deviation tracking, and a clean as-built audit trail stored within your project’s common data environment.
- The workflow emphasizes practical tools—multimeter, spirit level, force gauge, IR thermometer—and clear tolerances for acceptance. Three-cycle repeatability, position accuracy, and travel-time consistency catch intermittent faults early, reducing site revisits and ensuring predictable building operations and occupant comfort from day one.
Pre-Test Setup
Safety & Protection
Movement Limit Tests
Collision Avoidance Tests
Documentation & Handover
Why precise movement limits safeguard performance and finishes
Accurate travel limits protect roller shade fabrics, hembar alignment, and motor longevity. Lower limits set too low can scuff sills and damage edges, while upper limits set too high may overwrap fabric, stressing tubes and bearings. This checklist sets practical clearances—typically 5–10 mm at both sill and head—to avoid contact while preserving usable daylight control. Repeatability is the confidence check: three full cycles should consistently stop within ±5 mm, with travel time variation no greater than 5%. These metrics catch intermittent faults like slipping couplers or drifting soft limits. Real-world examples include shades near uneven sills where a uniform 5–10 mm gap prevents snagging, or clusters around columns where slight misalignment can trigger nuisance trips. By documenting each result with ruler photos, timer screenshots, and app parameter exports, your team creates a defensible record for sign-off per approved project specifications and authority requirements, reducing callbacks and protecting warranties.
- Lower and upper clearances prevent contact and fabric overwrap.
- Three-cycle repeatability exposes intermittent limit drift.
- Travel-time consistency highlights mechanical binding.
- Ruler photos provide unambiguous position evidence.
- Parameter exports anchor as-built settings.
Tools, methods, and acceptance cues for safe, repeatable tests
Commissioning shading devices relies on simple, reliable tools: a spirit level for bracket alignment, a multimeter for supply verification, an IR thermometer to track motor temperature, and a compliant obstruction block for collision tests. Where force thresholds apply, a handheld force gauge quantifies peak loads. Execute tests in a controlled exclusion zone with clear signage to prevent bystander entry. Use the controller’s commissioning app to reset, set limits, and capture event logs. Soft-start and soft-stop should be smooth, with ramp times between 0.3–1.0 seconds and no rebound at stops. If the device supports presets, verify each within ±10 mm. For adjacent shades, run simultaneous motions to confirm a persistent ≥20 mm gap. Store all media and logs in your project’s common data environment to keep a traceable chain from initial configuration through final acceptance and handover.
- Use compliant obstructions to avoid damage.
- Force gauges quantify safe stopping behavior.
- IR thermometer tracks overheating risks.
- Controller logs corroborate test events.
- Exclusion zones keep testing safe.
Common defects, quick diagnostics, and durable remedies
Frequent issues include fabric telescoping, drift after stop, or nuisance obstruction trips. Telescoping often arises from out-of-level brackets; verify within 2 mm/m and re-seat fasteners. Drift after stop may indicate soft-limit overshoot or slipping couplers; inspect set screws, re-torque to spec, and re-teach limits. Nuisance trips can result from excessive friction at guides or misapplied obstruction thresholds; clean tracks, reduce binding, and recalibrate sensitivity per manufacturer guidance. If motors overheat during repeated cycling, confirm duty cycle, allow cooling, and reassess load and ramp parameters. For shades near each other, confirm group logic prevents simultaneous contact and maintains a ≥20 mm gap. Document each correction with before/after photos, parameter change records, and a short verification video so stakeholders can accept repairs with confidence and traceability.
- Level brackets to prevent fabric telescoping.
- Re-torque couplers to stop limit drift.
- Reduce guide friction to curb false trips.
- Respect motor duty cycles to avoid overheating.
- Maintain a ≥20 mm gap between adjacent shades.
How to Use This Checklist
- Preparation: Gather multimeter, spirit level, IR thermometer, compliant obstruction, ruler, force gauge, and PPE. Confirm power-on permission, access, and a safe exclusion zone. Open approved drawings, submittals, and manufacturer instructions.
- Open the checklist in interactive mode. Select project, level, and device tag. Assign responsible parties and due dates, then brief the team on safety and communication during tests.
- Work step-by-step, ticking items as completed. Attach photos, videos, and screenshots. Use comments to note deviations, corrective actions, and cross-references to manufacturer guidance.
- Use the evidence panel to validate tolerances: measure clearances, log travel times, export controller parameters, and capture tool readings. Tag media with location, shade ID, and time.
- Export the record as PDF/Excel for review. Ensure all mandatory evidence is attached and comments are resolved or assigned with actions and deadlines.
- Sign-Off: Capture digital signatures from installer, commissioning agent, and client. Archive the QR-authenticated export in the common data environment and distribute to stakeholders.
Call to Action
- Start Checklist Tick off tasks, leave comments on items or the whole form, and export your completed report to PDF or Excel—with a built-in QR code for authenticity.
- Download Excel - Shading Device Movement Limits & Collision Testing
- Download PDF - Shading Device Movement Limits & Collision Testing
- View Image - Shading Device Movement Limits & Collision Testing
Cite & Embed
“Shading Device Movement Limits & Collision Testing by Quollnet”
with a link to
this source page.

FAQ
Question: How often should shading device limits and collision features be re-tested?
Question: What tolerances are acceptable for stop positions and travel time?
Question: What if the obstruction detection fails or causes fabric damage?
Question: Who should perform these tests and sign off the results?
Related Articles
Broader reading and guidance connected to this checklist topic.


Concrete Cube Test Register Excel Format – Pdf & Excel Sample


Related Checklists
Keep the workflow moving with nearby templates chosen from similar checklist content.