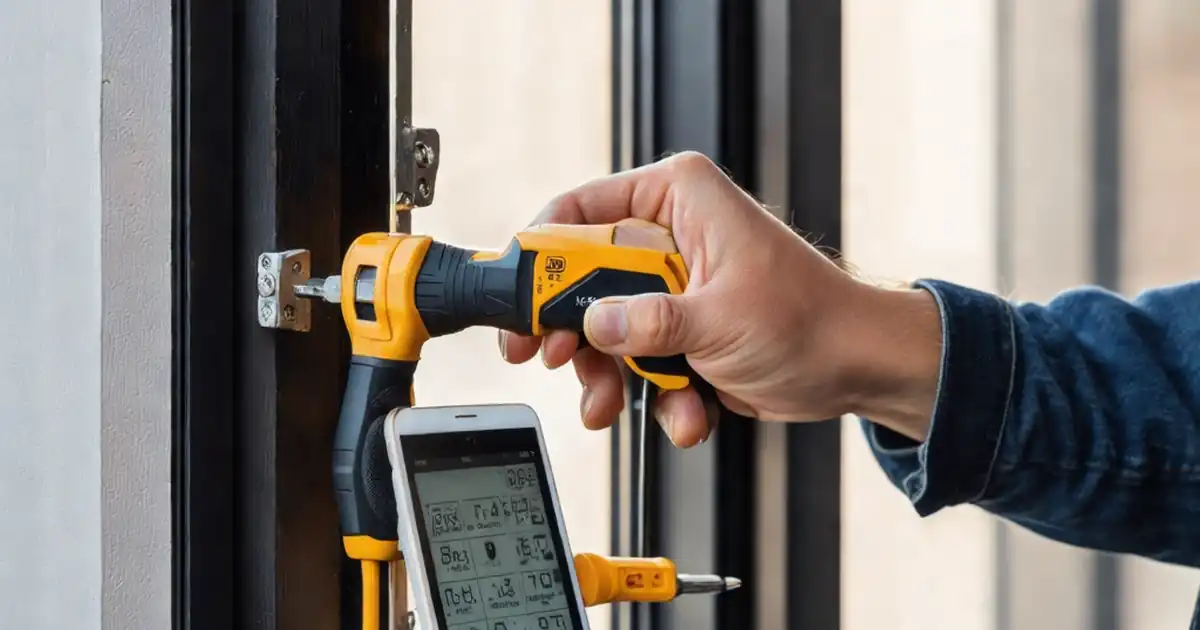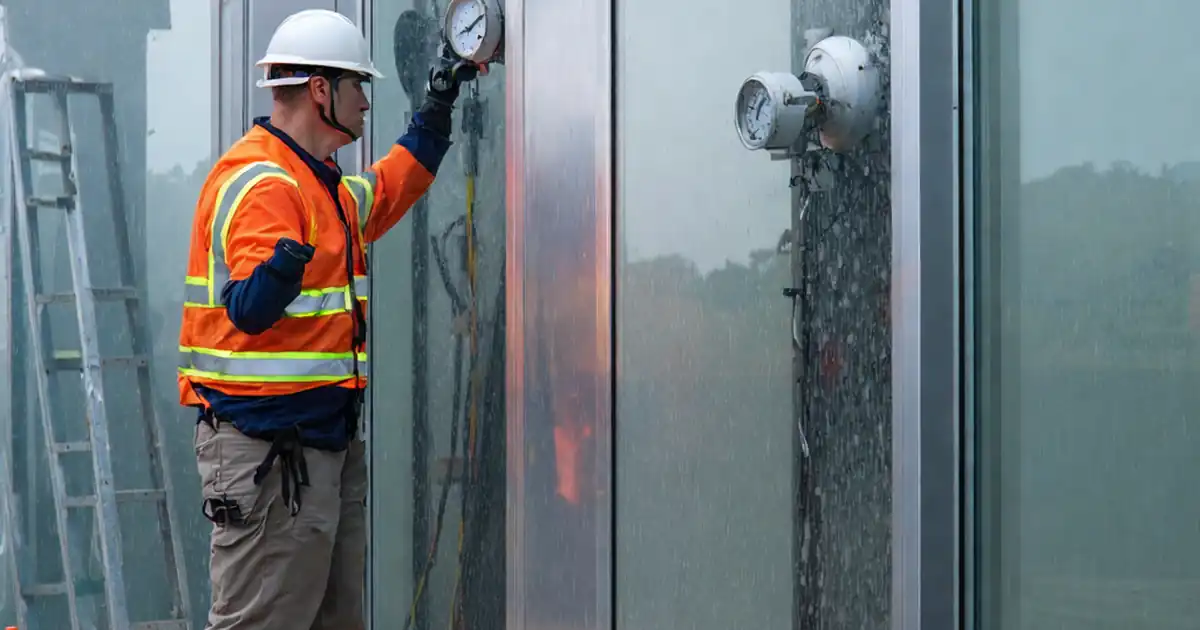
Test façade operable vents for actuation and weather sealing on installed units, guiding site engineers, QA inspectors, and commissioning teams through functional checks and weatherproof validation.
- Verify actuation performance, interlocks, and safety to design intent.
- Validate air and water tightness with calibrated, repeatable field methods.
- Capture photos, readings, and signatures for traceable, corrective closeout.
- Interactive checklist: commentable, export, QR code verification for handover.
The checklist
Pre-Test Setup
- Confirm latest approved drawings, test method statements, and permits are on hand; brief the team. Acceptance: documents current and signed; record document numbers, revision dates, and attendees’ signatures.
- Verify calibration of manometer, flow gauge, and force gauge within 6 months. Acceptance: valid certificates; capture photos of calibration labels and log calibration IDs and dates.
- Measure ambient wind at façade with an anemometer. Acceptance: proceed when wind speed ≤ 5 m/s or per approved project specifications; record value, time, and location photo.
- Isolate the vent under test using low-tack tape and temporary shrouds to prevent edge leakage. Acceptance: adjacent joints masked; attach before/after photos showing isolation extent.
- Set up protection and signage: drop sheets, buckets, and warning cones. Acceptance: protected finishes and clear access routes; photo evidence and supervisor acknowledgment.
Visual Condition & Installation
- Check frame plumb/level and reveal uniformity with a 1 m straightedge and feeler gauge. Acceptance: gap uniformity within ±2 mm; record measurements and close-up photos.
- Inspect gaskets and corner joins for continuity, elasticity, and compression set. Acceptance: no cuts, gaps, or hardened sections; document with macro photos at corners and splices.
- Verify hardware fasteners (hinges, stays, operators) are seated and torqued per approved project specifications. Acceptance: recorded torque values (N·m); no stripped heads; photo of each location.
- Confirm weep holes and pressure-equalization paths are unobstructed using a probe and water drop test. Acceptance: free flow to exterior; capture probe and outflow photos.
Actuation & Hardware Performance
- Cycle the vent fully open/closed 10 times using the intended handle or motor. Acceptance: no binding or scraping; consistent travel; record cycle time per stroke (s) and anomalies.
- Measure peak operating force with a calibrated spring scale at the handle. Acceptance: within project limit (N); log peak force readings and photo of gauge during pull.
- Verify latching and seal compression: insert 0.05 mm feeler probe around perimeter when latched. Acceptance: probe does not pass; note any ingress points; attach photos.
- Check restrictors/limit stops for maximum opening angle using an inclinometer. Acceptance: opening angle within design range (°) per approved project specifications; photo of reading.
- Confirm interlocks (BMS/smoke control/contact switches) respond correctly when vent opens/closes. Acceptance: correct signal state change; attach screenshots/point logs and timestamp.
Weather Sealing – Air Tightness
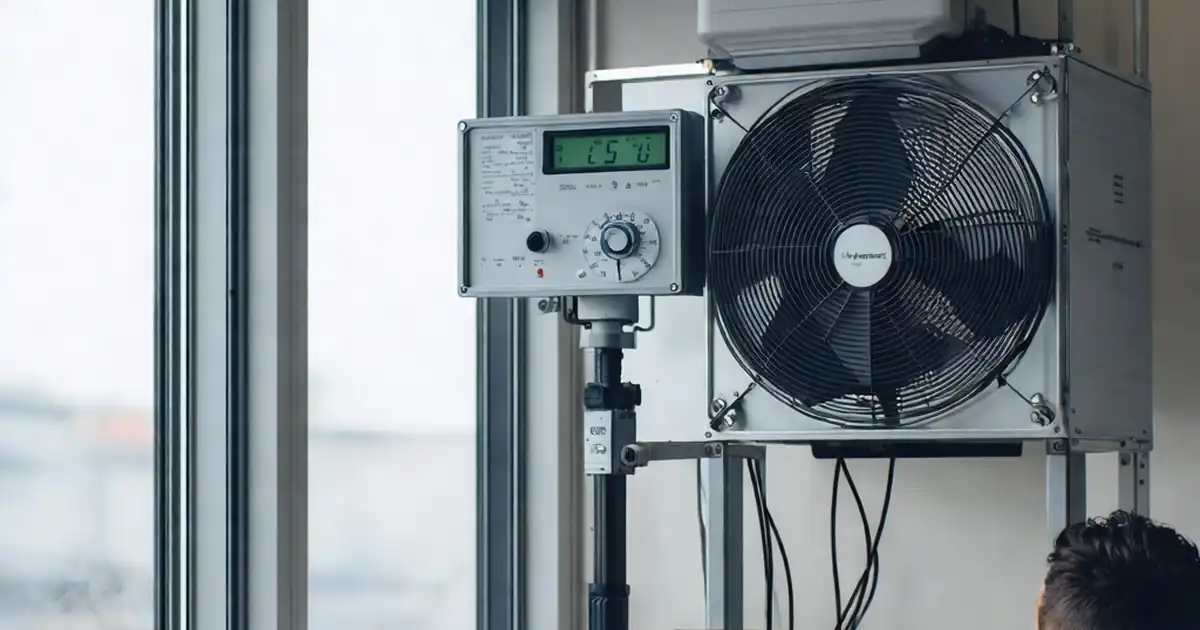
- Install temporary airtight hood over the vent and connect blower fan and manometer. Acceptance: stable baseline; photo of setup and hood sealing details.
- Apply target pressure differential per approved project specifications (positive and/or negative). Acceptance: stabilize setpoint within ±5 Pa for 60 s; record Pa vs time.
- Measure airflow rate at each setpoint. Acceptance: leakage within specified limit (L/s·m² of vent area); capture readings and calculation sheet.
- Use a smoke pencil to trace perimeter and hardware penetrations under pressure. Acceptance: no visible smoke ingress; attach photos/video stills highlighting any trails.
Weather Sealing – Water Tightness
- Calibrate spray rack/nozzles to required flow rate per approved project specifications. Acceptance: each nozzle within ±10% of target L/min; record flowmeter readings.
- Establish required pressure differential if specified using fan/suction box and manometer. Acceptance: maintain target Pa within ±5 Pa; log continuous pressure trace.
- Spray the exterior uniformly at prescribed angle and duration. Acceptance: continuous sheet without dry bands; record start/stop times and coverage photos.
- Inspect interior continuously for water penetration at frames, corners, and hardware. Acceptance: no droplets, damp patches, or tracking; document with interior photos and notes.
- Stop test, remove masking, and trace any moisture paths to root cause. Acceptance: sources identified; create punch list with locations and recommended corrective actions.
Drainage & Weep Function
- Pour 500 mL of water along the interior sill channel and monitor outflow. Acceptance: drains freely to exterior within 60 s; record time and outflow photo.
- Check external weep baffles/caps for secure fit with a 50 N pull test. Acceptance: no movement or deformation; attach photo during pull test.
- Remove debris from weeps and cavities using a soft brush and vacuum. Acceptance: clear openings; bag and tag debris; photo of cleaned weeps.
Documentation & Closeout
- Record vent ID, elevation, gridline, and orientation; link to drawings. Acceptance: location data complete; attach marked-up plan and ID plate photo.
- Log defects with photos, assign responsible party and due date. Acceptance: each item tracked to closure; capture retest readings and sign-off.
- Affix a durable QR code tag linking to the final report. Acceptance: scannable within 3 s; photo of tag in situ and test lead signature.
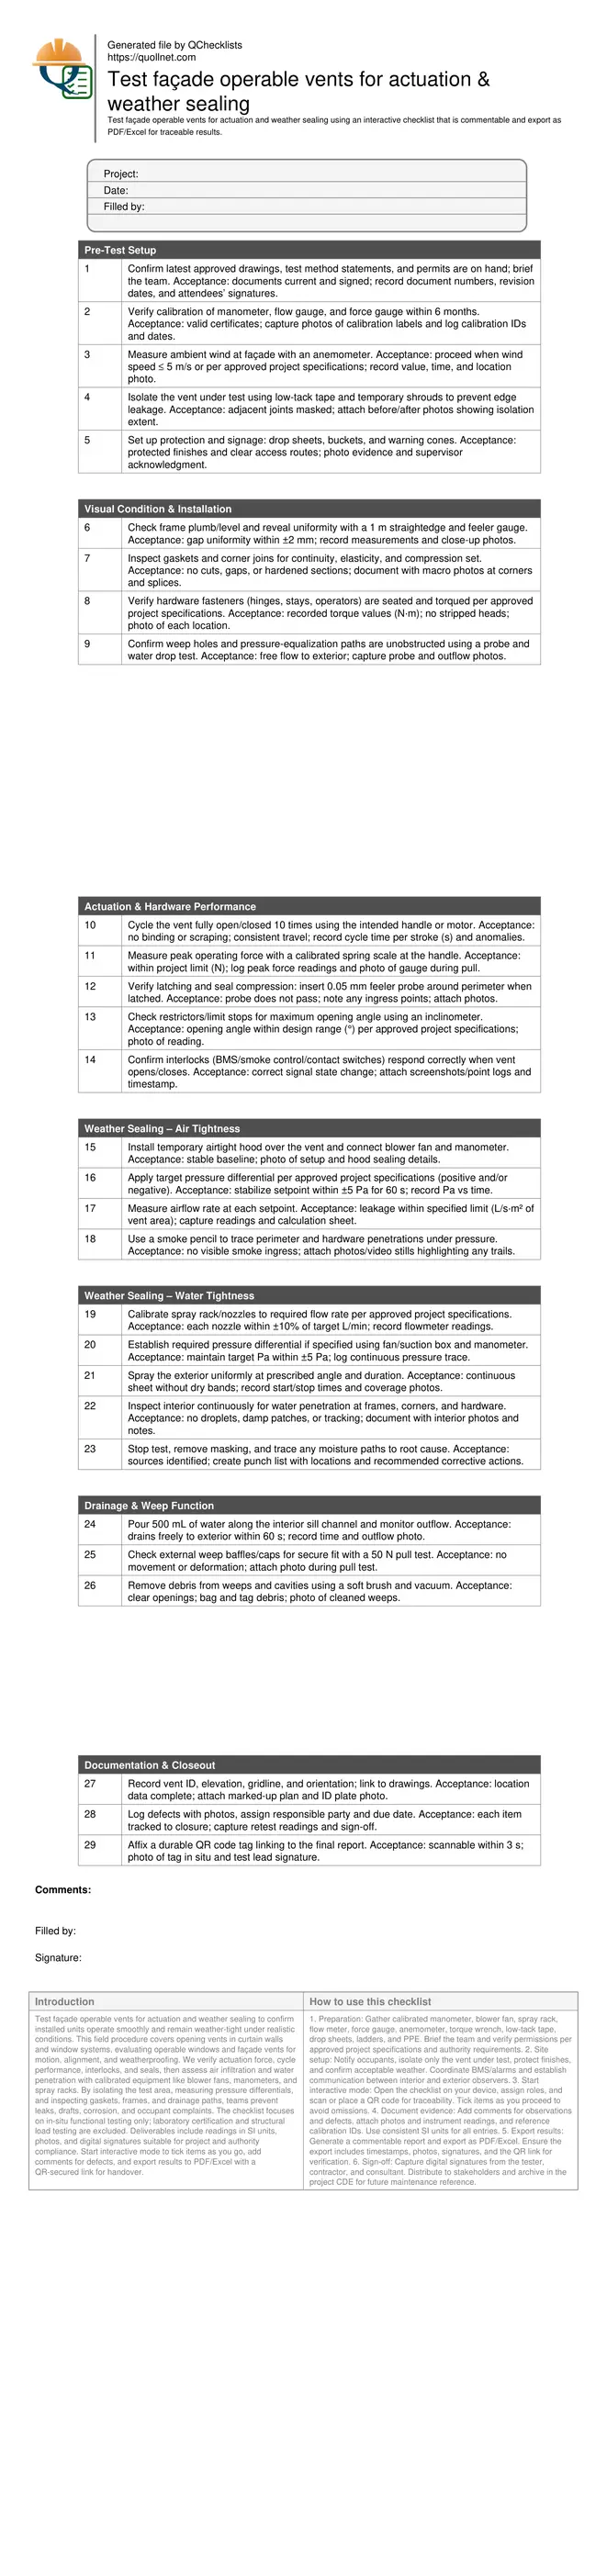
Preview the printable checklist
Preview page one below. Open the image or download the PDF for all pages.
At a glance
- Validate installed operable façade vents for smooth actuation, correct latching, and continuous gasket contact. Field checks combine cycle testing, force measurement, and visual inspection so defects like misalignment, loose hardware, and set or damaged seals are found before they become costly, leak-prone issues during occupancy and adverse weather.
- Interactive online checklist with tick, comment, and export features secured by QR code.
- Prove weather-tightness with practical, traceable methods. Apply controlled air pressure differentials and uniform water spray to identify leakage paths at frames, corners, and hardware penetrations. Acceptance is based on project specifications and authority requirements; the workflow captures calibrated readings, evidence photos, and timestamps for repeatable, defensible results.
- Streamline closeout and handover. Generated reports include locations, calibration references, tester details, readings in SI units, corrective actions, and digital signatures. The structured log reduces rework, aligns stakeholders, and supplies a verifiable record suitable for project QA, commissioning packages, and facilities management onboarding.
How to Use This Interactive Vent Test Checklist
- Preparation: Gather calibrated manometer, blower fan, spray rack, flow meter, force gauge, anemometer, torque wrench, low-tack tape, drop sheets, ladders, and PPE. Brief the team and verify permissions per approved project specifications and authority requirements.
- Site setup: Notify occupants, isolate only the vent under test, protect finishes, and confirm acceptable weather. Coordinate BMS/alarms and establish communication between interior and exterior observers.
- Start interactive mode: Open the checklist on your device, assign roles, and scan or place a QR code for traceability. Tick items as you proceed to avoid omissions.
- Document evidence: Add comments for observations and defects, attach photos and instrument readings, and reference calibration IDs. Use consistent SI units for all entries.
- Export results: Generate a commentable report and export as PDF/Excel. Ensure the export includes timestamps, photos, signatures, and the QR link for verification.
- Sign-off: Capture digital signatures from the tester, contractor, and consultant. Distribute to stakeholders and archive in the project CDE for future maintenance reference.
Plan the test window and isolate the vent
Effective façade vent testing starts with planning. Choose calm weather to limit wind-induced pressure noise and schedule testing when affected spaces can be accessed and temporarily protected. Mask adjacent joints so only the operable vent and its primary seals are challenged. Confirm devices such as smoke control, window actuators, and security contacts are safe to operate and will not trigger alarms. Calibrate instruments, verify nozzle flow, and rehearse communications between exterior and interior observers. Place drop sheets, buckets, and signage to protect finishes and route any incidental water safely. Photograph the setup thoroughly; these images will later prove isolation, equipment configuration, and coverage. Clear, labeled data sheets in SI units reduce transcription errors. Finally, brief the team on pass/fail cues so observations are consistent and immediate rework can be directed without confusion or delay.
- Test in low wind to stabilize pressure readings.
- Isolate only the vent under evaluation.
- Coordinate alarms, BMS, and access ahead of time.
- Capture setup photos for defensible records.
- Use SI units on all data sheets.
Measure actuation performance and hardware reliability
Operable vents must open and close smoothly, latch securely, and compress seals uniformly. Cycle testing exposes binding, misaligned hinges, and overstressed operators before these defects elevate forces or tear gaskets. Measure peak operating force at the handle using a calibrated spring scale; record values at a consistent pull location and direction. Confirm restrictors and limit stops prevent over-opening, protecting users and frames. Check latch engagement and verify a perimeter seal by attempting to insert a thin feeler probe when latched. Inspect interlocks with building management systems so status changes are reliably reported. Photographs of gauges during readings and close-ups of hinges, stays, and corners provide objective evidence for acceptance and help maintenance teams understand any required adjustments or replacements.
- Cycle 10 times to reveal intermittent issues.
- Measure peak force at a consistent handle point.
- Confirm latch engagement and uniform seal compression.
- Verify restrictors and interlocks function correctly.
- Photograph gauges and hardware details.
Validate air and water tightness without ambiguity
Air and water tests confirm weather sealing under controlled, repeatable conditions. For air tightness, use an airtight hood and blower to impose specified pressure differentials, stabilizing within a narrow band and logging flow to derive leakage in L/s·m². Visualize leaks with smoke to pinpoint frames, corners, or hardware penetrations. For water tightness, calibrate spray nozzles to the project’s flow rate and maintain uniform coverage for the specified duration, with pressure differential applied if required. Interior observers continuously check for droplets and damp tracks while documenting locations. Any moisture must be traced to its source—damaged gaskets, poor corner keys, misdrilled holes, or blocked weeps—and rectified. All pressures, flows, times, and photos should be bundled with calibration references to create a defensible record per approved project specifications and authority requirements.
- Stabilize test pressures within ±5 Pa.
- Report leakage in L/s·m² of vent area.
- Spray uniformly at specified flow and duration.
- Trace and document any moisture paths.
- Link data to calibration certificates.