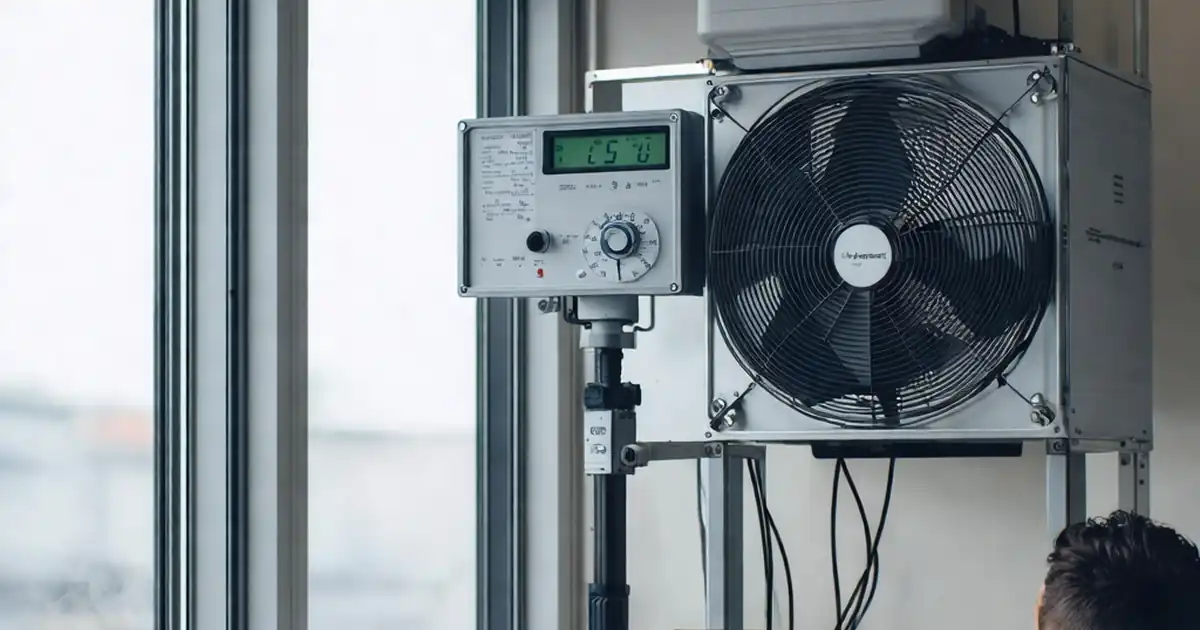
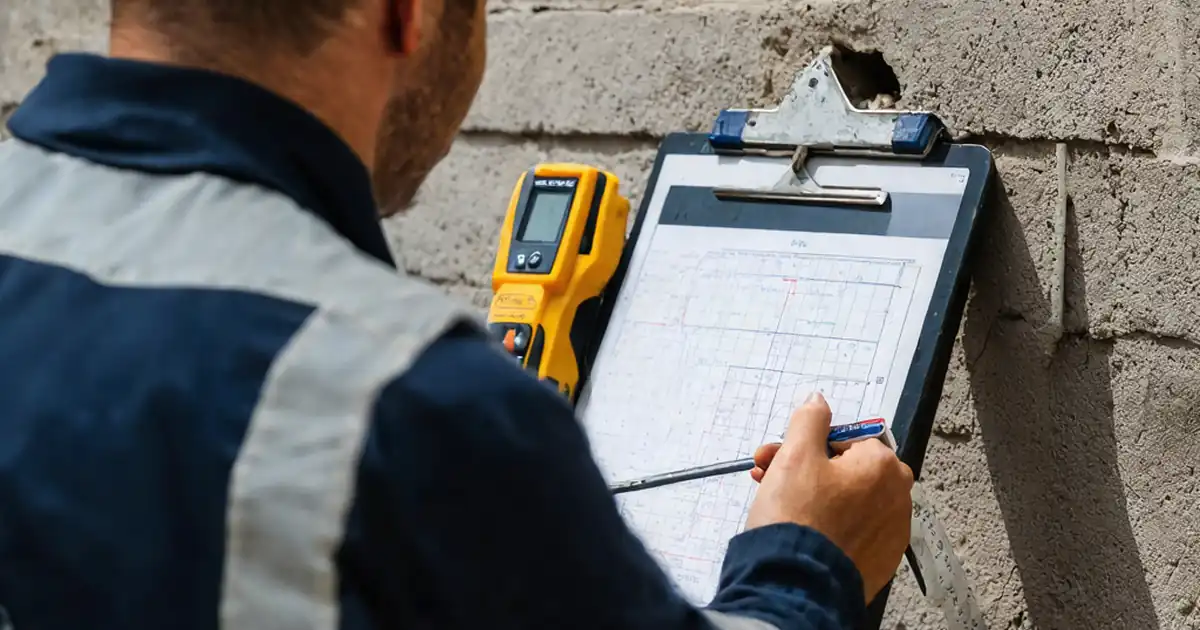
Inspect operable window hardware installation and opening function
Definition: Inspect operable window hardware installation and opening function is a field-ready checklist for site supervisors, QA/QC inspectors, and installers to verify casement hardware placement, fastening torque, alignment, adjustment, and safe operation.
- Confirms correct hardware, positions, and torque against approved submittals.
- Verifies smooth sash travel, latch engagement, and specified opening angles.
- Documents gaps, forces, photos, signatures for traceable quality records.
- Interactive, commentable checklist; export PDF/Excel, authenticated by QR code.
Inspect operable window hardware installation and opening function is the focused task of confirming that casement window hardware is correctly installed and that the operable sash performs as designed. This practical checklist supports window hardware inspection, operable sash function testing, and opening performance verification on new builds and refurbishments. It concentrates on outward-opening casement windows using friction stays, multipoint locks, and restrictors, keeping the scope tight and actionable. By validating templates, fastener torque, reveals, weatherseal contact, and smooth operation, teams avoid misaligned keeps, loose hinges, binding sashes, water ingress paths, and unsafe opening limits. The result is documented evidence of compliance with manufacturer instructions and per approved project specifications and authority requirements. Use this interactive tool to assign actions, attach photos, capture measurements in SI units, and secure sign-offs. Start in interactive mode, tick each step, add comments where issues arise, and export your final record to PDF/Excel with an embedded QR code for authentication.
- Use this checklist to verify casement window hardware selection, positioning, and fastening torque against approved drawings and manufacturer data. Inspect reveals, hinge geometry, and keep alignment to prevent binding, rattling, or premature wear, while capturing photos and measurements for clear, auditable quality records.
- Validate functional performance by measuring opening angles, holding friction, and operating forces with appropriate gauges. Ten operational cycles confirm consistent behavior and reveal intermittent issues. Recorded evidence supports timely adjustments, reducing rework costs and protecting envelope performance before subsequent finishes proceed.
- Interactive online checklist with tick, comment, and export features secured by QR code. Add contextual photos, torque logs, and signatures; tag locations by elevation and grid; and control distribution. The authenticated export simplifies consultant reviews, client handover, and warranty baselining with portable, verifiable documents.
- Confirm safety and compliance features including restrictors, egress overrides when specified, and fall-protection accessories. Measuring gaps and stability under static hold provides confidence in occupant safety. Structured documentation ensures traceability of products, settings, and personnel for efficient maintenance and future replacements.
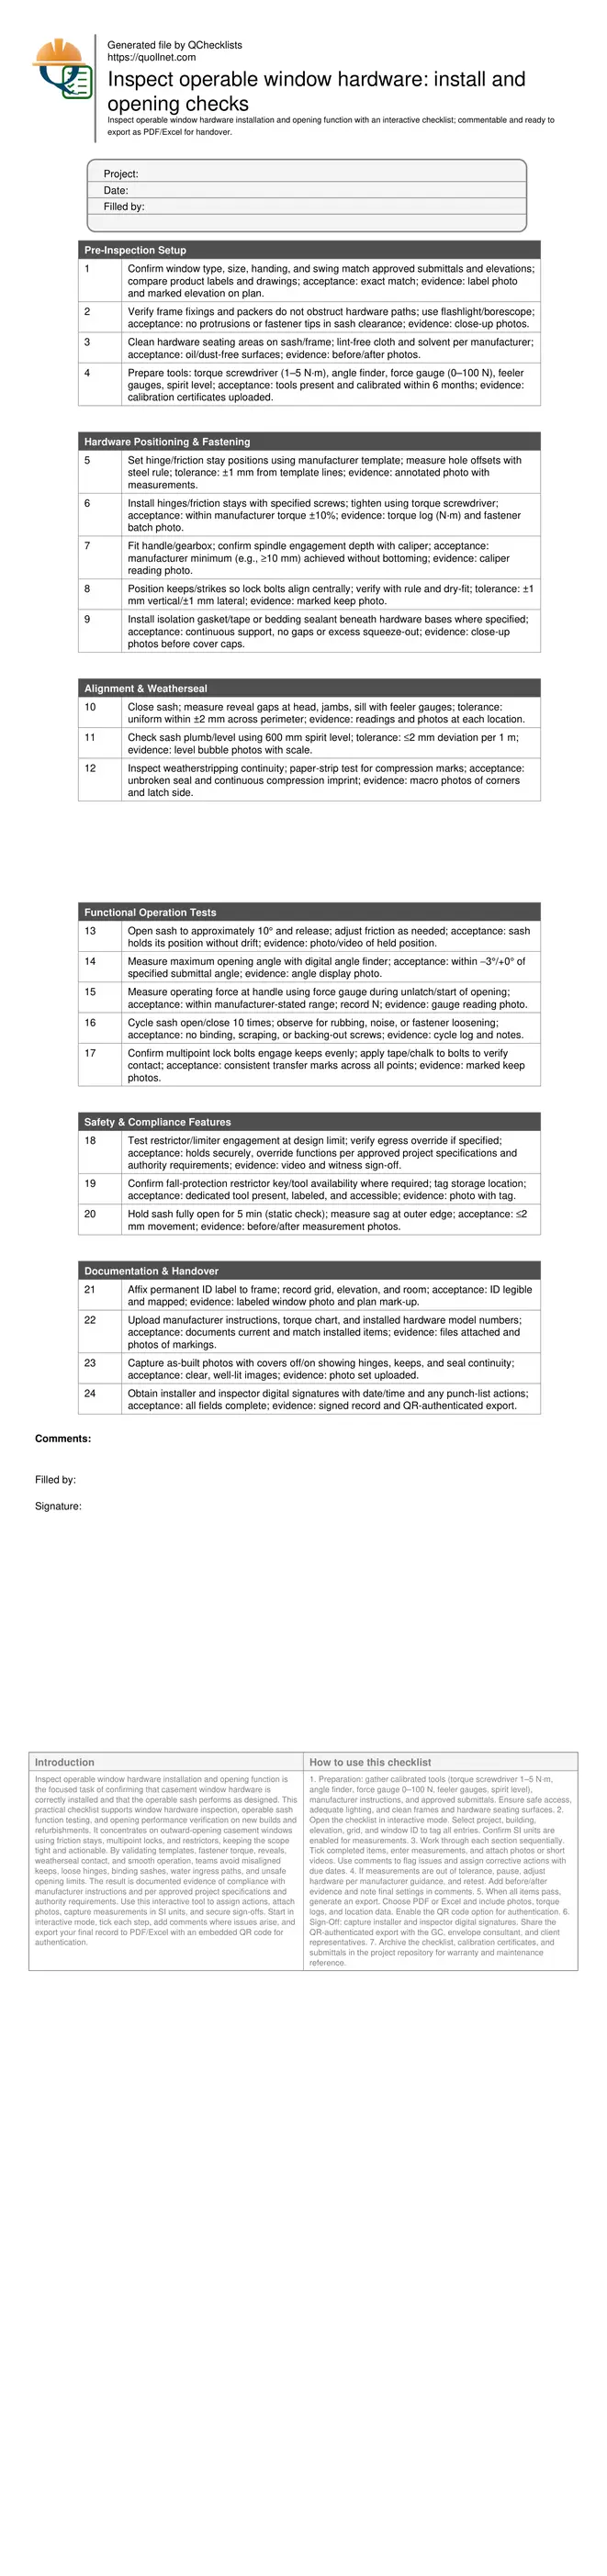
Pre-Inspection Setup
Hardware Positioning & Fastening
Alignment & Weatherseal
Functional Operation Tests
Safety & Compliance Features
Documentation & Handover
Getting hardware placement and torque right the first time
Precise hardware positioning underpins reliable operable window performance. Templates from the manufacturer control hinge and keep geometry; even a millimetre off can cause strikes to miss, sashes to bind, or weatherseals to leak. Equally important is torque: under-tightened screws loosen with cycling, while over-tightened screws strip substrates or distort friction stays. Use a calibrated torque screwdriver and log values in N·m to prove compliance and trace workmanship. Bedding tapes or isolation gaskets beneath hardware bases distribute load and prevent galvanic corrosion on mixed metals. Before closing up, confirm spindle engagement depth at the gearbox; shallow engagement can round spindles or cause intermittent latching. On site, a quick dry-fit and rule check avoids re-drilling. Photograph each critical location with an annotated scale. These acceptance cues reduce callbacks and protect later trades, especially when plaster returns or trims conceal fixings, making rework costly and disruptive.
- Use manufacturer templates and mark datum lines clearly.
- Torque screws within the specified N·m range.
- Verify spindle engagement depth with a caliper.
- Apply continuous gaskets or bedding tapes where required.
- Capture annotated photos before cover caps are fitted.
Testing smooth operation and consistent performance
Functional testing reveals issues that static checks miss. Begin by confirming friction adjustment: the sash should hold at partial openings without creeping. Then verify the maximum opening angle using an angle finder against submittals. Measure unlatching and initial opening force with a handheld force gauge at the handle—record values in newtons and compare to manufacturer ranges. Cycle the sash open and shut ten times to surface intermittent rubbing, roller flat spots, or screw back-out. Multipoint locking should show even contact at every keep; chalk or tape transfer makes contact visible. Record every reading and observation with photos; this data supports immediate fine-tuning and shows stakeholders that performance is both measurable and repeatable. Consistency here prevents wind-driven rattles, occupant complaints, and damage to coatings. Finally, recheck reveals after cycling; small adjustments can shift gaps slightly, and catching this early keeps performance within tolerance.
- Set friction so sashes hold at partial openings.
- Measure opening angles with a digital angle finder.
- Record operating force in newtons at the handle.
- Cycle the window ten times to expose intermittents.
- Verify even multipoint lock contact by transfer marks.
Built-in safety: restrictors, egress, and fall protection
Safety features must work seamlessly alongside everyday use. Restrictors or limiters should engage positively at the design angle, preventing over-opening that risks facade damage or falls. Where egress or cleaning overrides are specified, they must release smoothly and re-engage reliably. Confirm any fall-protection tools or keys are available and clearly labeled at the point of use. A five-minute static hold at full opening checks whether hinges or friction stays creep under sash weight, a leading indicator of incorrect fasteners or torque. Document results with short videos and signed witness notes to ensure clear accountability. All assessments should align with the approved project specifications and authority requirements. When recorded thoroughly, these checks demonstrate due diligence, safeguard occupants, and simplify sign-off by consultants and building control.
- Test restrictor engagement at the specified limit.
- Verify egress override where required by design.
- Perform five-minute static sag checks at full open.
- Label and store any restrictor keys or tools.
- Record safety tests with video and signatures.
How to Prepare, Use, and Sign Off This Interactive Checklist
- Preparation: gather calibrated tools (torque screwdriver 1–5 N·m, angle finder, force gauge 0–100 N, feeler gauges, spirit level), manufacturer instructions, and approved submittals. Ensure safe access, adequate lighting, and clean frames and hardware seating surfaces.
- Open the checklist in interactive mode. Select project, building, elevation, grid, and window ID to tag all entries. Confirm SI units are enabled for measurements.
- Work through each section sequentially. Tick completed items, enter measurements, and attach photos or short videos. Use comments to flag issues and assign corrective actions with due dates.
- If measurements are out of tolerance, pause, adjust hardware per manufacturer guidance, and retest. Add before/after evidence and note final settings in comments.
- When all items pass, generate an export. Choose PDF or Excel and include photos, torque logs, and location data. Enable the QR code option for authentication.
- Sign-Off: capture installer and inspector digital signatures. Share the QR-authenticated export with the GC, envelope consultant, and client representatives.
- Archive the checklist, calibration certificates, and submittals in the project repository for warranty and maintenance reference.
Call to Action
- Start Checklist Tick off tasks, leave comments on items or the whole form, and export your completed report to PDF or Excel—with a built-in QR code for authenticity.
- Download Excel - Operable Window Hardware & Opening Function Inspection
- Download PDF - Operable Window Hardware & Opening Function Inspection
- View Image - Operable Window Hardware & Opening Function Inspection
Cite & Embed
“Operable Window Hardware & Opening Function Inspection by Quollnet”
with a link to
this source page.
FAQ
Question: What torque should I use for casement window hardware screws?
Question: How do I measure window opening force accurately on site?
Question: What if the sash binds or rubs after installation?
Question: Can this checklist be used for sliding or tilt-turn windows?
Related Articles
Broader reading and guidance connected to this checklist topic.


Major Construction Defects That Needs Immediate Attention

Is It Important To Customize Your Qr Code And How To Do It?

Related Checklists
Keep the workflow moving with nearby templates chosen from similar checklist content.