Test Façade Operable Windows: Opening, Locking, and Air‑Seal
Definition: Test façade operable windows for opening, locking, and air-seal performance in occupied or commissioning phases, guiding construction QA teams, installers, and consultants to verify function, safety, and airtightness with documented evidence.
- Confirms smooth opening, secure locking, and uniform gasket compression.
- Quantifies air leakage with calibrated fan and manometer pressure steps.
- Standardized evidence: photos, readings, signatures, corrective actions recorded.
- Interactive, commentable, export options with QR code for authenticated reports.
Test façade operable windows for opening, locking, and air-seal performance is a focused procedure for verifying window operation, user safety, and envelope airtightness. This checklist supports operable window testing, window operation and locking verification, and air infiltration checks during construction closeout or periodic maintenance. It covers functional opening cycles, multi-point locking engagement, gasket compression, and qualitative/quantitative air-leak assessments using smoke and calibrated instruments. By following a consistent method, teams reduce callbacks, prevent water and air ingress paths, and document conformance per approved project specifications and authority requirements. Outcomes include verified operating forces, aligned sashes, recorded pressure differentials, and leakage rates referenced to the tested opening area. The process also captures corrective actions and retest results, preserving a full audit trail. Start in interactive mode to tick items, attach photos and readings, leave comments, and export as PDF/Excel; a QR-secured link supports rapid retrieval during inspections.
- Streamline window commissioning with a repeatable method that measures operating forces, verifies multi-point locking, and confirms gasket compression. Capture real-time photos, angle readings, gap measurements, and signatures, producing defensible records that support handover and warranty requirements across mixed façade typologies and installation batches.
- Reduce infiltration-related risks by combining qualitative smoke visualization with quantitative leakage measurements at defined differential pressures. Document baseline conditions, instrument IDs, and environmental parameters to separate true window leakage from secondary paths, enabling targeted sealing and rapid retesting with clear before-and-after evidence.
- Interactive online checklist with tick, comment, and export features secured by QR code. Field teams can collaborate live, tag issues to responsible parties, and generate authenticated reports that verify conformance with approved project specifications and authority requirements without duplicating data entry.
- Improve closeout predictability through sampling logic, standardized acceptance cues, and traceable corrective actions. The workflow emphasizes calibration validity, isolation of adjacent openings, and post-test restoration, ensuring occupants receive safe, smooth-operating windows with documented airtightness and durable hardware performance.
Pre-Test Preparation
Opening Operation Tests
Locking and Security Tests
Air-Seal Performance Tests
Post-Test Closeout
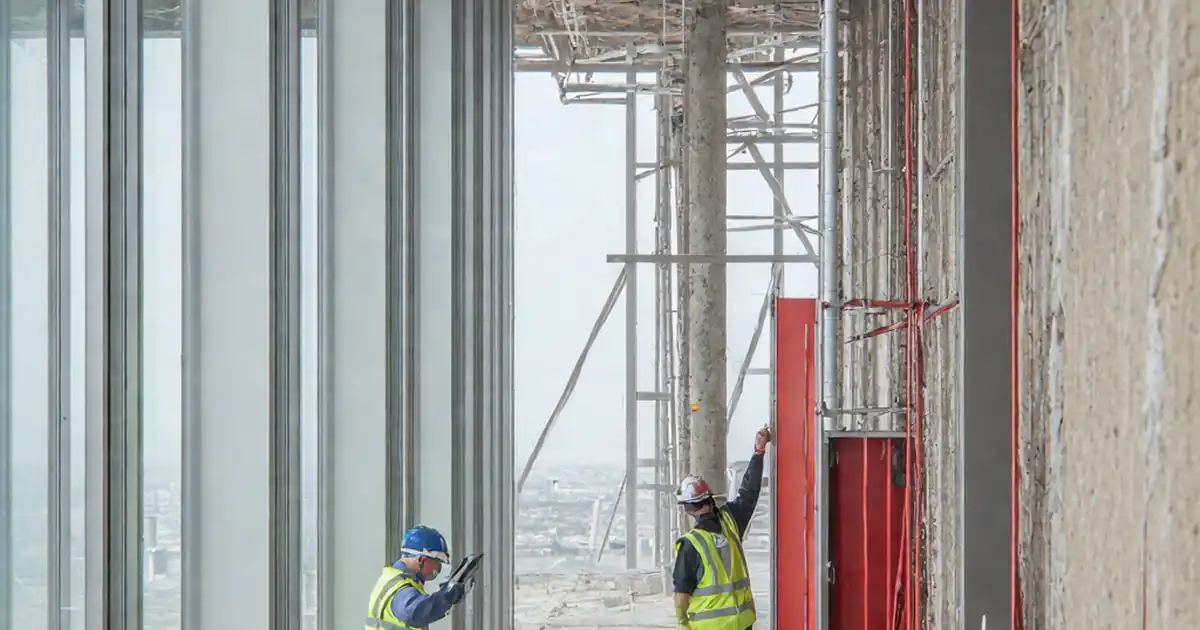
Proving Smooth Opening and Reliable Locking on Site
Functional checks start with force measurements and controlled cycles. Use a calibrated force gauge to record handle effort at first movement and at full locking. Excessive force often points to misaligned strikes, tight hinges, or distorted gaskets. A digital angle finder confirms restrictor and hinge geometry, while feeler gauges verify uniform clearances. The 10-cycle break-in identifies hardware settling and emerging fastener issues. For multi-point locks, use a fine marker or tape witness marks on strikes to confirm full engagement after closing; inconsistent witness transfer signals misalignment. A simple shim drag test around the gasket reveals compression uniformity without intrusive tools. On real jobs, a casement that bound at mid-travel was corrected by shimming the hinge stack by 1 mm and re-centering the striker, cutting operating force by half and restoring a consistent 3 mm clearance. Document findings with close-up photos and short videos so reviewers can validate the mechanical behavior without revisiting the floor.
- Record opening and locking force in newtons, not estimates.
- Confirm hinge angle and restrictor stops with an angle finder.
- Use witness marks to verify multi-point lock engagement.
- Target uniform 2–4 mm clearances unless specified otherwise.
- Capture before-and-after evidence for each adjustment.
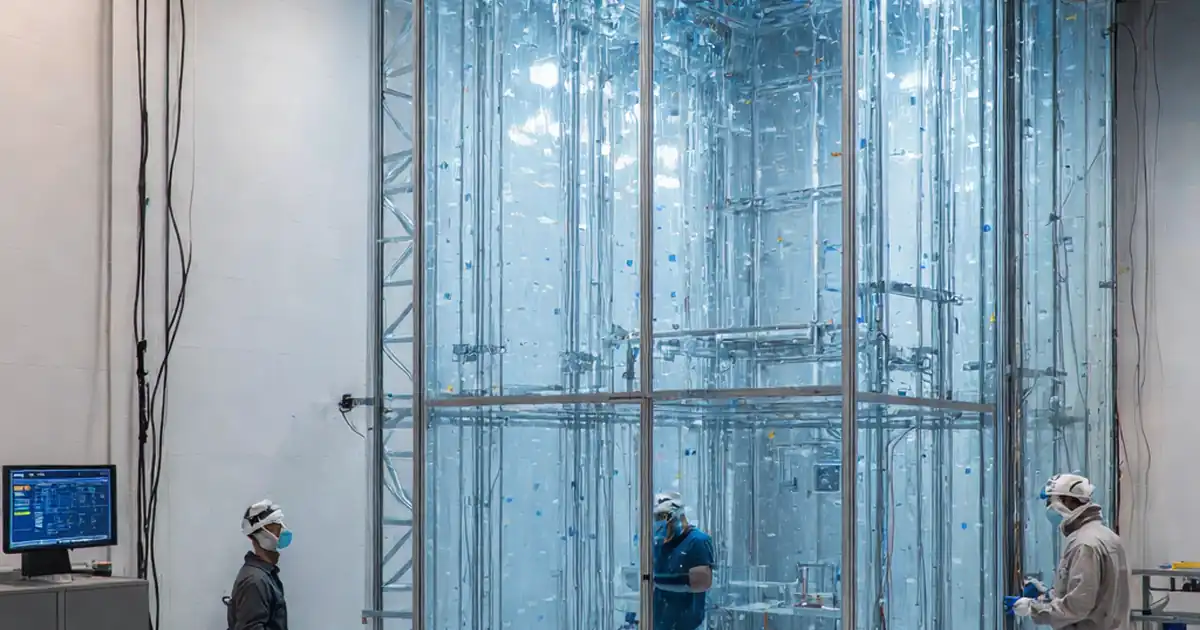
Air-Seal Performance: From Smoke to Quantified Leakage
Airtightness is verified by isolating adjacent leakage paths, installing a temporary chamber or blower-door hood, and applying a controlled differential pressure using a calibrated fan and manometer. First, stabilize the baseline to within ±2 Pa so results are reliable. Qualitative smoke helps locate discontinuities at corners, mullions, hardware penetrations, and gasket joints. Then proceed to quantitative steps, logging flow at each pressure and normalizing to opening area (L/s·m²). Acceptance is per approved project specifications and authority requirements. Real-world anomalies include smoke exiting drainage weeps; distinguish rain-screen drainage from unintended leaks by checking for continuity to interior. If leakage is found, reseat gaskets, adjust strikes, or apply compatible perimeter sealants, then immediately retest at the same pressure to confirm improvements. Recording instrument IDs, calibration dates, environmental conditions, and photos of the chamber setup ensures repeatability and protects the test’s credibility during third-party reviews and handover.
- Stabilize pressure to within ±2 Pa before readings.
- Normalize leakage to opening area for fair comparison.
- Differentiate drainage paths from true air leakage.
- Retest immediately after sealing to verify improvement.
- Log instrument IDs and calibration validity.
Documentation, Traceability, and Closeout Confidence
Quality outcomes depend on disciplined documentation and an auditable workflow. Start by tagging each test unit to drawings and schedules so data is attributable. Photos should show context and close-ups, while readings must include units and instrument identifiers. Use comments to explain anomalies, temporary works, or access limitations. For failures, issue a punch item with a clear corrective action, responsible party, and target date, then link evidence of remedial work and retest results. Reviewers look for calibration certificates, environmental readings, and consistent sampling rationale across elevations and orientations. Exporting to PDF/Excel preserves a static snapshot, but maintaining a QR-authenticated link to the live record helps future maintenance teams understand the original condition. This approach minimizes disputes at handover, accelerates approvals, and provides a durable reference for warranty claims or later replacement planning.
- Tag units to drawings for unequivocal attribution.
- Include units, tools, and readings in every entry.
- Create punch items for each nonconformance found.
- Export reports and retain QR-authenticated links.
- Secure reviewer sign-off before closing the lot.
How to Use This Interactive Checklist
- Preparation: Confirm sampling, access, and safety. Gather calibrated manometer, fan, smoke pencil, force gauge, feeler gauges, angle finder, low-tack tapes, cleaning materials, and PPE. Coordinate HVAC shutdown and occupant notifications.
- Enable interactive mode on your device. Select the window ID from the schedule, review prerequisites, and open the photo and reading placeholders for efficient data capture on each item.
- As you progress, tick each step, input numeric readings with units, and attach photos or short videos. Add comments to explain site conditions, adjustments, or deviations from the planned sequence.
- Use issue tagging to assign nonconformances to responsible parties with target dates. Track remedial actions and retests by linking new evidence to the original item.
- Export finalized results as PDF/Excel for submittals and archive. Share the QR-authenticated link with stakeholders for quick verification during walkdowns or audits.
- Sign-Off: Obtain digital signatures from the tester, contractor QA, and consultant. Lock the record and store it in the project repository per approved procedures.

Call to Action
- Start Checklist Tick off tasks, leave comments on items or the whole form, and export your completed report to PDF or Excel—with a built-in QR code for authenticity.
- Download Excel - Façade Operable Window Functional & Air‑Seal Testing
- Download PDF - Façade Operable Window Functional & Air‑Seal Testing
- View Image - Façade Operable Window Functional & Air‑Seal Testing
Cite & Embed
“Façade Operable Window Functional & Air‑Seal Testing by Quollnet”
with a link to
this source page.

FAQ
Question: How many operable windows should we test in a large project?
Question: What pressure levels should we use for air-seal testing?
Question: What weather conditions are acceptable for reliable window tests?
Question: How do we interpret pass/fail for functional and air leakage results?
Related Articles
Broader reading and guidance connected to this checklist topic.


Safety In Construction: The Role Of Periodic Safety Checklists


Major Construction Defects That Needs Immediate Attention
Related Checklists
Keep the workflow moving with nearby templates chosen from similar checklist content.