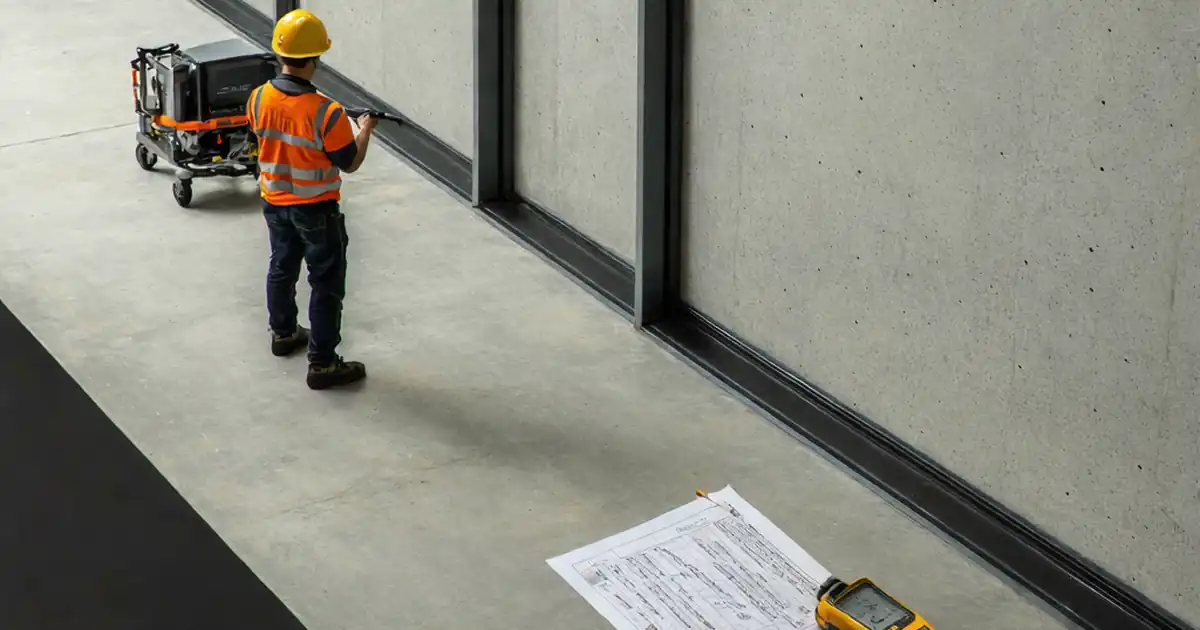
Façade Mock-Up Air Infiltration & Leakage Test Checklist
Definition: Test façade mock-up for air infiltration and leakage performance provides field teams a structured, evidence-driven process to plan, execute, and document airtightness testing of full-scale façade assemblies.
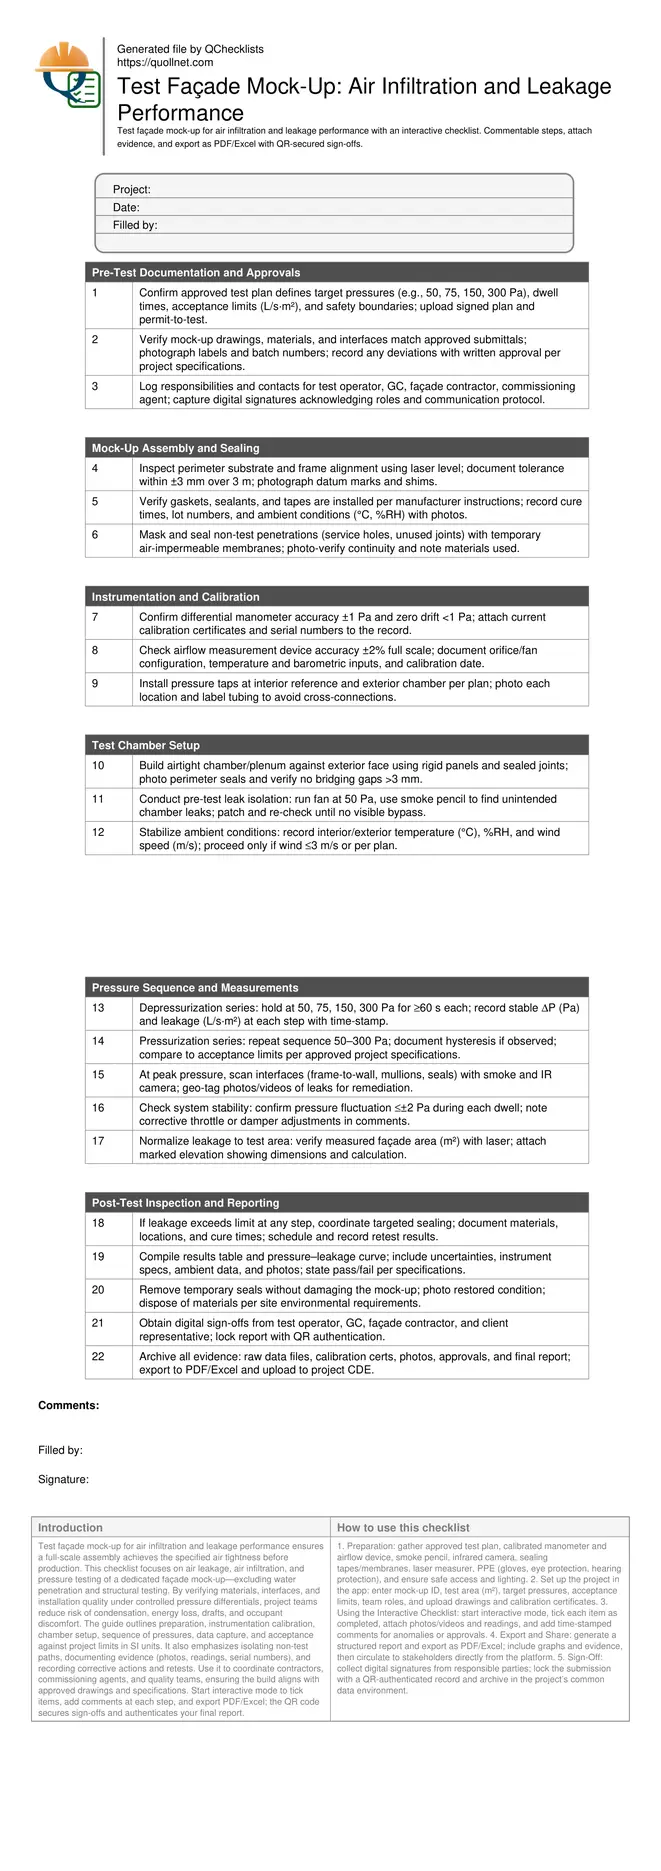
- Verify mock-up build, isolation, and pressure steps match approved plan
- Measure leakage rates at staged pressures with calibrated equipment
- Pinpoint leakage paths using smoke, infrared, and data trends
- Interactive, commentable, export, QR code verification for sign-offs
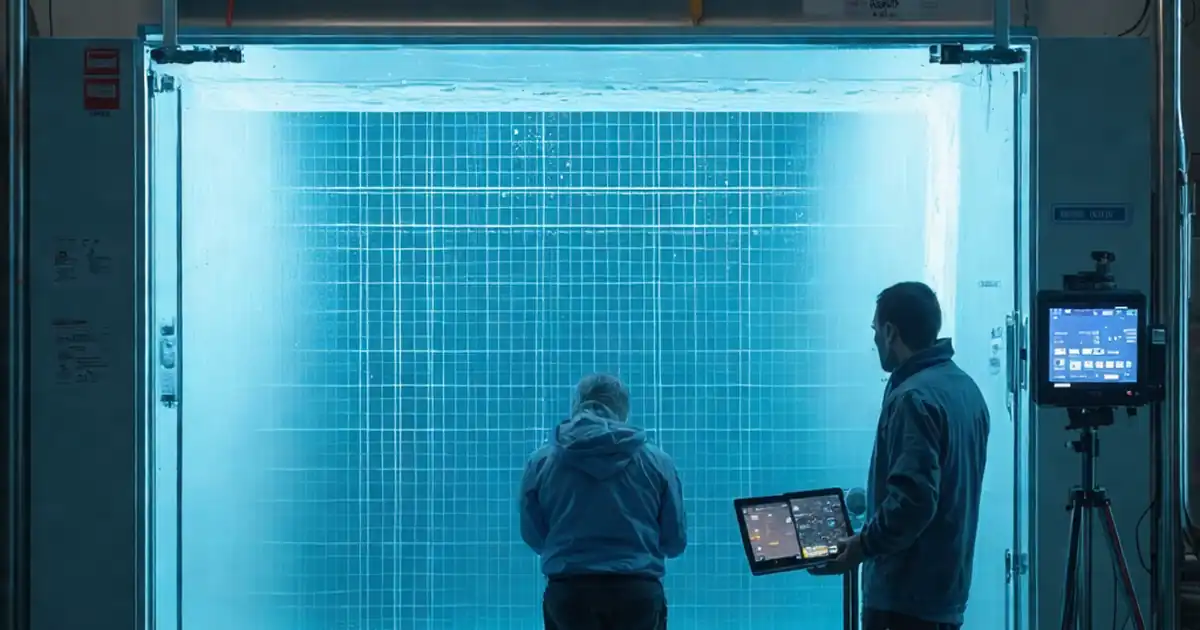
Test façade mock-up for air infiltration and leakage performance ensures a full-scale assembly achieves the specified air tightness before production. This checklist focuses on air leakage, air infiltration, and pressure testing of a dedicated façade mock-up—excluding water penetration and structural testing. By verifying materials, interfaces, and installation quality under controlled pressure differentials, project teams reduce risk of condensation, energy loss, drafts, and occupant discomfort. The guide outlines preparation, instrumentation calibration, chamber setup, sequence of pressures, data capture, and acceptance against project limits in SI units. It also emphasizes isolating non-test paths, documenting evidence (photos, readings, serial numbers), and recording corrective actions and retests. Use it to coordinate contractors, commissioning agents, and quality teams, ensuring the build aligns with approved drawings and specifications. Start interactive mode to tick items, add comments at each step, and export PDF/Excel; the QR code secures sign-offs and authenticates your final report.
- Plan and execute airtightness testing on a full-scale façade mock-up, aligning build details, instrumentation accuracy, and chamber sealing to achieve reliable, repeatable results that reflect real interface conditions before field deployment.
- Run staged depressurization and pressurization sequences, record stable differential pressures, and quantify leakage rates in L/s·m² against project limits; use smoke and infrared to localize defects and document corrective actions with evidence.
- Interactive online checklist with tick, comment, and export features secured by QR code. Capture photos, readings, and signatures; archive calibration certificates and approval logs for transparent, auditable quality assurance.
- Deliver a concise, traceable test report: scope, methods, pressure steps, leakage results, anomalies, remedial work, and retests. Provide clear acceptance statements per approved project specifications and authority requirements.
Pre-Test Documentation and Approvals
Mock-Up Assembly and Sealing
Instrumentation and Calibration
Test Chamber Setup
Pressure Sequence and Measurements
Post-Test Inspection and Reporting
Plan the Mock-Up and Control Interfaces
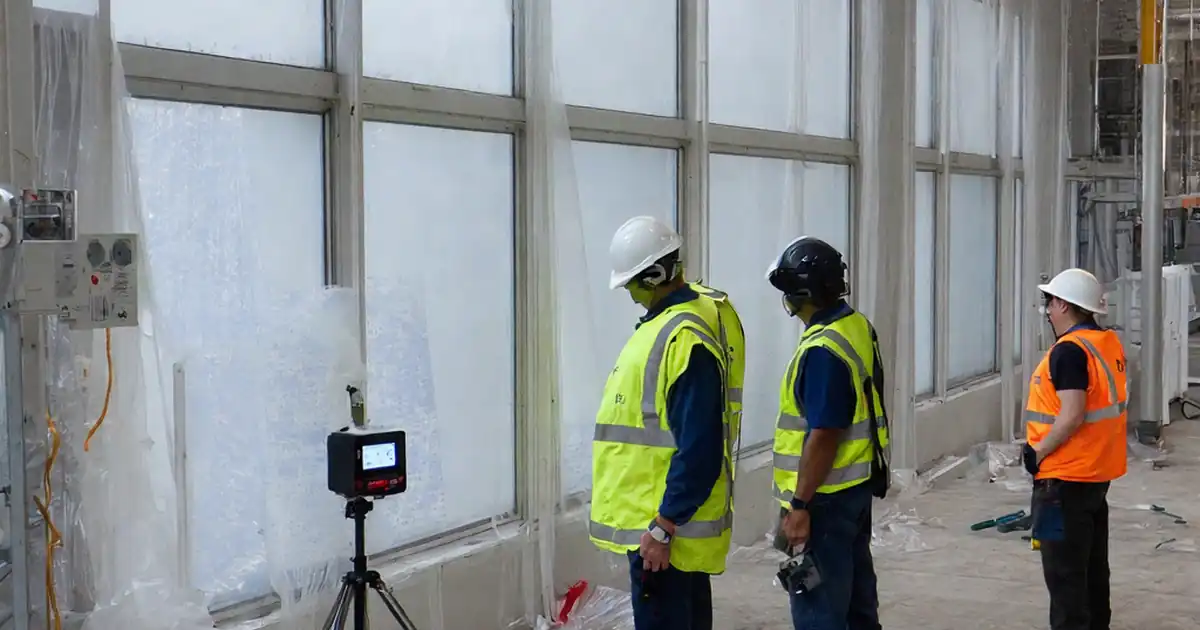
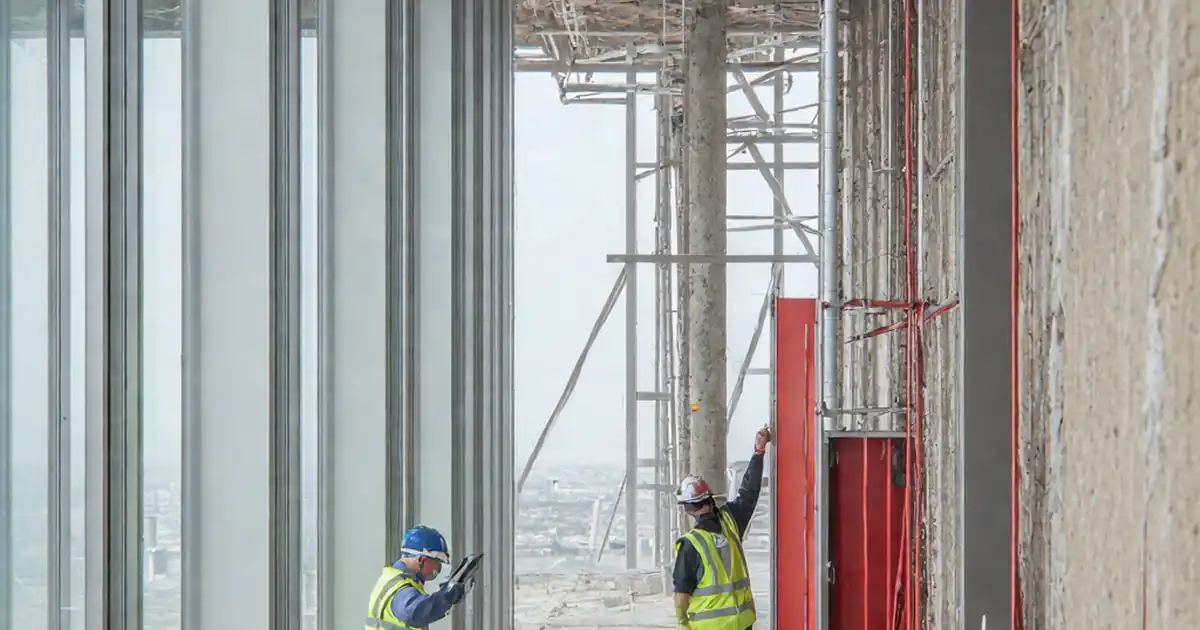
A successful façade air leakage test starts with a representative mock-up. Match glazing, frames, anchors, seals, and insulation exactly to approved submittals so airflow paths mirror production units. Define test area clearly on elevations, including perimeter joints and typical details. Temporary seals must isolate only non-test pathways, not cover intentional joints within scope. Confirm tolerances for frame plumb/level and joint widths before installing gaskets and sealants; curing time and environmental conditions significantly influence airtightness. Establish acceptance limits in L/s·m² for selected pressures and document them in the plan. Early collaboration among the GC, façade contractor, and commissioning agent avoids rework by verifying details like backer-rod sizes, membrane laps, and transitions. Photographs of each interface before enclosure help diagnose later leaks. By controlling what is inside test scope and how it is assembled, results become reliable, repeatable, and defensible when compared with project requirements.
- Mock-up must mirror approved production details and materials
- Define test area and joints on marked elevations
- Isolate only non-test paths with temporary sealing
- Record environmental conditions and sealant cure status
- Set acceptance limits in L/s·m² at target pressures
Instrument Accuracy and Pressure Stability
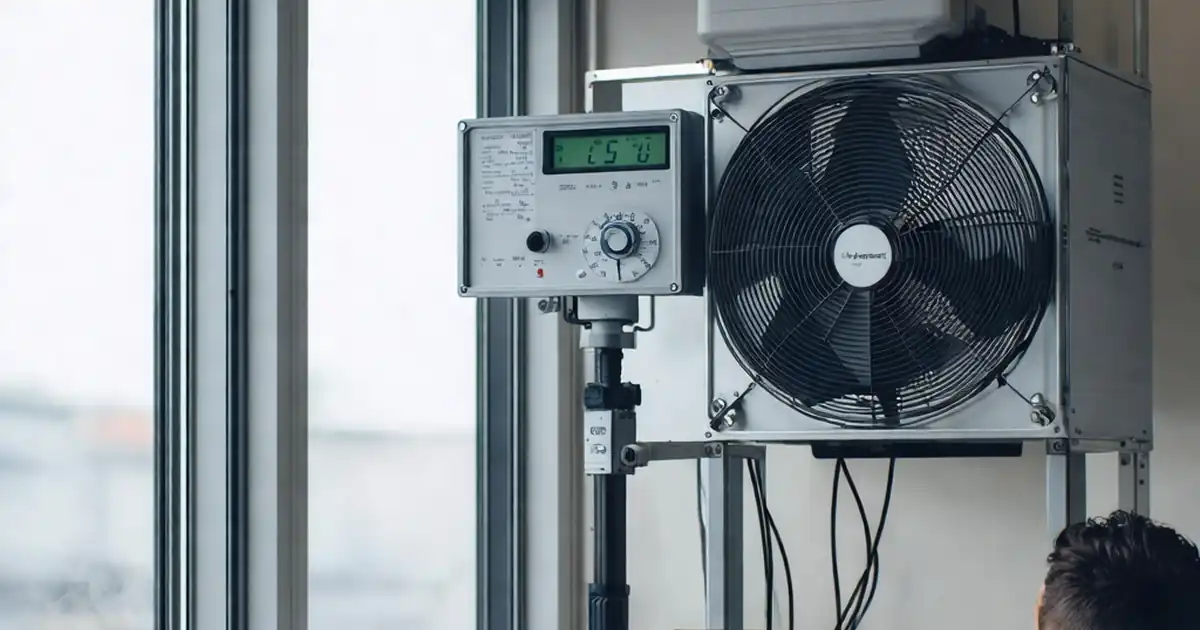
Accurate measurements depend on well-placed taps and calibrated instruments. Use a differential manometer with ±1 Pa accuracy and verify zero before each run. Configure airflow measurement to account for air density using current temperature and barometric pressure. Maintain stable pressure setpoints; fluctuations beyond ±2 Pa can distort leakage values, especially at lower pressures. Place reference taps away from localized eddies to prevent biased readings. Before the formal sequence, conduct a chamber integrity check using a smoke pencil and rectify bypass routes. During the test, log data at 1–2 s intervals, holding each step long enough to stabilize readings. Include serial numbers, calibration certificates, and photos of setups in the record. These practices reduce uncertainty, making pass/fail conclusions robust and reducing the risk of unnecessary remediation.
- Use calibrated manometer and airflow device
- Account for air density with live temperature and pressure
- Keep pressure fluctuation within ±2 Pa
- Place taps to avoid eddies and bias
- Log data at 1–2 s intervals
Locate Leaks and Close the Loop
Quantifying leakage identifies performance gaps; pinpointing locations enables efficient fixes. At each pressure step, scan interface lines—frame-to-wall, mullions, sill and head joints—with a smoke pencil for directional flow. An infrared camera can highlight colder streaks tracing infiltration routes, particularly near thermal breaks. Tag photos to the exact drawing grid and note materials present. If leakage exceeds limits, apply targeted remediation, respecting manufacturer cure times and sequencing. Retest after curing, repeating the same pressure steps for apples-to-apples comparison. Summarize findings in a plot of leakage versus pressure and annotate notable inflection points where specific defects were corrected. Clear, traceable documentation streamlines approval and de-risks production rollout.
- Use smoke to visualize airflow direction
- Apply IR imaging to reveal concealed paths
- Geo-tag photos to drawing grids
- Retest after remediation cures
- Plot leakage versus pressure for clarity
How to Use This Interactive Façade Air Leakage Test Checklist
- Preparation: gather approved test plan, calibrated manometer and airflow device, smoke pencil, infrared camera, sealing tapes/membranes, laser measurer, PPE (gloves, eye protection, hearing protection), and ensure safe access and lighting.
- Set up the project in the app: enter mock-up ID, test area (m²), target pressures, acceptance limits, team roles, and upload drawings and calibration certificates.
- Using the Interactive Checklist: start interactive mode, tick each item as completed, attach photos/videos and readings, and add time-stamped comments for anomalies or approvals.
- Export and Share: generate a structured report and export as PDF/Excel; include graphs and evidence, then circulate to stakeholders directly from the platform.
- Sign-Off: collect digital signatures from responsible parties; lock the submission with a QR-authenticated record and archive in the project’s common data environment.
Call to Action
- Start Checklist Tick off tasks, leave comments on items or the whole form, and export your completed report to PDF or Excel—with a built-in QR code for authenticity.
- Download Excel - Façade Mock-Up Air Infiltration Test
- Download PDF - Façade Mock-Up Air Infiltration Test
- View Image - Façade Mock-Up Air Infiltration Test
Cite & Embed
“Façade Mock-Up Air Infiltration Test by Quollnet”
with a link to
this source page.

FAQ
Question: What pressures and acceptance limits should I use for a façade mock-up air leakage test?
Question: How do I isolate non-test leakage paths without masking meaningful joints?
Question: Which instruments are required to ensure accurate leakage measurements?
Question: What should the final report include to satisfy stakeholders?
Related Articles
Broader reading and guidance connected to this checklist topic.

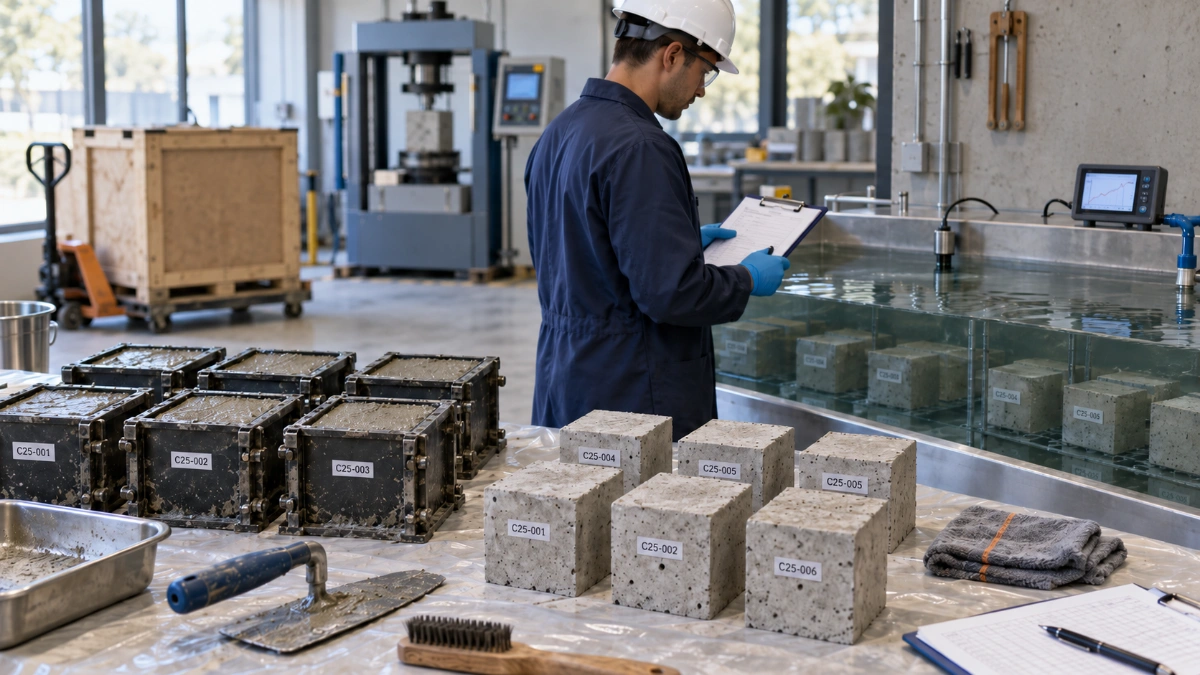
Concrete Cube Curing: Site Storage, Water Tank & Laboratory Requirements


Related Checklists
Keep the workflow moving with nearby templates chosen from similar checklist content.