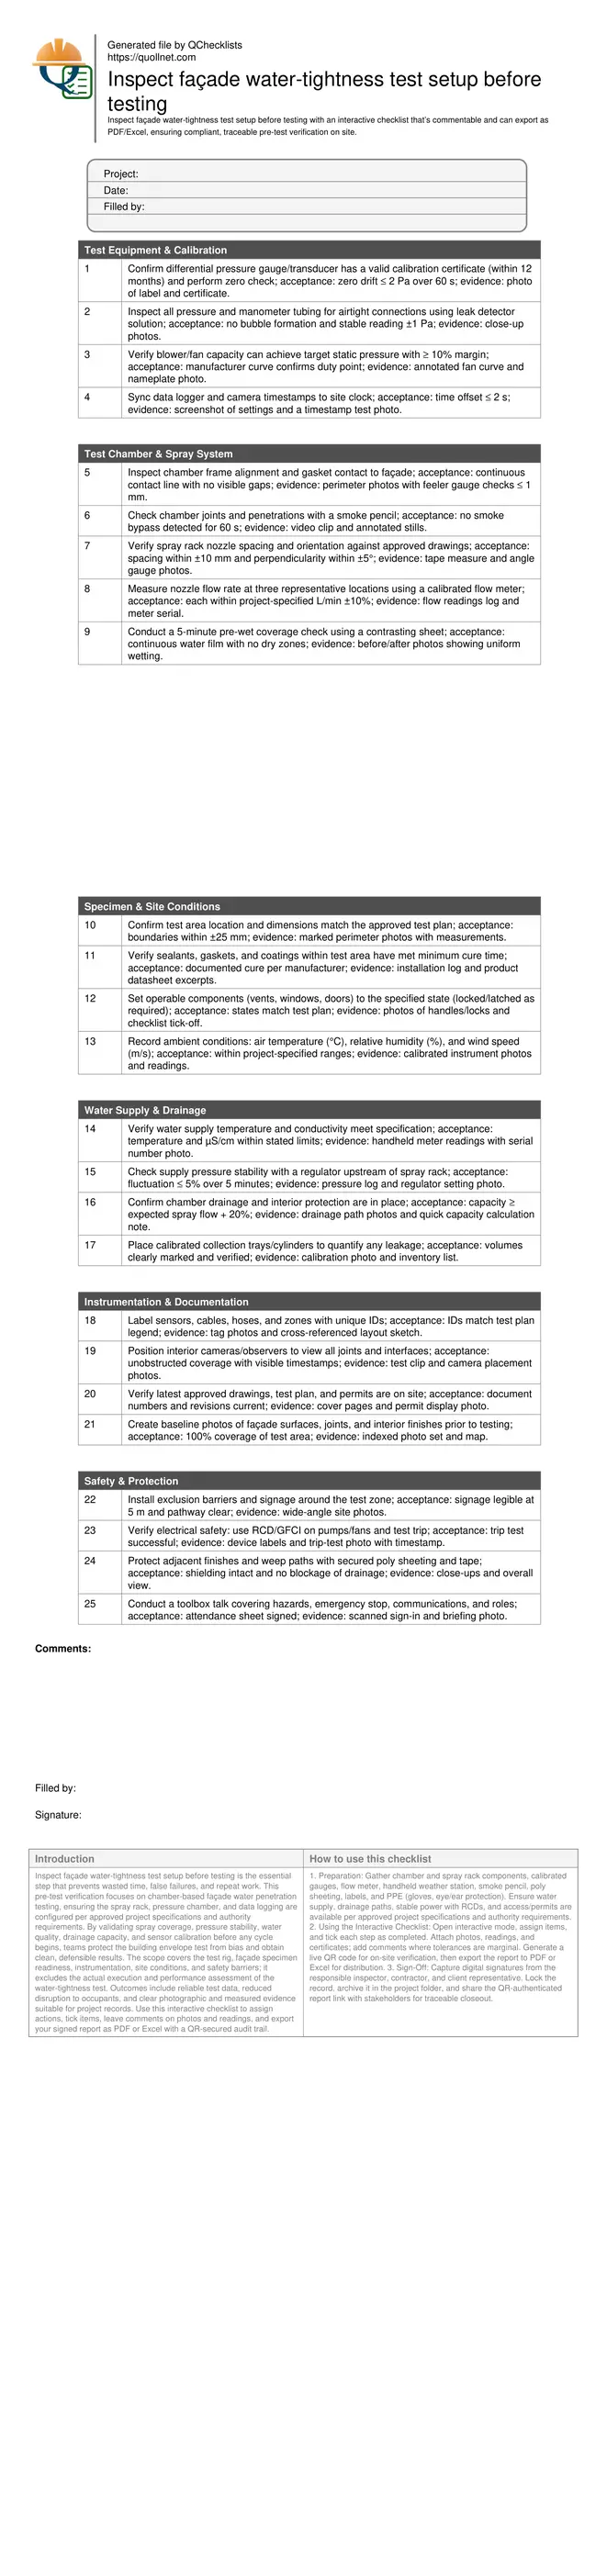
Inspect façade water-tightness test setup before testing
Definition: Inspect façade water-tightness test setup before testing is a pre-test checklist for site engineers verifying chamber integrity, spray uniformity, instruments, water supply, and safety controls to avoid invalid results.
- Verify chamber sealing, pressure control, and uniform spray coverage.
- Confirm calibrated instruments, flow stability, and traceable documentation.
- Reduce rework by catching leaks, gaps, and misaligned fixtures early.
- Interactive, commentable, export, QR code for authenticated records.
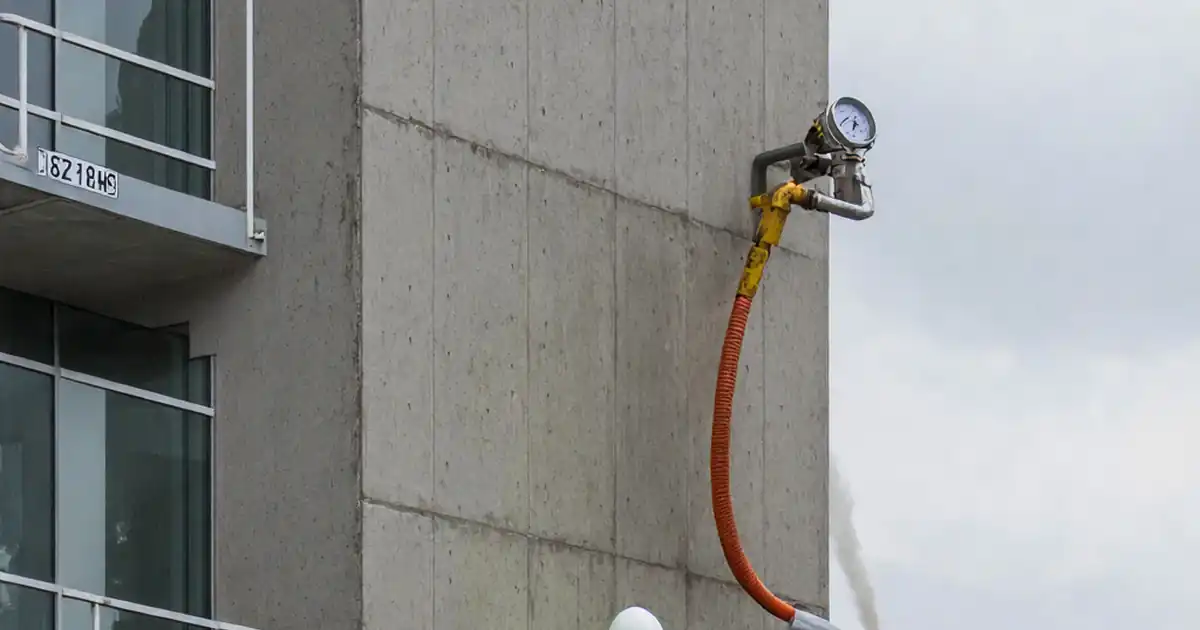
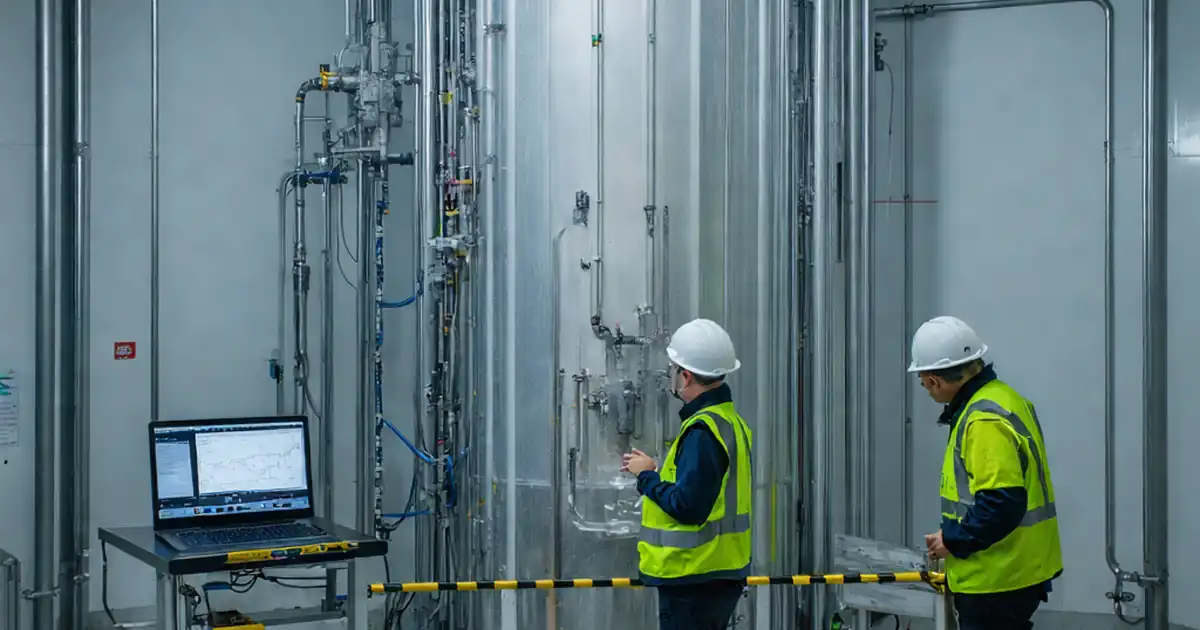
Inspect façade water-tightness test setup before testing is the essential step that prevents wasted time, false failures, and repeat work. This pre-test verification focuses on chamber-based façade water penetration testing, ensuring the spray rack, pressure chamber, and data logging are configured per approved project specifications and authority requirements. By validating spray coverage, pressure stability, water quality, drainage capacity, and sensor calibration before any cycle begins, teams protect the building envelope test from bias and obtain clean, defensible results. The scope covers the test rig, façade specimen readiness, instrumentation, site conditions, and safety barriers; it excludes the actual execution and performance assessment of the water-tightness test. Outcomes include reliable test data, reduced disruption to occupants, and clear photographic and measured evidence suitable for project records. Use this interactive checklist to assign actions, tick items, leave comments on photos and readings, and export your signed report as PDF or Excel with a QR-secured audit trail.
- Validate chamber sealing, spray rack alignment, and instrument calibration so the test begins under controlled, repeatable conditions. Capture evidence with time-stamped photos, measured readings, and certificates to support quality, compliance, and dispute-free outcomes.
- Assure specimen readiness by confirming cure times, closure states, and boundary locations. Verify water supply quality, pressure regulation, and drainage capacity to eliminate variables that commonly cause inconclusive or rejected water-tightness results and costly retests.
- Interactive online checklist with tick, comment, and export features secured by QR code.
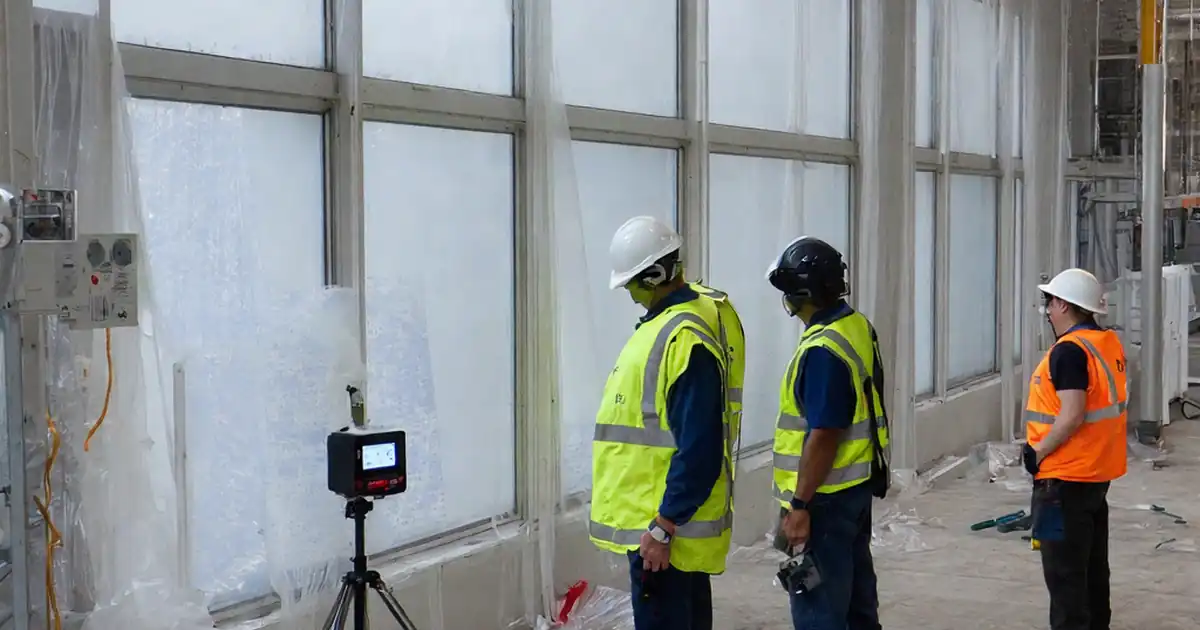
- Coordinate safety and operations: define an exclusion zone, RCD-protect all powered equipment, and brief the team on emergency shutdown. Standardize documentation with unique IDs, synced clocks, and as-built references to strengthen traceability and closeout packages.
Test Equipment & Calibration
Test Chamber & Spray System
Specimen & Site Conditions
Water Supply & Drainage
Instrumentation & Documentation
Safety & Protection
Why pre-test setup verification prevents invalid façade results
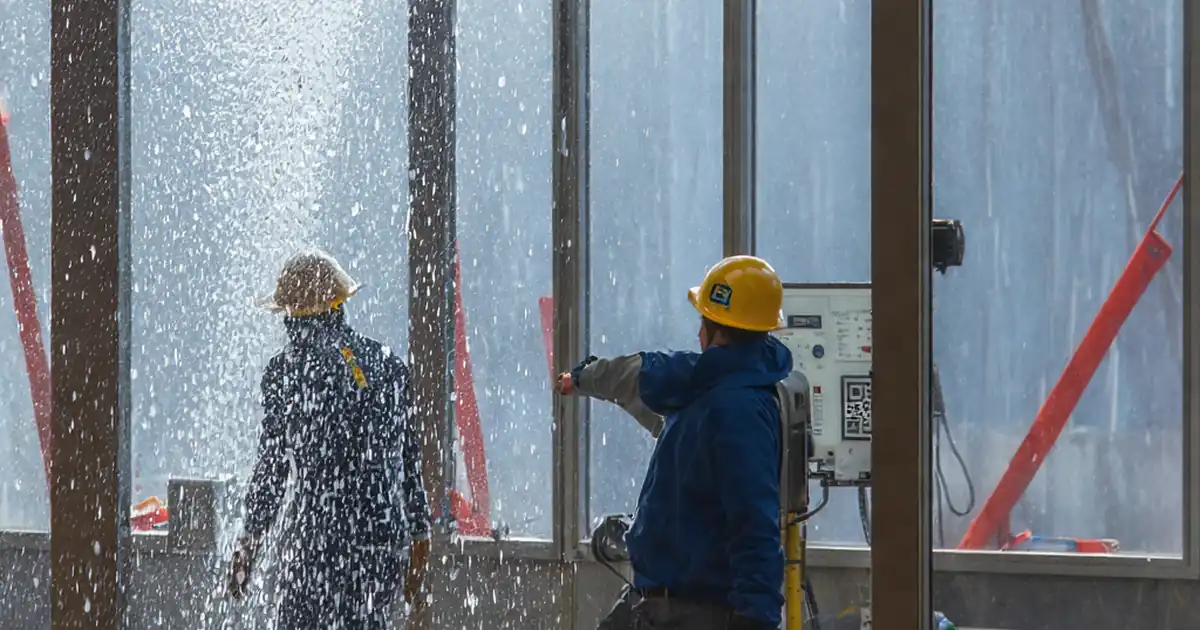
Water-tightness testing is only as reliable as its setup. Before any cycle starts, confirm the chamber seals, spray rack geometry, and pressure control will reproduce the specified exposure without bias. Small gaps in gaskets or misaligned nozzles can concentrate water or relieve pressure, creating false failures or misleading passes. Establish traceability by photographing gasket contacts, measuring nozzle spacing, and logging pressure stability. Conduct a brief pre-wet to visualize coverage and ensure flow distribution is uniform. Confirm the specimen boundaries match the plan so the correct joints are challenged. This disciplined, evidence-based approach reduces rework, protects schedules, and improves confidence in results that the project team can defend. The outcome is a clean, repeatable test that reflects the true performance of the installed façade system, not artifacts of a rushed or improvised rig.
- Seal chamber perimeters; verify with smoke or feeler gauge.
- Align spray rack; confirm spacing and angle tolerances.
- Stabilize pressure; document setpoint and drift.
- Photograph and annotate every acceptance feature.
Controlling variables: instruments, water quality, and drainage
Instrument calibration and water characteristics often decide whether a test stands up to scrutiny. Pressure sensors and data loggers must be within calibration and time-synced so evidence aligns. Water temperature and conductivity influence surface tension and behavior on glazing and coatings; verify these against the project specification. Pressure regulators and flow meters should hold steady output; monitor for fluctuations before the official start. Just as important, ensure drainage capacity exceeds the applied flow, with protected interior finishes and collection vessels ready for leak quantification. A short commissioning run can expose oscillations or supply limitations early. By measuring and documenting these variables ahead of time, you eliminate common disputes about whether a leak was real or a product of unstable inputs.
- Use calibrated meters for flow, pressure, and environment.
- Confirm water temperature and conductivity within limits.
- Verify drainage capacity exceeds expected flow by 20%.
- Run a short commissioning cycle to validate stability.
Specimen readiness, safety, and documentation for audit-proof testing
A valid test depends on the specimen and the site being ready. Verify cure times for sealants and gaskets and set operable components per the plan. Mark boundaries so everyone understands which joints are under evaluation. Establish a safe exclusion zone, protect adjacent finishes, and ensure all powered equipment is RCD-protected. Prepare observers or cameras to capture interior leakage without obstructing drainage or weeps. Finally, standardize documentation: unique IDs on sensors and hoses, latest drawings on site, and baseline photos before getting surfaces wet. These steps give auditors and stakeholders confidence that the test is conducted per approved project specifications and authority requirements, with a defensible trail of data, images, and signatures.
- Confirm cure times and component states as specified.
- Create a clear exclusion zone with signage.
- Document with unique IDs and synced timestamps.
- Capture baseline imagery before wetting surfaces.
How to prepare and use this interactive pre-test checklist
- Preparation: Gather chamber and spray rack components, calibrated gauges, flow meter, handheld weather station, smoke pencil, poly sheeting, labels, and PPE (gloves, eye/ear protection). Ensure water supply, drainage paths, stable power with RCDs, and access/permits are available per approved project specifications and authority requirements.
- Using the Interactive Checklist: Open interactive mode, assign items, and tick each step as completed. Attach photos, readings, and certificates; add comments where tolerances are marginal. Generate a live QR code for on-site verification, then export the report to PDF or Excel for distribution.
- Sign-Off: Capture digital signatures from the responsible inspector, contractor, and client representative. Lock the record, archive it in the project folder, and share the QR-authenticated report link with stakeholders for traceable closeout.
Call to Action
- Start Checklist Tick off tasks, leave comments on items or the whole form, and export your completed report to PDF or Excel—with a built-in QR code for authenticity.
- Download Excel - Façade Water-Tightness Pre-Test Setup Inspection
- Download PDF - Façade Water-Tightness Pre-Test Setup Inspection
- View Image - Façade Water-Tightness Pre-Test Setup Inspection
Cite & Embed
“Façade Water-Tightness Pre-Test Setup Inspection by Quollnet”
with a link to
this source page.

FAQ
Question: What common setup issues cause false failures in façade water-tightness tests?
Question: How do I confirm uniform spray coverage before starting the official test?
Question: Which environmental conditions must be recorded during setup verification?
Question: What documentation should be attached to the pre-test checklist?
Related Articles
Broader reading and guidance connected to this checklist topic.

Improper Concrete Specimen Curing: Impact On Cube & Cylinder Test Strength

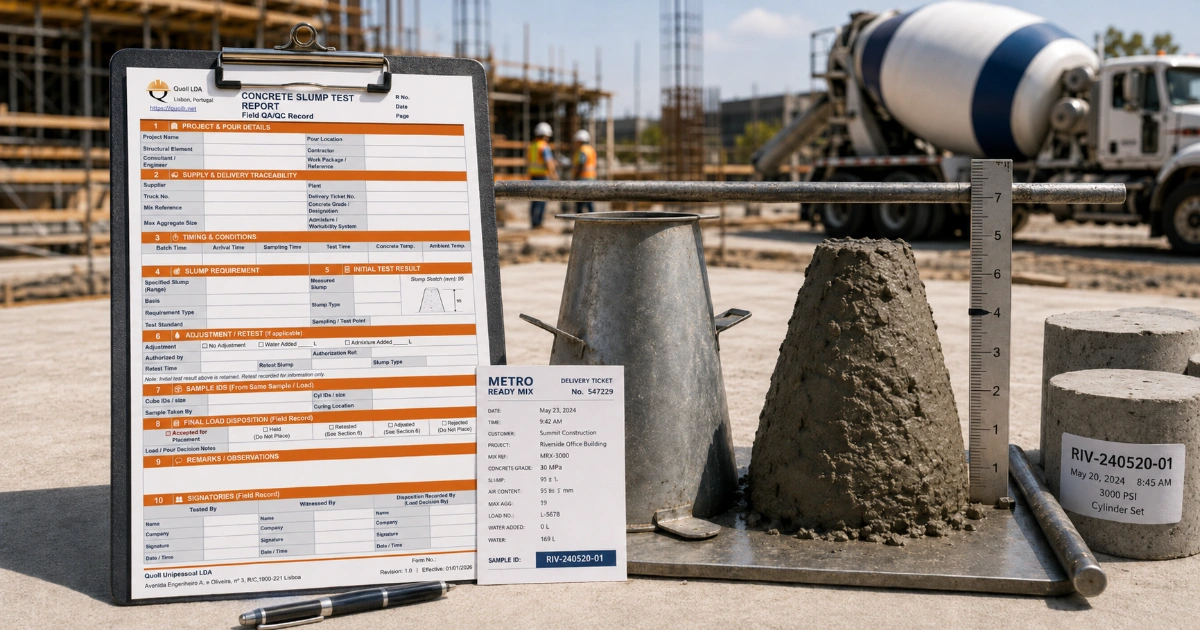
Concrete Slump Test Report Template

Concrete Cube Curing: Site Storage, Water Tank & Laboratory Requirements
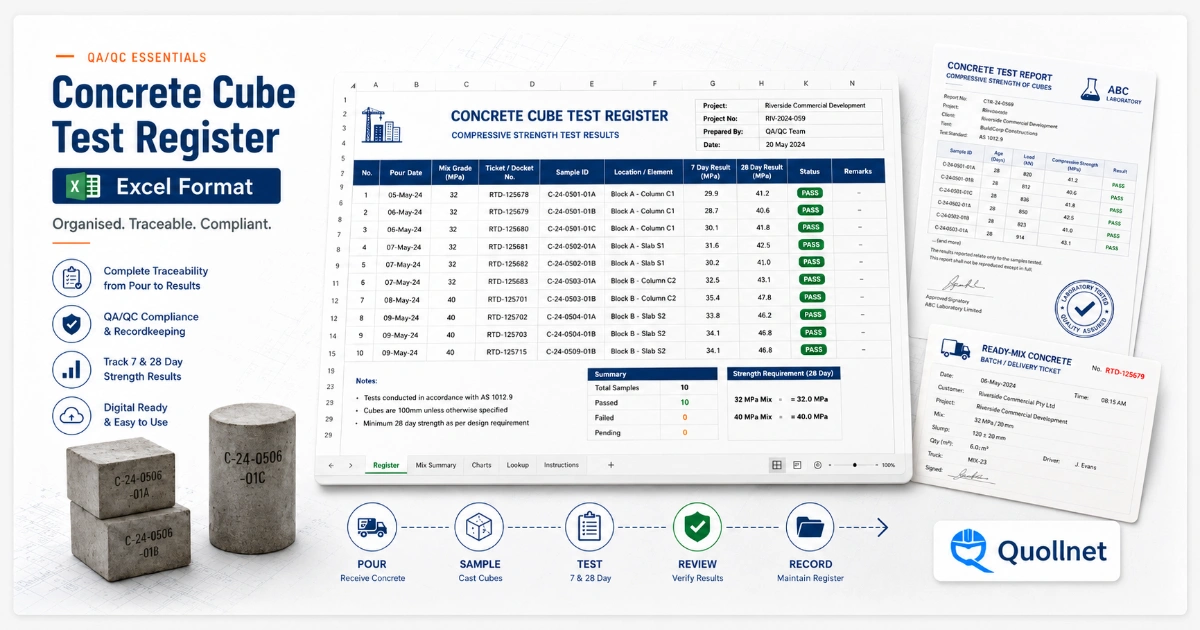
Concrete Cube Test Register Excel Format – Pdf & Excel Sample
Related Checklists
Keep the workflow moving with nearby templates chosen from similar checklist content.