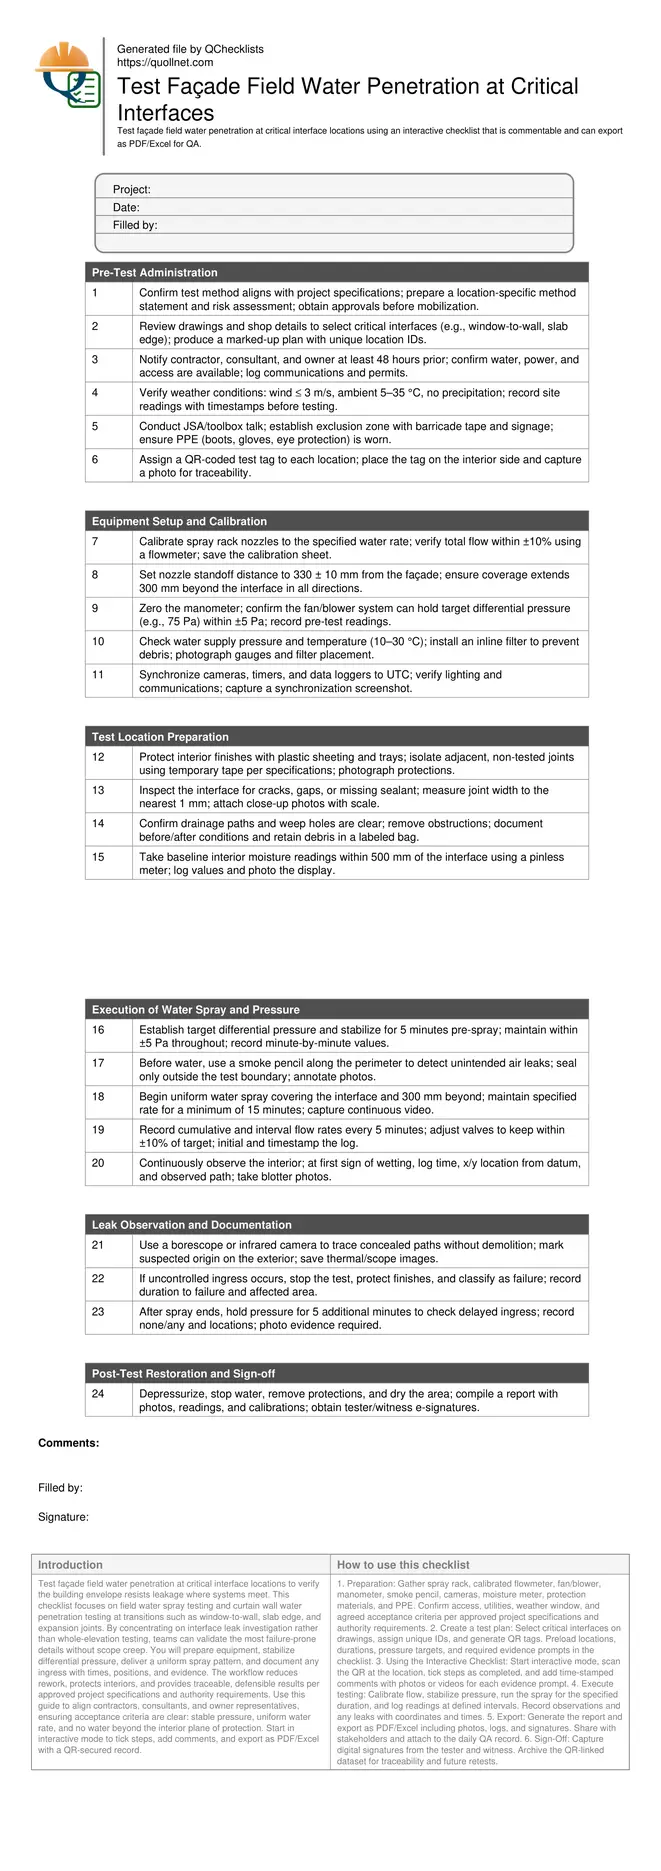
Test Façade Field Water Penetration at Critical Interface Locations
Definition: Test façade field water penetration at critical interface locations for QA teams conducting on-site envelope verification, focusing on transitions where leaks originate, using calibrated spray racks, controlled pressure, and defensible documentation.
- Pinpoint leakage at window-to-wall, slab edge, and system transitions.
- Use calibrated spray and stable pressure for reproducible, trusted results.
- Capture photos, gauges, timestamps, and signatures for verifiable evidence.
- Interactive, commentable checklist with export and QR code traceability.
Test façade field water penetration at critical interface locations to verify the building envelope resists leakage where systems meet. This checklist focuses on field water spray testing and curtain wall water penetration testing at transitions such as window-to-wall, slab edge, and expansion joints. By concentrating on interface leak investigation rather than whole-elevation testing, teams can validate the most failure-prone details without scope creep. You will prepare equipment, stabilize differential pressure, deliver a uniform spray pattern, and document any ingress with times, positions, and evidence. The workflow reduces rework, protects interiors, and provides traceable, defensible results per approved project specifications and authority requirements. Use this guide to align contractors, consultants, and owner representatives, ensuring acceptance criteria are clear: stable pressure, uniform water rate, and no water beyond the interior plane of protection. Start in interactive mode to tick steps, add comments, and export as PDF/Excel with a QR-secured record.
- Targeted field water testing at façade interfaces reduces risk by focusing on the most leak-prone transitions. The checklist provides a stepwise method to set pressure, deliver uniform spray, and document outcomes with calibrated readings and photographic evidence for acceptance.
- Clear acceptance cues—stable differential pressure, compliant spray rate, and zero water reaching the interior plane—support rapid pass/fail calls. Evidence capture includes manometer logs, flow verification, moisture readings, videos, and signed witness records suitable for audits.
- Interactive online checklist with tick, comment, and export features secured by QR code.
- Practical sequencing—from pre-test administration to restoration—helps teams coordinate access, protection, weather windows, and stakeholder notification, minimizing disruption while producing repeatable, defensible results per approved project specifications and authority requirements.
Pre-Test Administration
Equipment Setup and Calibration
Test Location Preparation
Execution of Water Spray and Pressure
Leak Observation and Documentation
Post-Test Restoration and Sign-off
Selecting Critical Interface Locations That Truly Matter
Leakage rarely starts in the middle of a panel; it begins where systems meet. Prioritize window-to-wall transitions, slab edges at anchors, parapet returns, expansion joints, and penetrations like brackets or conduits. Review details and prior punch lists to spot high-risk interfaces, then map test zones that include 300 mm beyond the joint in all directions. Confirm access, interior protection needs, and safe setup for fans and spray racks. Define acceptance before you begin: no water reaching the interior plane of protection, stable pressure within ±5 Pa of the target, and spray rate within ±10% of requirement. Clarify what constitutes incidental dampness versus penetration through the assembly, and how to log it. On real jobs, small sealant discontinuities at jamb joints or blocked weeps at sill flashings often explain streaking or delayed drips. Choose a representative sample plus any suspect repairs to verify both workmanship and remediation effectiveness.
- Target transitions with prior defects or complex geometry.
- Include 300 mm buffer beyond the interface for coverage.
- Define pass/fail: zero interior penetration during observation.
- Confirm access, utilities, and safe setup before mobilizing.
- Plan for baseline and post-test moisture readings.
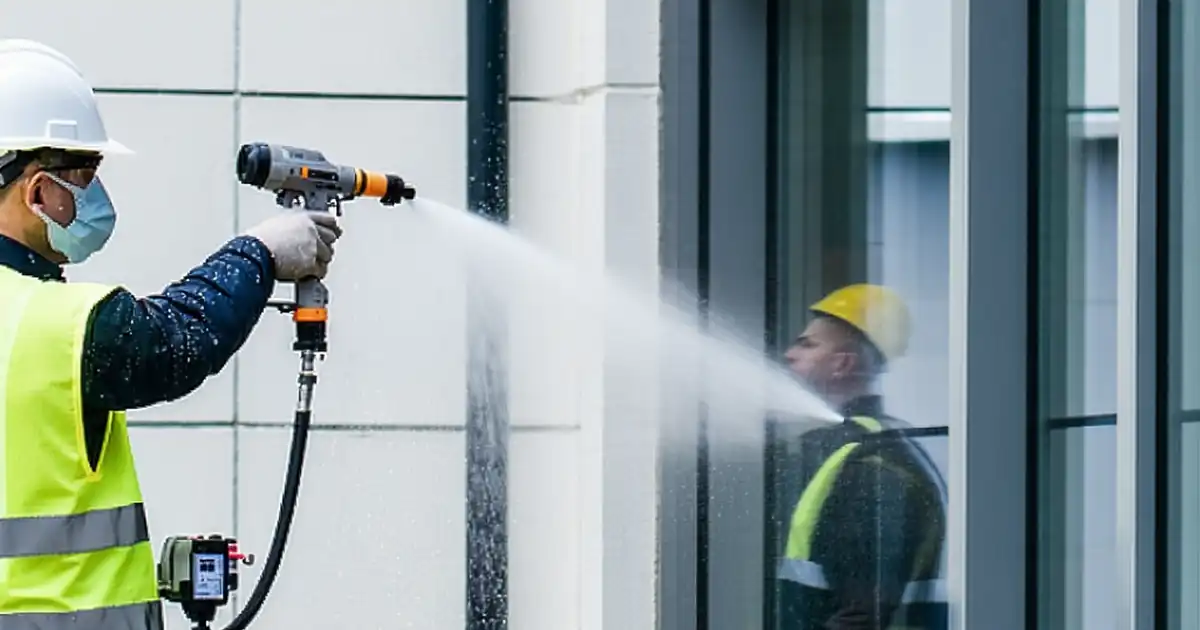
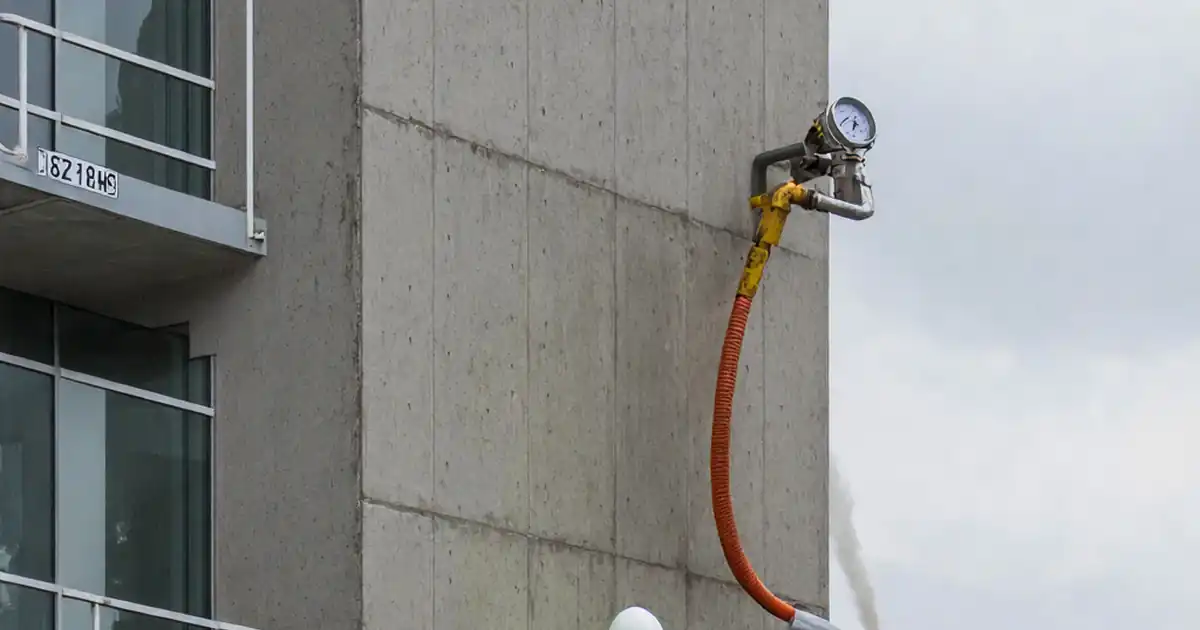
Delivering Uniform Spray and Stable Pressure
Reproducibility depends on controlling inputs. Calibrate nozzles and verify total flow; set nozzle standoff at approximately 330 mm and maintain overlap across the interface. Stabilize differential pressure using a blower or fan system, logging minute-by-minute manometer readings. Perform a smoke-pencil sweep before water to find unintended air paths that could skew results. During the test, maintain spray duration (minimum 15 minutes unless otherwise specified) and hold pressure within ±5 Pa. Record flow every five minutes and adjust valves to keep within ±10%. Keep continuous video of the spray field and interior observation. Field teams often uncover that fluctuating building systems—like opening doors or HVAC cycles—can destabilize readings; coordinate occupants and isolate zones where practical. The goal is a consistent challenge so that pass/fail reflects the interface, not instrumentation.
- Stabilize pressure before opening water.
- Hold pressure within ±5 Pa of target.
- Maintain spray rate within ±10% tolerance.
- Video both spray pattern and interior monitoring.
- Control building operations that affect pressure.
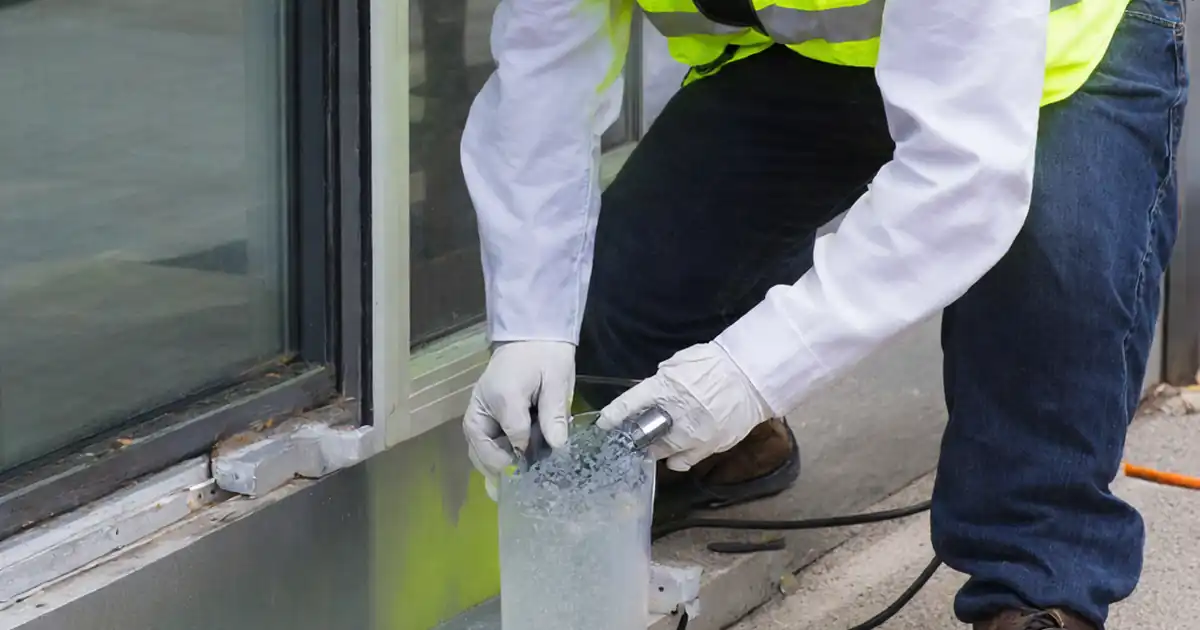
Diagnosing, Documenting, and Closing the Loop
When wetting occurs, capture the first-wet time, precise location from a known datum, and the suspected path. Paper blotter photos, close-ups with a scale, and annotated drawings make root-cause analysis faster. Use infrared or a borescope to visualize concealed paths at anchors or behind claddings without demolition. If uncontrolled ingress threatens finishes, stop the test, protect the area, and classify as a failure. After the spray ends, hold pressure briefly to reveal delayed ingress. Compile a concise report including weather, calibration records, flow/pressure logs, photos, and sign-offs. Defect lists should link to corrective actions and retest plans so learning carries forward. On many projects, simple maintenance like clearing weeps or replacing a short sealant segment eliminates recurring streaks, but structural misalignments may require redesign at the bracket interface.
- Log first-wet time and exact coordinates.
- Use IR/borescope for concealed pathways.
- Stop test and protect finishes if uncontrolled.
- Summarize findings with photos and logs.
- Link defects to corrective action and retest.
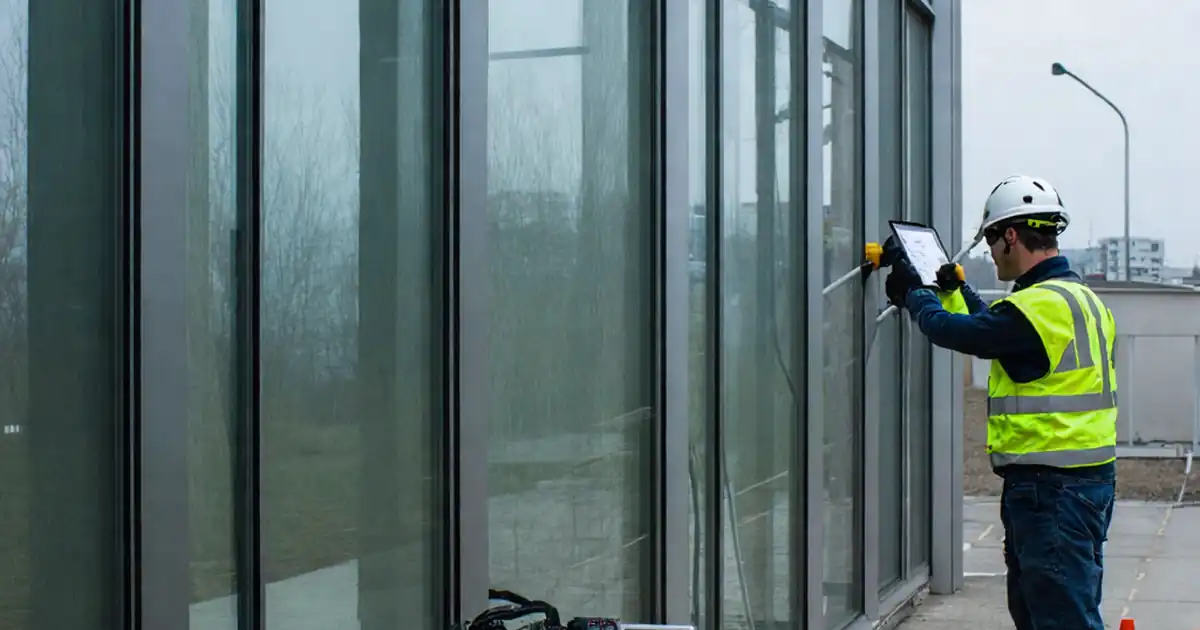
How to Run and Record a Façade Interface Water Test
- Preparation: Gather spray rack, calibrated flowmeter, fan/blower, manometer, smoke pencil, cameras, moisture meter, protection materials, and PPE. Confirm access, utilities, weather window, and agreed acceptance criteria per approved project specifications and authority requirements.
- Create a test plan: Select critical interfaces on drawings, assign unique IDs, and generate QR tags. Preload locations, durations, pressure targets, and required evidence prompts in the checklist.
- Using the Interactive Checklist: Start interactive mode, scan the QR at the location, tick steps as completed, and add time-stamped comments with photos or videos for each evidence prompt.
- Execute testing: Calibrate flow, stabilize pressure, run the spray for the specified duration, and log readings at defined intervals. Record observations and any leaks with coordinates and times.
- Export: Generate the report and export as PDF/Excel including photos, logs, and signatures. Share with stakeholders and attach to the daily QA record.
- Sign-Off: Capture digital signatures from the tester and witness. Archive the QR-linked dataset for traceability and future retests.
Call to Action
- Start Checklist Tick off tasks, leave comments on items or the whole form, and export your completed report to PDF or Excel—with a built-in QR code for authenticity.
- Download Excel - Façade Field Water Penetration Test – Critical Interfaces
- Download PDF - Façade Field Water Penetration Test – Critical Interfaces
- View Image - Façade Field Water Penetration Test – Critical Interfaces
Cite & Embed
“Façade Field Water Penetration Test – Critical Interfaces by Quollnet”
with a link to
this source page.
FAQ
Question: Which interfaces should I prioritize for field water penetration testing?
Question: How long should I spray and at what pressure or flow rate?
Question: What constitutes a failure during the test?
Question: How do I document results to withstand audits or disputes?
Related Articles
Broader reading and guidance connected to this checklist topic.


Is The Crack You See On Your Wall Serious Or Minor Cosmetic Issue?


Related Checklists
Keep the workflow moving with nearby templates chosen from similar checklist content.