Test Façade Penetration Seals for Water Resistance Checklist
Definition: Test façade penetration seals for water resistance after completion with a field-proven, directed-spray method to verify installed penetrations remain watertight, for QA inspectors, façade contractors, and commissioning teams.
- Confirms watertightness of completed façade penetrations and interfaces.
- Uses calibrated directed-spray with controlled flow and duration.
- Prevents hidden leaks, corrosion, mould growth, and warranty disputes.
- Interactive, commentable, export to PDF/Excel, with QR code.
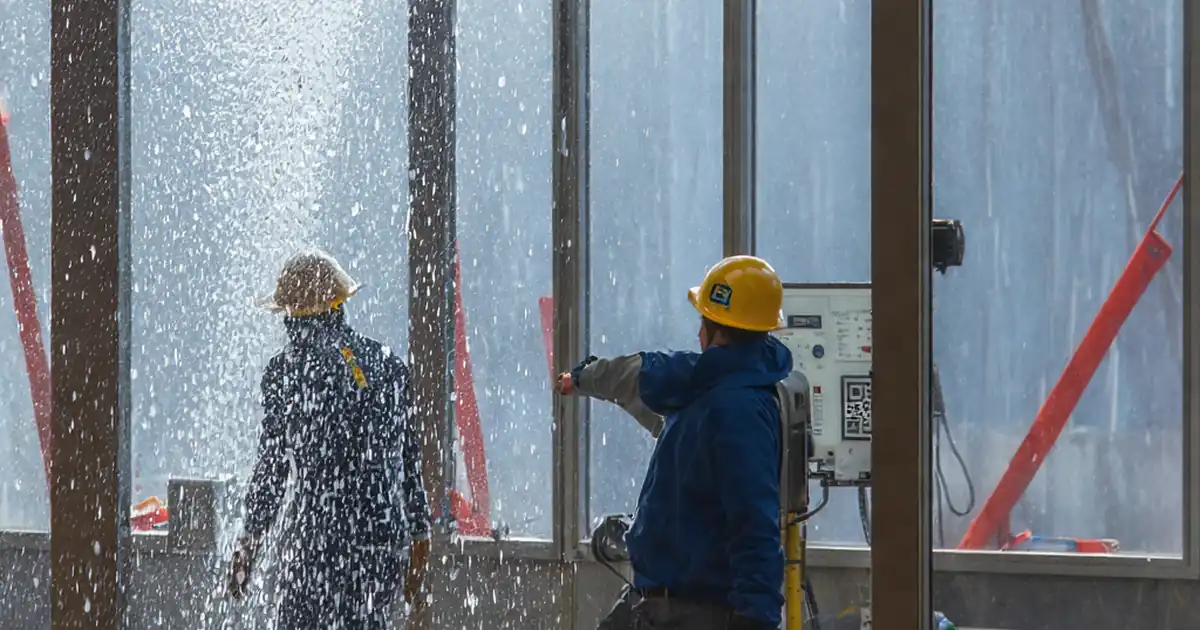
Test façade penetration seals for water resistance after completion to confirm the building envelope remains watertight around pipes, conduits, brackets, and fixings. This checklist focuses on directed-spray hose testing (water spray test) of finished façade penetration seals, addressing leakage verification without damaging completed finishes. You will prepare the area, calibrate water delivery, control environmental conditions, execute a uniform spray pattern, and observe the interior with moisture meters and borescopes. The scope excludes structural seal design, air-infiltration testing, or unrelated façade elements; it targets post-installation water testing of penetration interfaces only, per approved project specifications and authority requirements. By applying disciplined setup and acceptance criteria—no visible water ingress, stable moisture readings, and documented evidence—you reduce risks like concealed dampness, corrosion, mould growth, and warranty disputes while delivering traceable quality outcomes. Use this interactive page to tick steps, add comments, attach photos or videos, and export the record as PDF/Excel with a secure QR code.
- Validate completed façade penetration seals using a controlled, directed-spray procedure that targets the annulus and interface components. Acceptance focuses on zero interior water penetration, stable post-test moisture readings, and fully traceable evidence. The process reduces after-handover defects, callbacks, and moisture-related deterioration.
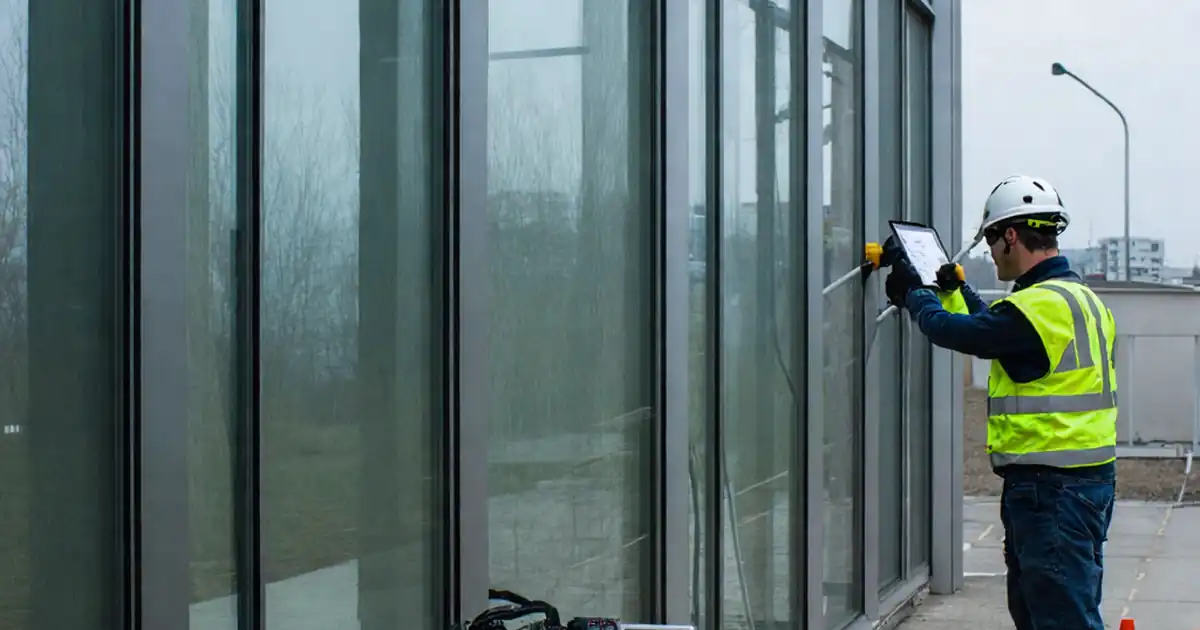
- Methodical preparation and calibration underpin reliable results: confirm curing, protect finishes, set flow within tolerance, and manage wind. During testing, maintain a consistent nozzle distance and speed while monitoring the interior in real time. Capture photos, videos, timestamps, and instrument logs for defensible reporting.
- Interactive online checklist with tick, comment, and export features secured by QR code.
- If leakage appears, isolate the area, undertake manufacturer-approved remediation, and re-test to the same parameters. Record batch numbers, repair materials, and cure times to preserve traceability. Finalize with digital sign-offs and archive in your CDE to keep as-built records clean and auditable.
Pre-Test Verification
Test Setup
Water Spray Test Execution
Post-Test Assessment
Remedial Actions & Re-Test
Documentation & Sign-Off
Directed-Spray Method: Purpose, Setup, and Controls
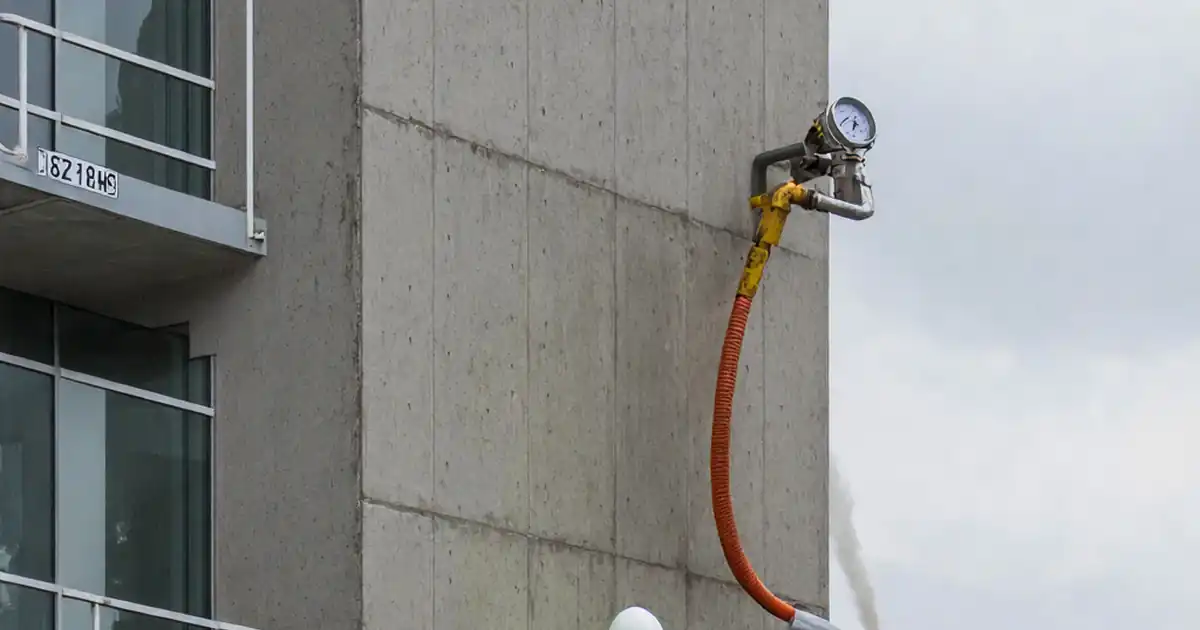
This checklist applies a directed-spray method to evaluate completed façade penetration seals such as pipe sleeves, conduits, anchor brackets, and escutcheons. Reliability depends on repeatable setup: stable environmental conditions, calibrated flow, and consistent nozzle distance and angle. Before spraying, confirm curing is complete for sealants, tapes, or gaskets to avoid false failures. Define the test zone, protect finishes, and position the nozzle at 300 ± 50 mm, perpendicular to the surface, moving at a steady 150–200 mm/s for a uniform wetting pattern. If the project requires a pressure differential, stabilize with a fan and manometer before spraying. Acceptance focuses on zero interior water penetration during and after the test and moisture readings that remain at baseline. Evidence includes flow-calibration logs, time-stamped videos, photos with measurement scales, and instrument IDs. Execute to the approved project specifications and authority requirements to keep results defensible and comparable across locations and phases.
- Confirm cure times to avoid misleading failures.
- Control wind, temperature, and pressure differential.
- Calibrate flow to within ±10% of target.
- Maintain 300 ± 50 mm nozzle distance and 90° ± 10° angle.
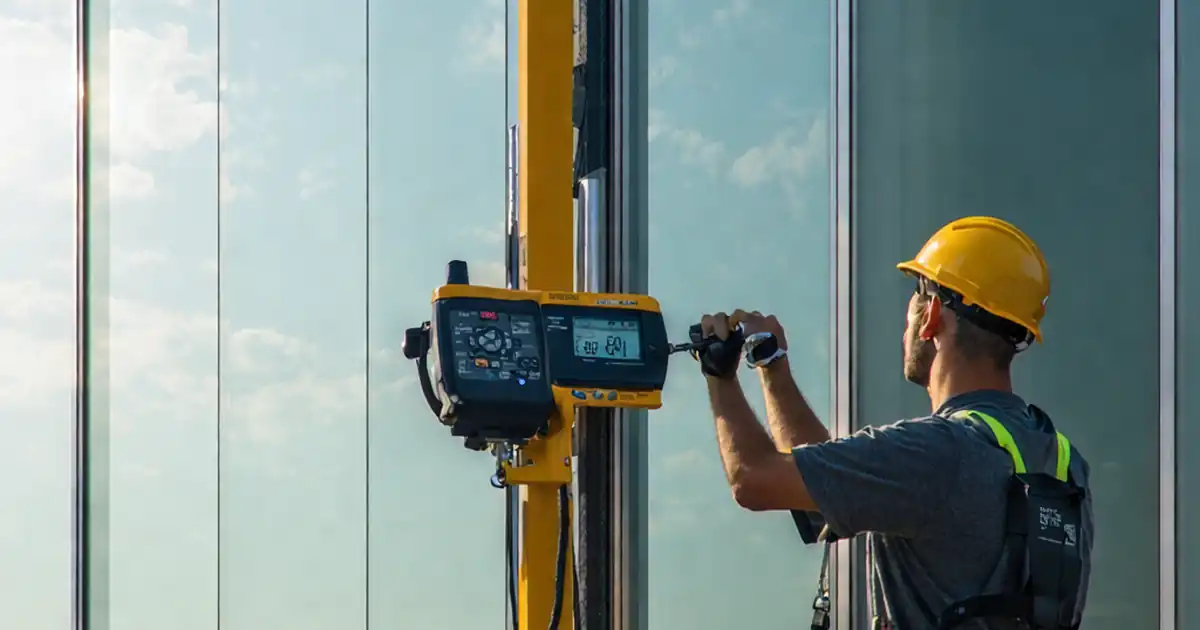
- Capture time-stamped video and moisture readings.
Typical Leak Paths and Practical Acceptance Cues
Leakage around façades often originates at discontinuous beads, unprimed substrates, poor tooling, or movement gaps at brackets and terminations. Water can track behind cladding or along fixings, appearing minutes after spraying stops. During the test, watch for interior drips, damp odour, or darkening finishes while maintaining the spray pattern. After the spray ends, continue observation for at least 10 minutes to catch delayed seepage. Use a pin moisture meter to verify that readings remain at baseline (or within 2% change) and visually inspect accessible cavities using a borescope. A pass is zero visible water penetration and no abnormal moisture rise. If you find leakage, mark the suspected path externally, isolate the area, and move to controlled remediation with approved products and surface preparation. Re-test under identical parameters to confirm the repair.
- Focus on annulus, terminations, and fixings.
- Continue post-test observation for delayed seepage.
- Use moisture meters to confirm stable readings.
- Map and photograph suspected leak paths.
- Re-test repairs under identical parameters.
Evidence, Traceability, and Team Sign-Off
Clear, auditable evidence avoids disputes and accelerates closeout. Record baseline and post-test instrument readings, weather data, and flow calibration, linking each to a unique penetration ID. Time-stamped photos and videos should show the grid, scale, nozzle distance, and gauge readings. Where repairs are required, document removal, substrate preparation, product details, lot numbers, cure times, and before/after test outcomes. Coordinate sign-offs with the installer, QA lead, and client representative and store outputs in the common data environment (CDE). When distributing reports, include a QR-secured PDF/Excel export so recipients can verify authenticity. Always reference that testing was performed per approved project specifications and authority requirements to maintain contractual alignment and regulatory confidence.
- Use unique IDs for every penetration.
- Attach calibration certificates and instrument IDs.
- Include product names and lot numbers for repairs.
- Export QR-secured PDF/Excel for authenticity.
- File all records in the project CDE.
How to Use This Water-Resistance Test Checklist
- Preparation: Gather a calibrated spray nozzle or rack, flowmeter, stopwatch, ruler, angle gauge, anemometer, thermometer, moisture meter, borescope, flashlight, PPE, and protection sheets. Verify sealant cure, manage weather/wind limits, and set safe access. Brief roles for sprayer and observer.
- Using the Interactive Checklist: Open interactive mode, tick each step as completed, add comments, and upload photos/videos and readings. Tag each penetration with a unique ID and location. When finished, export the commentable record as PDF/Excel with an embedded QR code.
- Sign-Off: Capture digital signatures from the installer, QA lead, and client. Distribute the QR-authenticated export, then archive the package in your CDE under the correct drawing references for future audits and warranty support.

Call to Action
- Start Checklist Tick off tasks, leave comments on items or the whole form, and export your completed report to PDF or Excel—with a built-in QR code for authenticity.
- Download Excel - Façade Penetration Seal Water-Resistance Test
- Download PDF - Façade Penetration Seal Water-Resistance Test
- View Image - Façade Penetration Seal Water-Resistance Test
Cite & Embed
“Façade Penetration Seal Water-Resistance Test by Quollnet”
with a link to
this source page.

FAQ
Question: What defines a pass or fail for this water-resistance test?
Question: When should we test after installing the penetration seals?
Question: What if wind or temperature are outside the recommended limits?
Question: Can moisture meters or infrared scans replace visual observation?
Related Articles
Broader reading and guidance connected to this checklist topic.


Is The Crack You See On Your Wall Serious Or Minor Cosmetic Issue?


Master Construction Project Cashflow With Cashflowpot
Related Checklists
Keep the workflow moving with nearby templates chosen from similar checklist content.