Test Potable Water Lines: Pressure, Disinfect, Certify
Definition: Test potable water lines using a structured field checklist for contractors, inspectors, and utilities, covering pressure testing, disinfection, flushing, and certification while explicitly excluding installation activities.
- Verify readiness, isolate sections, and calibrate instruments before testing.
- Conduct hydrostatic pressure test with logged readings and leak inspection.
- Disinfect, flush, and sample to achieve compliant bacteriological results.
- Interactive, commentable checklist with export and QR code traceability.
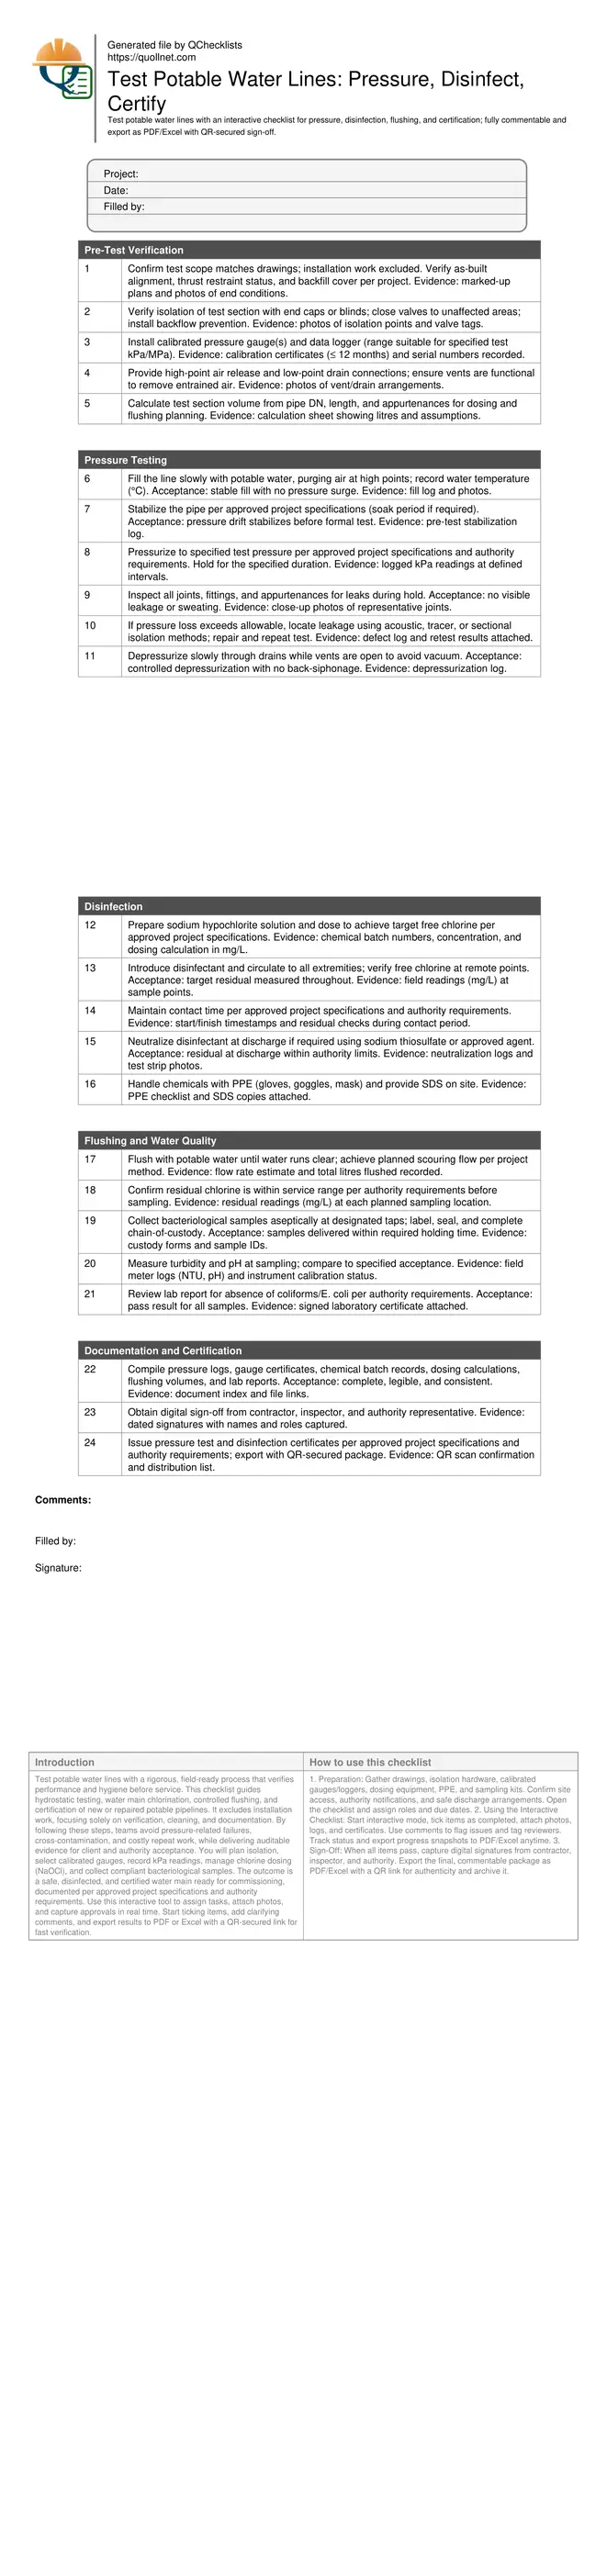
Test potable water lines with a rigorous, field-ready process that verifies performance and hygiene before service. This checklist guides hydrostatic testing, water main chlorination, controlled flushing, and certification of new or repaired potable pipelines. It excludes installation work, focusing solely on verification, cleaning, and documentation. By following these steps, teams avoid pressure-related failures, cross-contamination, and costly repeat work, while delivering auditable evidence for client and authority acceptance. You will plan isolation, select calibrated gauges, record kPa readings, manage chlorine dosing (NaOCl), and collect compliant bacteriological samples. The outcome is a safe, disinfected, and certified water main ready for commissioning, documented per approved project specifications and authority requirements. Use this interactive tool to assign tasks, attach photos, and capture approvals in real time. Start ticking items, add clarifying comments, and export results to PDF or Excel with a QR-secured link for fast verification.
- A complete, field-tested workflow for hydrostatic pressure testing, disinfection, flushing, and certification of potable water lines, helping teams eliminate leaks, safeguard water quality, and pass authority acceptance on the first attempt.
- Built-in evidence capture (photos, gauge logs, batch certificates, lab reports) ensures traceability. Acceptance relies on no visible leaks, compliant residuals, and clean microbiological results per approved project specifications and authority requirements.
- Interactive online checklist with tick, comment, and export features secured by QR code.
- Prevents rework and delays by standardizing preparation, isolation, stabilization, chlorination, neutralization, flushing, and chain-of-custody sampling, leading to reliable commissioning and confident turnover of potable networks to operations.
Pre-Test Verification
Pressure Testing
Disinfection
Flushing and Water Quality
Documentation and Certification
Hydrostatic Pressure Testing That Finds Problems Early
A disciplined pressure test verifies structural integrity and joint sealing before any water quality steps. Begin by isolating the test section and installing calibrated gauges with suitable range for the specified kPa or MPa. Gentle filling and strategic venting prevent trapped air, which can falsely elevate readings and mask leakage. Stabilization allows pipe wall creep and temperature equalization, improving repeatability. During the formal hold, record readings at set intervals, visually inspect joints, and note ambient and water temperature. If pressure loss exceeds the allowable per project specifications, use acoustic listening, sectional isolation, or tracer methods to pinpoint defects and repair before retesting. Slow depressurization prevents back-siphonage and vacuum damage. The key acceptance cues are: no visible leaks and pressure performance meeting the approved specification. Consistent documentation enables clear pass/fail decisions and avoids disputes with stakeholders.
- Use calibrated gauges and verify ranges cover test pressure.
- Vent all high points to eliminate trapped air pockets.
- Stabilize before the formal hold for reliable readings.
- Inspect every visible joint during the hold period.
- Log kPa readings and temperatures at set intervals.
Effective Disinfection and Controlled Neutralization
Disinfection eliminates microbial contamination before the main connects to a potable network. Sodium hypochlorite is commonly dosed to a target free chlorine residual per approved project specifications. Circulate to remote points and confirm the target residual to ensure full coverage. Maintain the required contact time, tracking residual levels periodically to account for chlorine decay. When discharging, neutralize with sodium thiosulfate or an approved agent if authority requirements apply, and confirm the residual at the point of discharge is within limits. Maintain chemical safety by using correct PPE, storing chemicals properly, and retaining Safety Data Sheets. Recording batch numbers, concentrations, and dosing calculations (mg/L) builds traceability. This step reduces public health risk and prevents rework caused by failed bacteriological results.
- Verify target residual at multiple extremities.
- Track contact time with start and finish stamps.
- Neutralize discharge per authority requirements.
- Keep SDS and batch numbers for traceability.
- Wear correct PPE during all handling.
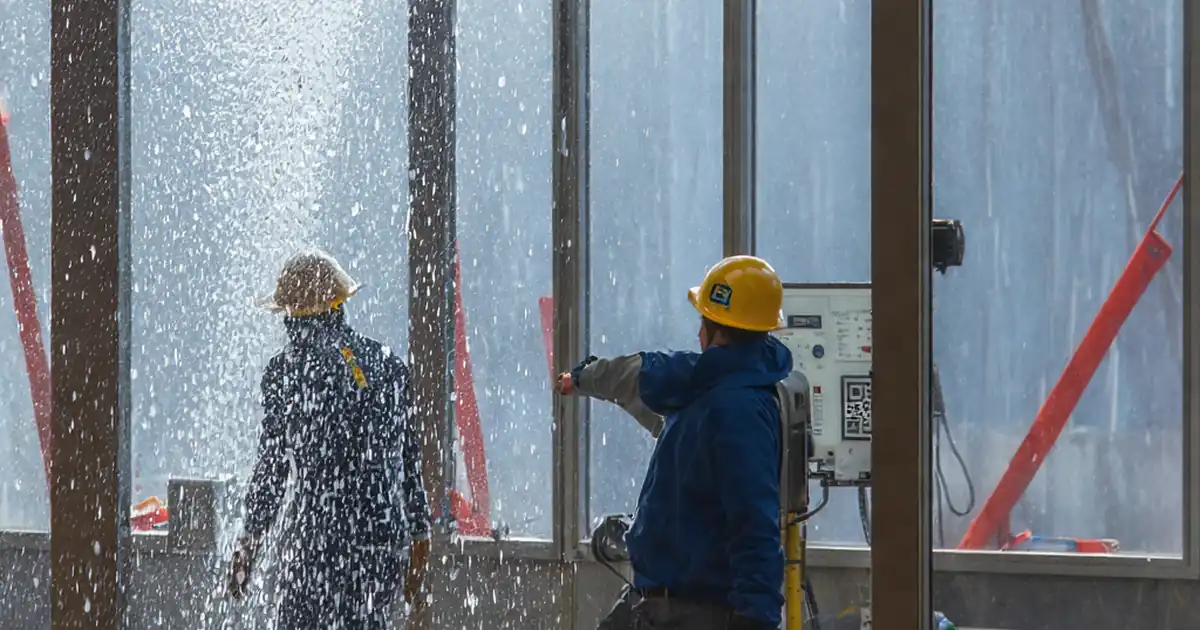
Flushing, Sampling, and Path to Certification
Flushing removes debris and decayed chlorine, paving the way for representative sampling. Continue flushing until the water clears, residual chlorine is within service range, and turbidity and pH meet project expectations. Sample aseptically at designated locations, label and seal bottles, and complete chain-of-custody forms. Deliver samples within the laboratory’s holding time to protect validity. Field meters should be calibrated, and readings (mg/L, NTU, pH) recorded. Certification depends on a clean laboratory report showing compliant bacteriological results and complete pressure/disinfection records. Package all evidence, obtain digital signatures from responsible parties, and export a QR-secured dossier for authority review and system turnover.
- Flush until clear water and stable residual.
- Sample aseptically and maintain custody.
- Record pH, turbidity, and residual chlorine.
- Use a calibrated field meter with logs.
- Attach lab report and sign-offs for approval.
How to Use This Interactive Checklist
- Preparation: Gather drawings, isolation hardware, calibrated gauges/loggers, dosing equipment, PPE, and sampling kits. Confirm site access, authority notifications, and safe discharge arrangements. Open the checklist and assign roles and due dates.
- Using the Interactive Checklist: Start interactive mode, tick items as completed, attach photos, logs, and certificates. Use comments to flag issues and tag reviewers. Track status and export progress snapshots to PDF/Excel anytime.
- Sign-Off: When all items pass, capture digital signatures from contractor, inspector, and authority. Export the final, commentable package as PDF/Excel with a QR link for authenticity and archive it.
Call to Action
- Start Checklist Tick off tasks, leave comments on items or the whole form, and export your completed report to PDF or Excel—with a built-in QR code for authenticity.
- Download Excel - Potable Water Line Testing
- Download PDF - Potable Water Line Testing
- View Image - Potable Water Line Testing
Cite & Embed
“Potable Water Line Testing by Quollnet”
with a link to
this source page.

FAQ
Question: What test pressure and duration should I use for potable water lines?
Question: How do I calculate the chlorine dose for disinfection?
Question: What should I do with flushing and discharge water containing chlorine?
Question: Why did my pressure test show a drop even without visible leaks?
Question: What documentation is required to certify the line for service?
Related Articles
Broader reading and guidance connected to this checklist topic.


Concrete Cube Test Register Excel Format – Pdf & Excel Sample


Is The Crack You See On Your Wall Serious Or Minor Cosmetic Issue?

Master Construction Project Cashflow With Cashflowpot
Related Checklists
Keep the workflow moving with nearby templates chosen from similar checklist content.