Install duct banks within footprint (linear) Checklist
Definition: Install duct banks within footprint (linear) using this field-ready checklist for civil, electrical, and QA teams; covers spacers, encasement, cover depth, warning tape, and markers.
- Covers trenching, spacers, encasement, cover depth, and markers.
- Ensures SI tolerances, acceptance criteria, and photo/document evidence.
- Practical methods reduce rework, delays, and utility strike risks.
- Interactive, commentable, export-ready checklist with QR code verification.
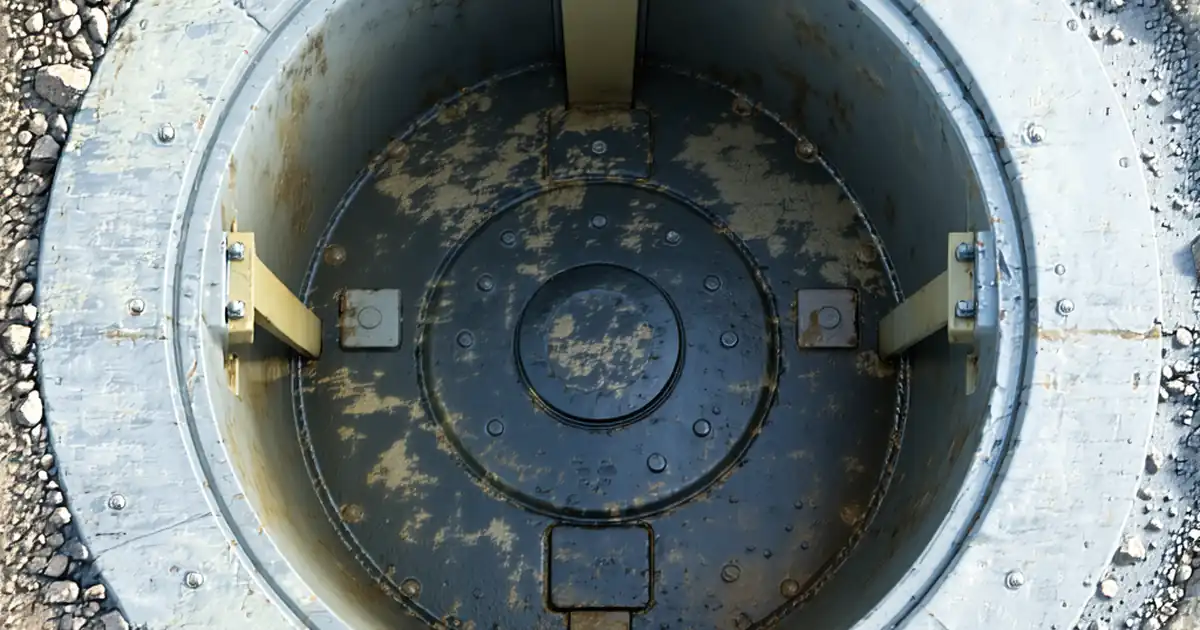
Install duct banks within footprint (linear) is a focused scope for building concrete-encased conduit banks along a set alignment inside project limits. This checklist guides utility duct bank installation, trench work, conduit spacers, concrete encasement, cover depth verification, warning tape, and permanent markers—while expressly excluding cable pulls. It emphasizes survey-led layout, safe excavation, controlled conduit separation, and uniform concrete placement so the bank remains stable, drainable, and locatable after backfill. Acceptance cues use SI units with practical tolerances, batch and density records, and geo-referenced photos. Following these steps reduces strike risk, prevents float or deformation during pour, and ensures compliant cover and marking for future maintenance. Use this interactive, commentable page to tick steps, capture evidence, and flag nonconformities. When complete, export as PDF/Excel and secure records with a QR code for quick field verification and stakeholder handover.
- Comprehensive field checklist for linear, within-footprint duct banks, covering trench alignment, bedding, spacers, concrete encasement, cover depth, warning tape, and utility markers. Reduces rework by mandating SI tolerances, batch records, density results, and time-stamped photo evidence.
- Built for multidisciplinary crews and inspectors, it aligns installation with approved project specifications and authority requirements while preserving flexibility for local conditions. Clear acceptance criteria and measurable checkpoints shorten approvals and speed up reinstatement and surface restoration.
- Proven sequencing minimizes conduit float, misalignment, insufficient cover, and mislabelled routes. Guidance on survey control, controlled placement, and curing windows ensures the bank stays stable, drainable, and accurately locatable post-backfill, supporting safe future excavations and maintenance activities.
- Interactive online checklist with tick, comment, and export features secured by QR code.
Pre-Excavation and Layout
Trench Excavation and Bedding
Spacers and Conduit Placement
Concrete Encasement and Curing
Cover Depth, Backfill, and Warning Tape
Markers, As-Builts, and Handover
Layout, Excavation, and Bedding Essentials
Accurate survey control anchors a successful linear, within-footprint duct bank. Establish clear offsets and benchmarks so trenching tracks design line and grade, preventing clashes and excessive bends. Trench stability, achieved through shoring or compliant side slopes, minimizes deformation of the bedding and prevents wall collapse. Compact subgrade to 95% MDD and place 75–100 mm of fine bedding to form a uniform support plane. Bedding thickness and level are quick to verify with a measuring rod and staff; record readings and photos at start, mid, and end segments. This disciplined approach preserves conduit geometry and simplifies spacer installation. As-built the trench before conduit placement to catch variances early. A real-world cue: if bedding humps exceed ±10 mm, conduits telegraph high spots and float during the pour. Correcting subgrade now beats chiseling hardened concrete later.
- Survey offsets and benchmarks set with total station.
- Subgrade compacted to 95% MDD; level within ±10 mm.
- Bedding 75–100 mm; verify thickness at multiple stations.
- Shoring or slopes per approved safety plan.
- Photo and survey evidence captured before conduits.
Spacers, Conduit Placement, and Stable Encasement
Spacers lock in conduit separation and cover, eliminating contact points that can abrade cables later. Assemble spacer racks to the approved layout and dry-fit the first bay to validate clearances. Conduit placement follows design grade; verify fall with a digital level where drainage is specified. Tie spacers and any reinforcement to prevent float during the pour. Concrete placement should be controlled and well consolidated—use a pencil vibrator with short insertions to avoid moving the ducts. Confirm concrete slump and batch data on arrival, and collect samples if required. Finish the top neatly to a uniform level within ±10 mm. Early-stage photos of spacer spacing and cover gauges save disputes. If a spacer shifts during vibration, stop, realign, and re-check before continuing.
- Spacer separation verified at start and every 3 m.
- Conduit grade tolerance within ±5 mm/m.
- Concrete slump 75–125 mm unless otherwise approved.
- Vibrate lightly; verify no spacer movement.
- Finish level tolerance ±10 mm with straightedge.
Cover Depth, Backfill, Warning Tape, and Marking
After curing, validate cover depth to the top of encasement along the route. Many authorities require 600 mm or greater; confirm against approved project specifications and authority requirements. Backfill in controlled lifts, compacting to 95% MDD, and document density results. Install continuous warning tape 300 mm above the duct bank so future excavations get early visual cues. Surface reinstatement must match adjacent levels and crossfall, proven by level checks and photos. Install route markers and plates at required intervals and transitions; add GPS positions for fast future locate. Produce full as-builts capturing centerline, elevations, and cover. The result is a safe, traceable utility corridor ready for future cable pulls outside this scope.
- Cover depth checked every 10 m with survey points.
- Backfill in 150–200 mm lifts to 95% MDD.
- Warning tape at 300 mm above encasement.
- Markers at changes, entries, and ≤50 m intervals.
- Complete geo-referenced as-builts and photo index.
How to Use This Interactive Checklist
- Preparation: confirm drawings, specifications, permits, and utility locates; gather tools (total station, digital level, compaction tester, slump cone), safety gear, and forms; brief crew on roles and evidence requirements.
- Using the Interactive Checklist: start interactive mode, assign items to team members, tick steps as completed, attach photos, test reports, and survey files; add comments for nonconformities and tag reviewers.
- Export and Sharing: generate a timestamped PDF/Excel export, including photos and logs; share the QR code so stakeholders can verify authenticity and access the live record in the field.
- Sign-Off: collect digital signatures from contractor, inspector, and owner’s representative; finalize approvals; archive the signed package with QR authentication in the project CDE.

Call to Action
- Start Checklist Tick off tasks, leave comments on items or the whole form, and export your completed report to PDF or Excel—with a built-in QR code for authenticity.
- Download Excel - Linear Duct Bank Installation (Within Footprint)
- Download PDF - Linear Duct Bank Installation (Within Footprint)
- View Image - Linear Duct Bank Installation (Within Footprint)
Cite & Embed
“Linear Duct Bank Installation (Within Footprint) by Quollnet”
with a link to
this source page.
FAQ
Question: What cover depth should I use for a linear duct bank within a project footprint?
Question: How do I prevent conduits and spacers from floating during concrete placement?
Question: Which tests and records are required to prove compliance?
Question: Do I need detectable or non-detectable warning tape above the duct bank?
Question: Is conduit mandrelling part of this checklist?
Related Articles
Broader reading and guidance connected to this checklist topic.


Concrete Cube Test Register Excel Format – Pdf & Excel Sample


Related Checklists
Keep the workflow moving with nearby templates chosen from similar checklist content.