G
Guest

Comment créer votre premier snag en 4 étapes faciles

Guide étape par étape pour créer un nouveau snag avec Snag Here, l’application web et mobile de gestion des défauts de construction dans vos projets.

Comment créer votre premier snag en 4 étapes faciles
French version

Comment créer un nouveau Snag

Avec snaghere.com ou l’application snaghere, ce processus est très simple. Il suffit de suivre les étapes ci-dessous :

  1. Connectez-vous ou inscrivez-vous sur snaghere.com ou sur l’application snaghere.

  2. Créez un nouveau projet en cliquant sur le bouton « Create Project ».
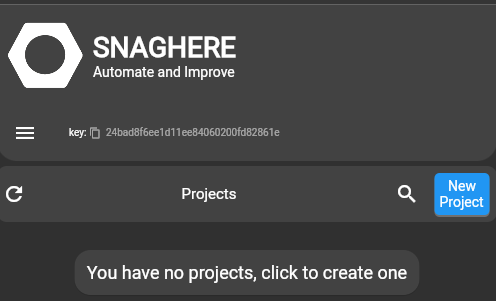
    snaghere new project

  3. Créez une nouvelle liste de Snag en cliquant sur le bouton « New List ».
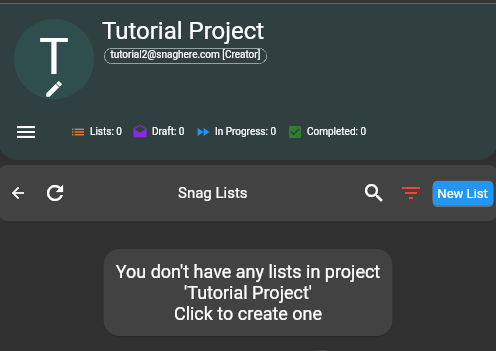
    snaghere new snag list

    1. Vous devez sélectionner une entreprise pour la liste. Si votre entreprise n’est pas répertoriée, vous pouvez en créer une nouvelle en cliquant sur le bouton « New Company ».
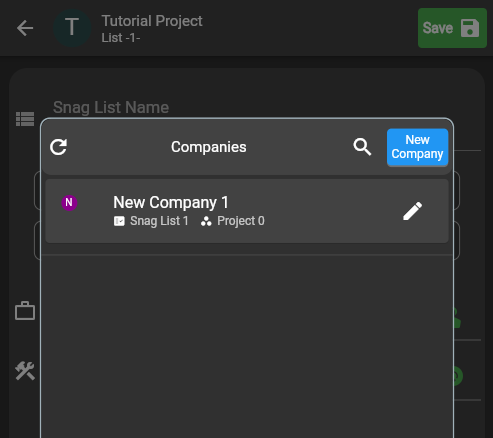
      snaghere new company

  4. Créez un nouveau Snag en cliquant sur le bouton « New Snag ».
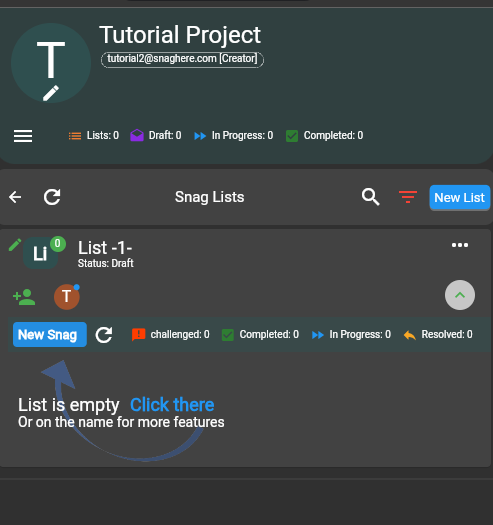
    snaghere new snag1

C’est terminé !

Sofia Romero's photo
Sofia Romero
Aug 09, 2026
0
1
62
42

Related Checklists


How to Perform a Concrete Slump Test: ASTM / EN Checklist
✅ 22 items
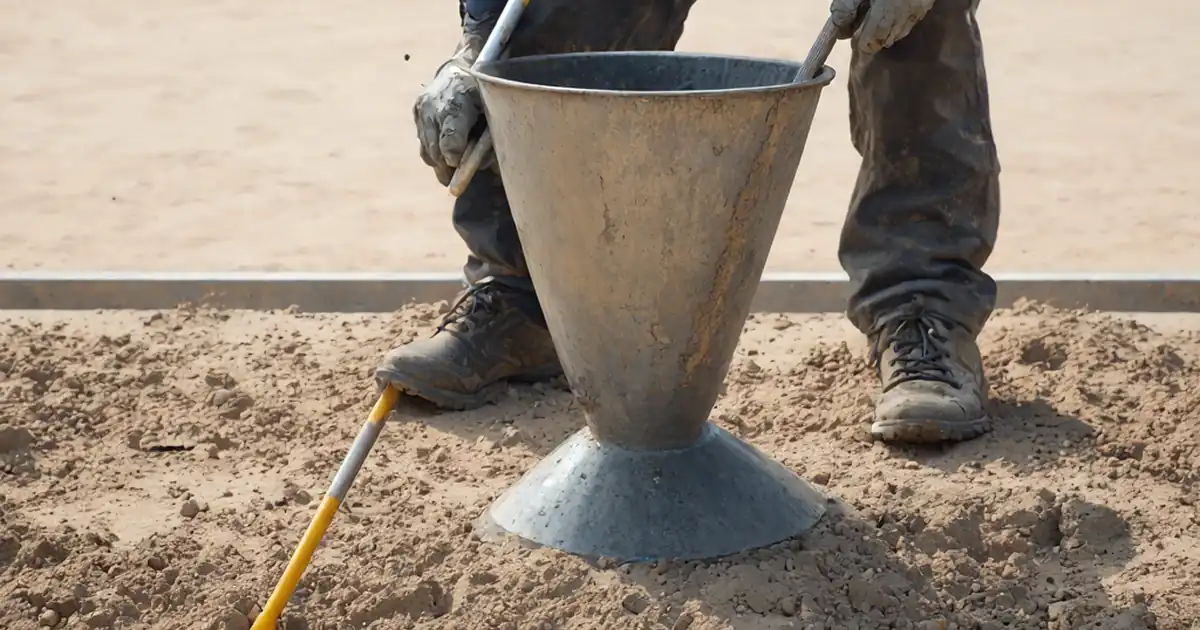
How to perform concrete slump test is the focus of this practical, field-ready checklist for site engineers and technicians. It walks you through slump testing, slump measurement, and shape classification using the test standard required by the project specification, ITP or approved procedure, while keeping ASTM C143/C143M and BS EN 12350-2 requirements clearly identified. The procedure begins after a representative sample has been taken; for that prerequisite, use the linked Fresh Concrete Sampling Checklist. Here you will set the apparatus, place the cone correctly, fill in the required layers, rod each layer, strike off, lift the cone in the specified time, measure the slump, identify true/shear/collapse shape, and record results. Staying within scope, we do not decide acceptance, adjust trucks, or make cubes/cylinders. Following this sequence avoids unstable cones, uneven compaction, delayed measurements, and unverifiable records—leading to reproducible, defensible results. Use interactive mode to tick items, add comments with photos or short videos, and export as PDF/Excel secured by a QR code.
High-Strength Grout Placement Inspection Checklist
✅ 12 items
High-strength grout placement under baseplates and bearing pads is a critical step in construction that ensures structural integrity and load distribution. This process involves applying grout to stabilize and secure baseplates and bearing pads, typically found in foundations and heavy machinery installations. This checklist covers the inspection of materials, site preparation, application techniques, and curing processes to ensure compliance with standards and best practices. Proper inspection prevents structural failures and enhances the longevity of the installation. Utilize our interactive checklist to mark completion, add comments, and export your inspection report with a unique QR code for authentication.
Install shear keys/dowels at pile heads checklist, QA
✅ 26 items
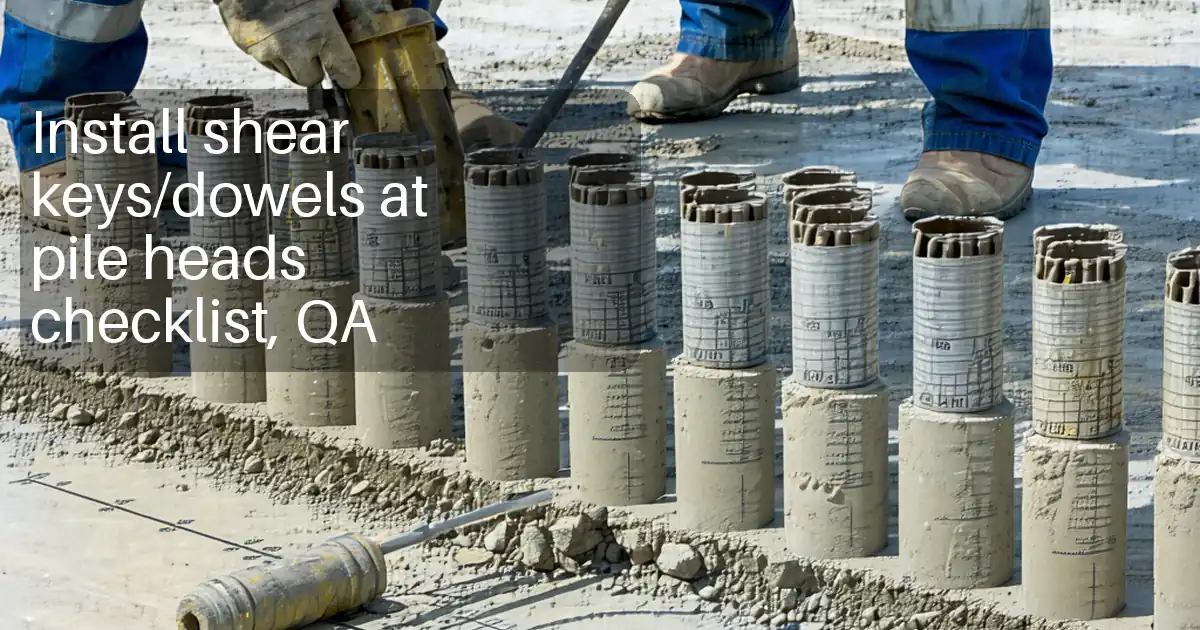
Install shear keys/dowels at pile heads is a focused installation and QA process for transferring shear across the pile-to-cap interface. This checklist covers drilled dowel installation, epoxy anchoring, and embedment verification while explicitly excluding reinforcement starters. It guides site engineers and inspectors through layout, rebar scanning, drilling, hole cleaning, adhesive injection, bar alignment, and post-cure checks. By standardizing dowel installation at pile heads, teams reduce risks like striking reinforcement, voided adhesive bonds, inadequate embedment, misalignment, and early loading before full cure. The result is reliable shear transfer and orderly records ready for quality and compliance reviews. Practical cues—such as angle tolerances, brush–blow cycles, moisture control, and proof testing if specified—are paired with photo evidence, batch tracking, and signatures. Use this interactive checklist to tick each step, comment on anomalies, attach photos and reports, and export your completed records to PDF/Excel with a secure QR link.
Test façade perimeter sealant adhesion before rollout
✅ 25 items
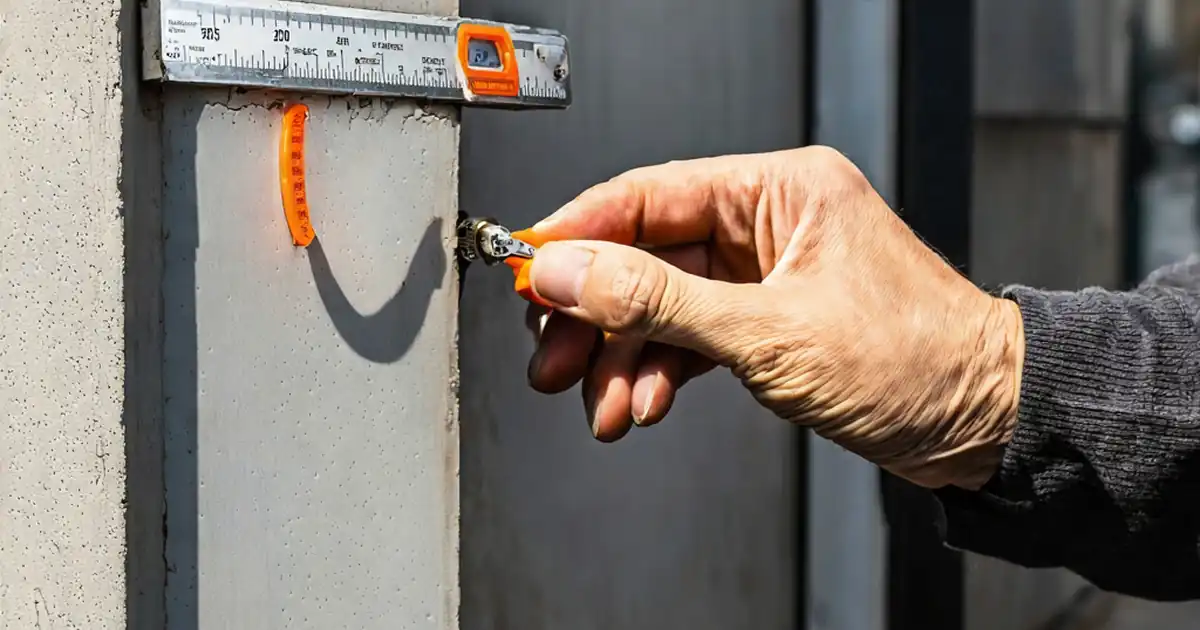
Test façade perimeter sealant adhesion before large-scale application ensures the sealant bonds reliably to perimeter joint substrates. This field adhesion test, often called a hand-pull test or mock-up verification, validates material compatibility, substrate preparation, and cure conditions before production. Focusing on vertical façade perimeters only, this checklist excludes movement cycling, water ingress testing, and non-perimeter glazing interfaces. By standardizing surface cleaning, primer application where specified, bead dimensions, and curing parameters, teams can identify adhesive versus cohesive failure and avoid costly rework, staining, or premature debonding. Documented measurements, photos, and sign-offs create a defensible quality record for approvals per approved project specifications and authority requirements. Use this interactive checklist on site: tick each step, add comments with photos, and export PDF/Excel reports secured by QR code for quick stakeholder review.
Test Façade Mock-Up for Thermal Cycling and Seal Durability
✅ 29 items
Test façade mock-up for thermal cycling and seal durability is a focused procedure for validating façade performance under controlled temperature extremes and repeated joint movement. This checklist supports façade performance testing on curtain wall mock-ups using an environmental chamber, linking thermal profiles to sealant adhesion, cohesion, and recovery. It concentrates on thermal cycling and seal durability only, avoiding unrelated wind, seismic, or water-penetration testing. Users will plan instrumentation, calibrate loggers, program cycles, and verify acceptance against project specifications and authority requirements. Outcomes include documented stability of temperatures, controlled ramps and dwells, quantified displacement, and objective observations of seal condition. By capturing photos, data logs, hardness readings, and adhesion pulls, teams reduce retests and deliver defensible results for approval. Use this interactive tool to assign responsibilities, timestamp evidence, and close findings efficiently. Tick, comment, and export to PDF/Excel with QR.

Related Articles


Construction Tender Preparation Guide
⏳ 5 min read
Guide De Préparation Des Appels D'offres En Construction | Processus D'appel D'offres Étape Par Étape
Découvrez le processus complet de préparation des appels d'offres en construction, de la réception des invitations à soumissionner à la mobilisation stratégique de l'équipe, l'analyse et les propositions gagnantes.
Master Construction Project Cashflow With Cashflowpot
⏳ 2 min read
Maîtrisez La Trésorerie D’un Projet De Construction Avec Cashflowpot
Découvrez comment optimiser la trésorerie de votre projet de construction avec CASHFLOWPOT grâce à ce tutoriel simple, de la création au suivi et à l’export Excel.
Snag List Excel Format Sample
⏳ 1 min read
Télécharger Le Format Excel De La Liste De Réserves
Modèle de liste de réserves au format Excel généré par snaghere, avec lien de téléchargement et aperçu du fichier exemple.
How To Create a Project Cash Flow For Contractors
⏳ 7 min read
Apprenez à Créer Un Cash Flow Complet Pour Les Projets De Construction. Présentation De Cashflowpot
Apprenez à créer un cash flow complet pour les projets de construction, avec conditions contractuelles, retenue, WIEB, avances et coûts indirects.
Snaghere Snaglist Software
⏳ 3 min read
Améliorez Votre Processus De Remise De Projet Avec Une Application De Suivi De Liste De Réserves
Snaghere App automatise la gestion des réserves pour fluidifier la collaboration, améliorer le contrôle qualité et assurer une livraison de projet efficace.