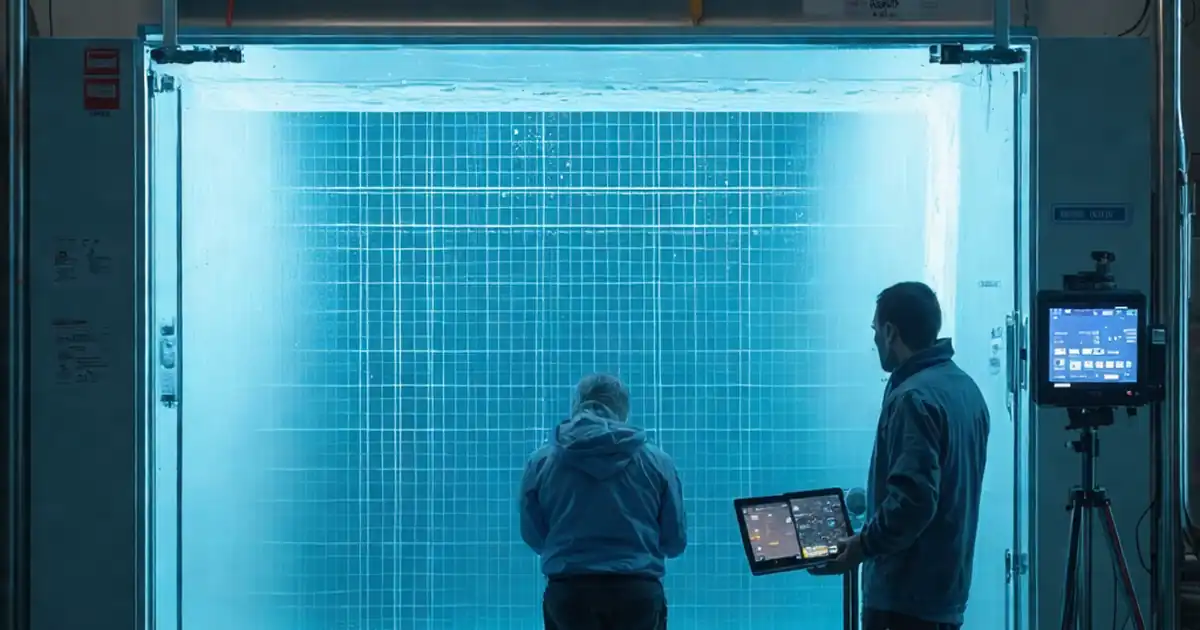
Test Façade Glass for Optical Distortion and Reflection
Definition: Test façade glass for optical distortion and reflected image quality using structured, field-ready procedures for site inspectors and façade specialists, focusing on installed glazing under controlled lighting to document acceptance and corrective actions.
- Define lighting, distance, and angles to ensure repeatable, comparable results.
- Use grids, polarizers, and calibrated cameras to quantify visible effects.
- Record deviations against project criteria with annotated, geo-tagged photos.
- Interactive, commentable checklist with export and QR code verification.
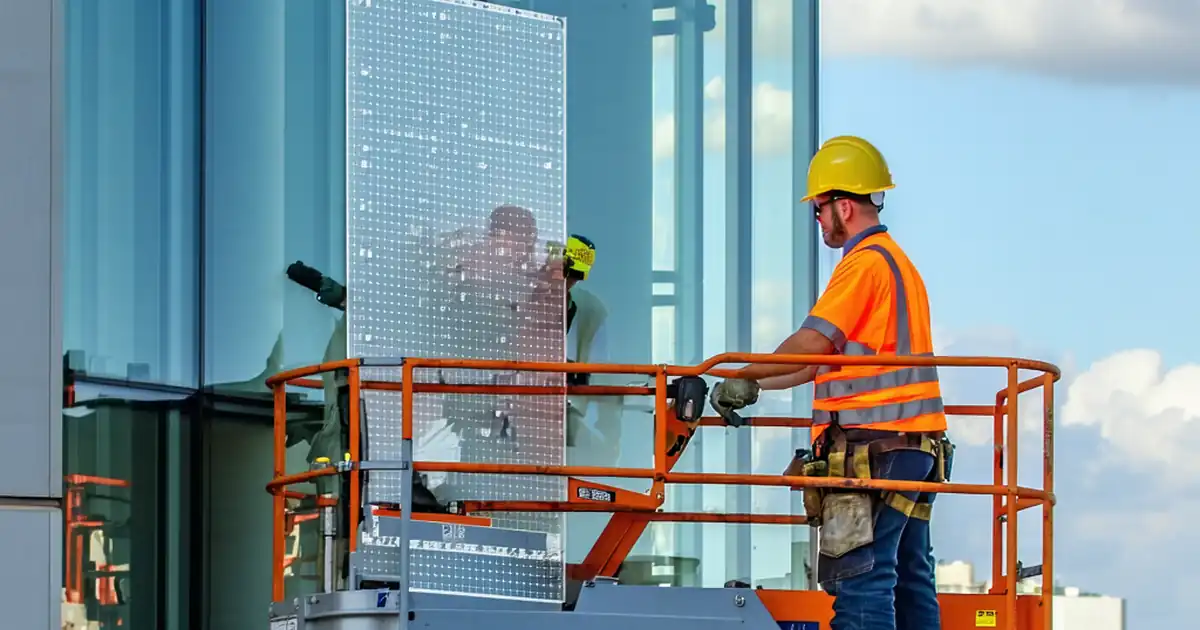
Test façade glass for optical distortion and reflected image quality is a focused site procedure for installed glazing. This checklist supports façade reflection testing and glass distortion assessment by standardizing viewing distances, lighting, and documentation so results are consistent and defensible. The scope covers visual and instrumental methods for identifying roller wave, edge kink, anisotropy, ghosting, and straightness errors visible in direct view and reflected imagery. It excludes structural capacity, impact resistance, and thermal-stress modeling, which must be verified separately per approved project specifications and authority requirements. By aligning with the approved mock-up and submittals, you reduce rework, prevent owner complaints about “funhouse” reflections, and protect the building’s streetscape appearance. Use this interactive tool to plan tests, capture calibrated photos, quantify deviation against acceptance criteria, and secure sign-off without ambiguity. Start in interactive mode to tick items, add comments, attach evidence, and export your record as PDF/Excel with a QR code for authentication.
- Standardizes on-site methods to evaluate direct-view distortion and reflected image clarity under controlled lighting and fixed viewing distances. Inspectors can rapidly compare panels to the approved mock-up and specifications, reducing subjective judgments and avoiding costly panel replacements late in the schedule.
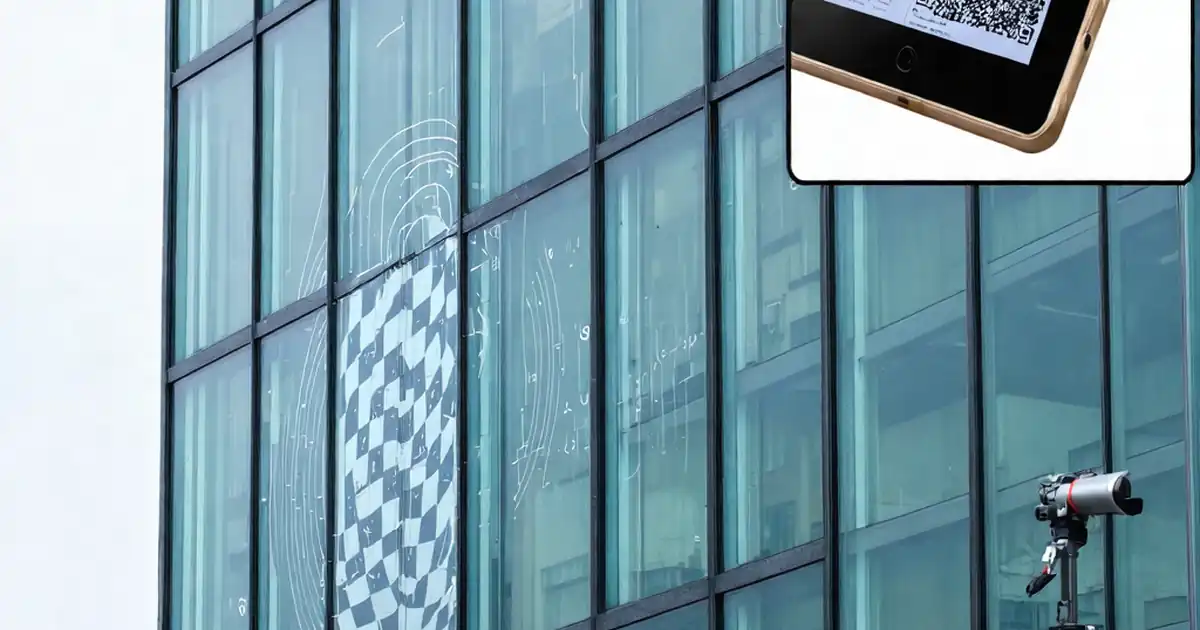
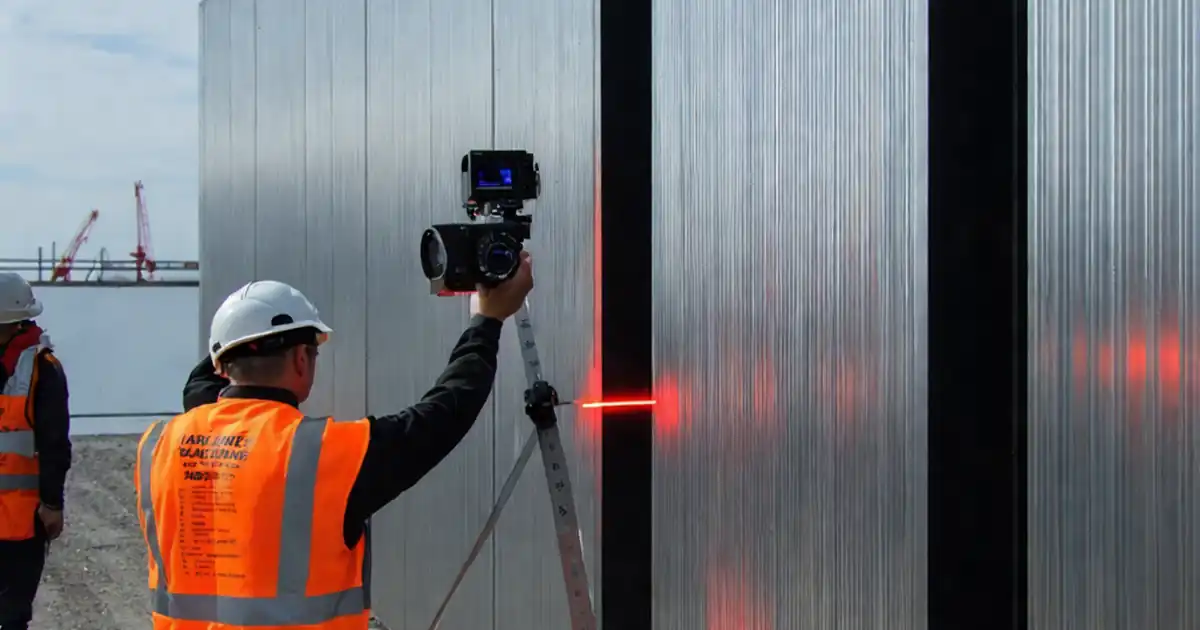
- Combines simple field tools—checkerboard grids, straightedges, polarizing filters, luminance meters—and calibrated photography to quantify roller wave, kinks, anisotropy patterns, and ghosting. Annotated images and measured deviations enable traceable, data-backed acceptance decisions for each panel and elevation.
- Interactive online checklist with tick, comment, and export features secured by QR code. Teams coordinate findings in real time, attach geotagged photos, and issue punch-lists, ensuring cross-stakeholder visibility from installer to façade consultant and owner representative.
- Emphasizes repeatability: fixed observer distance, normal and oblique views, and consistent sky conditions or uniform artificial lighting. The result is a credible appearance record that defends against future complaints about distorted reflections or inconsistent façade appearance.
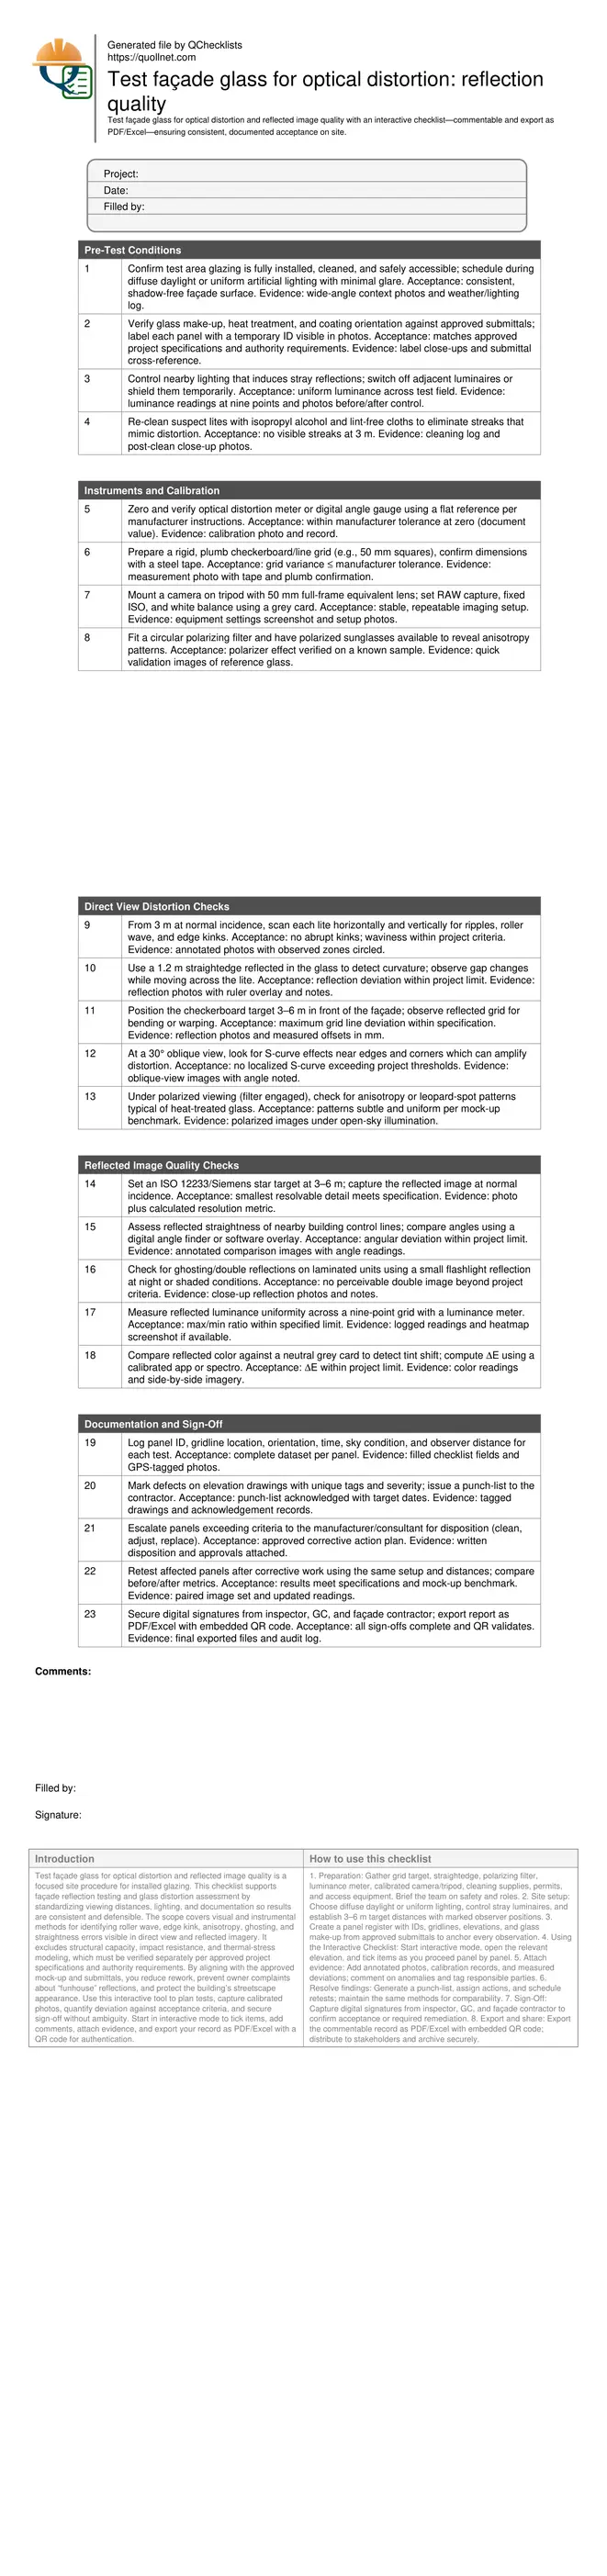
Pre-Test Conditions
Instruments and Calibration
Direct View Distortion Checks
Reflected Image Quality Checks
Documentation and Sign-Off
Understanding Optical Distortion Mechanisms and Practical Field Cues
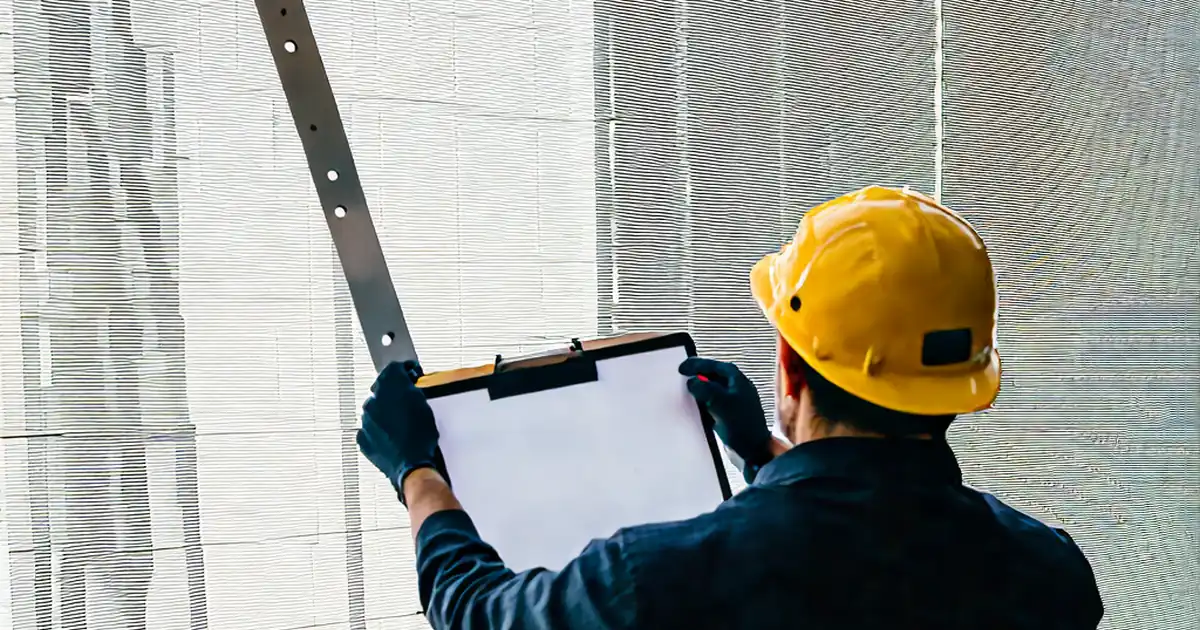
Optical distortion in façade glass often originates from heat-treatment roller wave, quench non-uniformity, edge bow, and frame-induced stresses. In the field, you rarely need lab instruments if you standardize observer distance, angle, and lighting. Use straightedge reflections and checkerboard targets to translate subjective impressions into measurable offsets. Look for abrupt kinks near supported edges and S-curves at corners, which are more objectionable than gentle, uniform waviness. Always compare to the approved visual mock-up; it defines the project’s tolerance for visible effects. Polarized viewing reveals anisotropy patterns that may appear as leopard spots under certain skies. Document with calibrated photos: 50 mm equivalent focal length avoids wide-angle distortion and preserves geometry for later measurement. Work panel by panel in a consistent sequence to minimize misses and ensure traceable results that align with specifications.
- Use fixed 3 m normal-incidence observations.
- Prefer diffuse daylight or uniform artificial lighting.
- Photograph with 50 mm equivalent lens.
- Compare findings with the approved mock-up.
- Flag abrupt kinks over gentle, uniform waviness.
Evaluating Reflected Image Quality with Targets and Real-World References
Reflected image quality dictates how the building appears against its surroundings. Start with a high-contrast resolution target to benchmark the smallest resolvable detail in the glass reflection. Then, verify against contextual references—straight building edges, parapets, or string lines—to catch geometric bending humans easily spot. At oblique angles, minor waviness can amplify; confirm normal and 30° views. For laminated units, check ghosting by observing a small light source; double images indicate interlayer or assembly issues. Assess luminance and color consistency to identify coating or substrate variations that change the façade’s perceived tone. Keep all distances, focal lengths, and targets consistent to make results comparable across elevations and days.
- Use a calibrated resolution or Siemens star target.
- Cross-check with real building control lines.
- Inspect normal and 30° oblique views.
- Test ghosting on laminated units at night.
- Measure luminance and color consistency.
Documentation Discipline, Sampling Strategy, and Risk Control
Appearance disputes escalate quickly without disciplined documentation. Build a panel register tied to gridlines and elevations; record time, sky condition, and observer distance for every observation. Sample per lot and elevation at minimum, then expand if non-conformities appear. Maintain the same target, lens, and lighting controls to ensure evidence stands up to peer review. Benchmark results against the approved mock-up and submittals; when a panel fails, capture exact deviations and issue a tagged punch-list with clear responsibilities and dates. Close the loop with a retest using the identical setup. Finally, secure digital sign-offs and archive exports with QR authentication so future stakeholders can verify origin and integrity.
- Create a panel register by gridline.
- Fix distances, lens, and targets.
- Benchmark against the approved mock-up.
- Issue tagged punch-lists with dates.
- Archive exports with QR authentication.
How to Use This Interactive Façade Glass Distortion & Reflection Checklist
- Preparation: Gather grid target, straightedge, polarizing filter, luminance meter, calibrated camera/tripod, cleaning supplies, permits, and access equipment. Brief the team on safety and roles.
- Site setup: Choose diffuse daylight or uniform lighting, control stray luminaires, and establish 3–6 m target distances with marked observer positions.
- Create a panel register with IDs, gridlines, elevations, and glass make-up from approved submittals to anchor every observation.
- Using the Interactive Checklist: Start interactive mode, open the relevant elevation, and tick items as you proceed panel by panel.
- Attach evidence: Add annotated photos, calibration records, and measured deviations; comment on anomalies and tag responsible parties.
- Resolve findings: Generate a punch-list, assign actions, and schedule retests; maintain the same methods for comparability.
- Sign-Off: Capture digital signatures from inspector, GC, and façade contractor to confirm acceptance or required remediation.
- Export and share: Export the commentable record as PDF/Excel with embedded QR code; distribute to stakeholders and archive securely.
Call to Action
- Start Checklist Tick off tasks, leave comments on items or the whole form, and export your completed report to PDF or Excel—with a built-in QR code for authenticity.
- Download Excel - Façade Glass Optical Distortion & Reflection Test
- Download PDF - Façade Glass Optical Distortion & Reflection Test
- View Image - Façade Glass Optical Distortion & Reflection Test
Cite & Embed
“Façade Glass Optical Distortion & Reflection Test by Quollnet”
with a link to
this source page.
FAQ
Question: What lighting is best for testing façade glass distortion and reflections?
Question: How far should I stand, and at what angle should I inspect?
Question: Can a smartphone camera be used for documentation?
Question: What typically causes visible anisotropy and wavy reflections in glass?
Related Articles
Broader reading and guidance connected to this checklist topic.


Is It Important To Customize Your Qr Code And How To Do It?

Concrete Compressive Strength Acceptance Criteria: Aci 318-25 Vs En 206

Related Checklists
Keep the workflow moving with nearby templates chosen from similar checklist content.