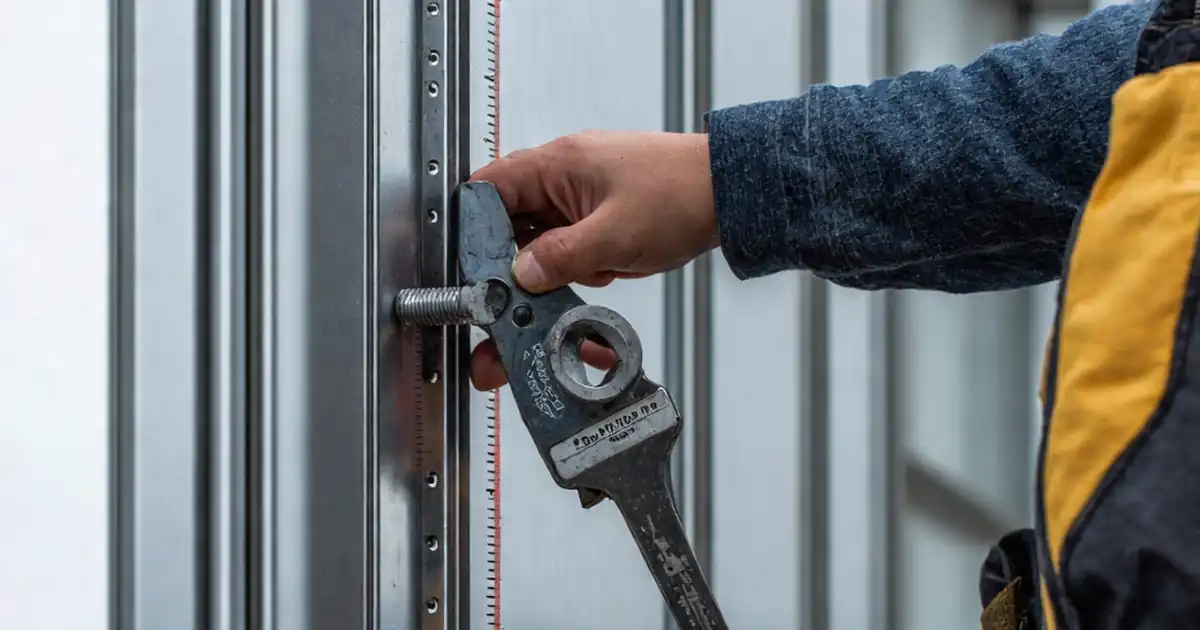
Inspect Aluminum Composite Panel Flatness and Oil-Canning Tolerance
Definition: Inspect aluminum composite panel flatness and oil-canning tolerance with this site-ready checklist for facade engineers and installers, defining measurement methods, acceptable waviness, and documentation during installation and post-installation QA reviews.
- Measure planarity with 2 m straightedge and feeler gauges.
- Assess oil-canning under controlled lighting and viewing distances.
- Capture photos, readings, panel IDs, and responsible approvals.
- Interactive, commentable checklist with export and QR code verification.
Inspect aluminum composite panel flatness and oil-canning tolerance to protect facade aesthetics and performance. This checklist focuses on ACP planarity measurement, oil canning assessment, and documentation for exterior cladding, guiding installers, site engineers, and QA inspectors. You will use a 2 m straightedge, feeler gauges, laser level, and controlled viewing conditions to quantify panel waviness and identify visual distortion. The scope excludes structural capacity, fire classification, sealant continuity, and water/air testing, but flags support irregularities and fixing practices that commonly trigger visible rippling. By enforcing consistent methods—diffuse light for flatness, raking light for distortion—you avoid disputes, rework, and warranty exposure while delivering predictable, repeatable acceptance decisions per approved project specifications and authority requirements. Follow the steps to gather calibrated measurements, categorize visual effects, and archive evidence with traceable panel IDs and elevations. Start in interactive mode to tick items, leave comments for nonconformities, and export your sign-off as PDF/Excel with a QR-secured audit trail.
- Control flatness and visual distortion using standardized tools and lighting protocols. The checklist establishes consistent readings across horizontal, vertical, and diagonal axes, then validates viewing geometry for oil-canning. Teams reduce subjective judgments, document evidence thoroughly, and align acceptance with approved project specifications and authority requirements.
- Shorten punch lists by isolating root causes—subframe misalignment, over-torqued fixings, inadequate clearances, or insulation telegraphing—before panels are widespread. Clear tolerances and photo evidence support timely decisions, minimize rework, and help plan corrective actions such as shim adjustments, fastener redistribution, or panel replacement where necessary.
- Interactive online checklist with tick, comment, and export features secured by QR code.
- Produce defendable reports with calibrated tool certificates, measurement grids, and severity ratings for oil-canning. The export includes panel IDs, locations, photos with scales, and signatures from installer, QA, and consultant, enabling fast approvals, transparent records, and reliable closeout documentation for handover and maintenance.
Pre-Inspection Conditions
Tools Calibration & Setup
Panel Surface Flatness Measurements
Oil-Canning Visual Assessment
Framing & Fixings Influences
Documentation & Approvals
Measuring Flatness: Methods, Tolerances, and Evidence
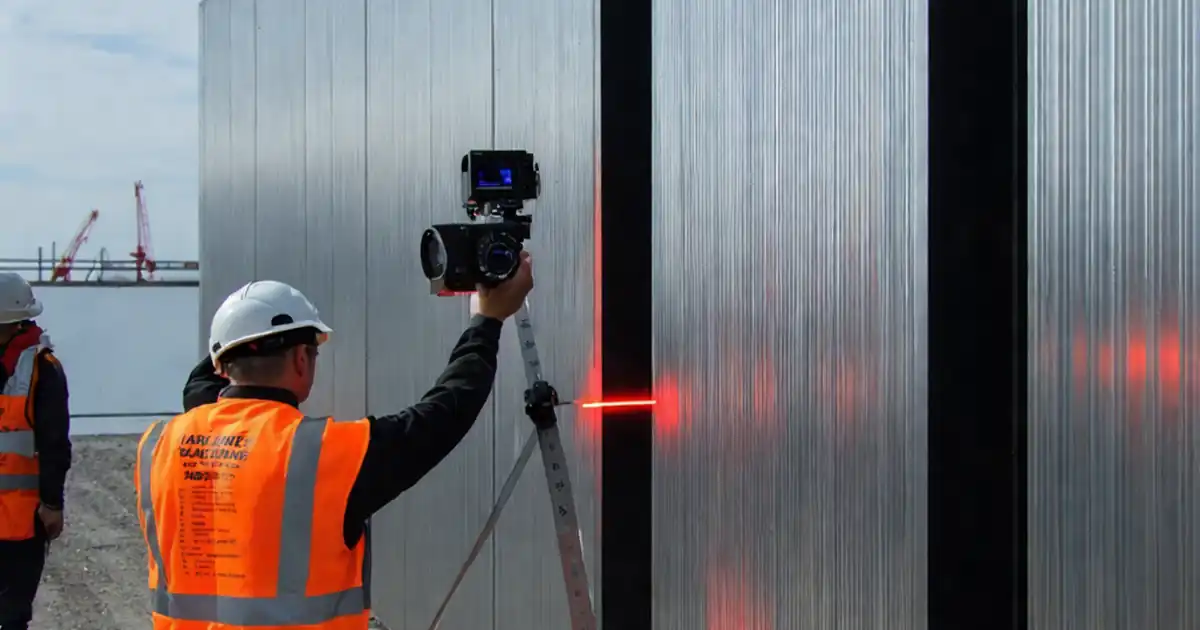
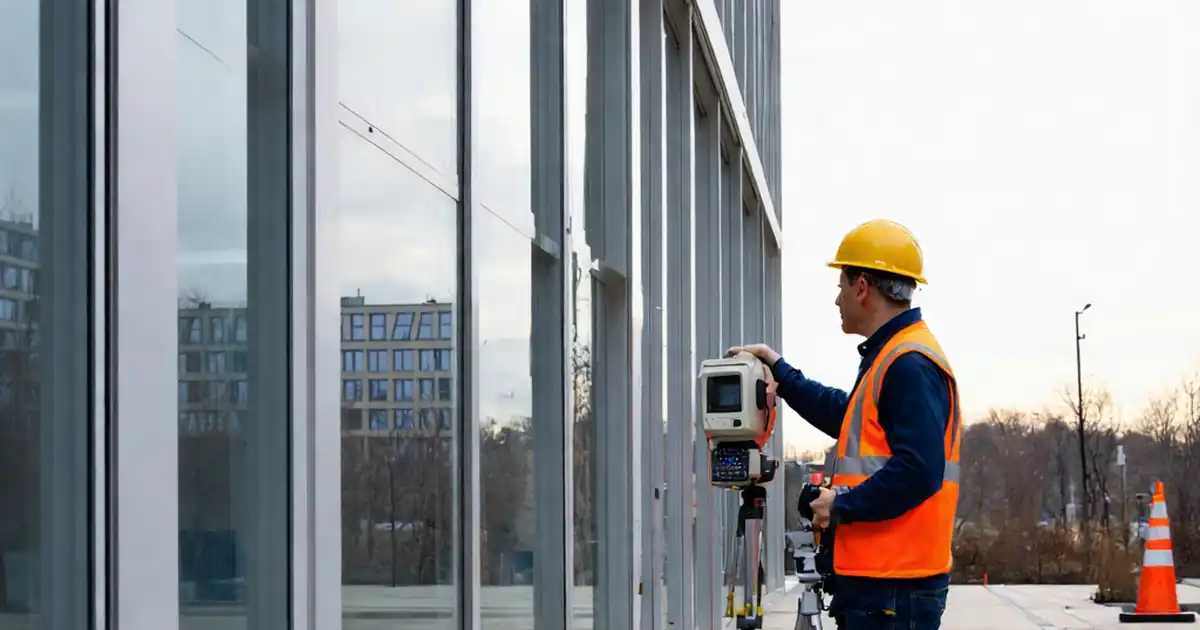
Flatness is a quantifiable attribute. Use a 2 m straightedge and feeler gauges to measure the maximum gap at horizontal, vertical, and diagonal orientations. Keep temperature stable and work in diffuse, non-glare light to avoid reflection artifacts. Map readings on a 3×3 grid per panel so you capture both global and local planarity. Where joints meet, span the straightedge across panels to detect steps and lipping. Record results in millimetres, tie them to panel IDs and elevations, and photograph each measurement with the gauge size visible. Acceptance thresholds should follow approved project specifications and authority requirements; common practice targets ≤ 2.0 mm over 2 m for general flatness and tighter limits near fixings. When a reading exceeds limits, investigate the subframe first—misaligned rails, shimming gaps, or debris frequently drive nonconformance. Only after confirming support compliance should you attribute issues to panel manufacturing or handling.
- Measure in diffuse light with a 2 m straightedge.
- Record maximum gap in millimetres with photo evidence.
- Grid-based mapping captures global and local planarity.
- Span joints to detect steps and lipping across panels.
- Escalate to subframe checks before blaming the panel.
Oil-Canning: Visual Assessment Without Guesswork
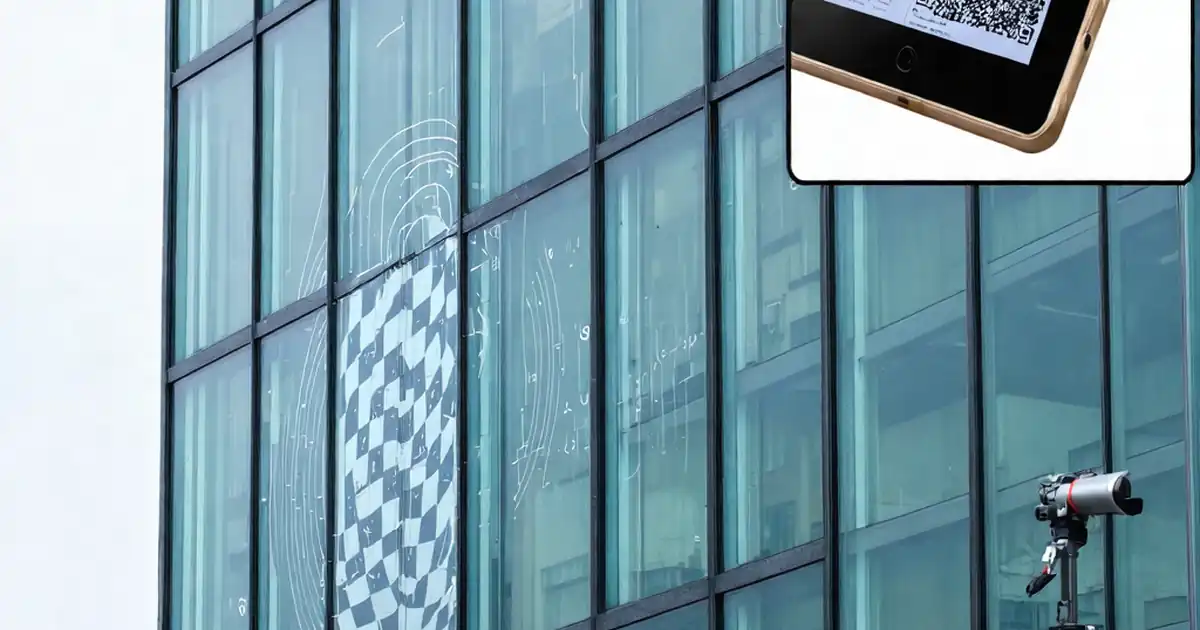
Oil-canning is a visual phenomenon—rippling or quilting that changes with light and viewpoint. Evaluate from 5–10 m, first in raking light (15–30°) to reveal distortion, then in diffuse light to distinguish reflections from true waviness. Rate severity against project-accepted categories and capture wide and close photos, including the observer position for context. Avoid applying pressure or using contact probes that can dent thin skins. Focus attention at corners, edges, and around fixings where restraint is highest. Compare suspect areas with a known-acceptable control panel on the same elevation. If the effect disappears in diffuse light and flatness readings are within tolerance, the appearance may be acceptable. Persistent, patterned distortion typically indicates subframe irregularity, over-torqued fixings, insufficient expansion clearance, or panel handling damage, all of which should be documented with corrective recommendations.
- Use raking and diffuse light to separate causes.
- Assess from 5–10 m with context photos.
- Rate severity with a consistent A/B/C scale.
- Compare to a control panel under same lighting.
- Avoid any contact that may dent the surface.
Root Causes and Practical Corrections
Most planarity and oil-canning issues trace to the support system or restraint. Start with rail alignment and shim strategy; small cumulative deviations telegraph through thin skins. Check fastener torque and spacing to avoid point restraint that locks thermal movement. Confirm expansion clearances at perimeters and joints; binding edges can create dish-shaped dimples and quilted fields. Inspect insulation and air barrier for high spots. When subframe and fixings are compliant yet distortion persists, review panel storage, handling, and batch variation. Corrective actions include re-shimming rails, relieving fasteners, adjusting clips, trimming obstructions at joints, or replacing panels that exceed acceptable appearance. Document all changes with before/after photos and verify improvements using the same measurement and viewing protocols. Final acceptance should reference measured values and agreed visual criteria per approved project specifications and authority requirements.
- Prioritize subframe alignment and uniform shimming.
- Control fastener torque to prevent point restraint.
- Maintain joint clearances for thermal movement.
- Eliminate high spots in insulation or air barrier.
- Re-check using the same methods post-correction.
How to Use This Interactive Inspection Checklist
- Preparation: Gather a 2 m straightedge, feeler gauges, laser/digital level, IR thermometer, torque wrench, PPE, and marked-up elevations. Confirm calibration certificates are current and accessible on your device.
- Project setup: Create or open the elevation, assign panel IDs, and upload drawings. Enable interactive mode so each checklist item can be ticked and commented with photos and measurement values.
- Run flatness measurements: Follow the items in order. Enter readings in millimetres, attach close-up photos with gauges visible, and flag any nonconformities with location notes and suspected cause.
- Assess oil-canning: Record viewing distance, light angle, severity rating, and comparison to a control panel. Add wide shots showing observer position and any relevant environmental conditions.
- Export and share: Generate a consolidated PDF/Excel including photos, calibration certs, and markups. Use the QR-secured link to verify authenticity in meetings and site walks.
- Sign-off: Collect digital signatures from installer, QA, and consultant. Archive the report with panel IDs and elevations for future reference and maintenance handover.
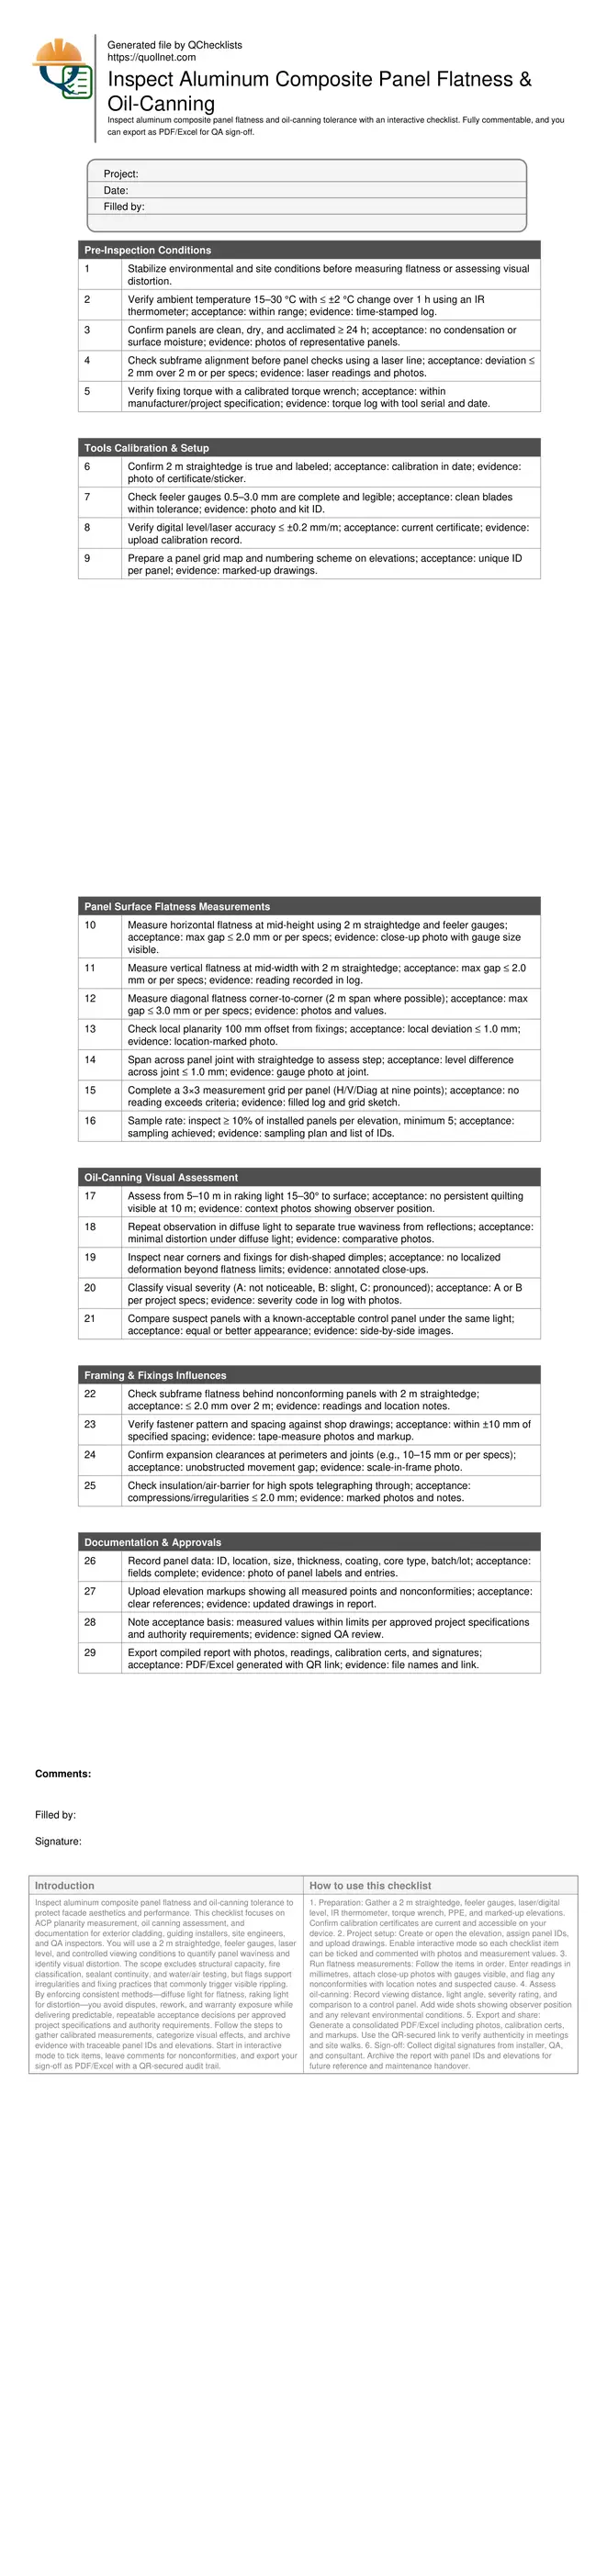
Call to Action
- Start Checklist Tick off tasks, leave comments on items or the whole form, and export your completed report to PDF or Excel—with a built-in QR code for authenticity.
- Download Excel - ACP Flatness and Oil-Canning Inspection
- Download PDF - ACP Flatness and Oil-Canning Inspection
- View Image - ACP Flatness and Oil-Canning Inspection
Cite & Embed
“ACP Flatness and Oil-Canning Inspection by Quollnet”
with a link to
this source page.

FAQ
Question: What is oil-canning and how is it different from flatness deviation?
Question: What tolerances should I use for ACP flatness and appearance acceptance?
Question: When should I inspect for oil-canning during the day?
Question: What are common causes of oil-canning and how can I correct them?
Related Articles
Broader reading and guidance connected to this checklist topic.


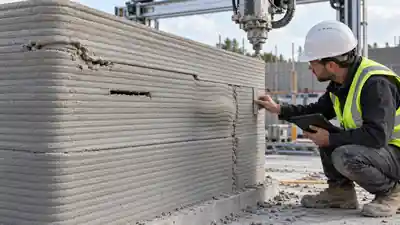
3d Printed Concrete Defects: Visual Field Guide For Site Engineers

Related Checklists
Keep the workflow moving with nearby templates chosen from similar checklist content.