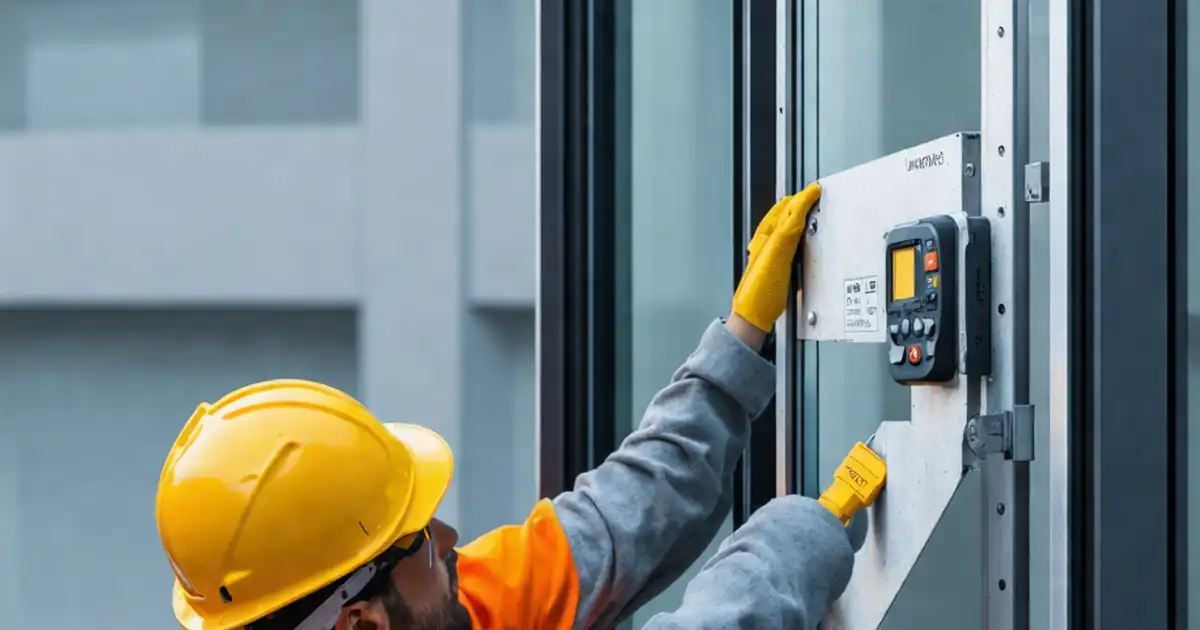
Curtain Wall Elevation Inspection: Line, Level and Visual Defects
Definition: Inspect curtain wall completed elevation for line, level, and visual defects with this field-ready checklist for site engineers and quality inspectors, ensuring alignment, tolerances, glazing appearance, joints, drainage, and verifiable handover.
- Verify line, level, plumb, and module against approved benchmarks and drawings.
- Detect visual defects under controlled viewing conditions for reliable acceptance.
- Prove drainage, sealant continuity, and fixings with measurable, photographed evidence.
- Interactive, commentable checklist with export and QR code verification.
Inspect curtain wall completed elevation for line, level, and visual defects with a structured, field-proven approach. This checklist guides a curtain wall alignment check, plumb and level survey, and visual inspection of glazing to confirm the completed elevation meets project tolerances. Focus areas include straightness, levelness, plumb, plane flatness, joint uniformity, color consistency, drainage paths, and finish quality. By concentrating on the already-installed elevation, you avoid rework from misaligned modules, uneven joints, blocked weeps, scratched glass, or incomplete sealant interfaces. Acceptance cues, SI-based tolerances, and evidence requirements support transparent sign-off per approved project specifications and authority requirements. Use calibrated instruments—total station, digital level, straightedge, and measuring probes—paired with systematic photo documentation. Complete the inspection in diffuse daylight where practicable, documenting deviations early for timely rectification. Start interactive mode to tick items, add comments, attach photos, and export results to PDF/Excel with a secure QR for traceability.
- Confirm the completed elevation’s straightness, levelness, and plumb against control benchmarks using calibrated instruments. Capture readings, photos, and marked-up elevations so alignment, module, and plane flatness are traceable and deviations can be quickly corrected before handover.
- Evaluate joints, interfaces, and glazing under consistent viewing conditions. Check gasket seating, sealant continuity, movement allowances, and reflective uniformity to prevent water ingress, rattling, and aesthetic disputes, while logging batch numbers and measurement evidence for each bay.
- Interactive online checklist with tick, comment, and export features secured by QR code. Share real-time status with stakeholders, attach calibration certificates and torque logs, then archive signed reports to streamline quality assurance and closeout documentation.
Pre-Inspection Setup
Line, Level, and Plumb
Joints and Interfaces
Glazing and Visual Quality
Drainage, Fixings, and Finishes
Establish Controls and Verify Line, Level, and Plumb
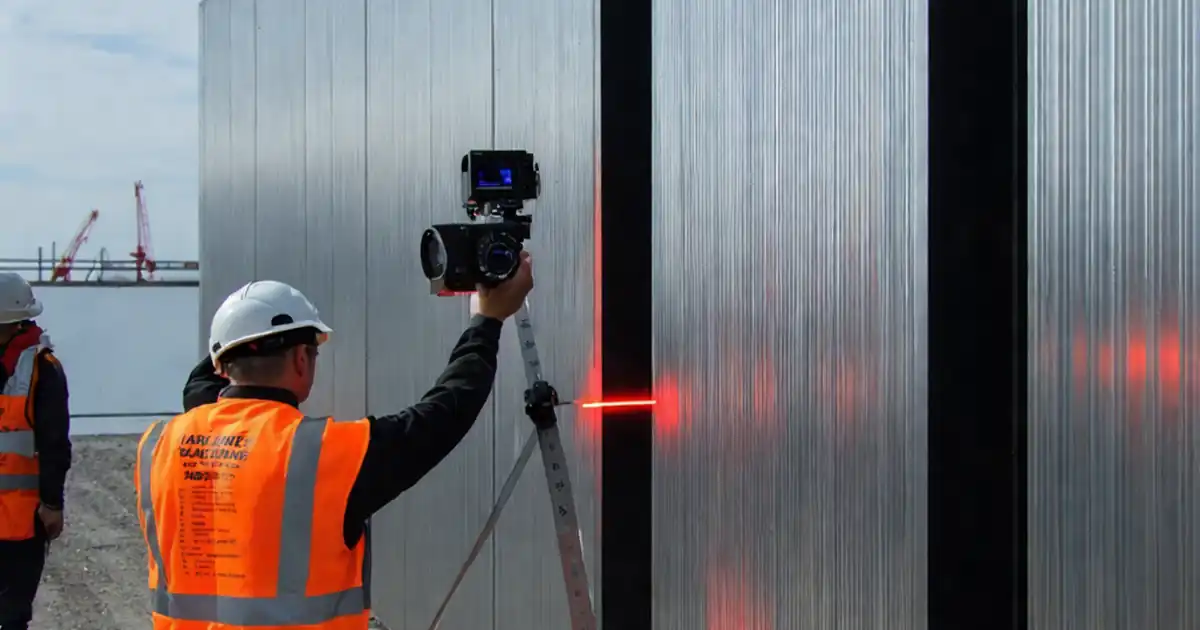
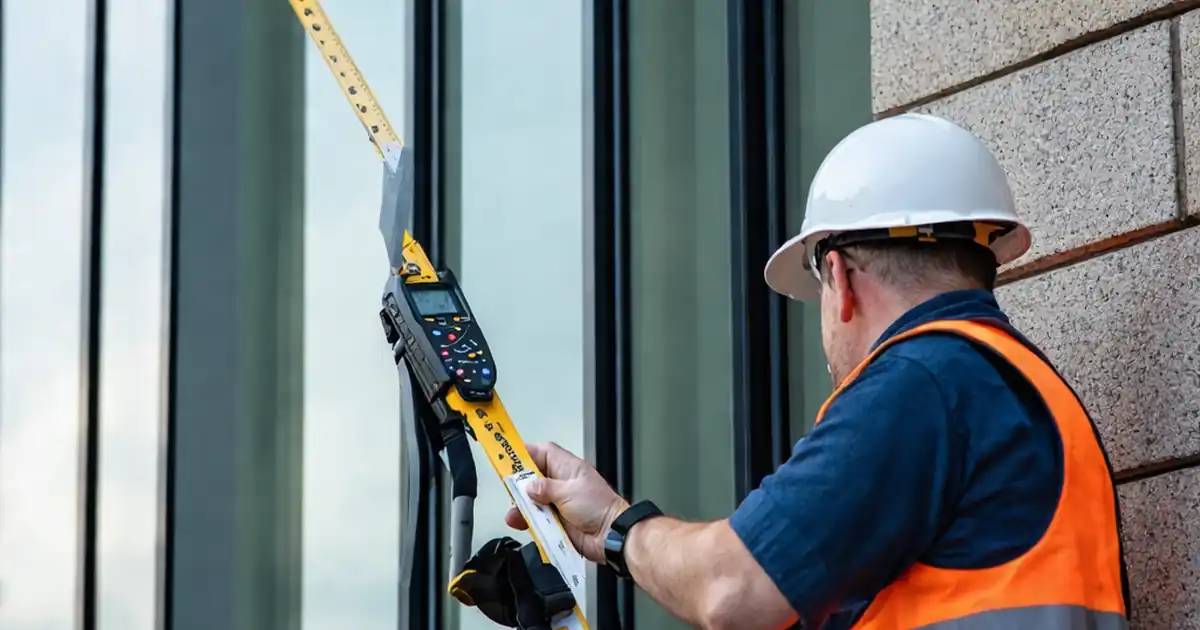
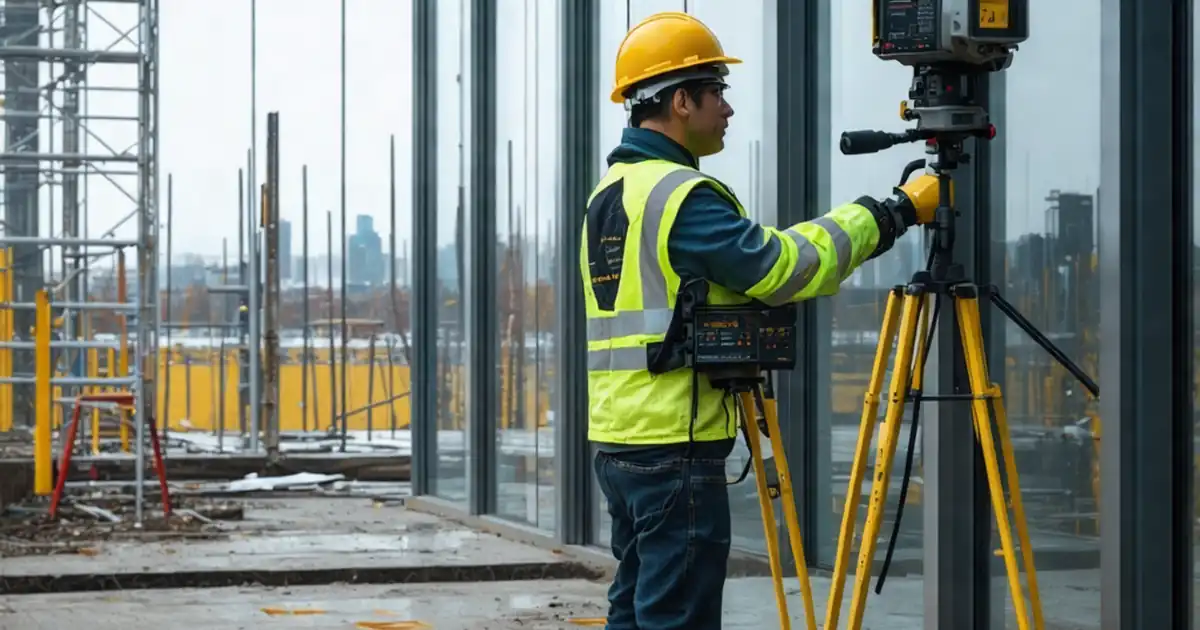
Robust elevation checks start with reliable controls. Use a total station to resect project benchmarks and set a tight reference grid along the facade. A calibrated digital level verifies transom levelness, while a laser plummet or 2 m spirit level confirms mullion plumb. Plane flatness is best judged with a 2 m straightedge and feeler gauges, recording the maximum gap and exact location. Keep conditions consistent: inspect in low wind, and avoid glare that obscures sightlines. Where tolerances are exceeded, re-measure to rule out instrument error, then tag affected bays for rectification. Acceptance criteria should follow approved project specifications and authority requirements, with typical building-tolerance ranges noted in the checklist for guidance. Always capture photos showing the tool in place and the measurement reading. This approach turns subjective visual impressions into objective, defensible data for sign-off and dispute avoidance.
- Confirm calibration dates before any measurements.
- Record readings and locations in repeatable sequences.
- Photograph instruments aligned to elements.
- Recheck outliers to exclude setup error.
- Tag nonconformities visibly on the elevation.
Glazing Appearance and Uniform Joints Under Real Viewing
A fair visual assessment needs controlled viewing. Inspect from 1.5 m under diffuse daylight at approximately normal angles; this avoids over-reporting minor reflections while revealing meaningful defects. Check glass for scratches, chips, roller wave extremes, or inclusions, and confirm etch marks match schedules. Evaluate sightline continuity, equal joint widths, gasket seating, and corner details. Color and reflectance uniformity should appear even across adjacent panes, particularly between spandrel and vision zones. Document lighting conditions so results are reproducible. Where defects are discovered, log the panel ID, capture a close-up with a scale, and create a marked elevation for the snag list. Only remove wider protections where necessary to avoid damage or contamination during the check.
- Use diffuse daylight and consistent angles.
- Log panel IDs with each observation.
- Capture close-ups with measurement scale.
- Record ambient conditions and time.
- Limit protection removal to sample areas.
Interfaces, Drainage, and Functional Reliability
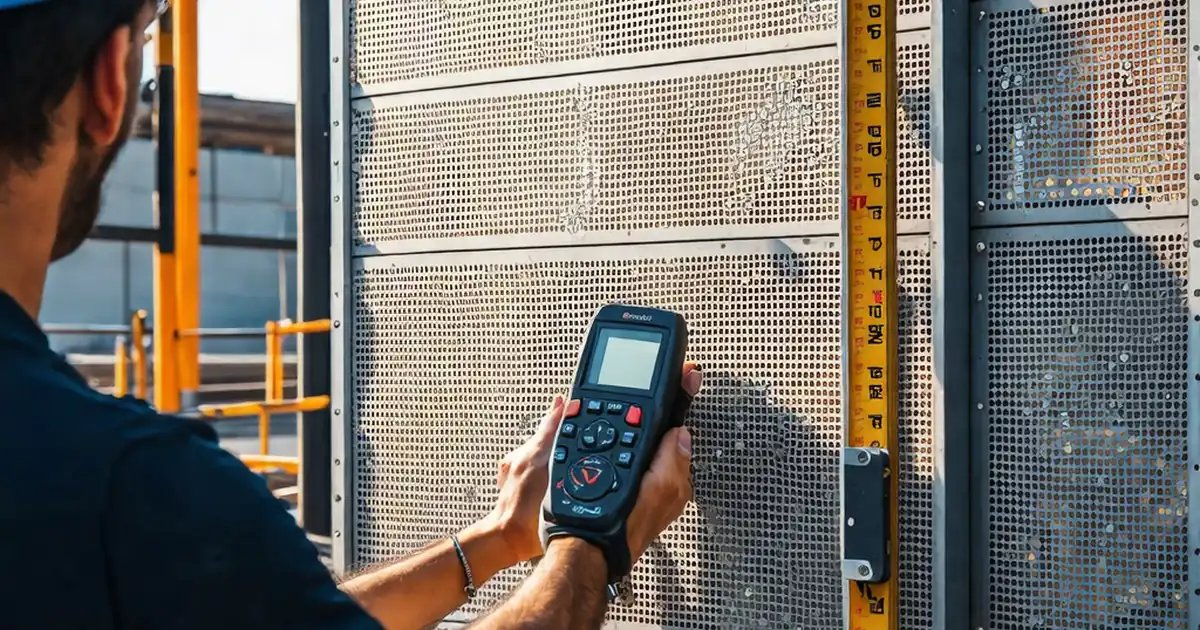
Performance relies on clean drainage paths and continuous interfaces. Probe weep slots and pressure-equalization chambers to confirm they are unobstructed. At perimeters, verify backing rods, sealant adhesion, and movement allowances match the drawings. Sill flashings must fall positively with intact end dams, and mechanical fixings require documented torque. Conduct a controlled hose test where appropriate to confirm no internal leaks. Capture batch numbers for sealants and gaskets, as future maintenance depends on this traceability. Use annotated photos to show probe points and water paths. Close with a final clean and protection reinstatement, ensuring the elevation is presentation-ready for client walkdowns and formal sign-off.
- Probe weeps; confirm open paths.
- Verify sealant adhesion and backing rod.
- Record torque values and tool IDs.
- Water-test critical areas when feasible.
- Archive batch numbers for traceability.
How to Use This Curtain Wall Elevation Inspection Checklist
- Preparation: Gather latest approved drawings, elevation references, and tolerances. Bring calibrated total station, digital level, 2 m straightedge, feeler gauges, steel tape, probe tools, PPE, and cleaning materials.
- Site setup: Establish control benchmarks, mark reference lines, schedule inspection during diffuse daylight, and coordinate limited protection removal without exposing the facade to damage.
- Start interactive checklist: Open interactive mode, assign bays to team members, tick steps as you proceed, and log measurements directly against each item.
- Record evidence: Attach photos showing tools and readings, upload calibration certificates and torque logs, and add comments noting locations, panel IDs, and corrective actions.
- Export and review: Generate a PDF/Excel report with embedded images and QR code, review with stakeholders, and agree on any punch-list actions and deadlines.
- Sign-off and archive: Capture digital signatures, distribute final reports, archive data in project QA folders, and lock the record to maintain QR-verifiable integrity.
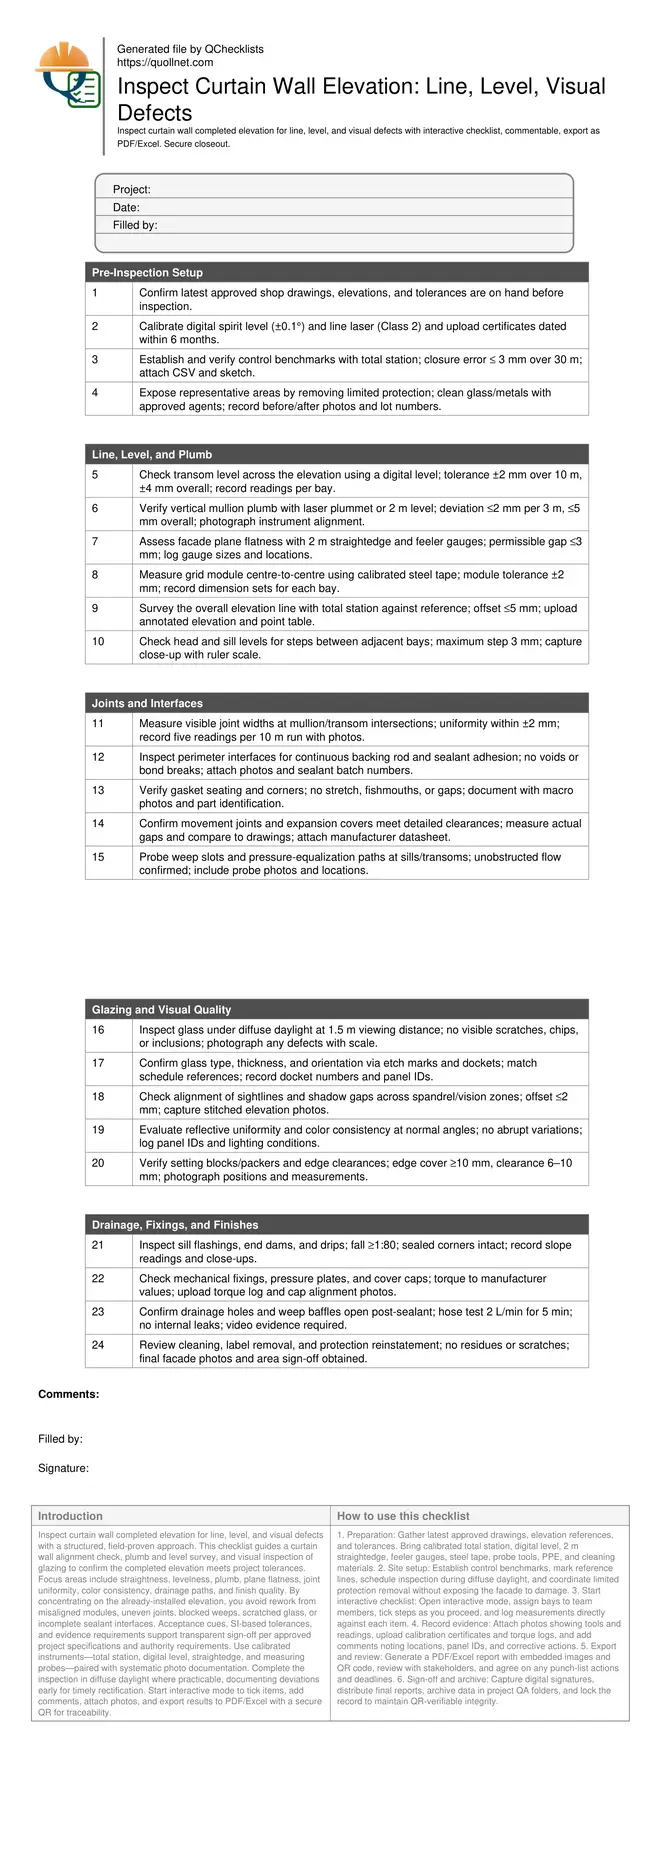
Call to Action
- Start Checklist Tick off tasks, leave comments on items or the whole form, and export your completed report to PDF or Excel—with a built-in QR code for authenticity.
- Download Excel - Curtain Wall Elevation Inspection (Line, Level, Visual)
- Download PDF - Curtain Wall Elevation Inspection (Line, Level, Visual)
- View Image - Curtain Wall Elevation Inspection (Line, Level, Visual)
Cite & Embed
“Curtain Wall Elevation Inspection (Line, Level, Visual) by Quollnet”
with a link to
this source page.
FAQ
Question: What viewing conditions and distance are appropriate for visual inspection?
Question: What tolerances should I use for line, level, plumb, and flatness?
Question: How do I handle minor misalignments discovered after installation?
Question: Should water testing be included at this elevation inspection stage?
Related Articles
Broader reading and guidance connected to this checklist topic.



Is The Crack You See On Your Wall Serious Or Minor Cosmetic Issue?
Request For Inspection For Contractors
Related Checklists
Keep the workflow moving with nearby templates chosen from similar checklist content.