Inspect Decorative Metal Screen Installation and Panel Alignment
Definition: Inspect decorative metal screen installation and panel alignment for vertical wall-mounted systems, guiding site supervisors and QA inspectors to verify supports, fasteners, plumb, level, joint uniformity, thermal clearances, finish, and documentation.
- Verify supports, fixings, and tolerances before setting the first panel.
- Measure plumb, level, and joint width with lasers and gauges.
- Protect finishes from damage; document torque, gaps, and coatings.
- Interactive, commentable checklist with export and QR code sign-off.
Inspect decorative metal screen installation and panel alignment to ensure every panel is plumb, level, and evenly spaced on vertical wall-mounted systems. This checklist supports decorative screen alignment, metal panel plumbness, and façade screen installation checks for non-structural, decorative assemblies. It focuses on verification of support framing, bracketry, fasteners, joint uniformity, thermal movement allowances, and finish integrity, without covering ceilings, fences, or structural curtain wall systems. Using practical tools—laser levels, digital inclinometers, straightedges, torque wrenches, and feeler gauges—you’ll confirm tolerances, capture photographic evidence, and log readings for sign-off. By following these steps, teams avoid buzz/rattle under vibration, uneven joints that telegraph poor workmanship, coating damage that accelerates corrosion, and misaligned patterns that compromise design intent. The outcome is a consistent façade or interior feature wall that meets approved project specifications and authority requirements, ready for client presentation. Start in interactive mode to tick items, leave comments where deviations occur, and export your records as PDF/Excel with a secure QR link for traceable approval.
- Ensure decorative metal screen panels are installed plumb and level, joints are uniform, and support framing is accurately prepared. The checklist captures measurements, photos, and approvals, reducing rework, finish damage, and pattern misalignment.
- Control thermal movement with correct slotting, expansion joints, and isolators to prevent stress, rattling, and fastener loosening. Verification with gauges and torque logs protects warranties and preserves long-term performance and aesthetics.
- Acceptance cues and tolerances are clearly stated for flatness, alignment, torque, and coating thickness. Evidence-based entries—photos, readings, and batch labels—create an audit-ready as-built record for smooth closeout.
- Interactive online checklist with tick, comment, and export features secured by QR code. Collaborate in real time, assign actions, and generate time-stamped PDF/Excel reports for stakeholders and archives.
Pre-Installation Verification
Support Framing and Substrate
Panel Preparation and Handling
Mounting and Fastening
Alignment, Joints, and Tolerances
Finish, Protection, and Handover
Control Lines, Support Accuracy, and First-Panel Strategy
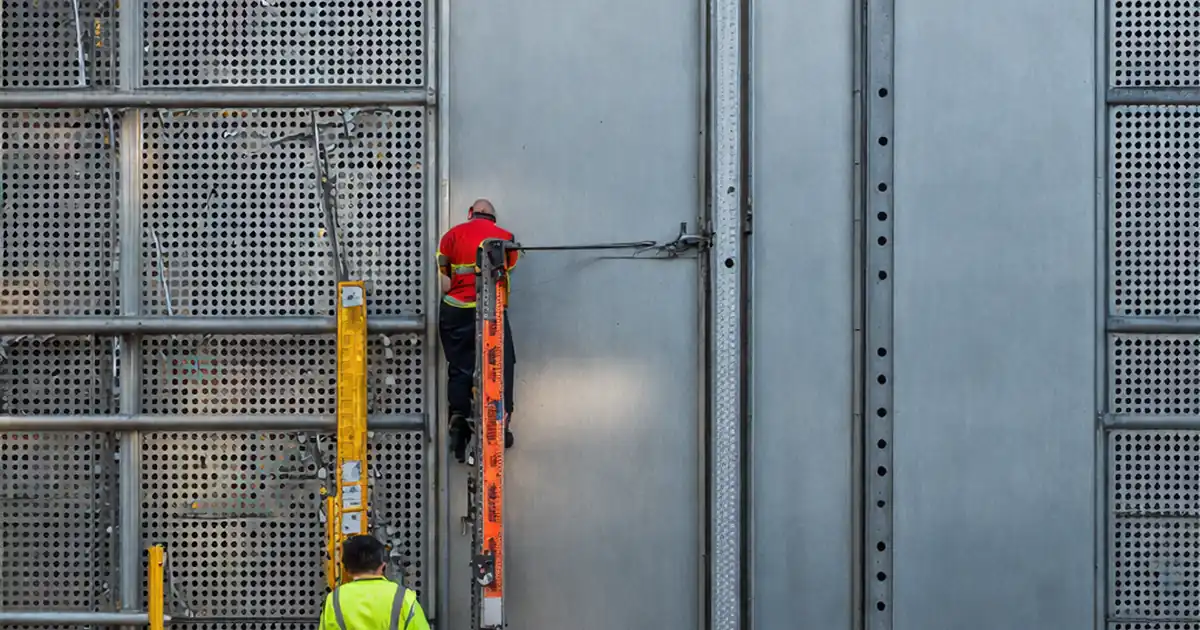
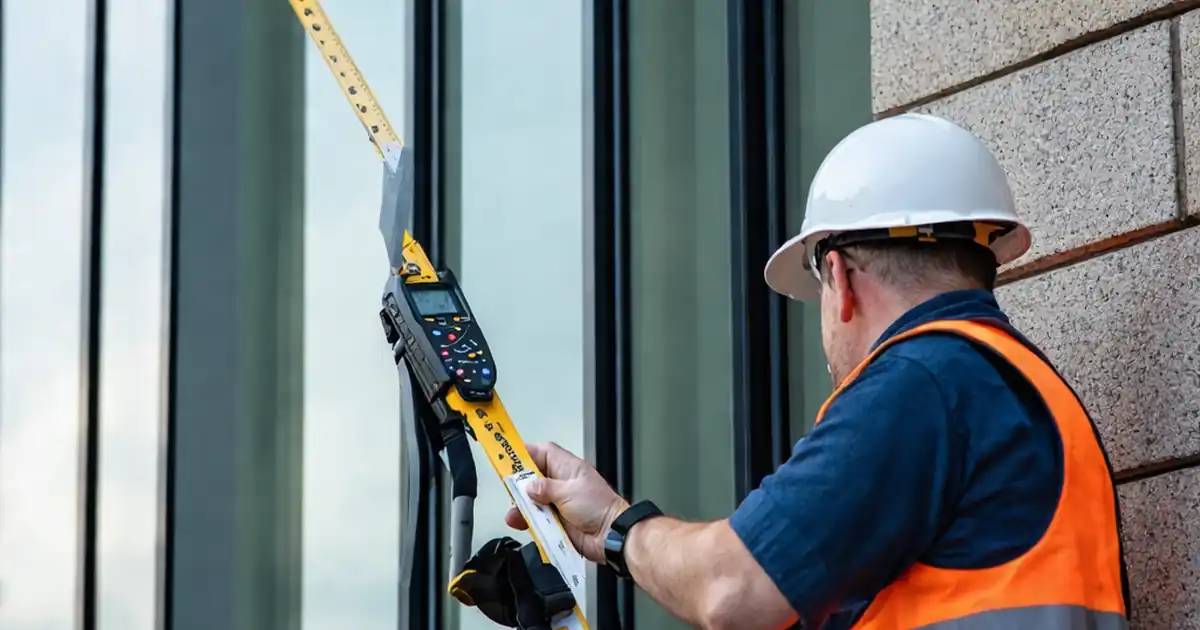
Accurate control lines underpin a flawless decorative screen installation. Establish vertical and horizontal benchmarks with a laser/total station and verify the support framing before any panel is unpacked. Plumbness and flatness tolerances drive the final appearance; even a few millimetres of cumulative error can telegraph as stair-stepped joints. Start with a first-panel strategy: set the initial reference panel perfectly with adjustable brackets, shims, and a digital level. From there, work outwards while constantly checking back to the control lines. Record deviations and corrective actions as they occur to avoid stacking errors. Use a 2 m straightedge to check plane, and capture photos of gauges and laser lines at each bay. This disciplined approach minimizes rework, protects finish quality, and ensures predictable joint gaps that match the design intent.
- Survey grids; confirm deviation ≤ 3 mm over 3 m.
- Verify framing plumb within 2 mm per m.
- Lock in a perfect first panel as datum.
- Shim methodically; record thicknesses and locations.
- Photograph lasers, gauges, and corrective actions.
Managing Thermal Movement, Joints, and Rattle Prevention
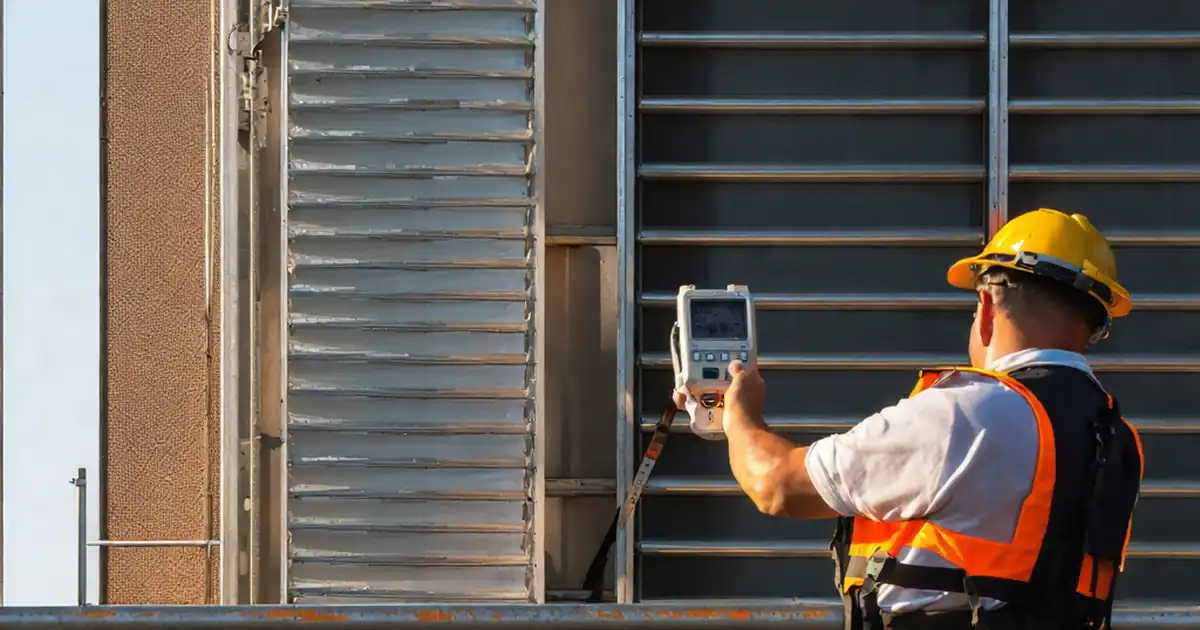
Metal screens expand and contract with temperature, so clearances and slotted fixings are essential. Confirm expansion joint locations and slot lengths match the shop drawings, then verify actual clearances using feeler gauges after snug-tight and final torque. Uniform joint width is both an aesthetic and functional requirement; measure at regular intervals to catch trends early. Where details include isolators or damping pads, confirm placement at contact points to prevent buzz or rattle from wind or vibration. Avoid hard-fixing across long runs; allow panels to float as detailed. Document measured gaps, torque values, and pad locations, linking them to photos. When movement provisions are correct, the system resists seasonal stress, fasteners stay seated, and the façade retains crisp, consistent reveals.
- Measure joint gaps at set intervals.
- Check slot engagement post-torque.
- Confirm isolators and damping pads.
- Allow floating points where detailed.
- Capture gap and torque evidence.
Finish Integrity, Dissimilar Metals, and Closeout Documentation
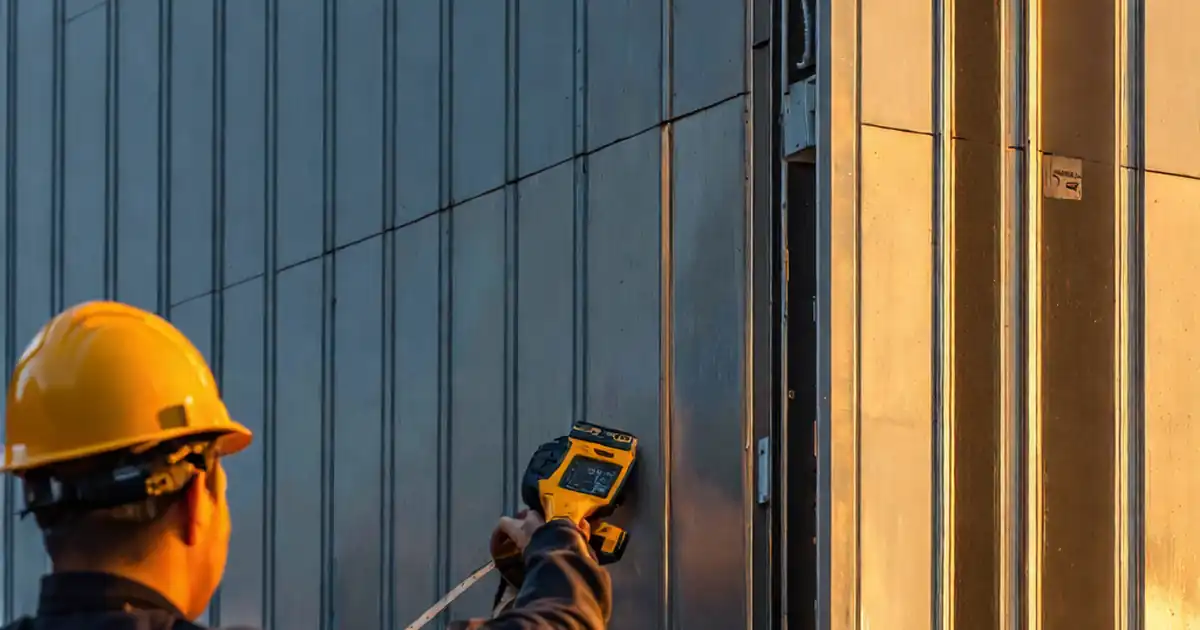
Protecting surface finish is critical for longevity and appearance. Enforce non-marring handling, edge guards, and clean, padded storage. Verify coating uniformity and dry film thickness with a calibrated gauge, and avoid contact between dissimilar metals by using isolating tapes or gaskets at brackets and trims. After alignment is accepted, conduct a controlled clean with a pH-neutral solution and microfiber cloths; harsh abrasives or unfiltered water leave visible marks. If temporary protection film is required, seal edges and tag removal dates to prevent adhesive transfer. Closeout is more than a signature—compile torque logs, coating readings, batch labels, and photographic evidence linked to grid locations. This traceable record streamlines client acceptance and future maintenance while demonstrating conformance to approved project specifications and authority requirements.
- Use non-marring gloves and slings.
- Gauge coating thickness and gloss.
- Isolate dissimilar metal interfaces.
- Clean with pH-neutral products only.
- Assemble a traceable as-built dossier.
How to Use This Decorative Screen Inspection Checklist
- Preparation: Brief the team on scope, tolerances, and roles. Gather drawings, shop details, calibrated tools (laser, digital level, 2 m straightedge, calipers, torque wrench), PPE, and access permits. Verify environmental conditions and site readiness.
- Open the interactive checklist on a tablet or phone. Select project, elevation, and date. Enable location and camera access for geo-tagged photos and time-stamped entries.
- Work bay-by-bay. Tick items as verified, input measurements, and attach photos of gauges, laser lines, and fixings. Use comments to flag deviations and assign corrective actions.
- Use the torque log and measurement fields to store numeric values. Link each reading to panel IDs and grid lines for traceability.
- When alignment is complete, run a final review pass. Resolve or document all comments with before/after photos and note any approved variances per specifications.
- Export the record as PDF/Excel for stakeholders. The export includes photos, readings, and action logs, secured by an embedded QR code for authentication.
- Sign-Off: Capture digital signatures from the installer, QA/QC, and client representative. Archive the package in the project CDE and share the QR-linked report.
Call to Action
- Start Checklist Tick off tasks, leave comments on items or the whole form, and export your completed report to PDF or Excel—with a built-in QR code for authenticity.
- Download Excel - Decorative Metal Screen Alignment Inspection
- Download PDF - Decorative Metal Screen Alignment Inspection
- View Image - Decorative Metal Screen Alignment Inspection
Cite & Embed
“Decorative Metal Screen Alignment Inspection by Quollnet”
with a link to
this source page.

FAQ
Question: What tolerances should I use for panel plumb, level, and joint uniformity?
Question: How do I prevent buzzing or rattling in decorative metal screens?
Question: Which tools are essential for verifying alignment and clearances?
Question: What documentation is needed for closeout and warranty support?
Related Articles
Broader reading and guidance connected to this checklist topic.

Is The Crack You See On Your Wall Serious Or Minor Cosmetic Issue?

Handmade Ceramics And Technique
Related Checklists
Keep the workflow moving with nearby templates chosen from similar checklist content.