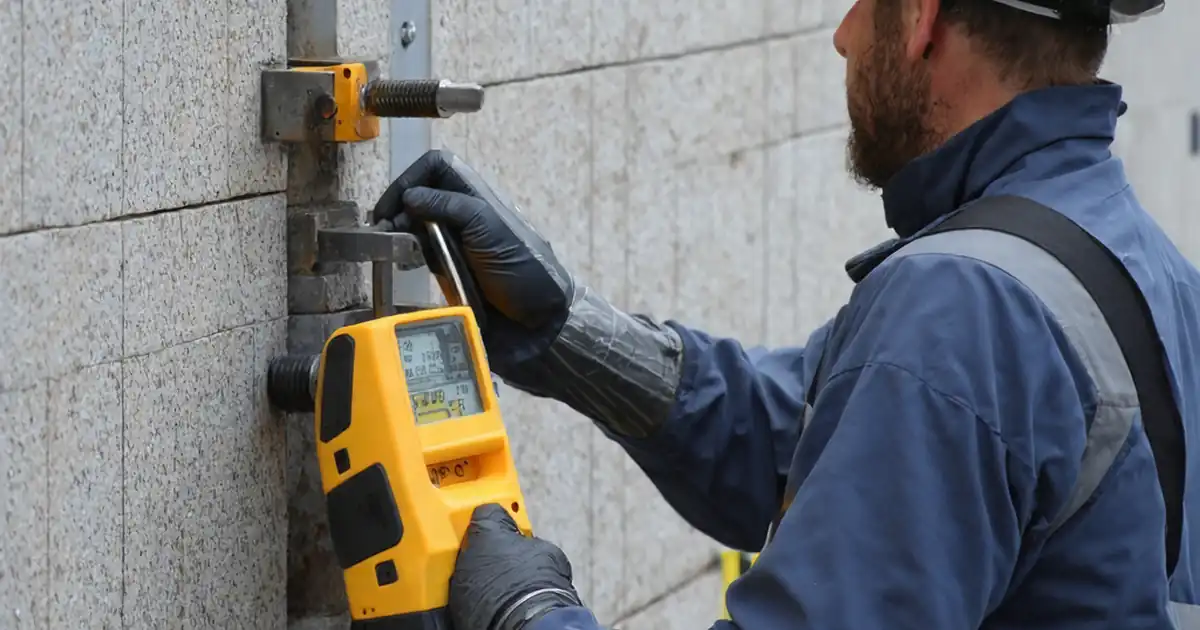
Inspect perforated metal façade panel installation and support framing
Definition: Inspect perforated metal façade panel installation and support framing for building envelope QA teams, confirming alignment, anchorage, drainage paths, corrosion control, and documented evidence per approved project specifications and authority requirements.
- Verify alignment, fixings, and joints with measurable on-site tolerances.
- Confirm anchors, isolators, and coatings match approved project specifications.
- Capture photos, torque logs, batch numbers, and sign-offs for traceability.
- Interactive, commentable checklist; export to PDF/Excel; QR code verification.
Inspect perforated metal façade panel installation and support framing to ensure the rainscreen subframe, carrier rails, and perforated cladding are installed to drawings and approved project specifications. This checklist targets panel alignment, bracket anchorage, joint uniformity, corrosion protection, and drainage continuity while maintaining traceability of materials and approvals. By focusing on the subframe interfaces, thermal isolation, and panel fixings, you avoid common risks such as water ingress, galvanic corrosion, rattling panels, pattern misalignment, and warranty issues. The outcome is a façade that meets aesthetic intent, maintains structural reliability under wind loads, and preserves ventilation and drainage performance over its service life. Use this as a live, field-ready inspection tool to record torque readings, lot numbers, calibrated measurements, and as-built photos. Start interactive mode, tick items, add comments, assign actions, and export your records to PDF/Excel with a secure QR for verification.
- Deploys a structured field workflow to verify substrate readiness, bracket anchorage, carrier-rail plumb/level, and panel alignment with quantified tolerances and photos. Reduces rework by catching pattern orientation, edge clearance, and sealant compatibility issues early.
- Strengthens quality assurance by pairing each checkpoint with a specific method and acceptance cue, including torque values, joint width measurements, flatness checks, and drainage path confirmation. Ensures material traceability via batch numbers and as-built evidence.
- Interactive online checklist with tick, comment, and export features secured by QR code.
- Delivers clear closeout documentation: calibrated readings, photographic elevations, sign-offs, and a searchable register of anchors, panels, and sealants. Supports client handover and future maintenance with accurate, dated, and location-tagged records.
Pre-Installation Conditions
Support Framing and Anchors
Panel Handling and Installation
Alignment, Joints, and Tolerances
Corrosion Protection and Drainage
Documentation and Closeout
Setting Out, Substrate Readiness, and Structural Interface
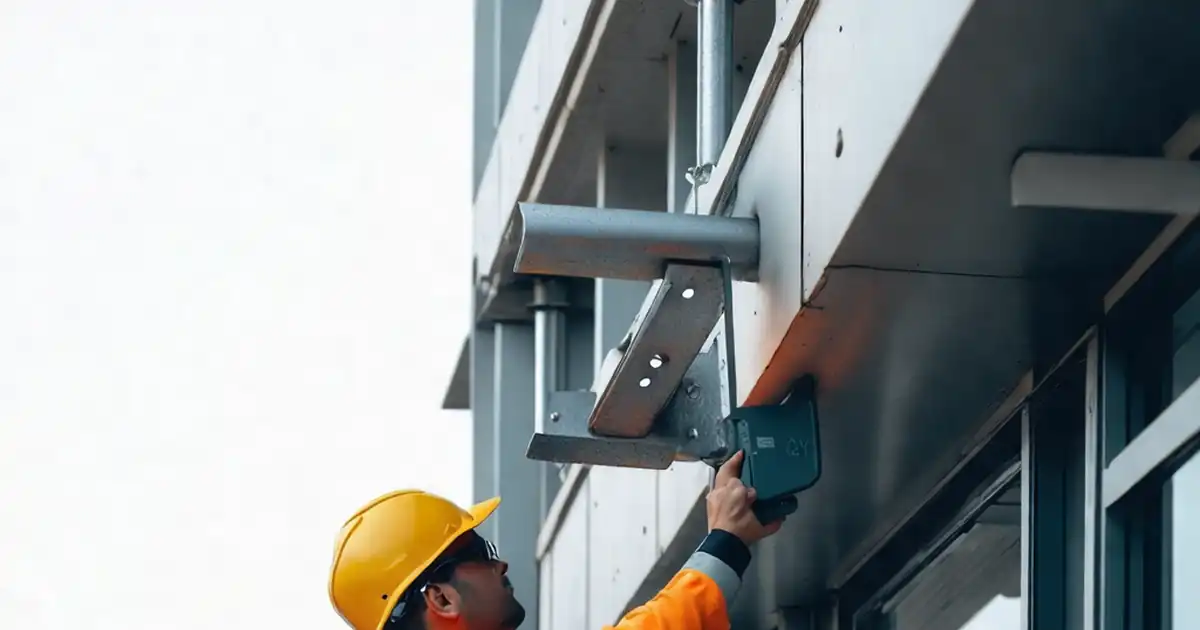
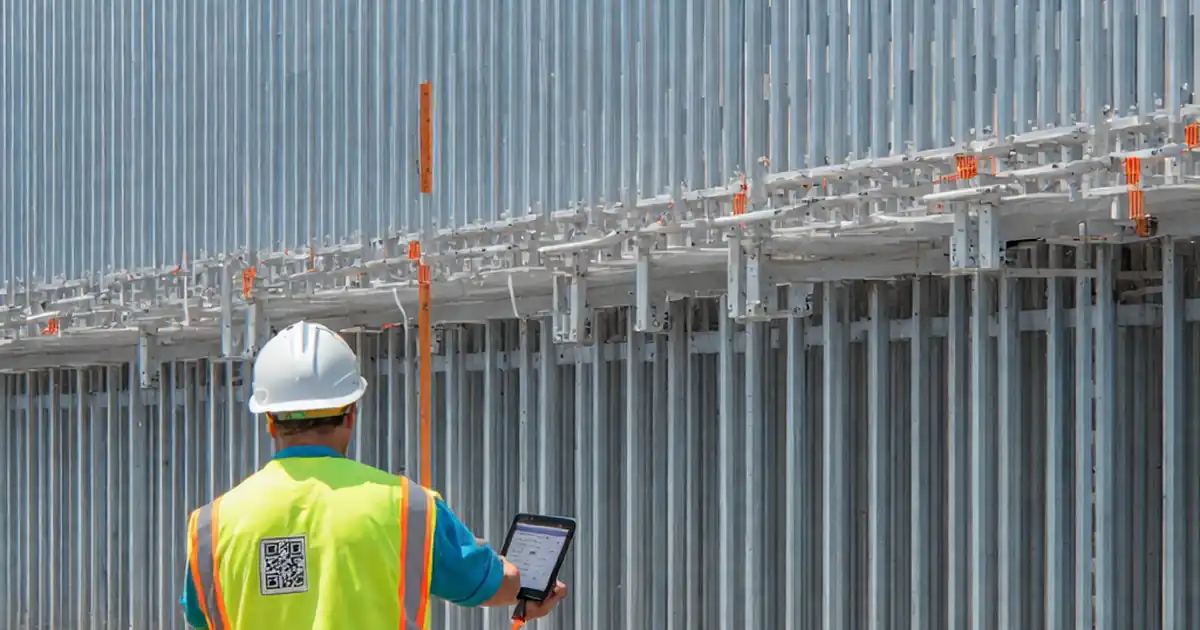
Accurate setting out underpins every successful perforated façade. Begin by validating shop drawings, approved samples, and the perforation orientation against the elevation layout. Confirm substrate flatness with a 2 m straightedge; uneven backgrounds amplify joint creep and panel distortion. Establish datums and gridlines using a total station so bracket arrays land precisely, especially around openings. Verify the weather/air barrier is continuous at penetrations and terminations to avoid wind-driven rain entering the cavity. Before drilling, confirm anchor edge distances and embedment against the approved project specifications and authority requirements. Mark bracket positions, check for clashes with structure or services, and pre-install thermal isolators to avoid thermal bridging and galvanic interactions. Capture photos of each condition; these baseline records simplify later troubleshooting. Rig access safely, ensure tools are calibrated, and stage materials to minimize handling damage to coated perforated sheets and rails.
- Flatness tolerance target: ≤ 5 mm over 2 m straightedge.
- Layout accuracy: grid and datum within ± 3 mm.
- Confirm barrier continuity at penetrations and laps.
- Verify anchor edge distance and embedment before drilling.
- Photograph baseline conditions and control lines.
Support Framing, Fixings, and Measurable Acceptance Cues
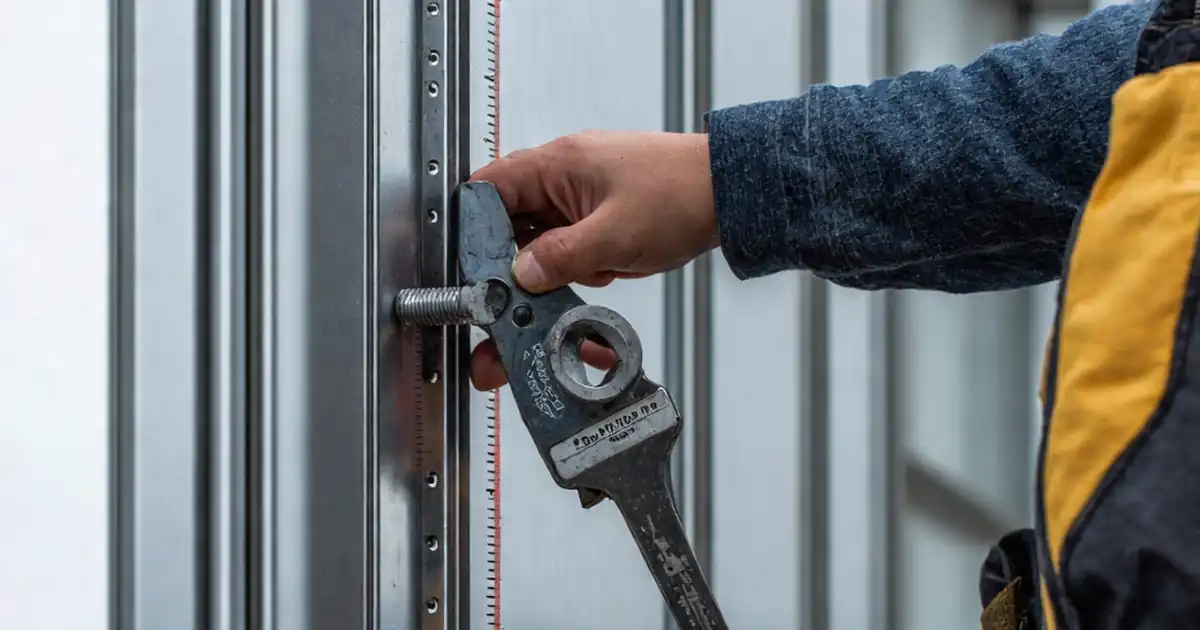
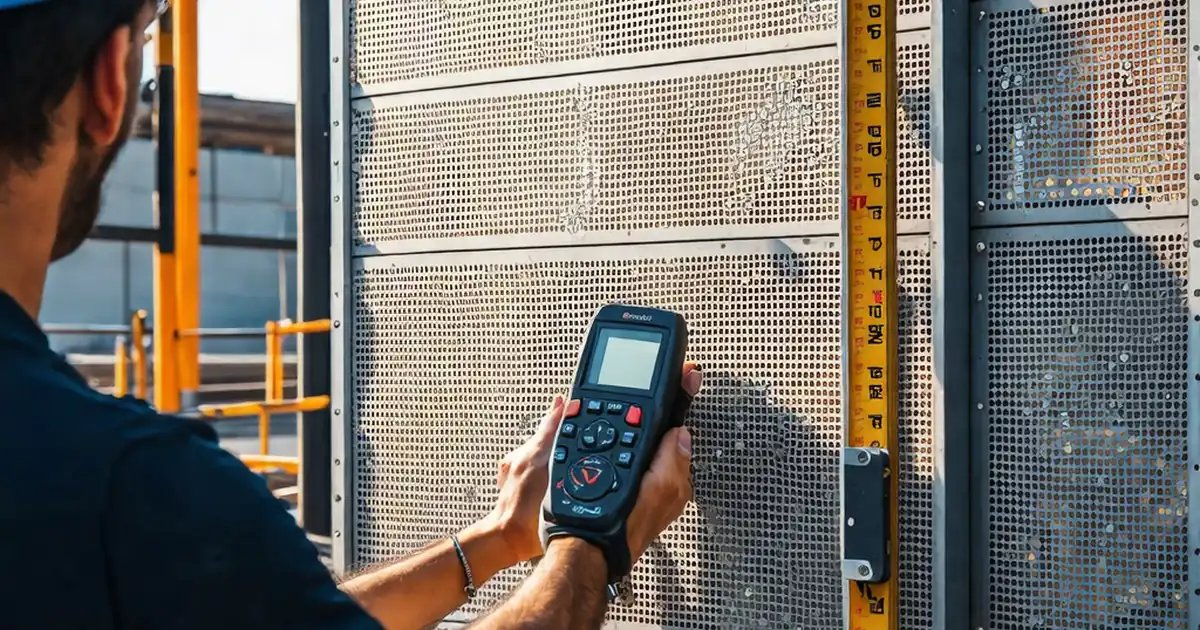
Support framing must be straight, isolated, and securely anchored. Check carrier rails for line and level using a straightedge and laser; aim for ≤ 2 mm over 2 m before panels go on. Torque-test mechanical anchors with a calibrated wrench and log values within ±10% of the manufacturer target. Confirm isolators cover the full bearing area and separate dissimilar metals. During panel installation, validate IDs and orientation, check fastener type and seating, and sample pull-out strength where specified. Use a 600 mm level and laser to control plumb and level, then verify joint widths with feeler gauges for uniformity ±2 mm. Clearances around windows and doors should match the detail to accommodate thermal movement and sealant joints. Finish edges must be burred and sealed to stop corrosion initiation at cuts.
- Anchor torque within ±10% of target value.
- Rail straightness ≤ 2 mm over 2 m.
- Panel plumb/level ≤ 3 mm per 3 m.
- Joint uniformity within ± 2 mm.
- Seal cut edges with approved coating.
Durability, Drainage, and Traceable Closeout Records
Perforated metal systems rely on free drainage and durable interfaces. Confirm weep paths are clear at base and sills; blocked drainage accelerates staining and corrosion. Inspect finishes for coating holidays or transport damage and repair before enclosure. Verify stainless fastener grades and prevent contamination from carbon steel tools. Check compatibility and shelf-life of sealants, gaskets, and isolators to avoid premature degradation. Document everything: photos by gridline, torque logs, batch numbers, and sign-offs. Organized evidence enables quick cause analysis if issues arise and streamlines handover. Compile a register linking elevation locations to materials and readings, then export a PDF/Excel pack with QR verification so recipients can validate authenticity later.
- Keep drainage/weep routes unobstructed.
- No exposed base metal or coating holidays.
- Use compatible, in-date sealants and isolators.
- Confirm stainless grades; avoid cross-contamination.
- Maintain a searchable as-built evidence register.
How to Use This Inspection Checklist
- Preparation: Review drawings, method statements, and permits. Gather calibrated torque wrench, 2 m straightedge, spirit level, laser, feeler gauges, tape, borescope, PPE, access equipment, and camera. Stage materials and confirm safe, dry work areas.
- Create inspection lots by elevation or gridline. Set acceptance tolerances in the app, upload relevant details, and assign responsible parties for anchors, rails, and panel installation.
- Using the Interactive Checklist: Open the project link or scan the QR to start interactive mode. Tick items as completed and add location-tagged comments with photos, torque logs, and batch labels.
- Escalate and track: @mention subcontractors on failed points, attach corrective actions, and set due dates. Reinspect and close with resolution photos and updated readings.
- Export: Compile an evidence pack and export as PDF/Excel, including images, signatures, timestamps, and item statuses. Ensure the export includes the QR for authenticity.
- Sign-Off: Capture digital signatures from contractor, consultant, and client. Distribute the final pack to stakeholders, archive in the project CDE, and lock records for audit.
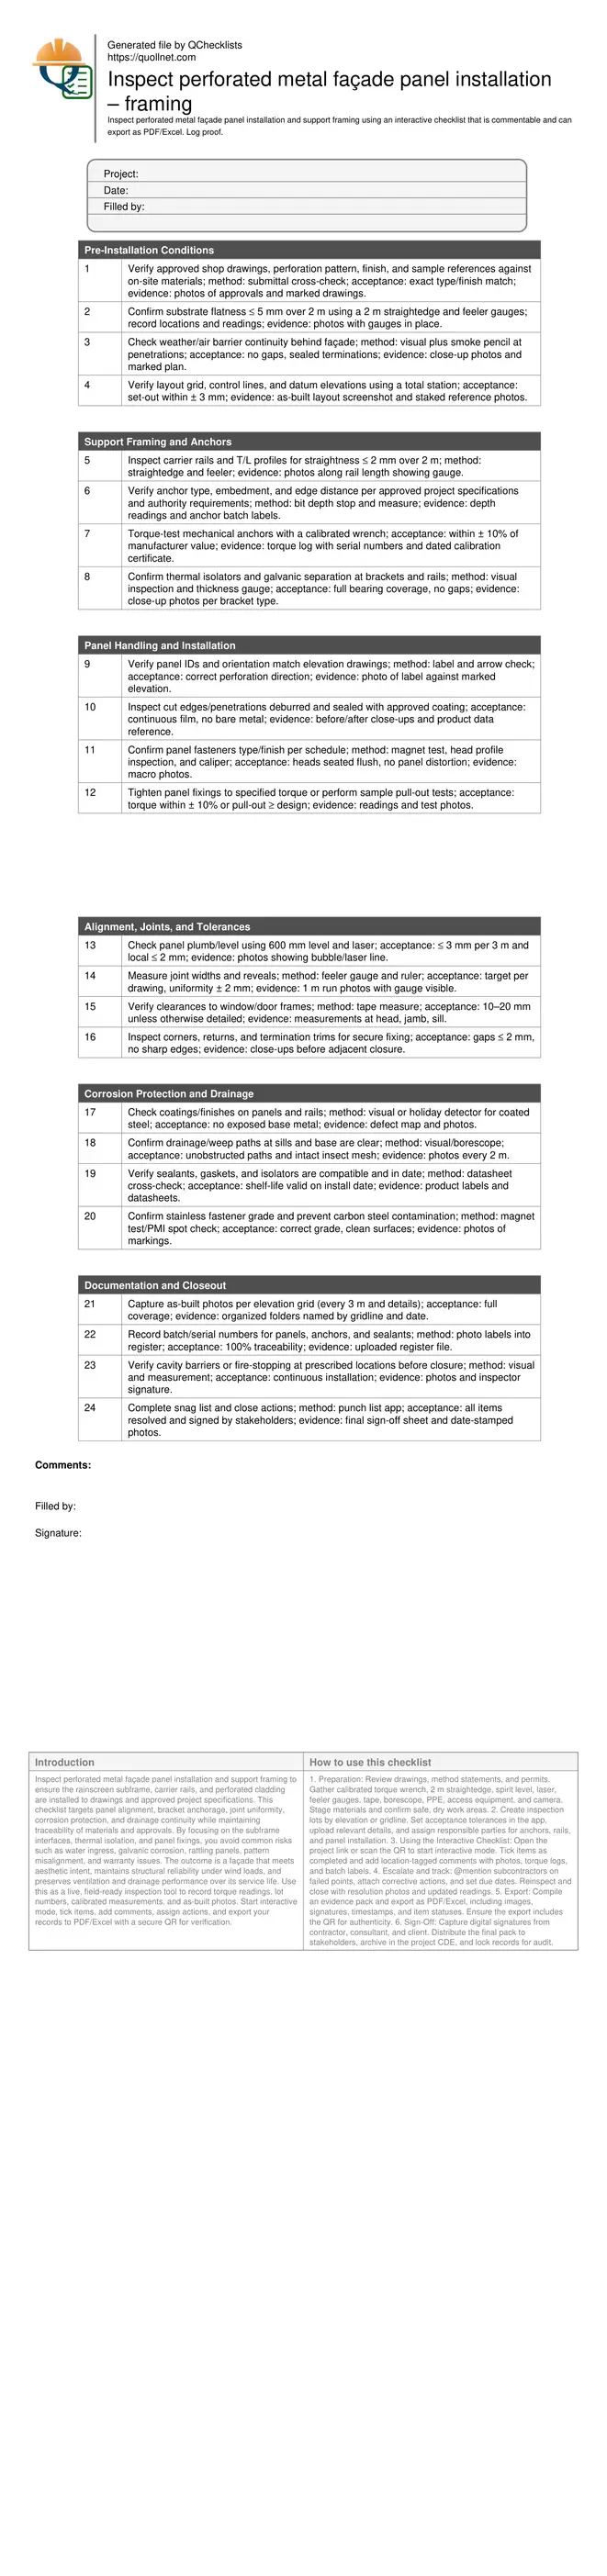
Call to Action
- Start Checklist Tick off tasks, leave comments on items or the whole form, and export your completed report to PDF or Excel—with a built-in QR code for authenticity.
- Download Excel - Perforated Façade Panel Installation Inspection
- Download PDF - Perforated Façade Panel Installation Inspection
- View Image - Perforated Façade Panel Installation Inspection
Cite & Embed
“Perforated Façade Panel Installation Inspection by Quollnet”
with a link to
this source page.
FAQ
Question: What tolerances should I use for panel alignment and joint uniformity?
Question: How do I inspect anchors once the panels conceal the brackets?
Question: How can I control thermal movement and prevent rattling or buckling?
Question: What evidence should I attach to close out the façade inspection?
Related Articles
Broader reading and guidance connected to this checklist topic.



Improve Your Project Handover Process With Snag List Tracking App

Related Checklists
Keep the workflow moving with nearby templates chosen from similar checklist content.