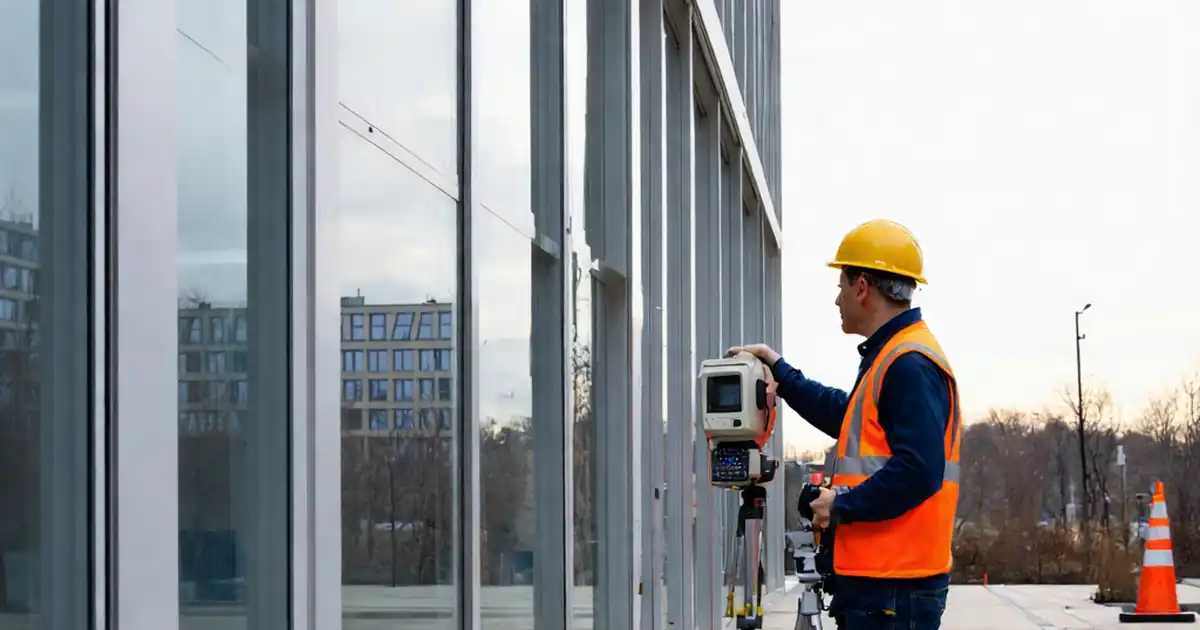
Façade As-Built Dimensions and Elevation Survey Inspection
Definition: Inspect façade as-built dimensions and completed elevation survey equips site engineers and surveyors to verify façade geometry, elevations, and plumbness against approved drawings using calibrated instruments and documented evidence.
- Verify control grid, datums, and benchmarks before measuring façade geometry.
- Measure panel positions, joints, and openings with total station and level.
- Capture traceable evidence: photos, point IDs, CSV exports, and signatures.
- Interactive, commentable checklist with export and QR code authentication.
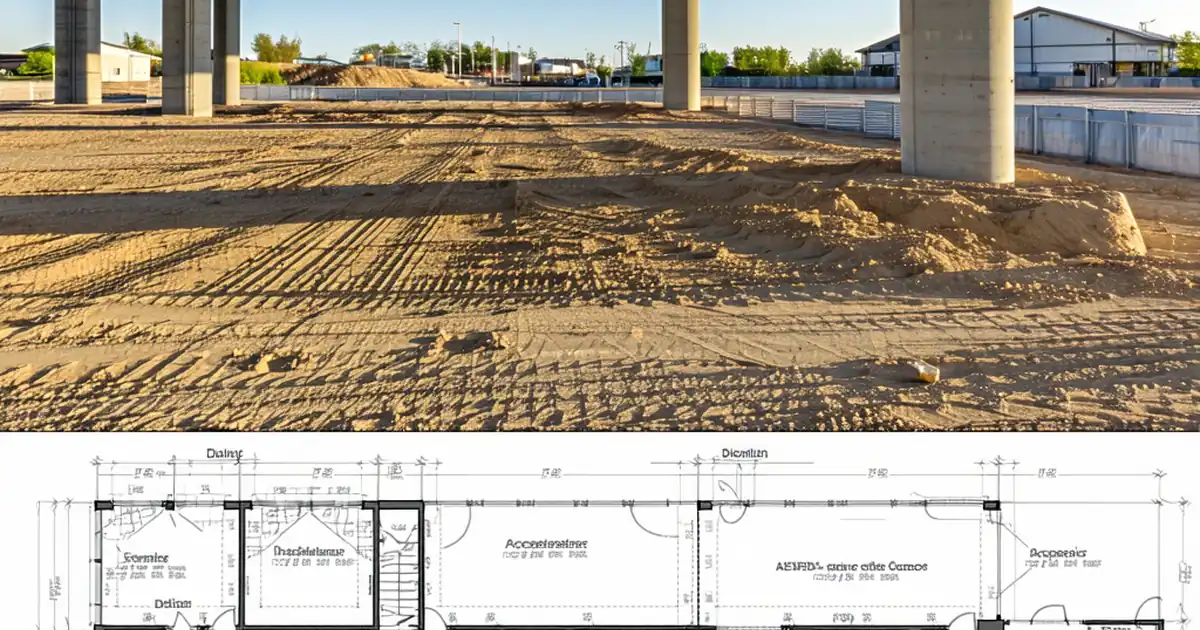
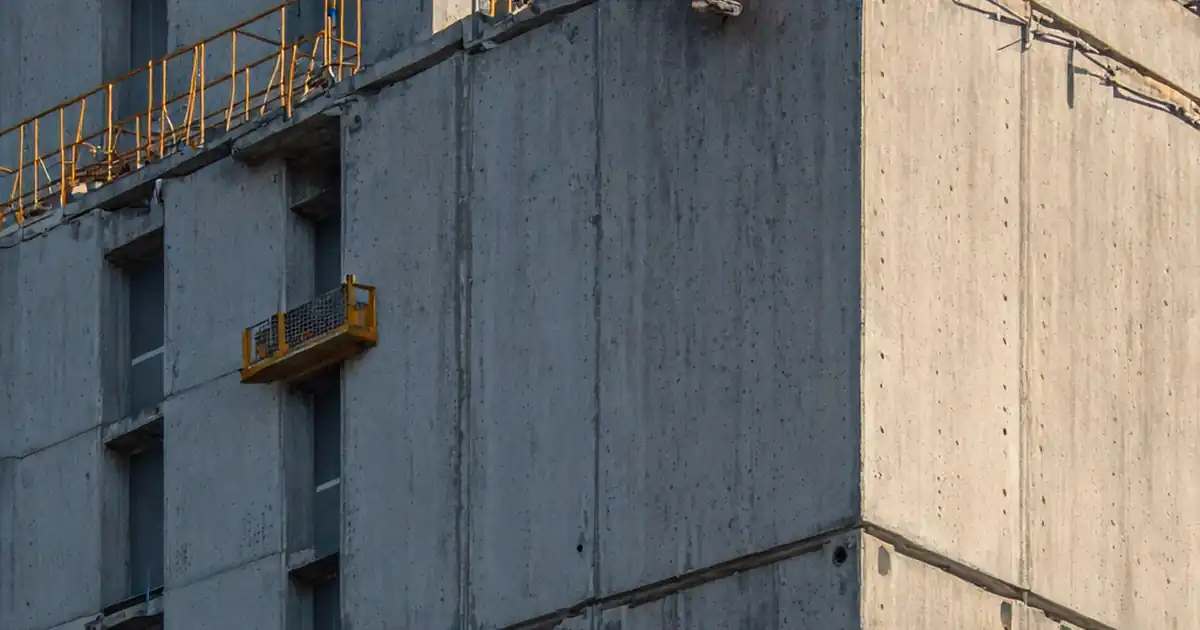
Inspect façade as-built dimensions and completed elevation survey is a structured verification process confirming the built façade’s geometry and levels match design intent. This checklist guides façade elevation verification, as-built survey capture, and tolerance assessment using total stations, GNSS/RTK, and digital levels tied to a known datum and control grid. The scope covers external façade lines, panel locations, joint widths, opening sizes, and benchmarked elevations after installation is completed and accessible. It excludes internal fit-out, structural frame erection checks, and separate cladding performance testing. By following these steps, teams reduce rework, prevent misaligned panels, avoid water ingress from uneven joints, and ensure interfaces align with curtain wall, windows, and anchors. Outcomes include traceable measurements, clear acceptance cues, and sign-off per approved project specifications and authority requirements. Start interactive mode to tick items, add field comments with photos, and export results as PDF/Excel with a secure QR code for authentication.
- Establish reliable survey control, validate equipment calibration, and lock the reference datum before any façade measurement. This prevents systematic errors, supports repeatable readings, and streamlines comparison against approved shop drawings and BIM coordinates for accurate, defensible as-built records.
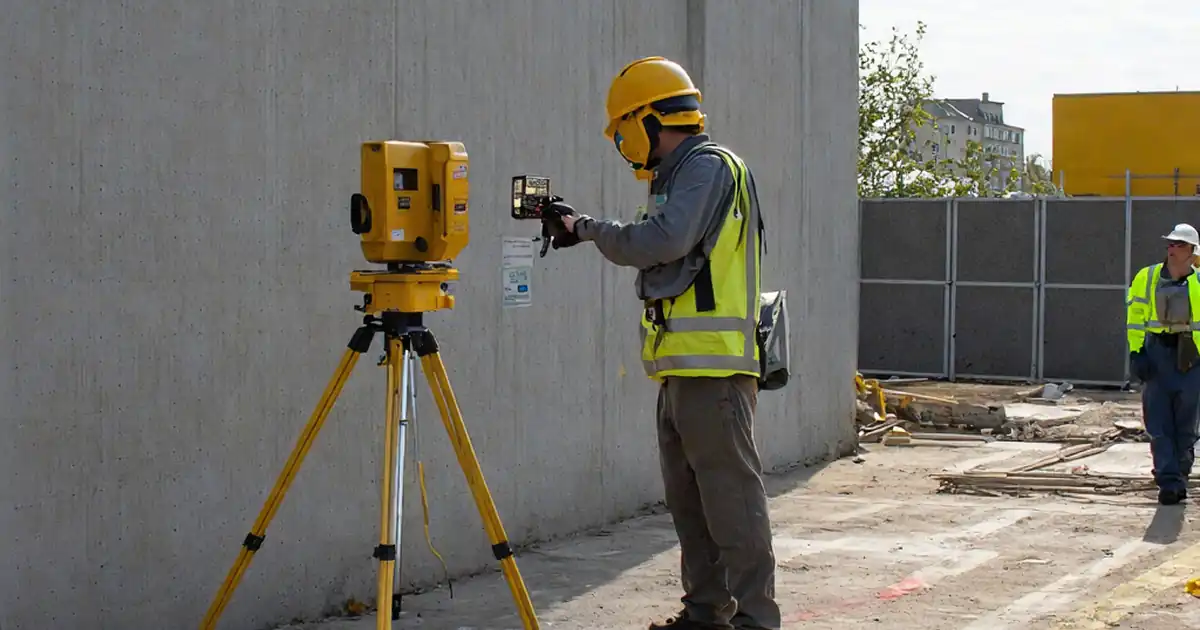
- Measure horizontal grid, vertical elevations, and façade element geometry using total station, digital level, laser distance meter, and plumb laser. Record station setups, backsight checks, and point IDs to create auditable chains linking measurements to control benchmarks and design.
- Interactive online checklist with tick, comment, and export features secured by QR code.
- Deliver a complete as-built package: annotated photos, CSV coordinate exports, level books, and marked-up elevations with tolerances. Obtain stakeholder sign-off and archive with QR-authenticated report links to ensure traceability for commissioning, handover, and future maintenance reference.
Survey Control & Equipment
Horizontal Control & Grid
Vertical Datum & Elevations
Façade Geometry & Plumbness
Openings, Interfaces & Joints
Control, Calibration, and Environmental Stability
A reliable façade as-built begins with robust control and calibrated gear. Establish at least two independent benchmarks tied to a verified site datum, then close a level loop to check reliability before any façade reading. Validate the total station’s distance calibration on a known baseline and ensure prism constants and instrument heights are correctly entered. Record weather and visibility; heat shimmer, high wind, or reflected glare can bias measurements, especially across glass façades. Plan station setups to minimize incidence angles and occlusions from mullions. Use consistent point naming so every measurement is traceable to layout drawings. When issues arise, repeat shots from a second setup and average or adopt the more conservative reading. Always anchor results to design coordinates and elevations from the latest approved model and drawings per approved project specifications and authority requirements.
- Close level loops with small, documented misclosures.
- Record instrument certificates and baseline checks.
- Mitigate heat shimmer and reflections on glass.
- Use consistent point IDs linked to drawings.
- Repeat critical points from a second setup.
Measuring Geometry, Elevations, and Tolerances
After control is confirmed, capture horizontal positions, vertical levels, and element geometry. For coordinates, shoot panel corners, mullion centerlines, and interface inserts with a total station. For elevations, use a digital level on sills, heads, slab edges, and parapets, tying each reading to the established datum. Verticality is best checked with a plumb laser or digital inclinometer, while joint uniformity and flatness rely on straightedges, feeler gauges, and laser distance meters. Adopt explicit acceptance criteria, such as ±5 mm for coordinates, ±3 mm for key elevations, ≤ 3 mm per 3 m for plumbness, and ±2 mm for joint widths, unless the project specifies stricter values. Document outliers with annotated photos and comments, then trigger corrective actions and re-measure to confirm compliance.
- Shoot corners and centerlines for repeatable coordinates.
- Tie every elevation to a verified datum.
- Use explicit, documented tolerances for acceptance.
- Annotate nonconformities and re-verify after fixes.
Evidence, Reporting, and Sign-Off
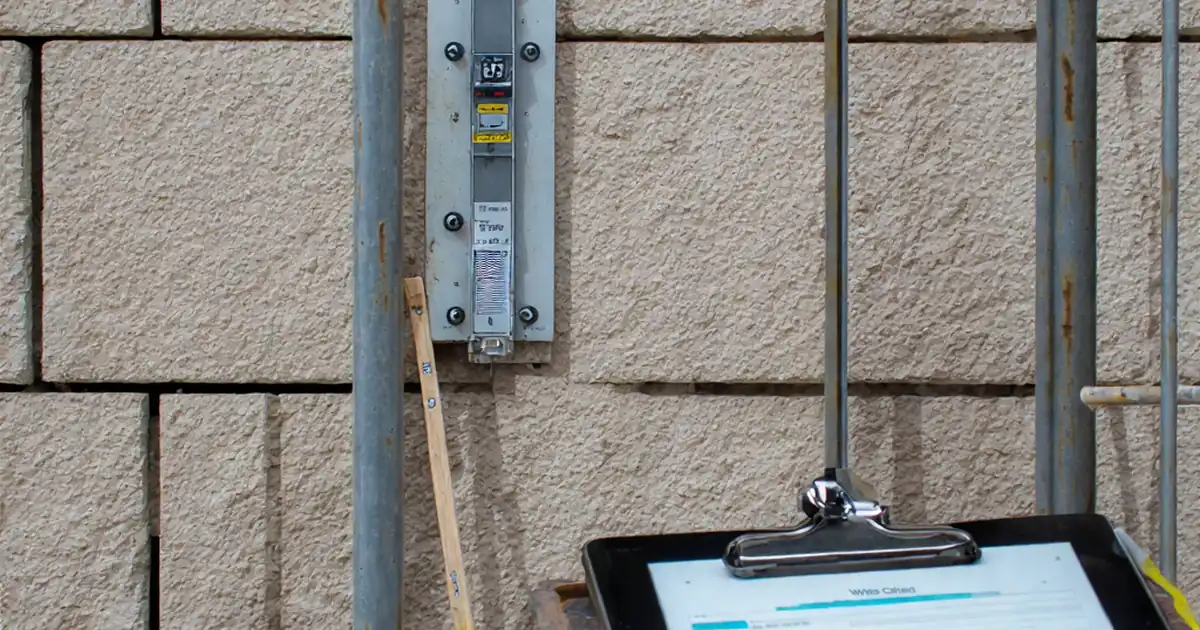
Strong evidence converts raw measurements into defensible records. Export coordinate CSVs and level books, embed point IDs, and overlay results on approved elevations or BIM views. Capture close-ups showing tape or gauge placement, and wide shots revealing context and control references. Keep a clear audit trail: station setup notes, backsight checks, instrument heights, and file versions. For interfaces such as balustrades or shading brackets, include cross-disciplinary reviews to avoid future clashes. Summarize tolerances in a variance table highlighting exceedances with proposed remedies. Finally, secure sign-offs from the façade subcontractor, main contractor QA, and the consultant, archiving the report with QR-backed verification to prevent version drift and ensure future maintenance teams can retrieve authentic records.
- Export CSVs with consistent point naming.
- Overlay as-builts on drawings or BIM.
- Include context and close-up photographs.
- Summarize variances and corrective actions.
- Obtain multi-party digital sign-offs.
Prepare, Use, and Sign Off the Interactive Checklist
- Preparation: Gather total station, digital level, laser distance meter, prisms, targets, straightedge, feeler gauges, calibrated tapes, tripod, tablets, PPE (helmet, eye protection, gloves, hi-vis), and access permissions.
- Site Readiness: Confirm façade access (MEWPs or scaffold), clear line-of-sight to control, latest approved drawings/BIM, and safe exclusion zones below work areas.
- Open the interactive checklist on your device, select the project, and enable offline mode if connectivity is limited.
- Tick items as completed, attach photos and files to each step, and add comments noting instrument IDs, point IDs, and environmental conditions.
- Use the variance fields to enter measured versus design values and flag nonconformities for corrective action tracking.
- Export interim results as PDF/Excel for team reviews; share links with subcontractors and consultants for timely feedback.
- Sign-Off: Collect digital signatures from the façade subcontractor, main contractor QA, and consultant; lock the record and generate a QR-authenticated report.
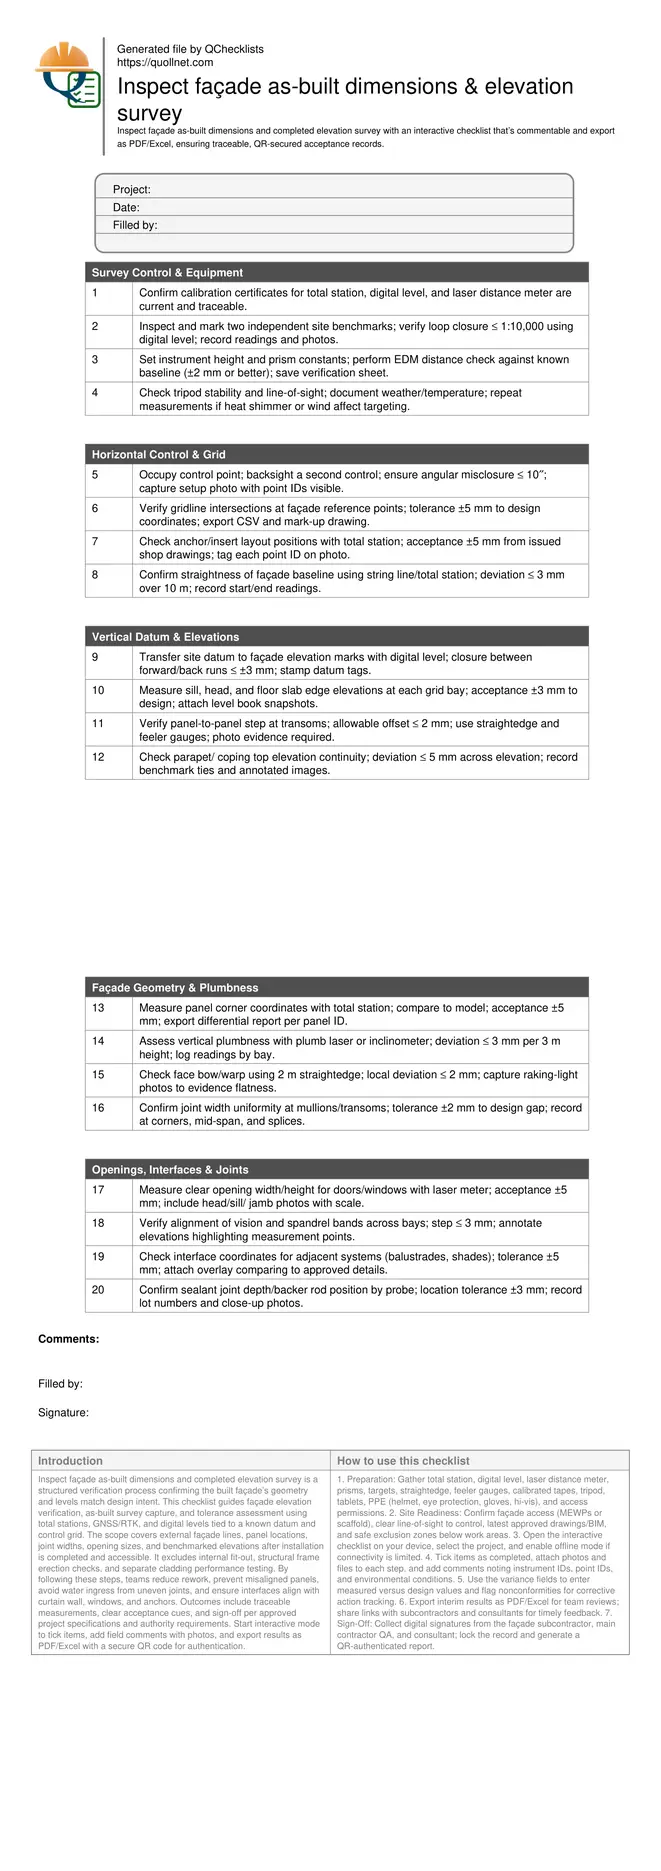
Call to Action
- Start Checklist Tick off tasks, leave comments on items or the whole form, and export your completed report to PDF or Excel—with a built-in QR code for authenticity.
- Download Excel - Façade As-Built Dimensions & Elevation Survey Inspection
- Download PDF - Façade As-Built Dimensions & Elevation Survey Inspection
- View Image - Façade As-Built Dimensions & Elevation Survey Inspection
Cite & Embed
“Façade As-Built Dimensions & Elevation Survey Inspection by Quollnet”
with a link to
this source page.

FAQ
Question: What instruments are best for verifying façade as-built coordinates and elevations?
Question: Which tolerances should I apply to façade geometry and levels?
Question: How do I ensure repeatable measurements on reflective glass façades?
Question: What deliverables should the completed elevation survey include?
Related Articles
Broader reading and guidance connected to this checklist topic.

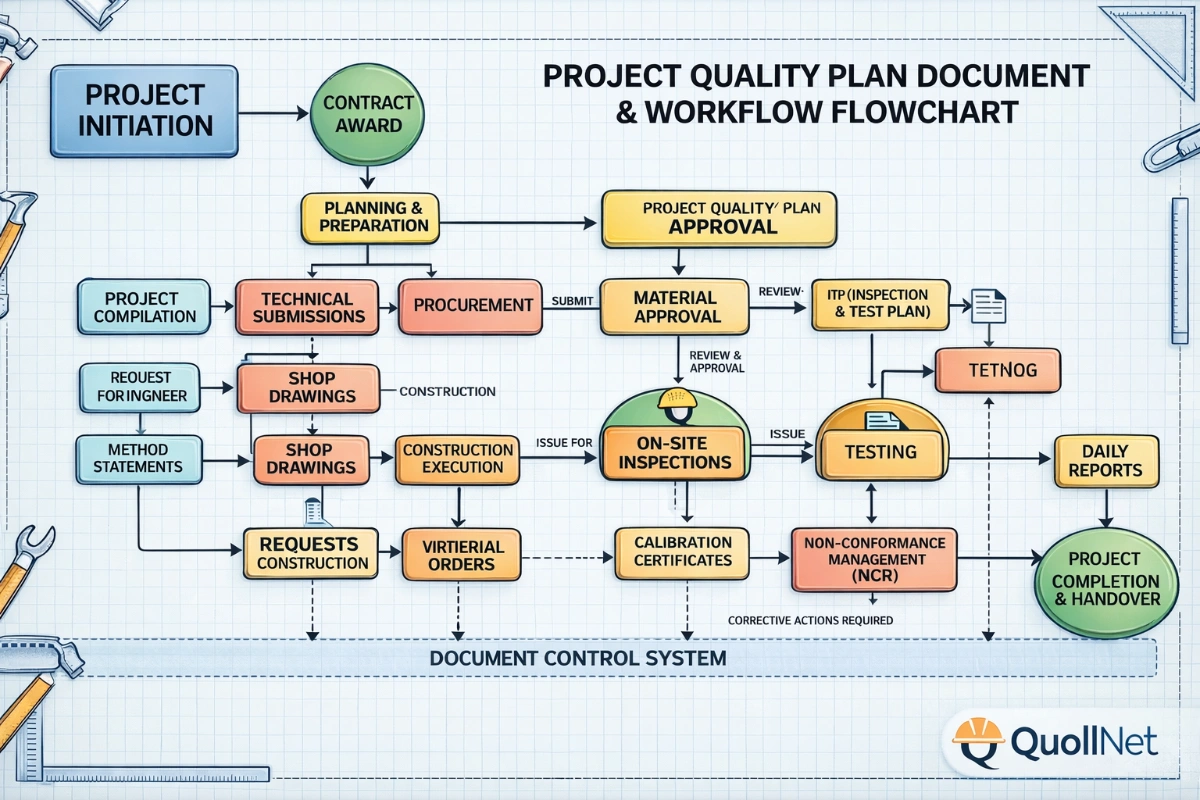
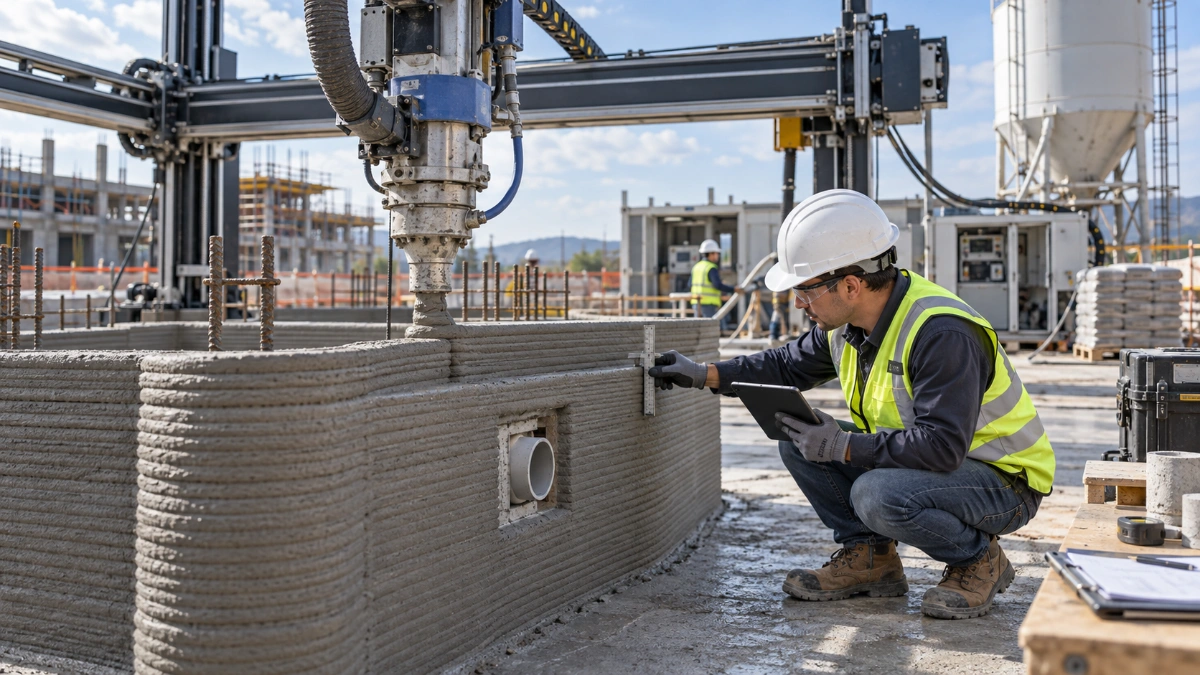
3d Printed Concrete Qa/qc: Inspection, Process Control & Acceptance


Is It Important To Customize Your Qr Code And How To Do It?
Related Checklists
Keep the workflow moving with nearby templates chosen from similar checklist content.