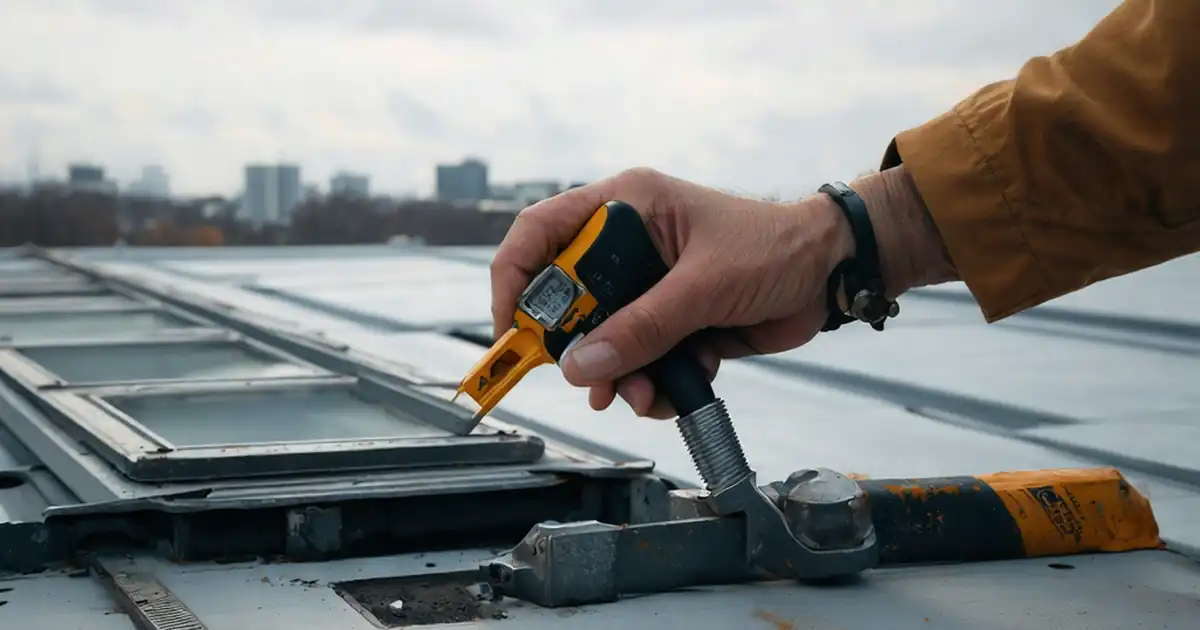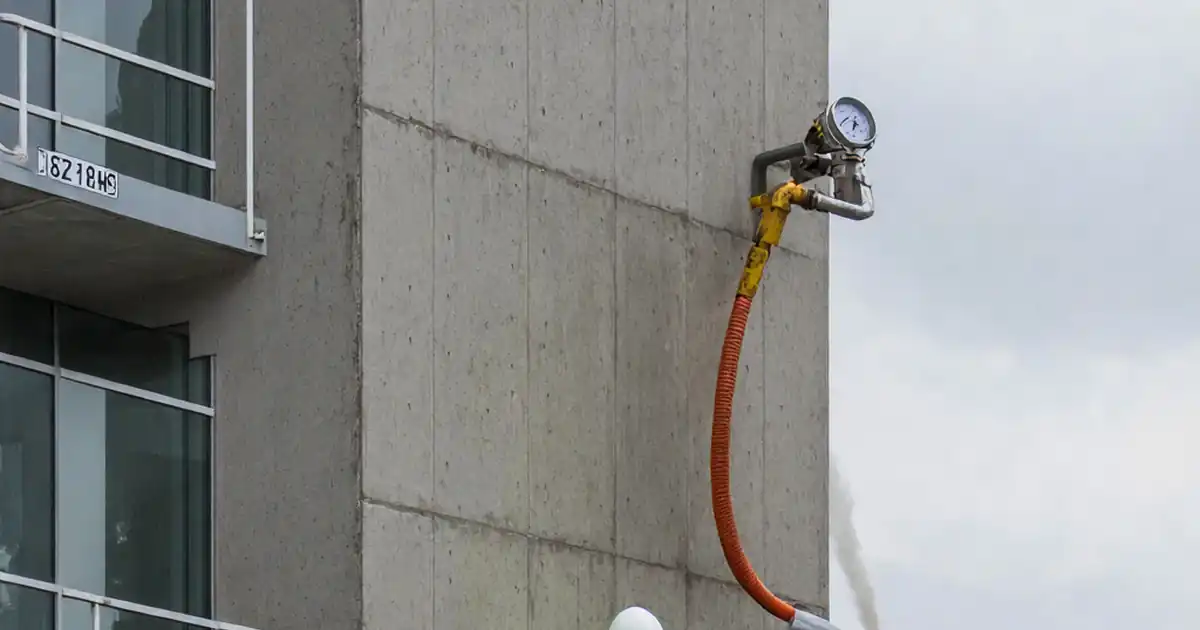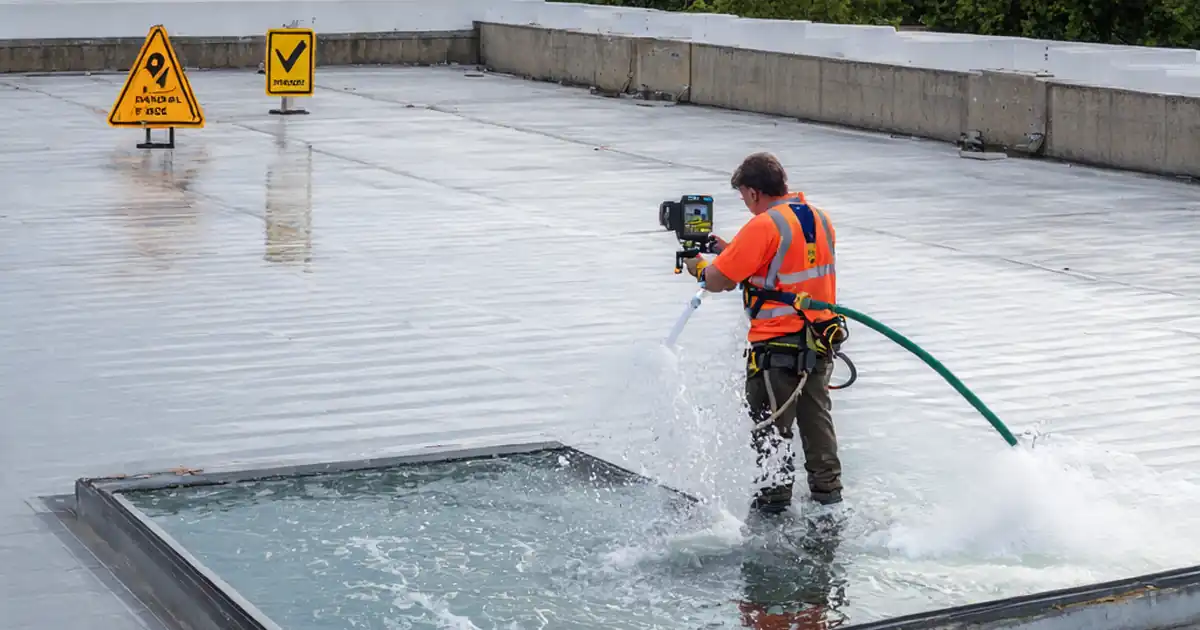
Test skylight assembly for water-tightness and drainage performance using a structured, field-validated protocol for contractors, QA inspectors, and facility managers to verify water resistance and effective runoff via designed weeps.
- Define test area, weather limits, and spray parameters with tolerances.
- Measure drainage volume, clearance times, and residual ponding depths.
- Capture photos, flow readings, and moisture logs for verifiable evidence.
- Interactive, commentable checklist with export and QR code traceability.
The checklist
Pre-Test Documentation & Safety
- Review approved drawings, skylight details, and test locations; mark extents on a roof plan and obtain supervisor approval; attach annotated plan and approval signature.
- Verify weather: no precipitation, wind ≤ 5 m/s, ambient 5–35 °C; photograph anemometer and thermometer readings with timestamps as evidence.
- Set fall protection, perimeter barriers, and signage; establish a dry interior observation area; upload photos of safety setup and access routes.
- Protect interior finishes below the skylight with poly sheeting and drip trays; photograph coverage and note responsible party.
- Perform interior baseline inspection for prior stains or cracks; record moisture meter baseline (wood ≤ 12% MC; gypsum ≤ 1% by weight) and upload photos.
Instrument Calibration & Setup
- Calibrate inline flow meter and nozzle to 3.5 ± 0.5 L/min at source; record flow/gauge photos and tester initials.
- Measure and mark nozzle stand-off distance 2.0–3.0 m to test face; photograph tape measurement and roof marks.
- Confirm weep holes and drainage channels are clear using a probe/borescope; remove debris; before/after photos show unobstructed paths.
- Place interior moisture sensors/data loggers at corners, joints, and curb; record baseline values and logger IDs.
- Set video capture with timestamp to record spray angles, distances, and duration; verify framing with a 10-second test clip.
Water-Tightness Spray Test
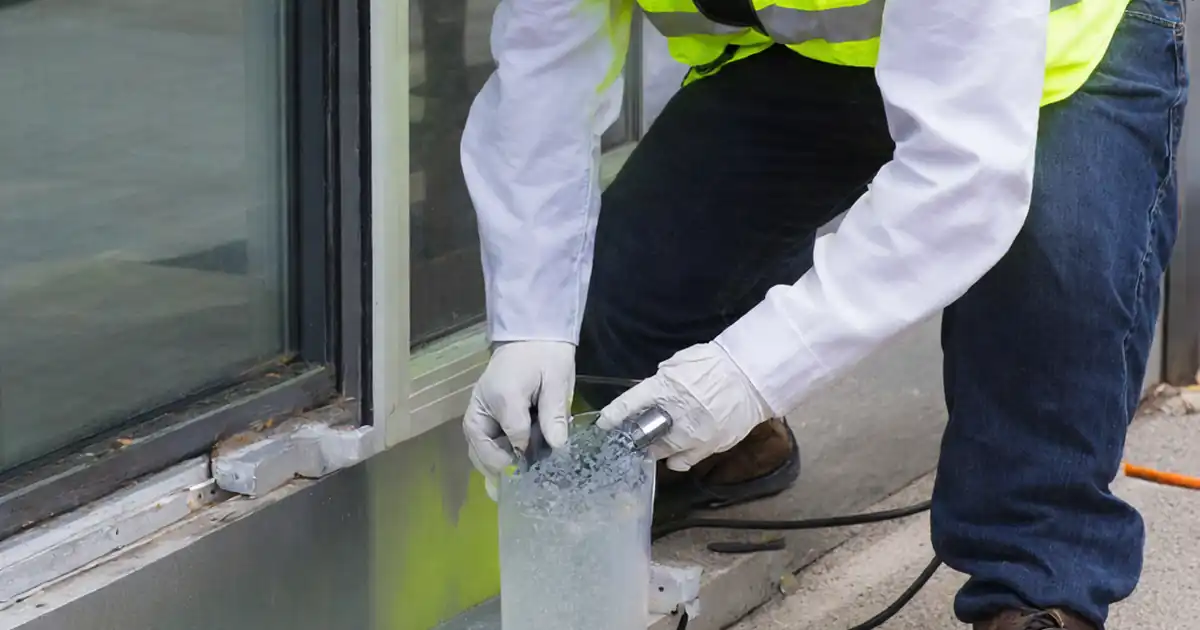
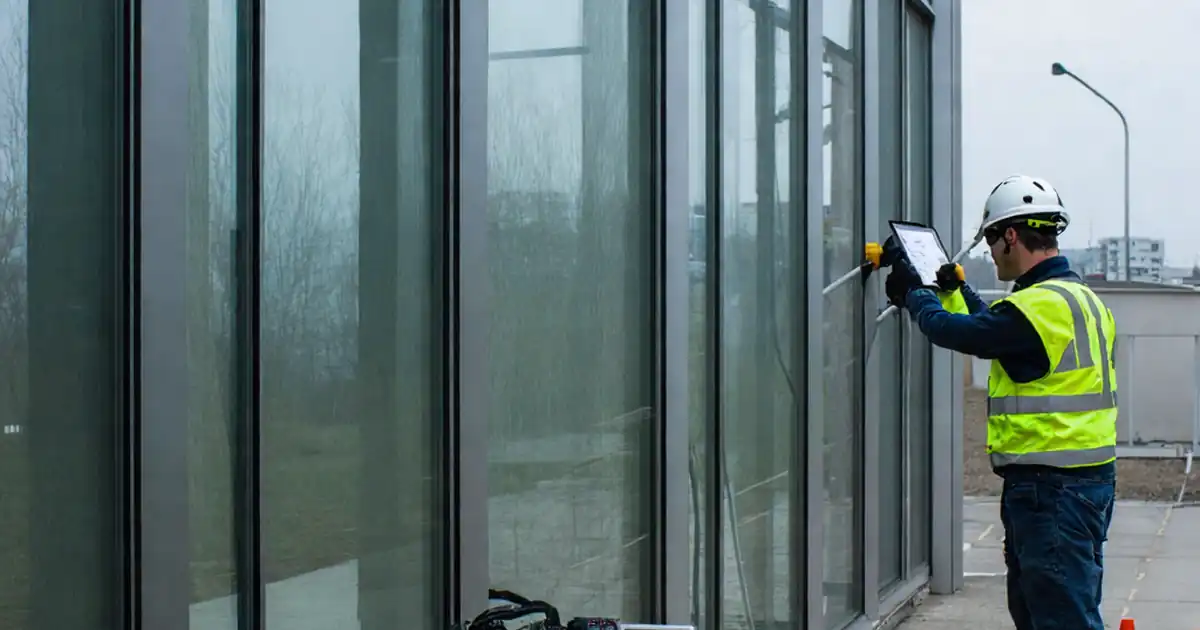
- Spray glazing perimeter joints at 90° for 5 min per 1 m length; maintain constant sweep; acceptance: no visible interior water/wetting; upload continuous video.
- Spray curb-to-roof flashing at 0–45° for 10 min total, focusing upslope edges; acceptance: no ingress; interior sensors rise ≤ 2% MC from baseline.
- Target fasteners, corner joints, and gasket intersections for 2 min each; acceptance: no damp patches, drips, or trails; capture close-up photos immediately after.
- During spraying, inspect interior every 60 s with flashlight/IR; record images; acceptance: no temperature anomalies > 2 °C indicating moisture.
Drainage & Weep Function Test
- Pour 10 L dyed water evenly along exterior gutter/channel using a graduated container; acceptance: discharge initiates ≤ 10 s and clears ≤ 2 min.
- Observe weep outlets for continuous flow without pulsing or backflow; capture 60 s video; acceptance: uninterrupted discharge stream.
- Measure residual ponding 10 min after pour with a depth gauge; acceptance: ≤ 3 mm at any point; photograph gauge readings.
- Inspect drip edges and cladding below for capillary return; acceptance: dry underside and no streaking; record close-up photos.
Post-Test Inspection & Evidence
- Check interior, curb insulation, and ceiling void for damp; acceptance: readings ≤ baseline + 2% MC; log meter model, serial, and photos.
- Verify sealants, gaskets, and flashings show no displacement or tearing; acceptance: continuous contact; upload macro photos at 4 corners and mid-spans.
- Restore site and confirm all weep paths left unobstructed; document final condition photos and remove interior protection.
- Compile records: flow rates, spray durations, volumes, sensor logs, and annotated roof plan; attach video links and tester signatures.
Corrective Actions & Retest
- If leakage occurs, isolate source with segmented 1–3 min sprays per suspect joint; mark locations on plan and photograph evidence.
- Execute repairs per approved project specifications and authority requirements; record product data, batch/lot numbers, and installer sign-off.
- Observe cure times from product literature; schedule and perform retest; acceptance: zero visible ingress and drainage within specified limits.
- Complete stakeholder review; obtain digital approvals; export PDF/Excel and attach QR-authenticated files to project archive.
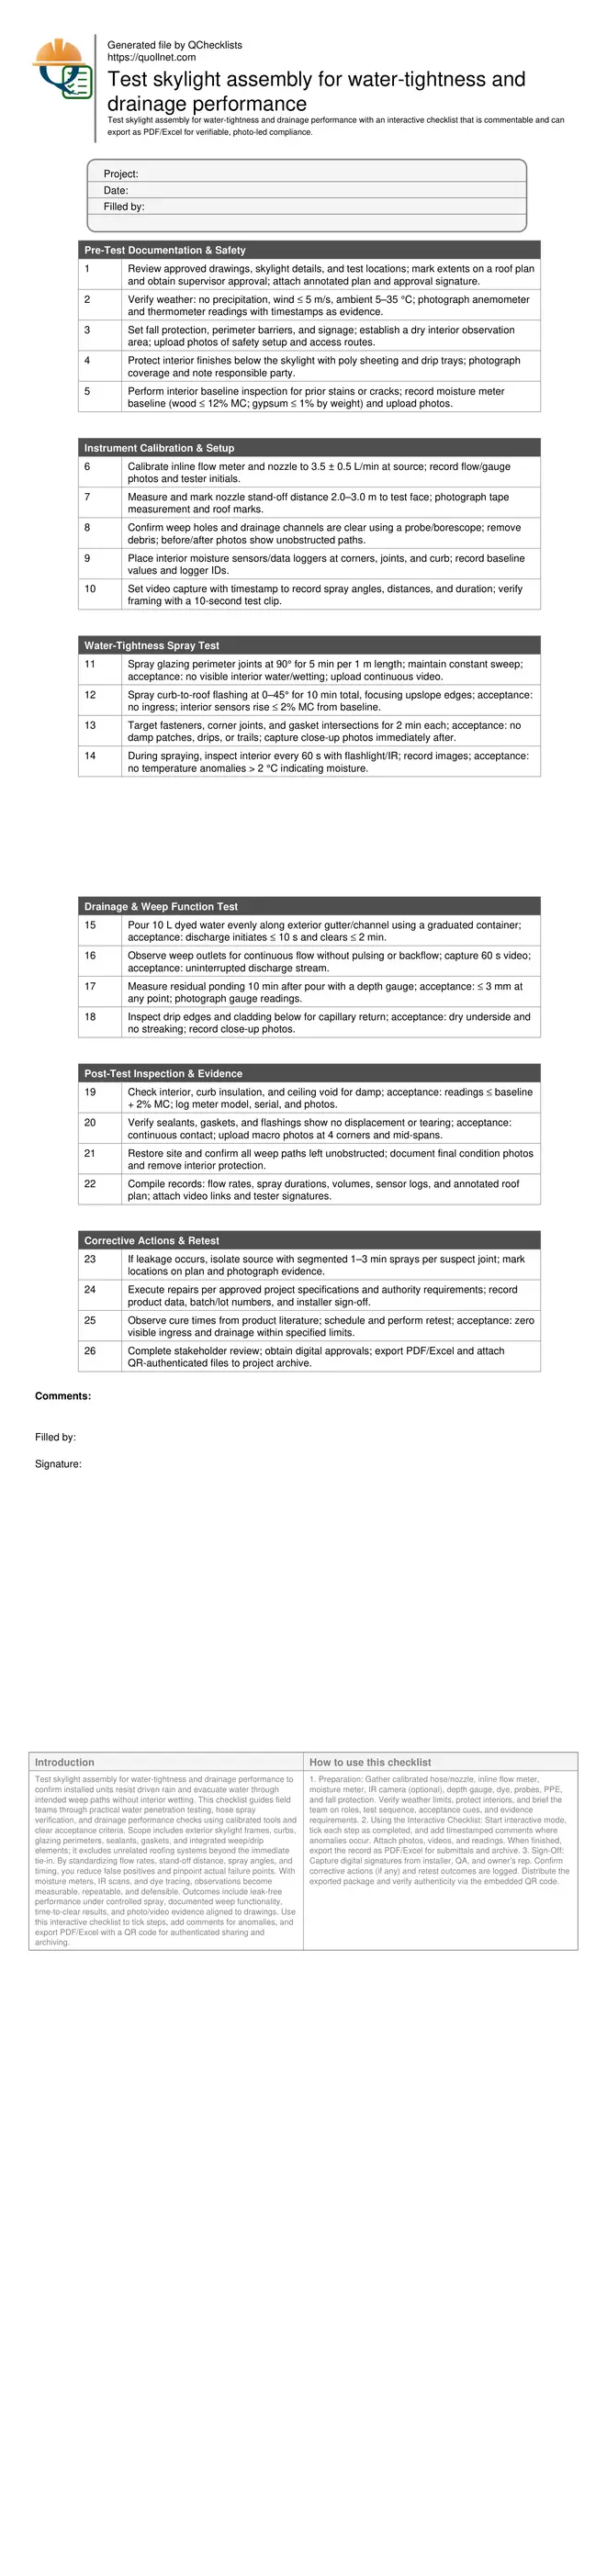
Preview the printable checklist
Preview page one below. Open the image or download the PDF for all pages.
At a glance
- Achieve reliable, repeatable skylight verification by defining weather limits, spray parameters, and drainage measures. Field-ready steps specify calibrated flow, controlled angles, and observation intervals, minimizing variance and false results. Capture moisture readings, photos, and videos tied to drawings for transparent, defensible acceptance decisions and rapid troubleshooting.
- Interactive online checklist with tick, comment, and export features secured by QR code. Technicians collaborate in real time, attach photos, log flow rates, and timestamp observations. Supervisors review sign-offs, compare drainage timers against targets, and archive results to project records for traceable, audit-ready closeout documentation.
- Mitigate leak risks by confirming sealant continuity, gasket seating, and weep functionality before and after the hose test. Drainage checks verify discharge onset, flow continuity, and residual ponding tolerances. Structured corrective actions and retesting ensure durable performance, reducing callbacks, interior damage, and schedule disruptions across commissioning and maintenance phases.
How to Use This Skylight Water-Tightness & Drainage Test Checklist
- Preparation: Gather calibrated hose/nozzle, inline flow meter, moisture meter, IR camera (optional), depth gauge, dye, probes, PPE, and fall protection. Verify weather limits, protect interiors, and brief the team on roles, test sequence, acceptance cues, and evidence requirements.
- Using the Interactive Checklist: Start interactive mode, tick each step as completed, and add timestamped comments where anomalies occur. Attach photos, videos, and readings. When finished, export the record as PDF/Excel for submittals and archive.
- Sign-Off: Capture digital signatures from installer, QA, and owner’s rep. Confirm corrective actions (if any) and retest outcomes are logged. Distribute the exported package and verify authenticity via the embedded QR code.
Purpose, Method, and Test Conditions
This field protocol confirms that the skylight assembly resists driven water and drains as designed under controlled conditions. Use a calibrated nozzle delivering 3.5 ± 0.5 L/min at a 2–3 m stand-off distance, sweeping joints at prescribed angles to avoid over-concentration. Maintain consistent movement, documenting duration per joint or linear metre so results are repeatable. Limit wind to 5 m/s, avoid precipitation, and stabilise ambient temperatures between 5–35 °C to prevent evaporation or splash anomalies. Establish interior observation with moisture meters and optional IR imaging to detect hidden wetting. Drainage is evaluated by dosing known water volumes, measuring onset of discharge, time-to-clear, and residual ponding. Acceptance cues prioritise visual dryness, controlled moisture readings, continuous weep flow, and dry drip edges. The checklist captures photos, videos, readings, and signatures linked to a roof plan, creating verifiable evidence and clear accountability across installers, QA inspectors, and owners.
- Calibrate flow, distance, and angles for repeatable results.
- Control wind, temperature, and precipitation during testing.
- Measure discharge onset, clearance time, and ponding depth.
- Log moisture and IR cues alongside visual observations.
Acceptance Criteria and Troubleshooting Water Ingress
A pass requires zero visible interior wetting, no drips or trails, sensors within 2% MC of baseline, and stable IR thermography without cold signatures at joints. During spraying, inspect fasteners, corners, and gaskets, where discontinuities often start. If anomalies appear, segment the spray to 1–3 minute intervals along short runs to isolate the precise point of failure. Common root causes include under-filled sealant, misseated gaskets, obstructed weeps causing backpressure, or discontinuous flashing. Document each finding with macro photos and annotate the roof plan. Repairs should use approved products only, observing cure times before retesting. Ensure drainage is rechecked post-repair, since restoring watertightness can inadvertently block paths. Final acceptance demands repeat testing with equal or stricter parameters, matching the same flow, distance, and durations. Comprehensive documentation supports commissioning, warranty claims, and maintenance planning without referencing specific code clauses.
- Zero visible ingress and stable moisture readings.
- Isolate leaks using segmented, timed spray passes.
- Repair with approved materials; observe cure times.
- Retest under equal or stricter parameters for acceptance.
Drainage Performance Verification and Documentation
Effective skylight drainage prevents ponding, freeze-thaw damage, and sealant overload. After clearing weeps, introduce a measured volume (e.g., 10 L) of dyed water into gutters or channels, observing discharge onset and continuity. Time full clearance and measure any residual ponding at 10 minutes with a depth gauge. Inspect drip edges for capillary return; dry undersides indicate proper drip geometry. Where accessible, verify curb slope to exterior; insufficient fall can delay discharge and raise standing water. Record all observations with close-ups of weeps, outlet locations, and dye paths. Log flow times, volumes, and ponding depths directly in the checklist, linking evidence to drawing references. If performance is marginal, gently probe weeps, re-test, and document improved results. This structured approach turns subjective observations into quantifiable metrics that support acceptance, corrective action decisions, and future maintenance planning.
- Dose known volumes and time clearance to discharge.
- Measure ponding depth at 10 minutes post-pour.
- Confirm continuous weep flow without pulsing.
- Photograph dye paths, weeps, and drip edges.