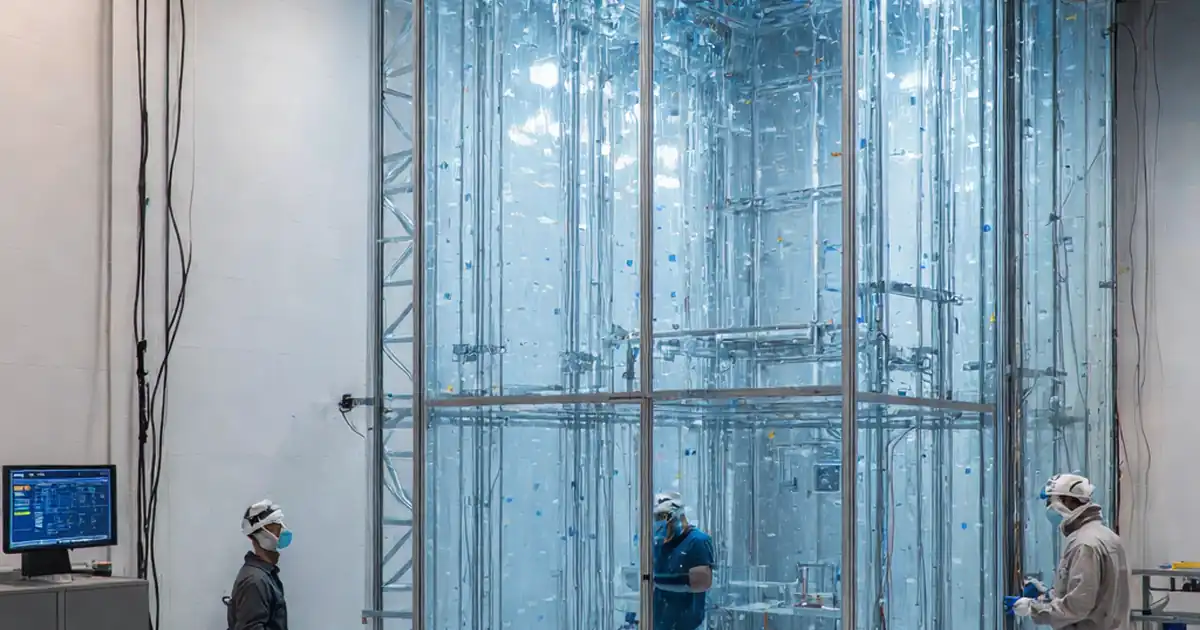
Test Façade Mock-Up for Interstory Drift and Recovery
Definition: Test façade mock-up for interstory drift accommodation and recovery guides QA teams through planning, instrumenting, cycling, and documenting racking tests on curtain wall assemblies to verify movement capacity and self-recovery.
- Define drift ratios, cycle protocol, and measurable recovery criteria upfront.
- Instrument mock-up with calibrated displacement sensors and synchronized data logging.
- Execute controlled racking cycles; capture damage, residual offsets, and evidence.
- Interactive, commentable, export-ready checklist with QR code authentication.
Test façade mock-up for interstory drift accommodation and recovery establishes a rigorous, field-proven process to verify that curtain wall and cladding assemblies tolerate seismic drift and racking test demands, then return to serviceable alignment. This checklist focuses on mock-up configuration, displacement instrumentation, drift cycling, residual offset measurement, and recovery assessment without delving into unrelated air or water tests. It supports serviceability and ultimate drift ratios, drift cycling rates, and careful observation of glazing, anchors, gaskets, and seals during and after imposed movement. By emphasizing traceable calibrations, synchronized data capture, photographic evidence, and acceptance cues per approved project specifications and authority requirements, teams reduce the risk of brittle failures, glazing fallout, or unsealed joints in real events. The outcome is defensible evidence that the façade can accommodate interstory drift and recover functionally. Use this interactive checklist to assign tasks, tick completions, add comments, and export as PDF/Excel with a secure QR for audit.
- Plan, instrument, and execute a controlled racking protocol on a full-scale façade mock-up to verify movement capacity, residual drift, and component recovery, with measurable criteria and fully traceable calibrations to support project acceptance.
- Ensure consistent, high-quality evidence by synchronizing displacement data with time-stamped photos and technician sign-offs, capturing anchor slip, gasket response, glazing bite retention, and sealant continuity at each drift cycle and recovery interval.
- Interactive online checklist with tick, comment, and export features secured by QR code.
- Deliver a clean audit trail linking pre-test documents, calibration certificates, drift logs, damage mapping, and recovery measurements to final acceptance, enabling confident decisions per approved project specifications and authority requirements.
Pre-Test Documentation & Setup
Instrumentation & Calibration
Mock-Up Assembly & Baseline Survey
Test Execution: Drift Cycling
Post-Test Inspection & Recovery
Reporting & Sign-Off
Define objectives, tolerances, and evidence before you rack the mock-up
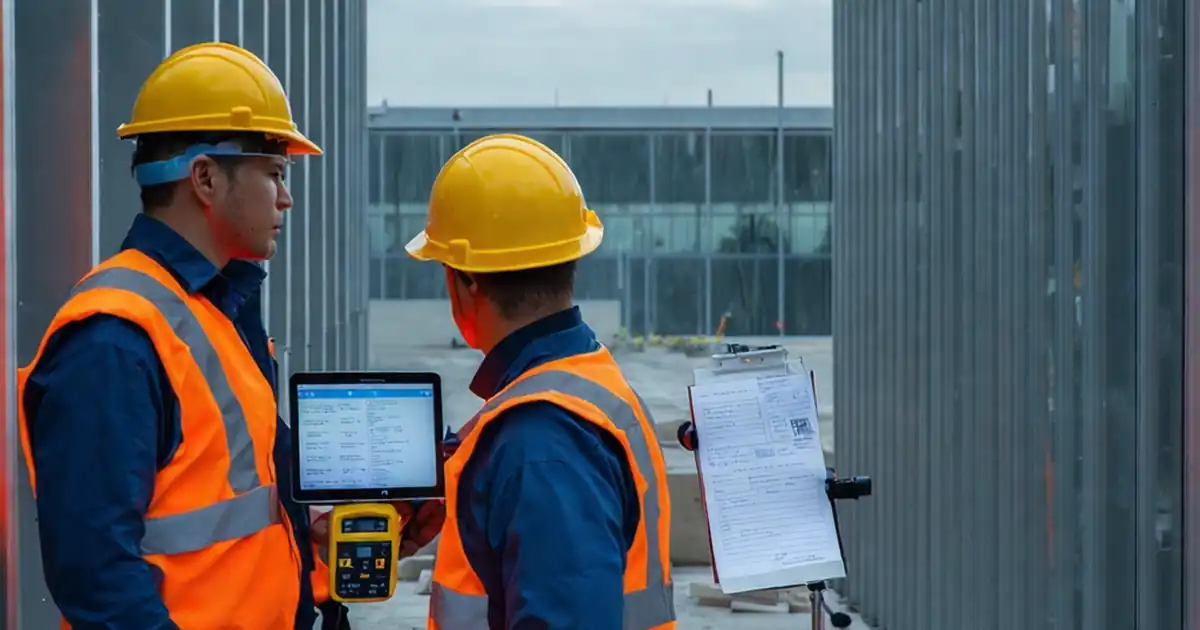
Successful interstory drift testing starts with clarity on what to measure and what defines acceptance. Establish drift ratios for serviceability and ultimate conditions, then convert ratios to lateral displacements in millimetres using the mock-up’s clear height. Specify instrument accuracies, sampling rates, and actuator control limits to avoid data gaps and overshoot. Baseline surveys of plumb, level, and joint gaps set the reference for recovery checks. Document lot numbers and curing intervals for sealants and gaskets because premature testing skews outcomes. Calibrate all sensors and torque tools with traceable certificates, and synchronize timestamps across devices. Predetermine stop criteria for glass cracking, anchor yielding, or sealant tearing to protect the specimen and personnel. With these controls in place, teams minimize variability and produce evidence that withstands audit and peer review, aligning outcomes with the approved project specifications and authority requirements without relying on anecdotal judgments.
- Translate drift ratios into millimetres before test day.
- Set sensor accuracy to ±0.5 mm or better.
- Synchronize all devices to ±0.1 s time difference.
- Record sealant cure times and lot numbers.
- Agree stop criteria and communication signals.
Execute consistent drift cycles and capture synchronized, reviewable evidence
During racking, rate control and repeatability matter as much as reaching target drift. Use calibrated actuators to cycle to each target, hold briefly at peak, and return to zero while logging displacement and force. At peak drift, visually confirm glazing bite and gasket seating; small shifts can signal restraint issues or clip binding. After each cycle, measure residual offsets at marked references to quantify recovery. Keep the camera rolling for critical joints to correlate observed movements with the data log. Repeat bidirectional cycles as prescribed to reveal progressive slip or damage accumulation. Progress to ultimate drift only if serviceability acceptance is confirmed and stop criteria remain clear. Consistency in execution yields clean datasets and reduces the chance of misinterpreting transient behaviours as failures.
- Control drift rate within ±10% of set value.
- Hold 10–30 s at peak for observations.
- Measure residuals in mm after each cycle.
- Video record critical joints at ≥25 fps.
- Repeat symmetric cycles in both directions.
Assess recovery, document damage, and close the QA loop
Post-cycling, allow the mock-up time to relax before measurements. Re-survey plumb, level, and joint gaps, then compute residual drift as a percentage of the story height. Inspect anchors and slip details for free movement without galling, and check sealants and gaskets for tears, permanent set, or adhesion loss. Operable elements, if included, should function without binding and with acceptable operating force. Compile a damage map linked to timestamps, photographs, and measurement logs to present a coherent narrative of performance. Final acceptance compares measured residuals and observed conditions against the approved project specifications and authority requirements. The result is a defensible pass/fail decision supported by synchronized data, clear photos, and formal sign-offs.
- Allow 10–15 minutes for elastic recovery.
- Map all damage with coordinates and IDs.
- Quantify residual drift in mm and percent.
- Verify anchor slip paths remain uninhibited.
- Confirm seals and gaskets remain continuous.
How to Prepare, Use, and Sign Off This Interactive Checklist
- Preparation: Gather protocol, shop drawings, calibrated sensors, torque tools, data logger, cameras, and PPE. Confirm strong floor availability, actuator capacity, and specimen readiness with documented approvals.
- Assign Roles: Add team members as collaborators, set due dates, and define approval workflows for instrumentation, execution, inspection, and reporting.
- Using the Interactive Checklist: Start interactive mode, tick items as completed, attach photos/videos and files, and add time-stamped comments at each step.
- Data Capture: Upload calibration certificates, drift logs (CSV), and measurement sheets. Use consistent naming and tag evidence to item IDs for traceability.
- Review: Filter any open comments, resolve conflicts, and verify all acceptance criteria are addressed before proceeding to sign-off.
- Sign-Off: Collect digital signatures from responsible parties. Generate a summary with pass/fail notes and embedded evidence links.
- Export & Archive: Export as PDF/Excel and share. Verify the QR authentication link opens the evidence archive for audit.

Call to Action
- Start Checklist Tick off tasks, leave comments on items or the whole form, and export your completed report to PDF or Excel—with a built-in QR code for authenticity.
- Download Excel - Façade Mock-Up Drift Accommodation Test
- Download PDF - Façade Mock-Up Drift Accommodation Test
- View Image - Façade Mock-Up Drift Accommodation Test
Cite & Embed
“Façade Mock-Up Drift Accommodation Test by Quollnet”
with a link to
this source page.

FAQ
Question: What defines acceptable recovery after interstory drift cycling?
Question: How many drift cycles should be performed at each ratio?
Question: What should we do if glass cracks or a seal fails during the test?
Question: How is interstory drift testing different from thermal movement checks?
Related Articles
Broader reading and guidance connected to this checklist topic.


Is It Important To Customize Your Qr Code And How To Do It?
Related Checklists
Keep the workflow moving with nearby templates chosen from similar checklist content.