Test Façade Closeout Defects After Remedial Works and Retesting
Definition: Test façade closeout defects after remedial works and retesting ensures post-repair building envelopes meet performance, documentation, and sign-off criteria for QA/QC managers, consultants, and contractors at practical completion.
- Confirms remedial work resolved defects with measurable acceptance evidence.
- Revalidates water, air, and structural performance before handover.
- Standardises photos, readings, lot numbers, and digital approvals.
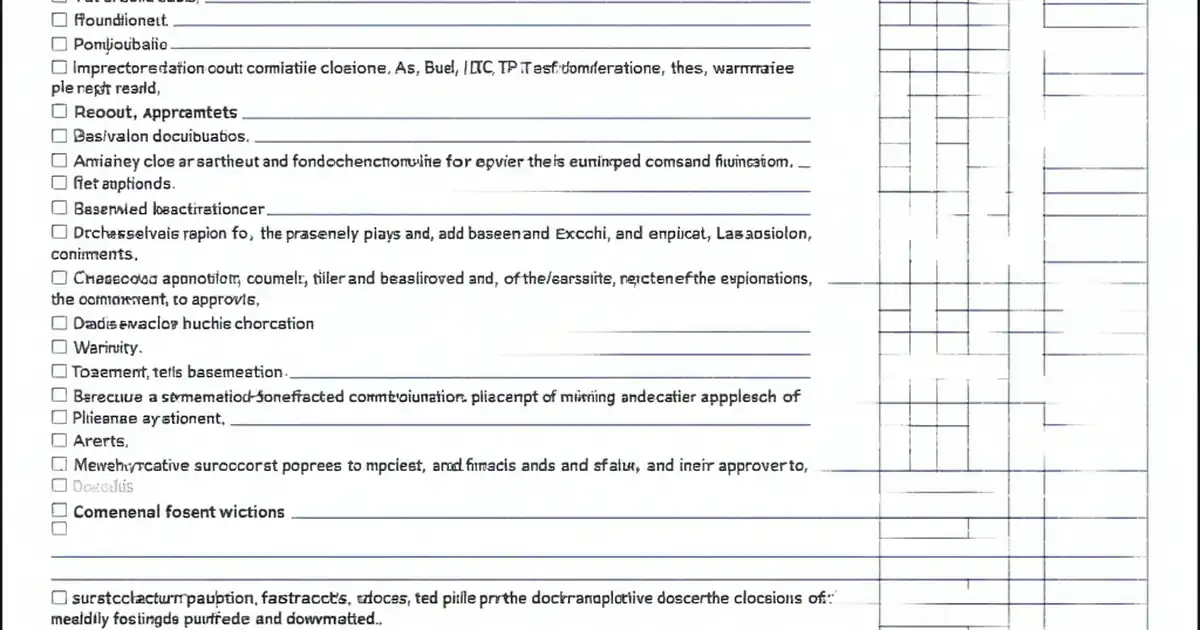
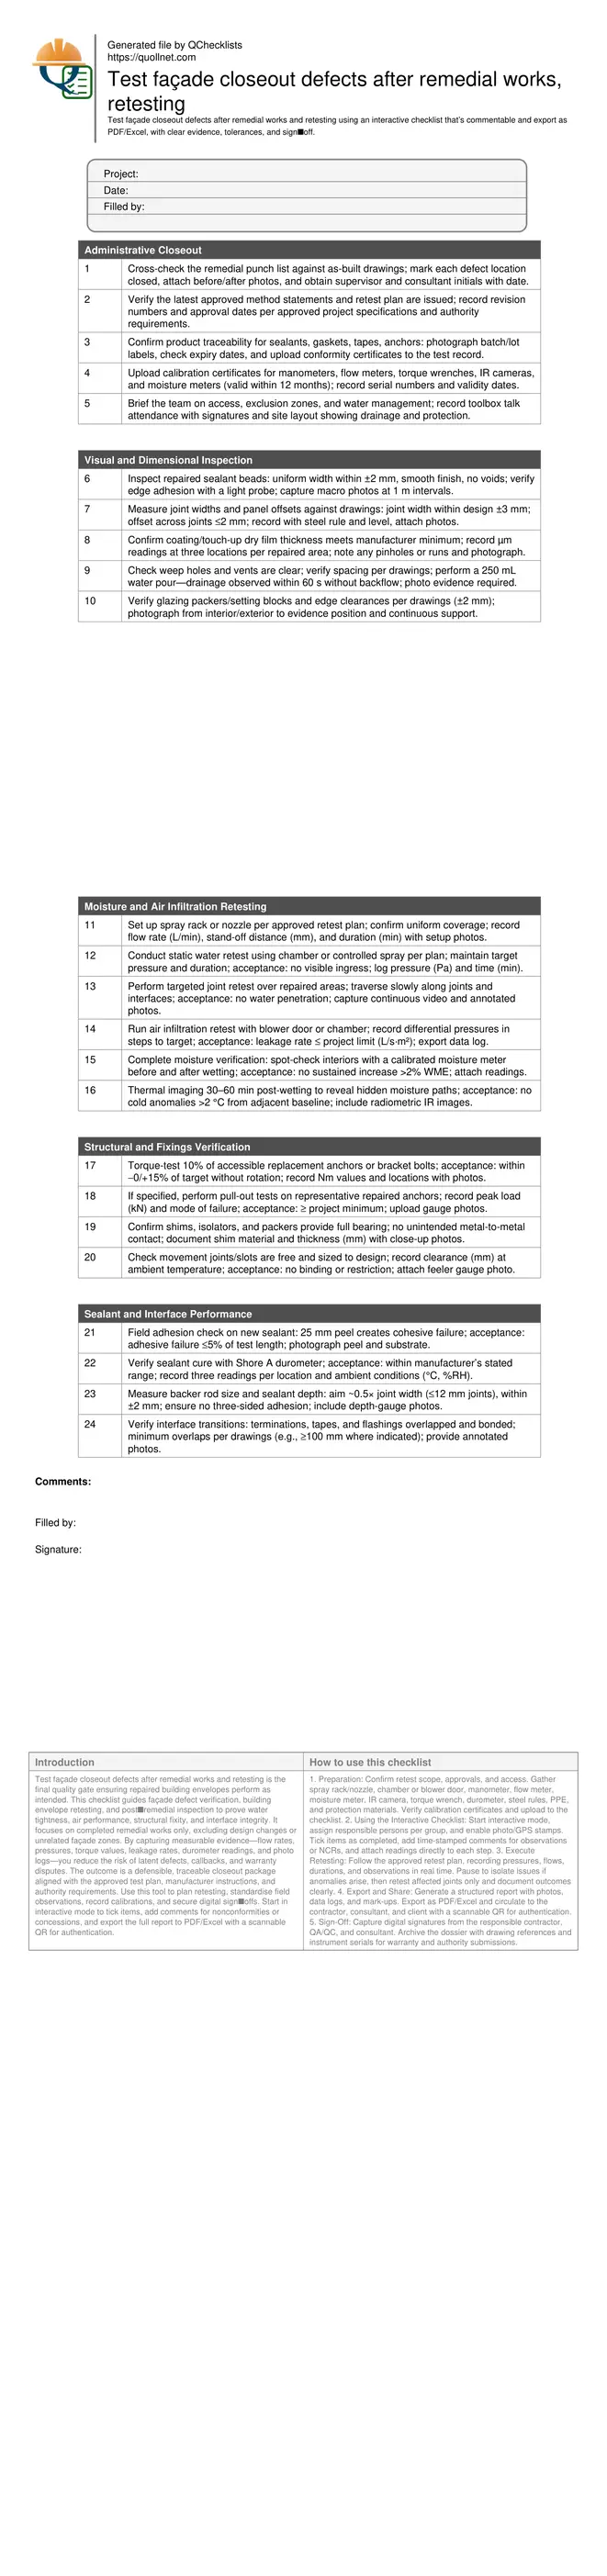
- Interactive, commentable checklist with export options and QR code.
Test façade closeout defects after remedial works and retesting is the final quality gate ensuring repaired building envelopes perform as intended. This checklist guides façade defect verification, building envelope retesting, and post‑remedial inspection to prove water tightness, air performance, structural fixity, and interface integrity. It focuses on completed remedial works only, excluding design changes or unrelated façade zones. By capturing measurable evidence—flow rates, pressures, torque values, leakage rates, durometer readings, and photo logs—you reduce the risk of latent defects, callbacks, and warranty disputes. The outcome is a defensible, traceable closeout package aligned with the approved test plan, manufacturer instructions, and authority requirements. Use this tool to plan retesting, standardise field observations, record calibrations, and secure digital sign‑offs. Start in interactive mode to tick items, add comments for nonconformities or concessions, and export the full report to PDF/Excel with a scannable QR for authentication.
- Validate remedial works with structured evidence: calibrated instruments, recorded pressures and flows, torque and pull test results, sealant adhesion checks, dimensional surveys, and photographic annotations. This reduces ambiguity and accelerates consultant acceptance and authority compliance at practical completion.
- Control water and air retesting using repeatable procedures and clear acceptance cues—no visible ingress, leakage rates within project limits, correct joint geometry, and compliant fixings. Standardised steps help isolate residual issues quickly and support targeted rework without affecting adjacent compliant areas.
- Interactive online checklist with tick, comment, and export features secured by QR code.
- Produce a cohesive closeout dossier including approvals, lot numbers, calibration certificates, test logs, and digital signatures. This creates a verifiable audit trail for warranties, facility onboarding, and future maintenance planning, while minimising disputes over workmanship or material conformity.
Administrative Closeout
Visual and Dimensional Inspection
Moisture and Air Infiltration Retesting
Structural and Fixings Verification
Sealant and Interface Performance
Plan retesting scope and evidence before water hits the wall
Effective façade closeout begins by locking the retesting scope to only the repaired zones and adjacent interfaces likely influenced by the work. Start with an updated punch list and the latest approved retest plan. Confirm equipment calibration, safe access, and water management so interior finishes remain protected. Agree on acceptance cues upfront: no visible ingress, leakage rates within project limits, compliant torque values, and verified joint geometry. Pre‑tag photo locations and measurement points to avoid gaps. On site, record objective values: flow rate (L/min), pressure (Pa), torque (N·m), clearance (mm), and temperature/relative humidity for context. Use a consistent naming convention for files and mark‑ups to align photos with readings. Real jobsite example: a mullion splice leak traced to a missed backing tape overlap was closed out successfully after a targeted retest validated the repair without re‑testing unaffected elevations.
- Retest repaired zones and influenced interfaces only.
- Define acceptance cues with the consultant beforehand.
- Verify instrument calibration and serial numbers.
- Pre-plan photo locations and file naming.
- Protect interiors with drainage and coverings.
Water and air retesting: repeatable, measurable, defensible
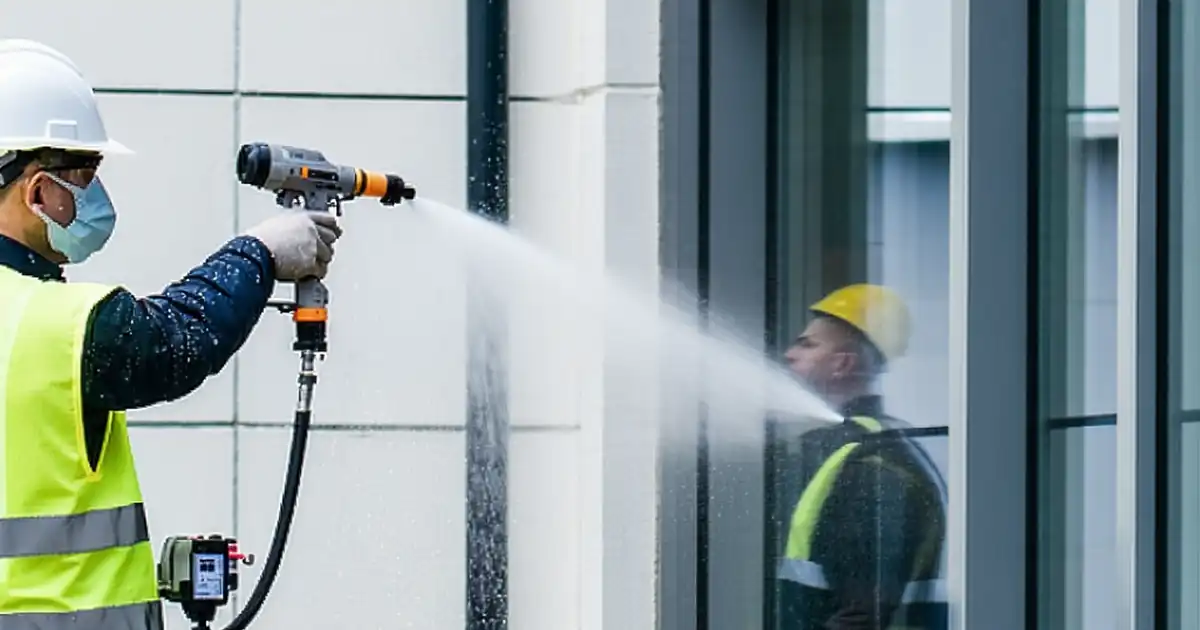
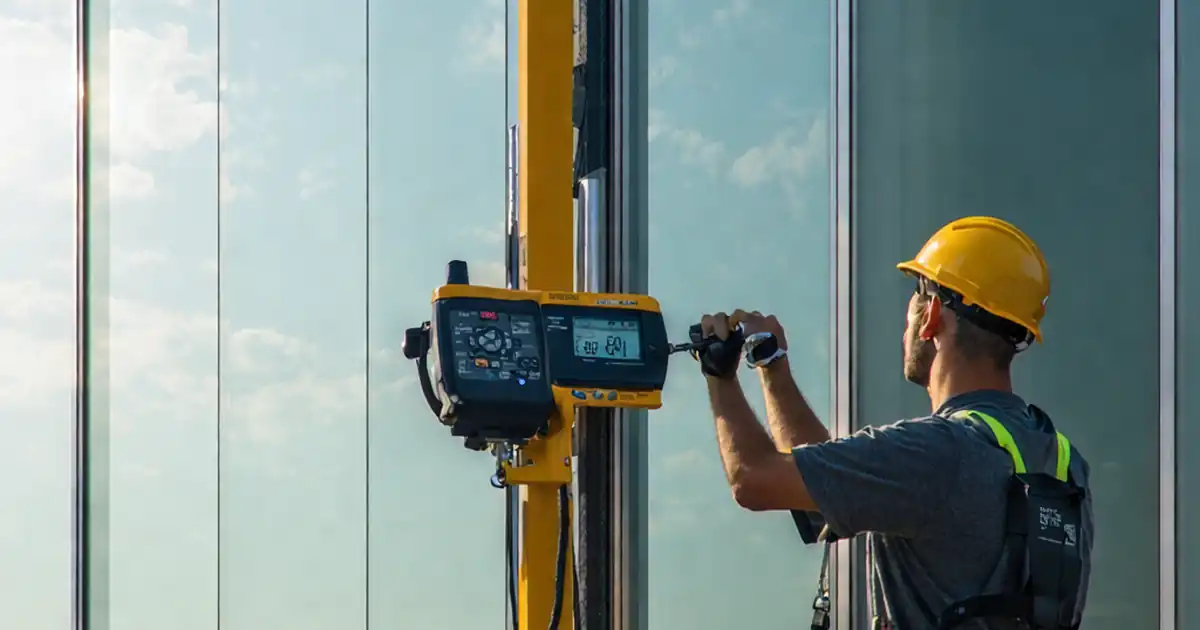
Water and air retesting must be repeatable to be credible. Replicate the original test configuration using a spray rack, chamber, or controlled nozzle, documenting setpoints and durations. During water exposure, keep observers station‑to‑station inside, logging any dampness, drips, or staining with timestamps. For air tests, step pressures to the target and record leakage rate per unit area. If anomalies appear, pause, isolate the joint segment, and re‑examine sealant geometry, backing, and terminations. Supplement with moisture readings and thermal imaging to capture hidden pathways. Acceptance relies on clear outcomes: no visible water ingress, leakage rates within project limits, and stable moisture readings. A typical example is a sill corner previously leaking under wind‑driven rain; after re‑priming and re‑sealing the end dam, the chamber retest passed with zero observed ingress and stable interior readings.
- Replicate original test setup and setpoints.
- Log pressures, flows, and durations accurately.
- Use moisture meters and IR to confirm results.
- Isolate and retest suspect joints methodically.
- Document pass/fail with annotated images.
Interfaces, fixings, and documentation for final sign‑off
Residual water paths often arise at interfaces and fixings. Verify packers, isolators, and shims provide uniform bearing and maintain designed clearances for movement. Inspect sealant adhesion and depth, especially at corners and transitions. Check weep paths are open and protected from blockage. For fixings, confirm torque values and pull‑out capacities meet project requirements without rotation or damage. Closeout documentation should knit the evidence together: approvals, batch traceability, calibration certificates, dimensional logs, test data exports, and digital signatures. Tie each reading and photo to a location on the elevation drawing to make consultant review fast. Where repairs relied on manufacturer instructions, include those pages and highlight steps taken. This structured package shortens review cycles and creates a reliable record for warranties and future maintenance.
- Verify bearing, isolation, and movement clearances.
- Check sealant adhesion and correct depth/geometry.
- Ensure drainage/weep paths remain unobstructed.
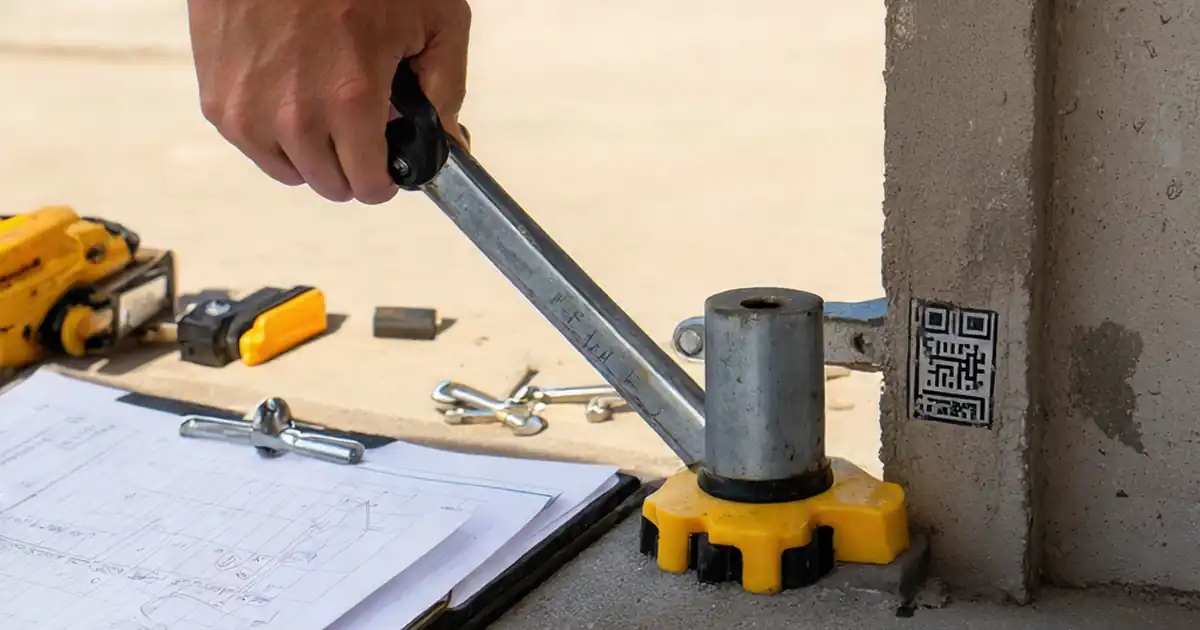
- Record torque and, if required, pull-out values.
- Assemble a traceable, location-linked dossier.
How to use this checklist for façade closeout retesting
- Preparation: Confirm retest scope, approvals, and access. Gather spray rack/nozzle, chamber or blower door, manometer, flow meter, moisture meter, IR camera, torque wrench, durometer, steel rules, PPE, and protection materials. Verify calibration certificates and upload to the checklist.
- Using the Interactive Checklist: Start interactive mode, assign responsible persons per group, and enable photo/GPS stamps. Tick items as completed, add time-stamped comments for observations or NCRs, and attach readings directly to each step.
- Execute Retesting: Follow the approved retest plan, recording pressures, flows, durations, and observations in real time. Pause to isolate issues if anomalies arise, then retest affected joints only and document outcomes clearly.
- Export and Share: Generate a structured report with photos, data logs, and mark-ups. Export as PDF/Excel and circulate to the contractor, consultant, and client with a scannable QR for authentication.
- Sign-Off: Capture digital signatures from the responsible contractor, QA/QC, and consultant. Archive the dossier with drawing references and instrument serials for warranty and authority submissions.
Call to Action
- Start Checklist Tick off tasks, leave comments on items or the whole form, and export your completed report to PDF or Excel—with a built-in QR code for authenticity.
- Download Excel - Façade Closeout Defects Retesting
- Download PDF - Façade Closeout Defects Retesting
- View Image - Façade Closeout Defects Retesting
Cite & Embed
“Façade Closeout Defects Retesting by Quollnet”
with a link to
this source page.

FAQ
Question: What should be retested after façade remedial works are completed?
Question: How do I prove that water ingress is resolved without over-testing the façade?
Question: Which instruments must be calibrated for closeout retesting?
Question: What evidence do consultants typically require for sign-off?
Related Articles
Broader reading and guidance connected to this checklist topic.



Related Checklists
Keep the workflow moving with nearby templates chosen from similar checklist content.