Test façade sealant cohesion and cure before final acceptance
Definition: Test façade sealant cohesion and cure before final acceptance guides site inspectors and contractors through practical field checks to verify cure status, cohesive integrity, and documentation for compliant handover.
- Verify tack-free condition, hardness, and cure depth against manufacturer data.
- Assess cohesive integrity with controlled stretch and recovery observations.
- Capture calibrated readings, photos, and batch labels for traceable evidence.
- Use interactive, commentable steps with export and QR code security.
Test façade sealant cohesion and cure before final acceptance is a focused procedure ensuring façade joint sealants have properly cured and exhibit robust cohesive behavior before handover. This checklist supports sealant cure verification and cohesion testing on silicone and polyurethane façade joint sealants installed over backer rod or bond breaker tape. By confirming tack-free status, Shore A hardness, solvent resistance, cure depth, elastic recovery, and failure modes at controlled test points, teams reduce the risk of dirt-pickup, premature tearing, joint leakage, or costly rework. The scope excludes wholesale adhesion qualification of substrates and lab certification; it emphasizes practical, minimally invasive field verifications at mock-ups or designated expendable areas, per approved project specifications and authority requirements. Use this tool to standardize measurements, capture calibrated evidence, and document approvals so acceptance decisions remain defensible. Start interactive mode to tick items, add comments with photos, and export results as PDF/Excel; a QR code secures authenticity for audit trails.
- Confirm sealant readiness before façade turnover by validating tack-free behavior, Shore A hardness, solvent rub resistance, and cure-depth consistency at representative, approved test points. This prevents dirt pickup, early cohesive tears, water ingress, and call-backs.
- Standardize site practice with clear tools, tolerances, and evidence requirements. Record ambient conditions, calibration details, batch numbers, and failure modes so acceptance decisions align with the product data sheet and project specifications, improving traceability and accountability.
- Interactive online checklist with tick, comment, and export features secured by QR code.
- Apply minimally invasive methods at mock-ups or expendable joint ends to protect finished assemblies. When a result falls outside acceptance, the workflow directs segregation, corrective action, and documented retesting to close nonconformities efficiently and transparently.
Pre-Test Documentation
Environmental Conditions
Surface & Joint Review
Cure Verification Tests
Cohesion Assessment Tests
Recording & Acceptance
Purpose, timing, and risk control
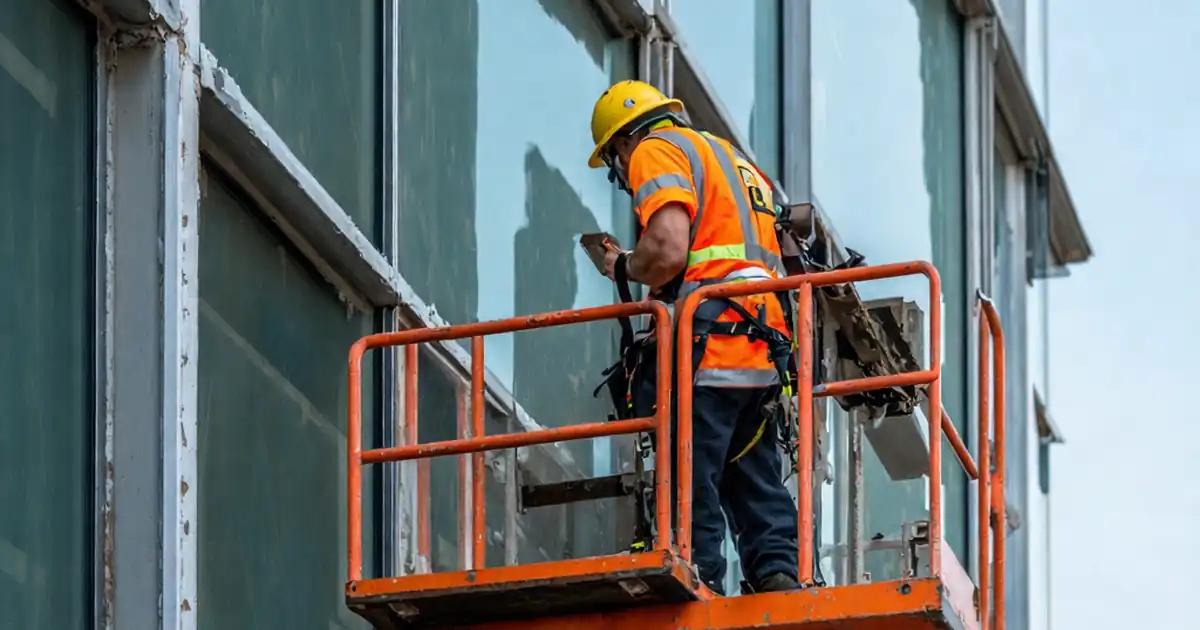
Field verification of façade joint sealants before acceptance focuses on two essentials: cure status and cohesive integrity. Cure depends on temperature, humidity, joint depth, and chemistry, so elapsed time alone is unreliable. Inadequate cure leads to dirt pickup, solvent sensitivity, and early cohesive tearing under movement. Conversely, fully cured material with weak cohesion can distort or tear despite bonding. This checklist directs practical, minimally invasive assessments at mock-ups or expendable ends to avoid damaging finished façades while still producing conclusive results. The approach combines tack-free checks, Shore A hardness measurements, selective cure-depth slicing, and elastic recovery observations to confirm readiness. It also enforces disciplined documentation—ambient conditions, calibration traceability, batch labels, and annotated photos—so decisions align with the product data sheet and per approved project specifications and authority requirements. Executed at the right time window, these steps minimize rework, prevent leaks, and accelerate clean, defensible final acceptance.
- Test at representative, approved locations with minimal disruption.
- Cure depends on temperature, humidity, and joint geometry.
- Document readings, photos, and batch labels for traceability.
- Align results with the product data sheet and specifications.
Practical cure verification methods that work on site
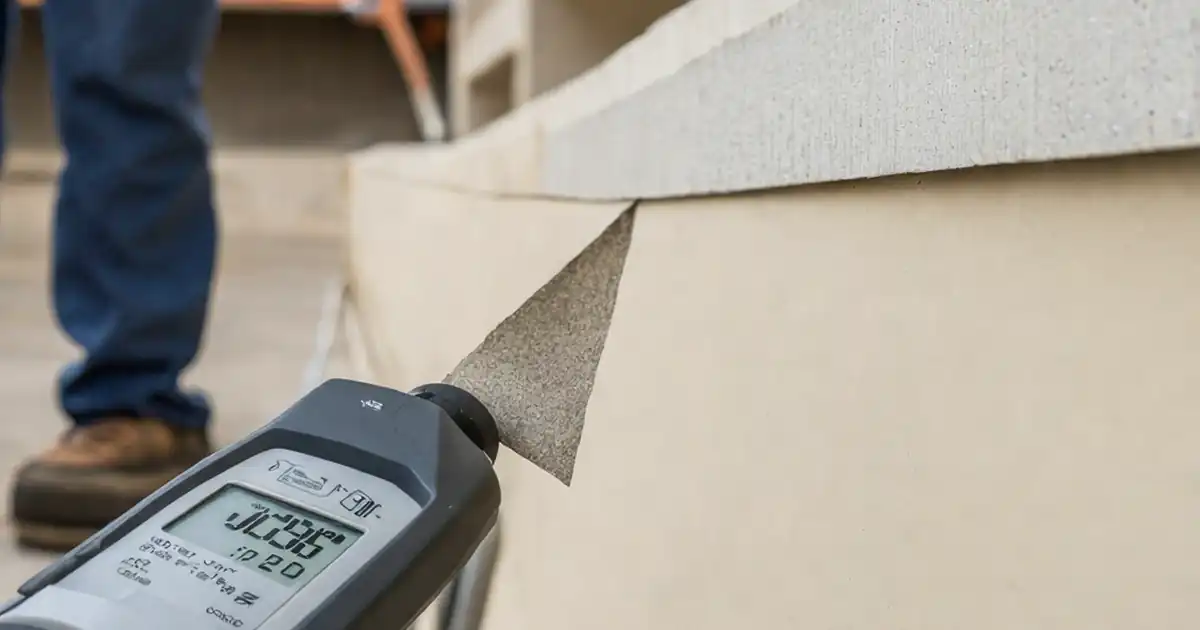
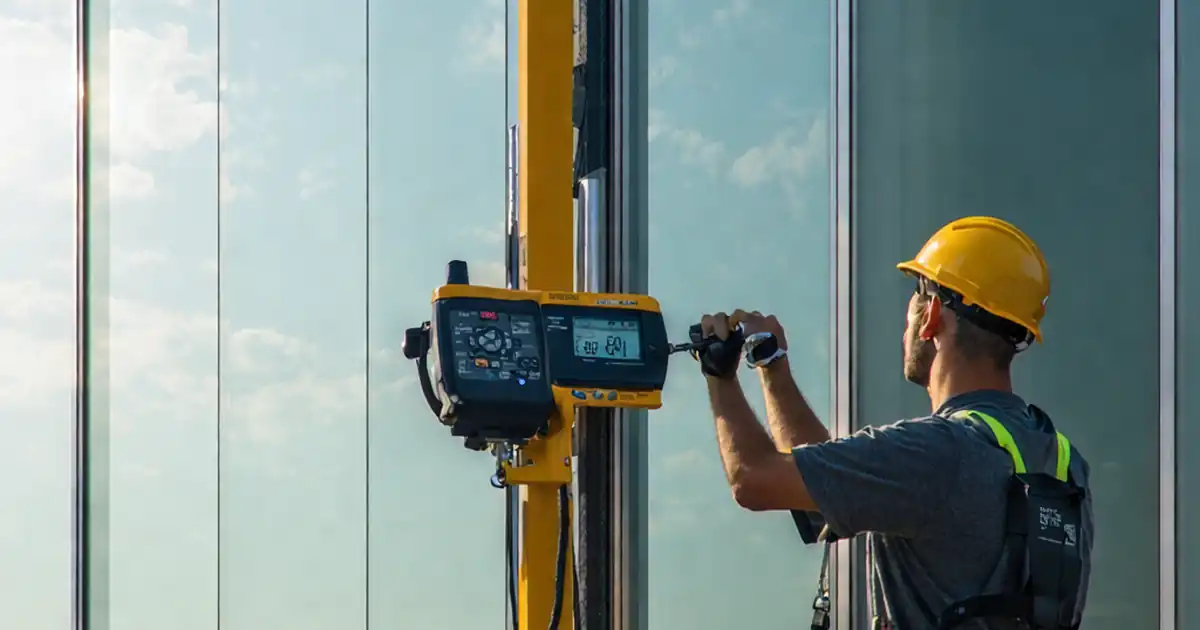
Begin with a simple tack-free film test to confirm the surface no longer transfers material. Follow with a calibrated Shore A durometer, taking multiple spaced readings and averaging them against the product range. Where permitted, a solvent rub highlights residual uncured components; use appropriate PPE and approved solvents only. A targeted cure-depth slice at an expendable edge reveals internal uniformity and rules out a soft core beneath a hard skin. Record ambient temperature and relative humidity, as both impact polymerization, then pair each observation with timestamped photos. These complementary methods provide converging evidence that the sealant has transitioned from skin-over to through-cure consistent with the data sheet. When results diverge—such as low hardness with persistent solvent smear—segregate the lot, postpone acceptance, and plan corrective action before retesting.
- Use durometer averages, not single-point readings.
- Limit cutting to expendable edges or mock-ups.
- Pair each test with photos and timestamps.
- Escalate and retest when results conflict.
Assessing cohesion and deciding acceptance
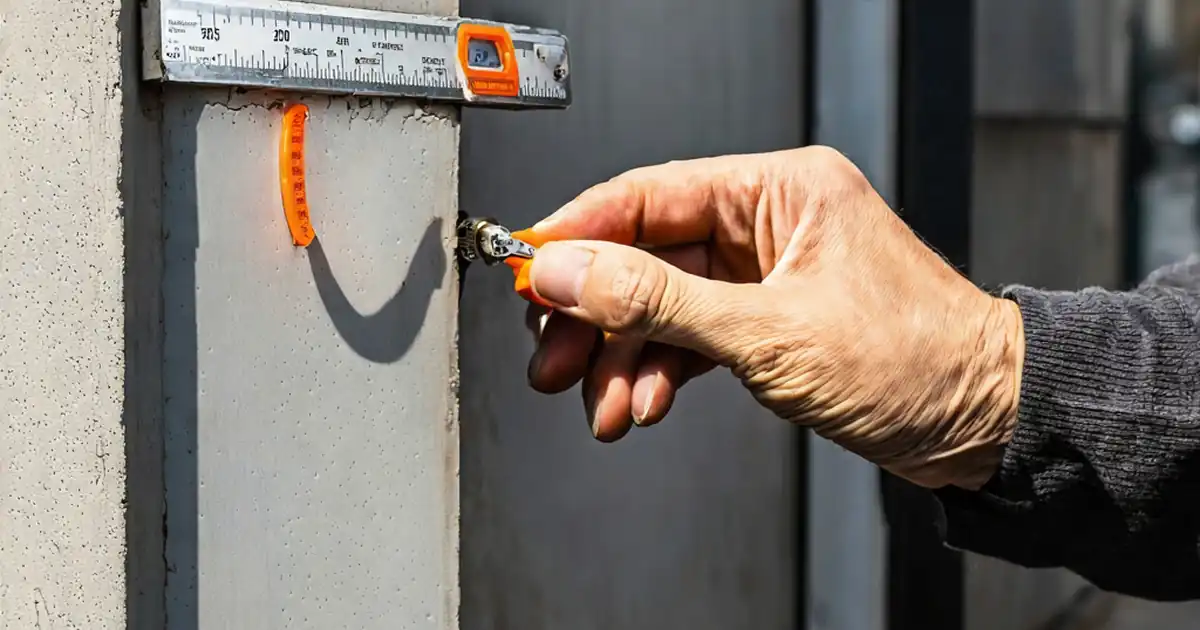
Cohesion describes the sealant’s internal strength and elastic continuity. Field-friendly checks include controlled stretching of an expendable 100 mm segment and measuring recovery after release to confirm resilience. A cut-and-pull at designated points helps classify failure mode, distinguishing cohesive from adhesive issues while protecting finished work. Compress–release and cold-flex (in low temperatures) reveal hidden voids or brittleness. Acceptance rests on elastic behavior without tearing, recovery consistent with the product data sheet, and failure modes that satisfy project criteria. If cohesion concerns arise, isolate affected runs, review joint geometry and environmental history, and consult the manufacturer for remediation and retest timing. Meticulous notes, photos, and calibration traceability enable transparent decisions and rapid closeout.
- Target expendable areas to preserve finished façades.
- Record elongation and recovery with a ruler or caliper.
- Classify failure modes with clear photos.
- Isolate, correct, and retest before acceptance.
How to use this interactive cohesion and cure checklist
- Preparation: Gather Shore A durometer, calibrated thermometer/IR probe, hygrometer, anemometer, polyethylene film, approved solvent and lint-free cloth, masking tape, ruler/caliper, sharp knife, PPE (gloves, eye protection, respirator filters). Confirm product data sheet, submittals, and designated test locations are available and approved.
- Using the Interactive Checklist: Start interactive mode, tick items as you proceed, attach photos, and log readings. Add comments for anomalies and approvals. When complete, export as PDF/Excel; the system embeds a QR code for authenticity and easy retrieval.
- Sign-Off: Capture digital signatures from installer, GC, and consultant. Distribute the QR-authenticated export to stakeholders and archive within the project QA system for traceable, auditable acceptance records.
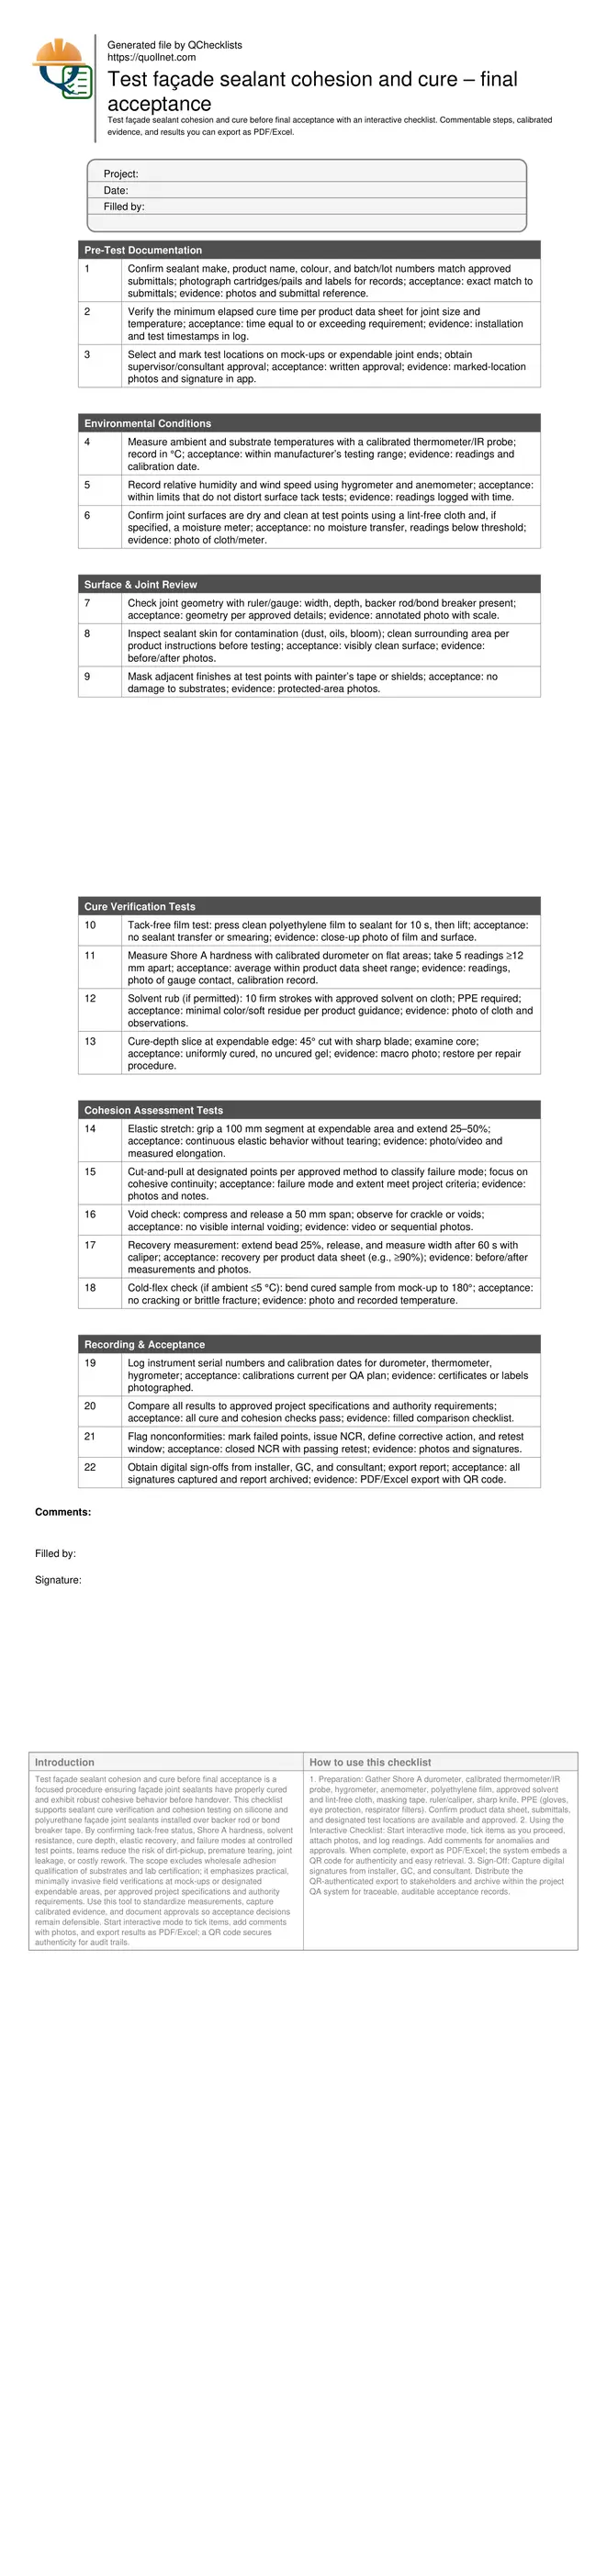
Call to Action
- Start Checklist Tick off tasks, leave comments on items or the whole form, and export your completed report to PDF or Excel—with a built-in QR code for authenticity.
- Download Excel - Façade Sealant Cohesion & Cure Testing
- Download PDF - Façade Sealant Cohesion & Cure Testing
- View Image - Façade Sealant Cohesion & Cure Testing
Cite & Embed
“Façade Sealant Cohesion & Cure Testing by Quollnet”
with a link to
this source page.
FAQ
Question: How long should I wait before testing sealant cure on a façade?
Question: What Shore A hardness indicates adequate cure for final acceptance?
Question: How many test locations are needed on a project elevation?
Question: What should I do if cohesion seems weak but adhesion looks fine?
Related Articles
Broader reading and guidance connected to this checklist topic.



Notice To Correct In Construction: Meaning, Cure Period, And Template

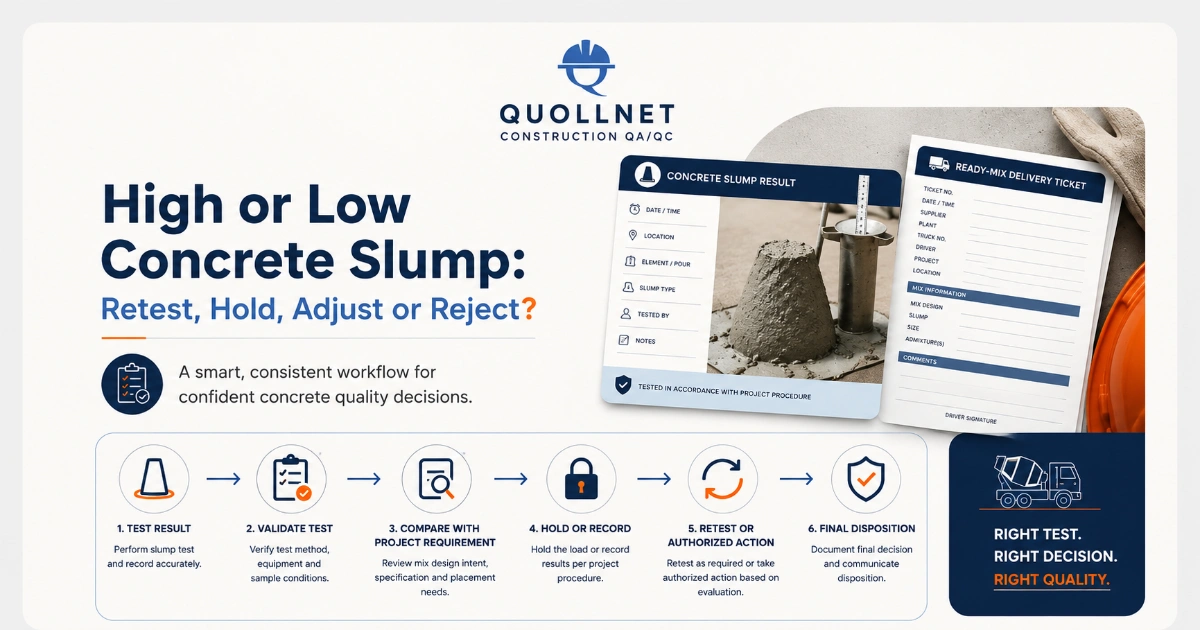
High Or Low Concrete Slump: Retest, Hold, Adjust Or Reject?
Related Checklists
Keep the workflow moving with nearby templates chosen from similar checklist content.