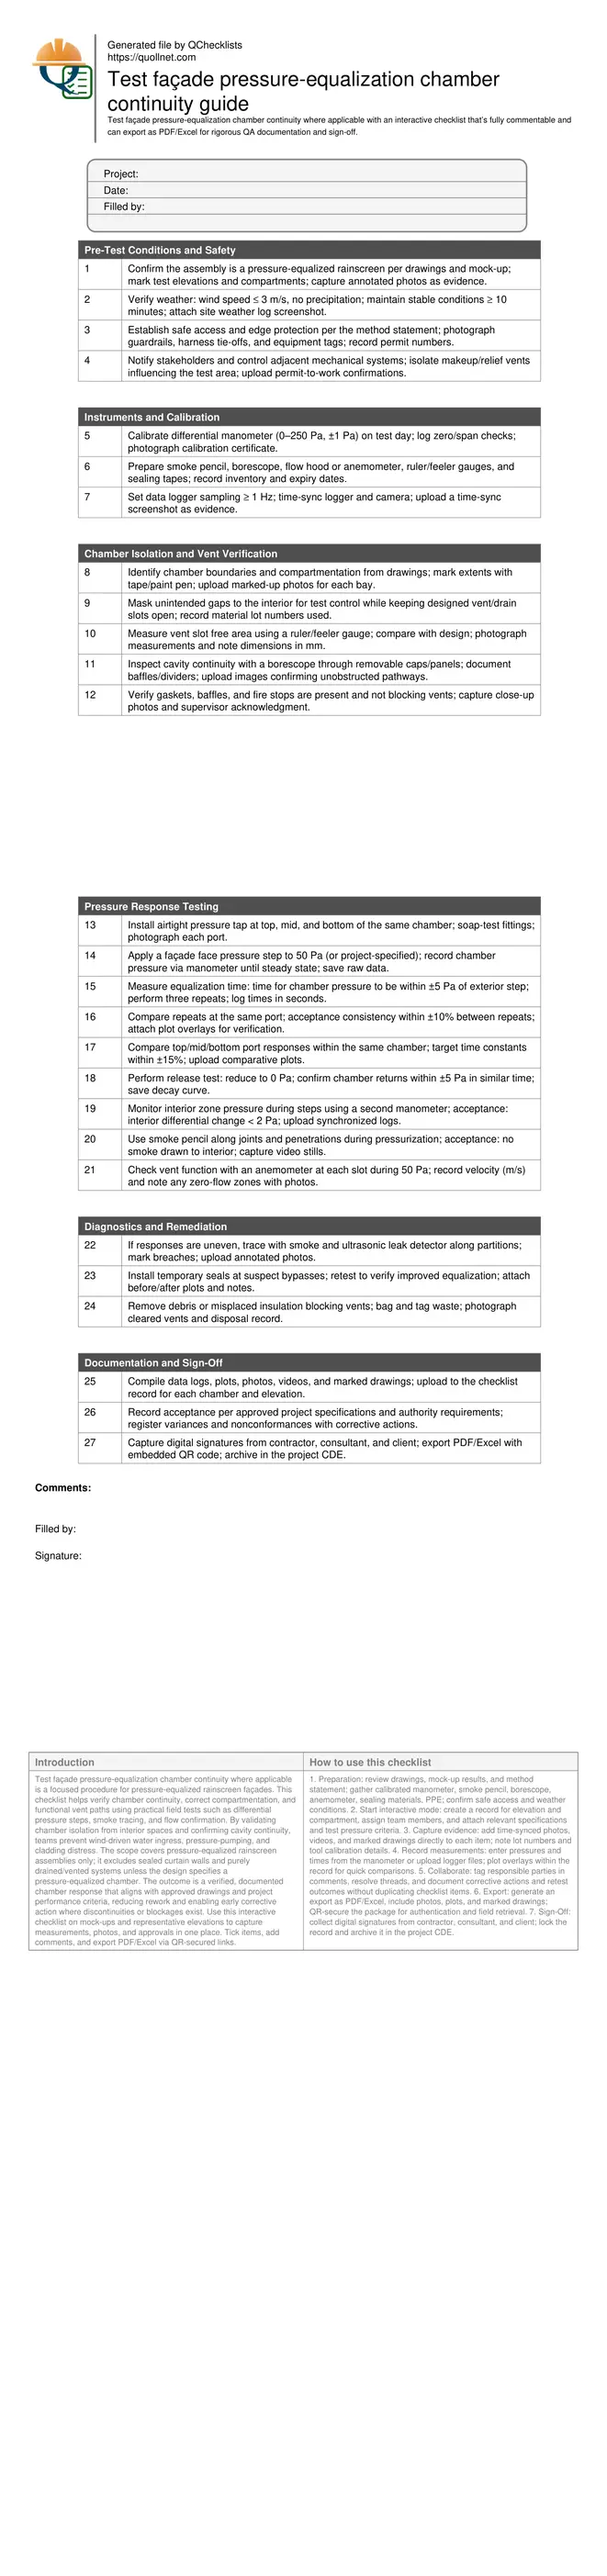
Façade Pressure-Equalization Chamber Continuity Test Checklist
Definition: Test façade pressure-equalization chamber continuity where applicable equips façade inspectors and installers to verify rainscreen chamber continuity, isolation, and venting with repeatable field methods and documented acceptance evidence.
- Verify continuous chambers, sealed partitions, and unobstructed vent paths.
- Reduce water ingress, wind pumping, and premature façade deterioration.
- Use manometer, smoke pencil, borescope, and flow checks with photos.
- Interactive, commentable checklist; export and authenticate with a QR code.
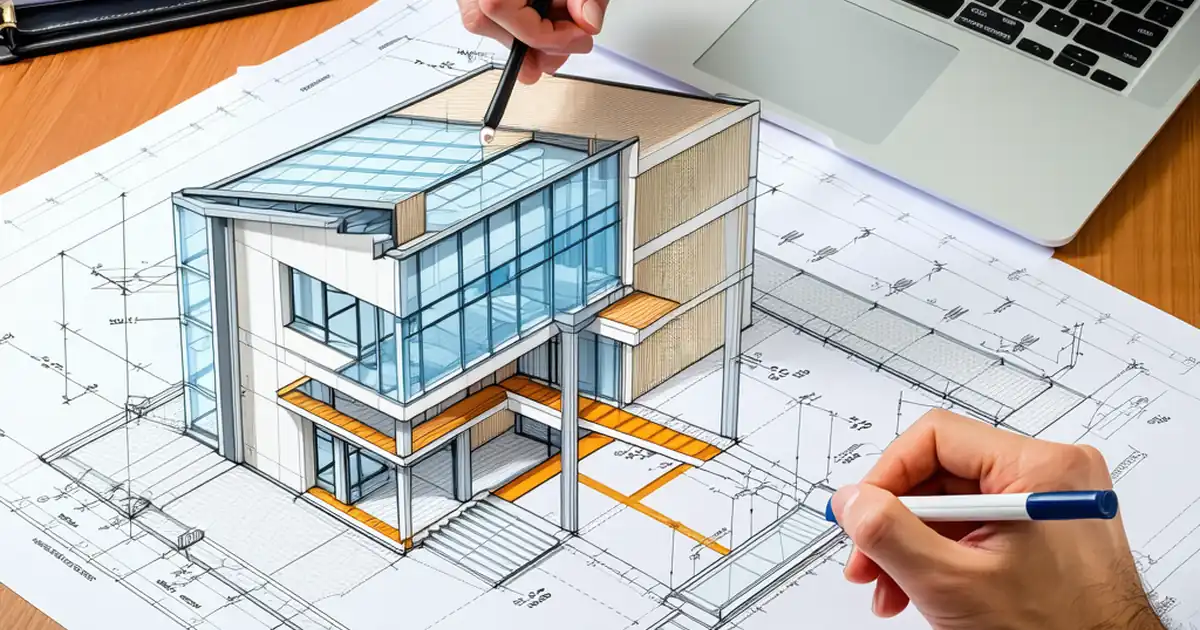
Test façade pressure-equalization chamber continuity where applicable is a focused procedure for pressure-equalized rainscreen façades. This checklist helps verify chamber continuity, correct compartmentation, and functional vent paths using practical field tests such as differential pressure steps, smoke tracing, and flow confirmation. By validating chamber isolation from interior spaces and confirming cavity continuity, teams prevent wind-driven water ingress, pressure-pumping, and cladding distress. The scope covers pressure-equalized rainscreen assemblies only; it excludes sealed curtain walls and purely drained/vented systems unless the design specifies a pressure-equalized chamber. The outcome is a verified, documented chamber response that aligns with approved drawings and project performance criteria, reducing rework and enabling early corrective action where discontinuities or blockages exist. Use this interactive checklist on mock-ups and representative elevations to capture measurements, photos, and approvals in one place. Tick items, add comments, and export PDF/Excel via QR-secured links.
- Confirm chamber continuity, correct compartment boundaries, and vent free area to prevent wind-induced pressure imbalances. Field evidence includes synchronized manometer readings, smoke visualization, borescope images, and flow data. Early detection of bypasses around brackets, corners, and service penetrations reduces water ingress and warranty exposure.
- Interactive online checklist with tick, comment, and export features secured by QR code.
- Standardized methods—pressure step response, release checks, and interior leakage monitoring—yield consistent, repeatable results. Acceptance is documented per approved project specifications and authority requirements, with transparent plots, photos, and signatures. Findings inform targeted remediation, retesting, and clear sign-off for each elevation and compartment.
Pre-Test Conditions and Safety
Instruments and Calibration
Chamber Isolation and Vent Verification
Pressure Response Testing
Diagnostics and Remediation
Documentation and Sign-Off
Principles of Pressure Equalization in Rainscreen Chambers
Pressure-equalized rainscreen façades minimize water ingress by allowing a controlled cavity (the pressure-equalization chamber) to quickly match exterior pressure, thereby removing the driving force across cladding joints. For this to work, each compartment must have a continuous air path within the chamber, be isolated from the building interior, and include correctly sized vent/drain openings. Discontinuities—such as unintended gaps to interior spaces, blocked vents, or broken dividers—slow or distort the pressure response, creating wind pumping and moisture risks. Field verification focuses on measuring the chamber’s pressure response to an exterior step, observing smoke behavior, checking vent free area, and confirming isolation. Acceptance is recorded per approved project specifications and authority requirements, but practically, teams expect fast, repeatable equalization and similar response at the top, middle, and bottom ports of the same chamber. Early testing on mock-ups and first-installed bays prevents systemic defects from propagating.
- Continuity inside each chamber; isolation from interior air.
- Vent sizing and free area drive response speed.
- Broken baffles or gaps cause pressure lag.
- Equalize quickly and repeatably across all ports.
- Verify on mock-ups and early bays.
Field Methods, Instrumentation, and Acceptance Cues
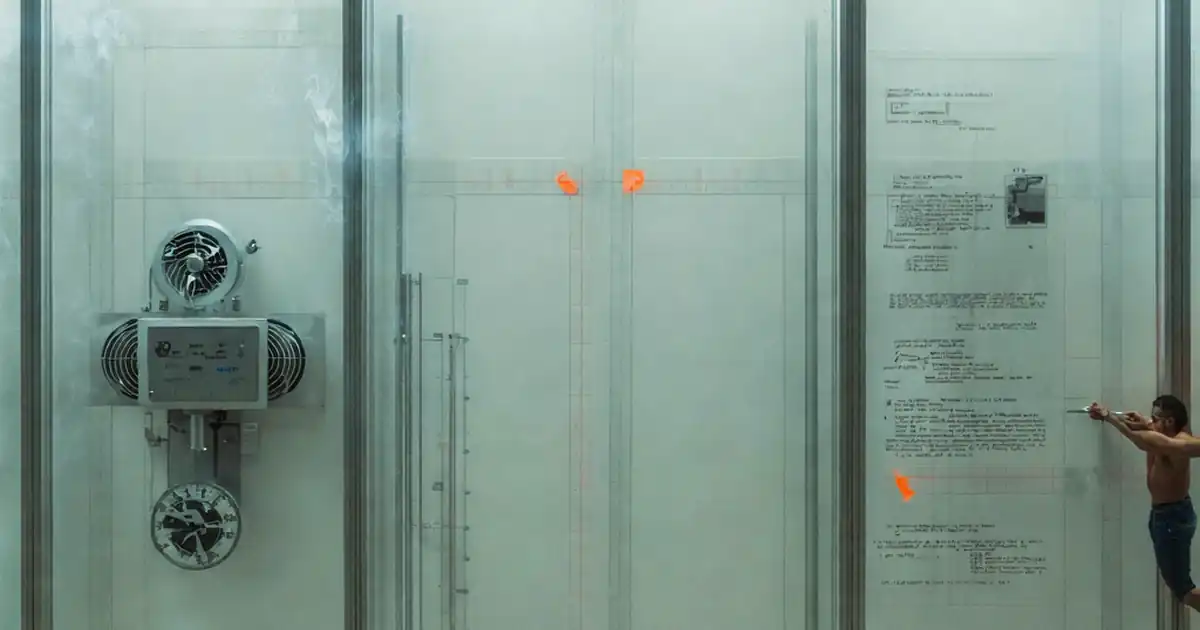
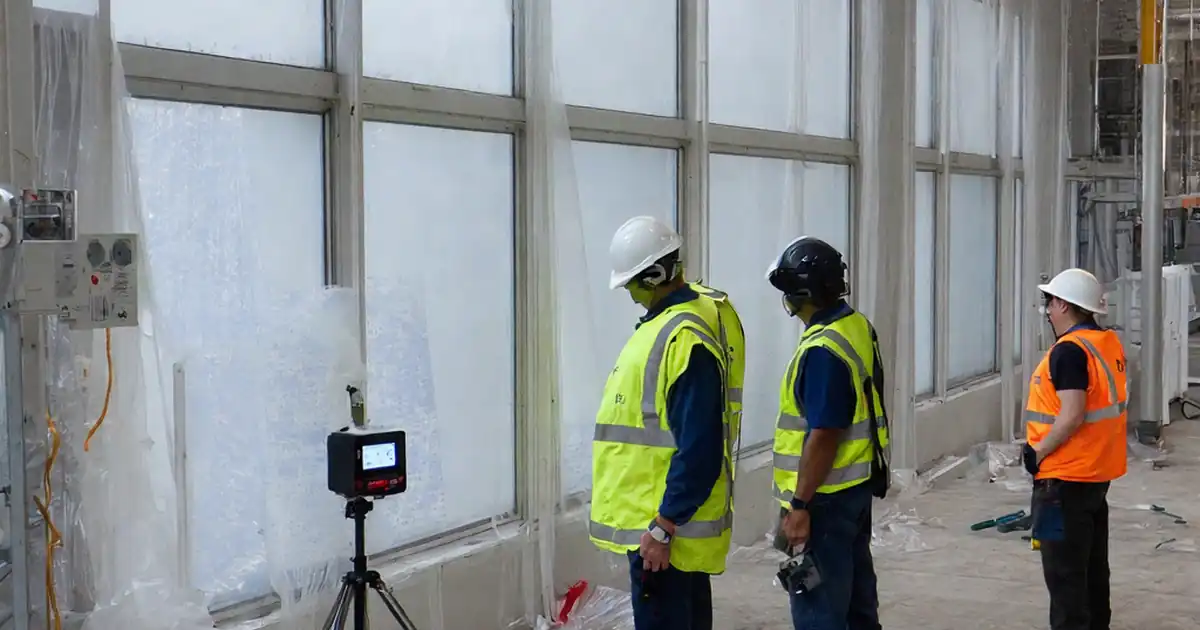
Reliable testing pairs a calibrated differential manometer with controlled exterior pressure steps, a smoke pencil, and a borescope for internal confirmation. Start by confirming compartment boundaries and keeping designed vents open while masking unintended interior leaks. Record pressure response at multiple ports along the same chamber to evaluate continuity and uniformity. A consistent time constant across top, mid, and bottom suggests a continuous air path without blockages. Monitor interior zone pressure to ensure isolation, and use smoke to visualize unwanted bypass. Flow checks at vents help confirm adequate free area. Document every reading, plot overlays, and capture photos and videos. Acceptance is based on project criteria; however, teams commonly seek matched step and release behavior, minor hysteresis, and minimal interior pressure change during tests.
- Use a manometer with ±1 Pa accuracy.
- Sample at ≥ 1 Hz for clear plots.
- Compare top, middle, and bottom ports.
- Interior pressure change should be minimal.
- Record plots, photos, and videos.
Frequent Defects and Effective Corrective Actions
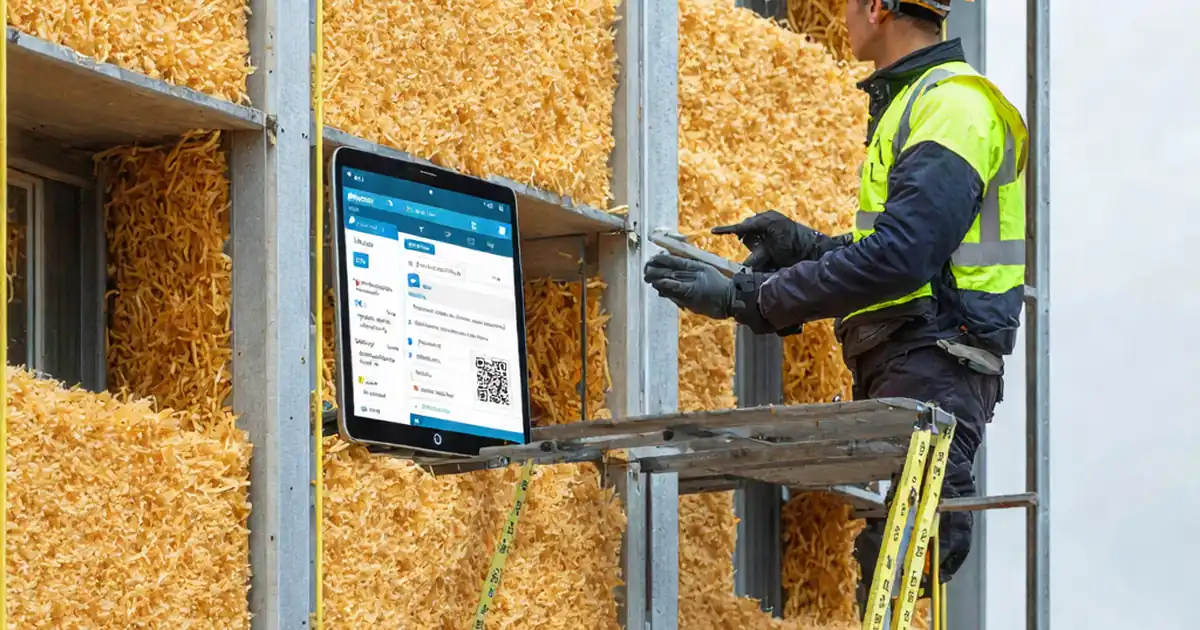
Typical problems include missing or damaged dividers at compartment lines, blocked vent/drain slots by sealant squeeze-out, misaligned brackets puncturing baffles, over-packed insulation intruding into the cavity, and poorly sealed penetrations that connect to interior spaces. Corner transitions are especially vulnerable to unintended openings that short-circuit neighboring compartments. When the step response is slow or inconsistent between ports, trace with smoke and ultrasonic tools to map the bypass. Implement temporary seals or clear obstructions and retest to confirm improvement before issuing permanent fixes. Always document lot numbers for gaskets and tapes used and validate that fire stops are present yet not obstructing the vent path. Close the loop with repeat tests and add findings to redlined drawings for installers and supervisors.
- Corners and bracket zones are common leak points.
- Sealant squeeze-out can block vent slots.
- Overstuffed insulation narrows cavity paths.
- Fire stops must not block ventilation.
- Retest after any corrective action.
How to Prepare, Use, and Sign Off This Interactive Checklist
- Preparation: review drawings, mock-up results, and method statement; gather calibrated manometer, smoke pencil, borescope, anemometer, sealing materials, PPE; confirm safe access and weather conditions.
- Start interactive mode: create a record for elevation and compartment, assign team members, and attach relevant specifications and test pressure criteria.
- Capture evidence: add time-synced photos, videos, and marked drawings directly to each item; note lot numbers and tool calibration details.
- Record measurements: enter pressures and times from the manometer or upload logger files; plot overlays within the record for quick comparisons.
- Collaborate: tag responsible parties in comments, resolve threads, and document corrective actions and retest outcomes without duplicating checklist items.
- Export: generate an export as PDF/Excel, include photos, plots, and marked drawings; QR-secure the package for authentication and field retrieval.
- Sign-Off: collect digital signatures from contractor, consultant, and client; lock the record and archive it in the project CDE.
Call to Action
- Start Checklist Tick off tasks, leave comments on items or the whole form, and export your completed report to PDF or Excel—with a built-in QR code for authenticity.
- Download Excel - Façade Pressure-Equalization Chamber Continuity Test
- Download PDF - Façade Pressure-Equalization Chamber Continuity Test
- View Image - Façade Pressure-Equalization Chamber Continuity Test
Cite & Embed
“Façade Pressure-Equalization Chamber Continuity Test by Quollnet”
with a link to
this source page.
FAQ
Question: When should this continuity test be applied, and when is it not appropriate?
Question: What step pressure and duration should I use for reliable results?
Question: How many compartments or bays need testing to be representative?
Question: What indicates a failed continuity or isolation, and what are the next steps?
Question: Can this test be performed after full cladding installation?
Related Articles
Broader reading and guidance connected to this checklist topic.

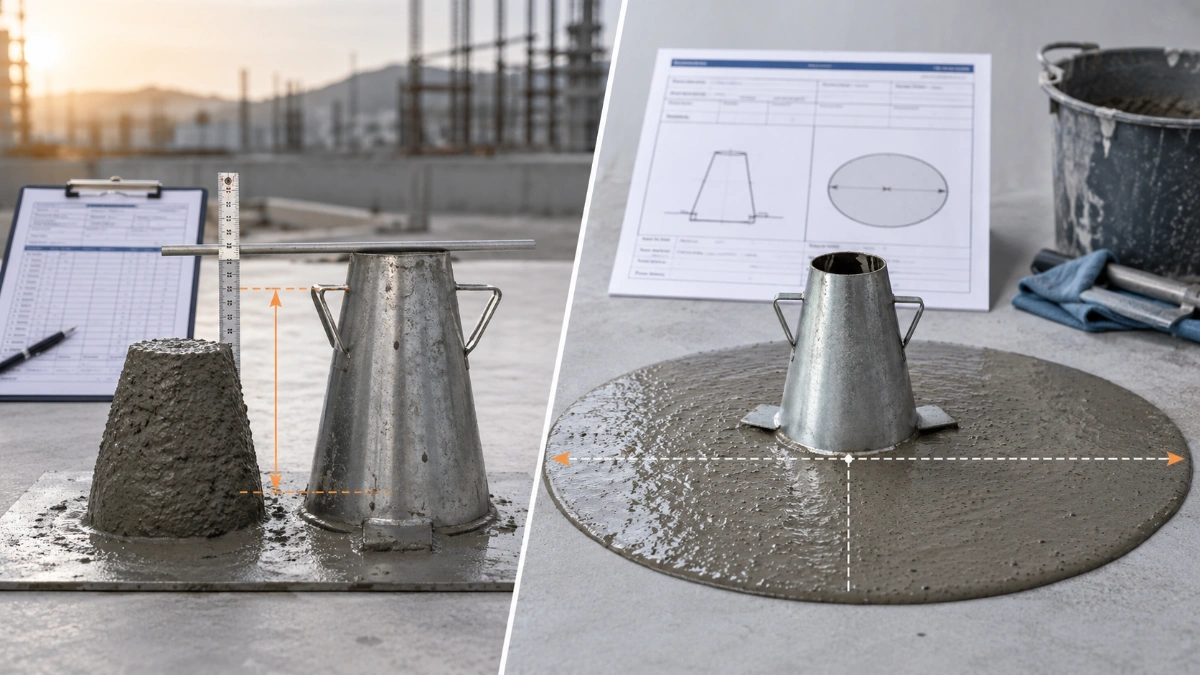
Slump Test Vs Slump Flow Test: When To Use Each


Master Construction Project Cashflow With Cashflowpot

Open Ncrs At Taking-over / Dlp: What Happens At Handover And How To Escalate
Related Checklists
Keep the workflow moving with nearby templates chosen from similar checklist content.