Façade cavity barrier inspection before concealment
Definition: Inspect cavity barriers at façade zones before concealment to verify location, continuity, fixings, and interfaces for construction managers, QA inspectors, and façade installers.
- Confirm correct product, position, and continuous fire integrity before cladding.
- Prevent hidden defects by verifying joints, fixings, and penetrations with evidence.
- Use measurable methods: laser, tape, feeler gauges, torque readings, geo‑photos.
- Interactive, commentable checklist with export and QR code verification.
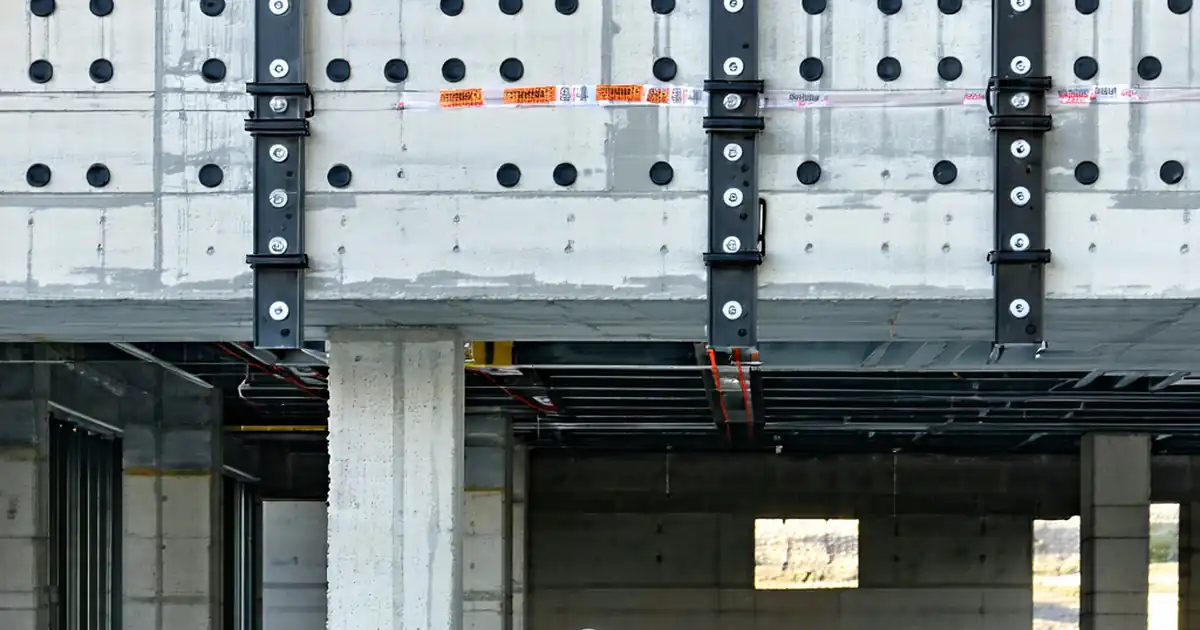
Inspect cavity barriers at façade zones before concealment is a critical hold point to verify product type, location, continuity, fixings, and interfaces before panels or insulation hide the work. This focused checklist supports façade cavity fire barriers, including open‑state barriers within ventilated rainscreen cavities and full‑closure barriers at compartment lines. By confirming set‑out, laps, returns at corners, and closures around brackets and openings, you reduce the risk of unseen discontinuities that compromise compartmentation and smoke control. Field‑ready methods—laser alignment, tape measurements, feeler gauges, sample torque readings, and geo‑tagged photos—produce defensible evidence that the installation aligns with approved project specifications and authority requirements. The outcome is verifiable compliance, fewer reworks, and traceable as‑built records ready for sign‑off before cladding proceeds. Launch the interactive checklist to tick items in sequence, add comments with photos, flag nonconformities, and export an audit‑ready report to PDF or Excel, secured by a unique QR for easy site reference.
- This checklist targets pre‑concealment verification of façade cavity barriers, ensuring the installed system matches approved drawings and manufacturer instructions. It emphasizes measurable acceptance cues, such as position tolerances, joint gaps, and torque ranges, and captures photo evidence and batch data so concealed work remains verifiable throughout the project lifecycle.
- Focused on real jobsite controls, it structures tasks by product verification, positioning and continuity, fixings quality, and interfaces at openings and supports. Clear methods—laser set‑out, feeler gauges, annotated photos—reduce ambiguity, help supervisors maintain programme, and prevent costly rework caused by inaccessible defects behind cladding or insulation.
- Interactive online checklist with tick, comment, and export features secured by QR code.
- The workflow ends with digital sign‑off, red‑lined drawings, and a curated document set (DoP, test reports, approvals). These records provide transparent traceability from delivery to concealment, support handover packages, and streamline authority reviews without inventing code clauses—always aligning with approved project specifications and authority requirements.
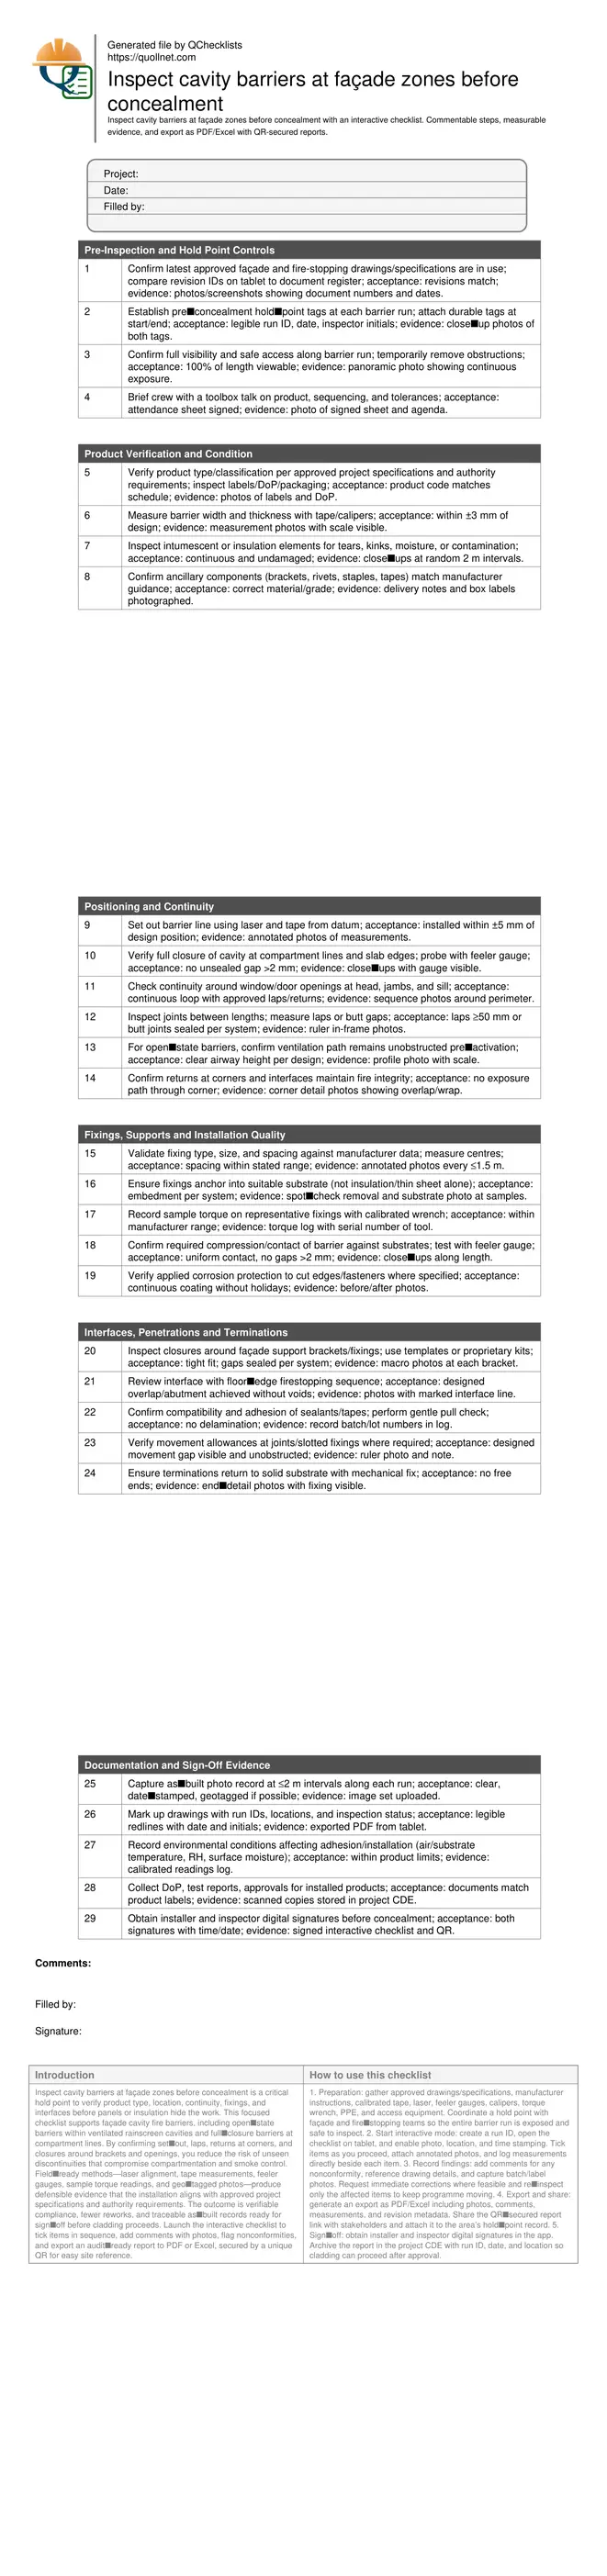
Pre-Inspection and Hold Point Controls
Product Verification and Condition
Positioning and Continuity
Fixings, Supports and Installation Quality
Interfaces, Penetrations and Terminations
Documentation and Sign-Off Evidence
Why pre‑concealment checks of façade cavity barriers matter
Cavity barriers often disappear behind insulation and cladding, making pre‑concealment verification the most reliable moment to catch defects. This inspection confirms the correct barrier type is installed at each façade zone, verifies continuity across openings and corners, and ensures fixings and compression meet manufacturer guidance. Measurable acceptance cues—position tolerances, maximum joint gaps, torque ranges—replace guesswork with documented evidence. Common hidden risks include mis‑located runs, open butt joints, missing returns at corners, and unsealed cut‑outs at support brackets. These issues can undermine compartmentation, allow smoke spread in the rainscreen cavity, and trigger costly strip‑outs later. By enforcing a clear hold point tied to approved project specifications and authority requirements, you protect programme, safety, and warranty obligations while creating a traceable record that stands up to audit and handover reviews.
- Defects become inaccessible once cladding proceeds.
- Use measurable tolerances and objective evidence.
- Focus on continuity at openings and corners.
- Seal around bracket penetrations and terminations.
- Tie inspection to a documented hold point.
Methods that deliver objective, repeatable results
Reliable inspections use simple, repeatable methods and tools. Laser lines and tapes confirm design position to a practical ±5 mm tolerance unless more stringent limits apply. Feeler gauges quickly prove joint and edge gaps stay within the allowable maximum, while calipers verify barrier dimensions. Sample torque readings on representative fixings confirm clamping without over‑tightening. Sequence matters: verify visibility first, then product and dimensions, followed by positioning, continuity, and interfaces at openings and brackets. Capture clear photos with a ruler or gauge in frame, and mark up drawings with run IDs and inspection status. This combination of measured checks and annotated evidence creates a defensible record without relying on subjective judgements, enabling quick sign‑off and reducing re‑inspection cycles.
- Laser and tape for positional accuracy.
- Feeler gauges quantify maximum gap sizes.
- Sample torque confirms clamping integrity.
- Annotate photos with scale and location.
- Redline drawings with run IDs and status.
Interfaces, penetrations, and proof before covering
Interfaces around windows, doors, slab edges, and support brackets are typical failure points. Ensure continuous loops at openings, proper laps or sealed butt joints, and tight closures around bracket penetrations using approved kits. Maintain designed ventilation paths for open‑state barriers while ensuring fire integrity upon activation. Verify terminations return to solid substrates with mechanical fixing, and that movement allowances remain unobstructed at joints. Finish by compiling all evidence: interval photos, labels, batch numbers, environmental readings, and signed acknowledgements. Export a single report for each run so cladding teams can proceed confidently, and stakeholders can review remotely without delays.
- Prioritise openings, corners, and bracket cut‑outs.
- Maintain ventilation for open‑state systems.
- Return terminations to solid substrates.
- Leave movement joints free and measurable.
- Consolidate all evidence before concealment.
How to use this cavity barrier pre‑concealment checklist
- Preparation: gather approved drawings/specifications, manufacturer instructions, calibrated tape, laser, feeler gauges, calipers, torque wrench, PPE, and access equipment. Coordinate a hold point with façade and fire‑stopping teams so the entire barrier run is exposed and safe to inspect.
- Start interactive mode: create a run ID, open the checklist on tablet, and enable photo, location, and time stamping. Tick items as you proceed, attach annotated photos, and log measurements directly beside each item.
- Record findings: add comments for any nonconformity, reference drawing details, and capture batch/label photos. Request immediate corrections where feasible and re‑inspect only the affected items to keep programme moving.
- Export and share: generate an export as PDF/Excel including photos, comments, measurements, and revision metadata. Share the QR‑secured report link with stakeholders and attach it to the area’s hold‑point record.
- Sign‑off: obtain installer and inspector digital signatures in the app. Archive the report in the project CDE with run ID, date, and location so cladding can proceed after approval.
Call to Action
- Start Checklist Tick off tasks, leave comments on items or the whole form, and export your completed report to PDF or Excel—with a built-in QR code for authenticity.
- Download Excel - Façade Cavity Barrier Pre‑Concealment Inspection
- Download PDF - Façade Cavity Barrier Pre‑Concealment Inspection
- View Image - Façade Cavity Barrier Pre‑Concealment Inspection
Cite & Embed
“Façade Cavity Barrier Pre‑Concealment Inspection by Quollnet”
with a link to
this source page.
FAQ
Question: When should I schedule the cavity barrier inspection?
Question: What evidence is required to approve concealment?
Question: How do I handle open‑state barriers in ventilated façades?
Question: What common defects should I look for before covering?
Question: Who signs off the inspection and how is it tracked?
Related Articles
Broader reading and guidance connected to this checklist topic.


Related Checklists
Keep the workflow moving with nearby templates chosen from similar checklist content.