Review Façade Airtightness Line and Interface Continuity
Definition: Review façade airtightness line and continuity across interfaces provides a jobsite checklist for envelope engineers and contractors to verify a continuous air barrier path, compliant transitions, and documented evidence before concealment.
- Confirms a single, unbroken airtight line through all interfaces
- Prevents hidden air leaks before cladding or finishes conceal work
- Clear acceptance cues: laps, thickness, adhesion, joint geometry
- Interactive, commentable; export to PDF/Excel; secured by QR code
Review façade airtightness line and continuity across interfaces is a field-focused process to confirm a single, unbroken air barrier path before work is concealed. This checklist targets façade air barrier continuity, envelope airtightness, and interface sealing where systems meet: window-to-wall, parapet-to-wall, slab edges, penetrations, and movement joints. By mapping the airtight line on drawings, validating material compatibility, and inspecting installed transitions, teams avoid uncontrolled infiltration, condensation risk, occupant discomfort, and commissioning delays. The scope excludes structural, thermal, or water-shedding performance except where they affect the airtight line. It emphasizes visual and tactile checks, measurable cues such as lap widths and film thickness, and traceable evidence like photos, readings, and batch numbers. Use this to establish hold points, coordinate sequencing with trades, and prepare for whole-building testing per approved project specifications and authority requirements. Start interactive mode to tick items, add comments, and instantly export PDF/Excel using the page QR for team sign-off.
- Validate a continuous air barrier path across every façade interface before concealment. The checklist maps the airtight line on details, verifies material compatibility, and inspects installed laps, joints, and terminations to prevent hidden air leaks and costly rework during commissioning.
- Standardized acceptance cues improve consistency: minimum lap dimensions, verified adhesion, correct sealant geometry, and documented film thickness. Field teams capture photos with scales, readings, and batch numbers, ensuring traceability and accountability across subcontractors and shifts.
- Sequenced hold points target high-risk interfaces—window perimeters, penetrations, slab edges, and roof-to-façade transitions—so defects are corrected early. Coordinated inspections reduce air leakage, moisture accumulation, and draft complaints while supporting timely curtain wall and cladding progress.
- Interactive online checklist with tick, comment, and export features secured by QR code. Supervisors see live status, attach approvals, capture signatures, and archive records, enabling smooth closeout and readiness for final envelope verification per approved project specifications and authority requirements.
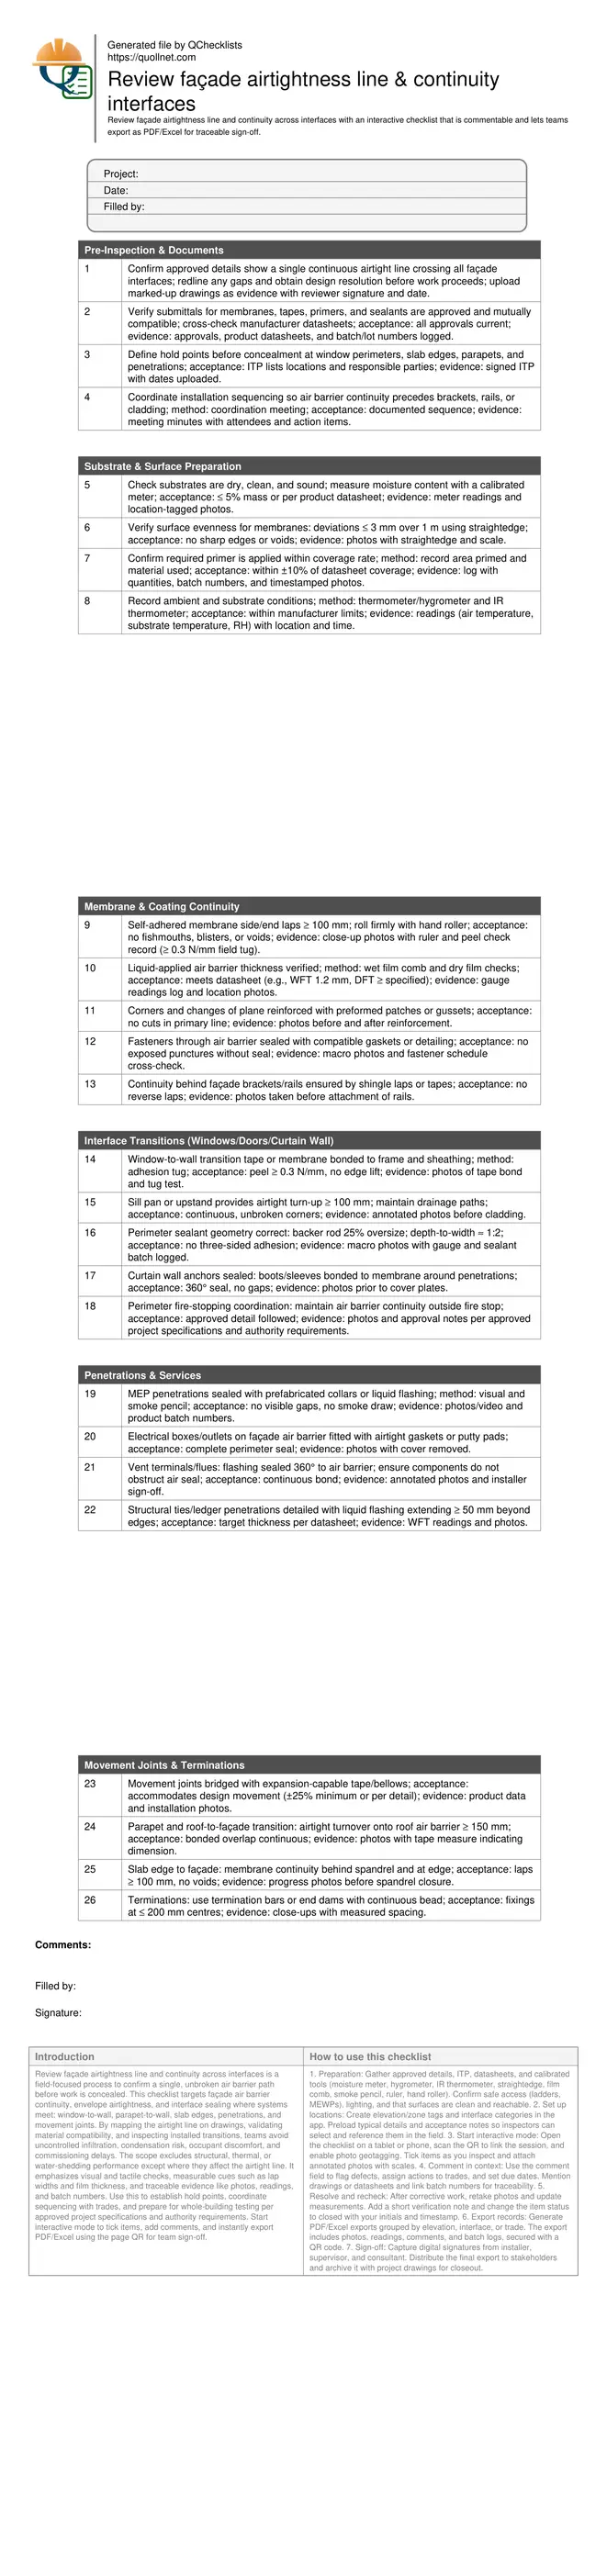
Pre-Inspection & Documents
Substrate & Surface Preparation
Membrane & Coating Continuity
Interface Transitions (Windows/Doors/Curtain Wall)
Penetrations & Services
Movement Joints & Terminations
Mapping the Airtight Line and Setting Acceptance Expectations
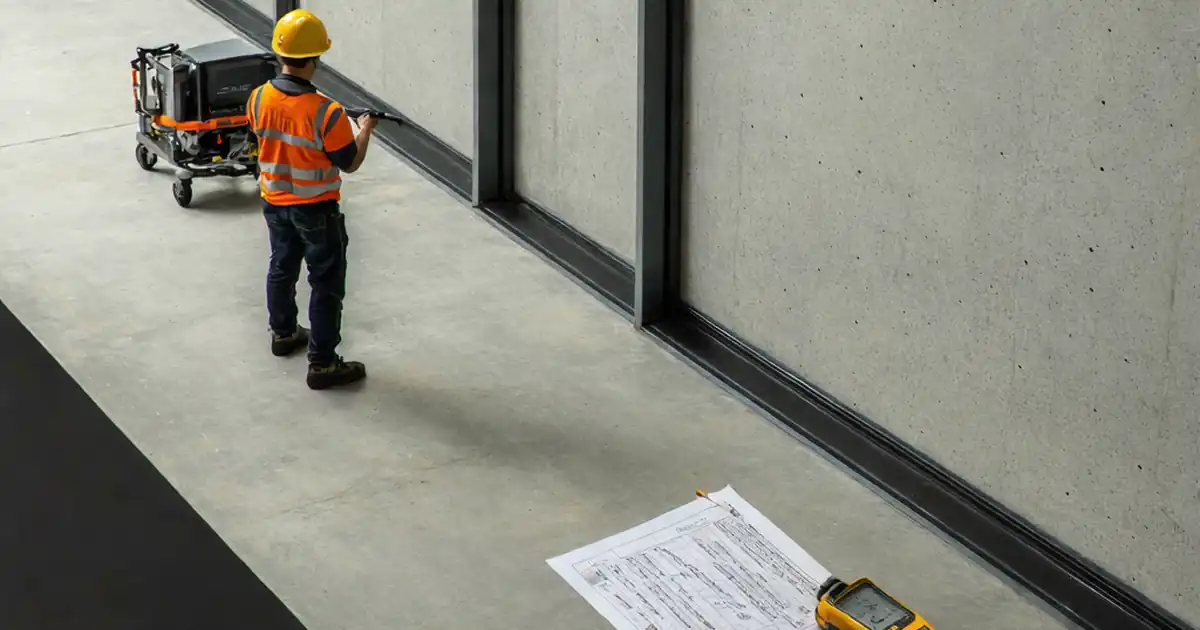
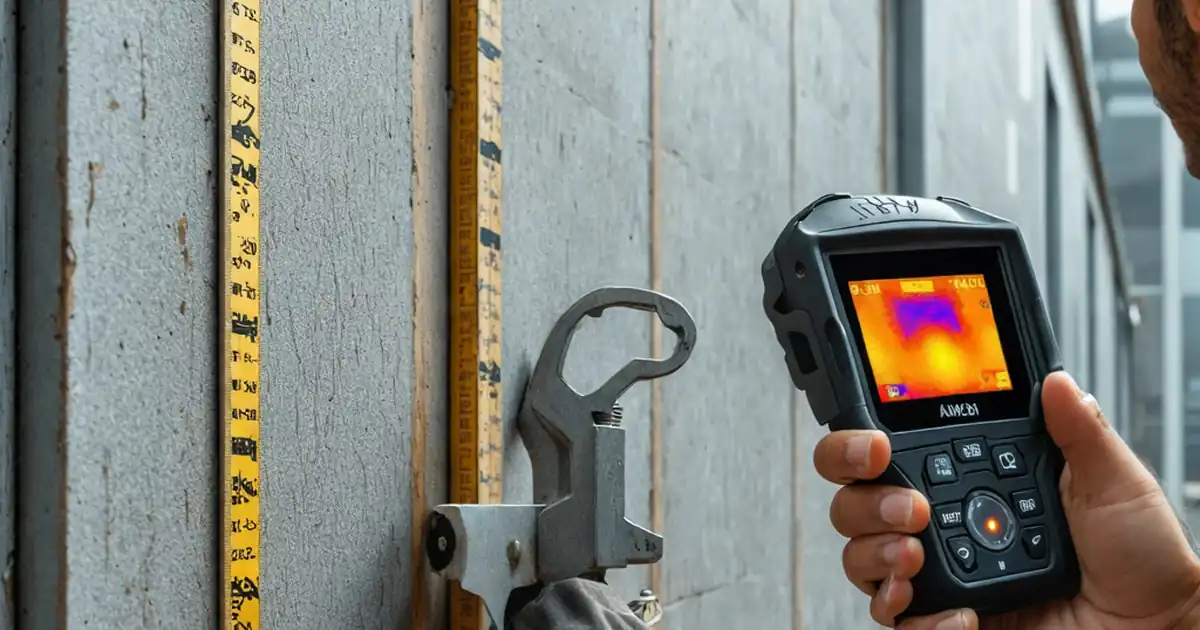
Begin by tracing a single, continuous airtight path on every relevant elevation and detail. This “line of airtightness” must cross windows, doors, parapets, slab edges, penetrations, and joints without breaks. Practical acceptance cues include documented lap dimensions, verifiable adhesion, correct joint geometry, and film thickness within manufacturer limits. Map high-risk locations where continuity is commonly lost—behind brackets, at sills, and where multiple systems meet. On site, verify substrates are suitable, materials are compatible, and application conditions are within datasheet ranges. Use simple tools: straightedge, moisture meter, film comb, tug tests, and a smoke pencil for pre-checks. Record evidence with clear, location-referenced photos showing scales and tags. Hold points before concealment allow correction while access is easy. Keep the scope on airtightness only; thermal breaks, water-shedding, and structural functions are outside scope unless they affect the air barrier line. Aim for traceable, repeatable acceptance rather than subjective impressions.
- Draw one continuous air barrier path on all details.
- Target laps, adhesion, geometry, and thickness as acceptance cues.
- Focus on high-risk interfaces and concealment points.
- Use basic field tools and capture location-tagged photos.
- Hold points prevent hidden defects and rework.
Interfaces: Typical Risks, Practical Methods, and Evidence
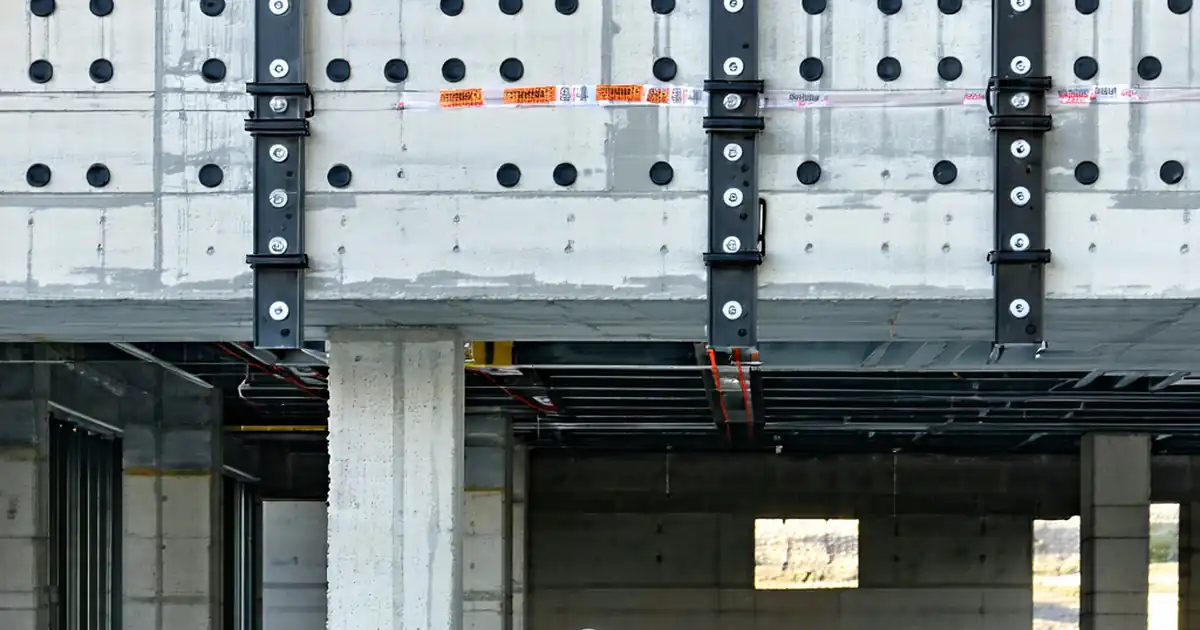
Interfaces fail when materials change or trades overlap. At windows, check that tapes or membranes bond to both frame and sheathing, and confirm a robust sill upstand. For sealants, use the correct backer rod and depth-to-width ratio to avoid three-sided adhesion. For membranes, confirm lap widths and roll pressure via peel tugs and visual checks. Liquid-applied barriers need measured wet and dry film thickness using comb gauges, especially at corners and terminations. Penetrations require prefabricated collars or liquid detailing extended beyond edges. Movement joints need expansion-capable components, installed in the neutral axis, accommodating specified movement. Before cladding or rails conceal the work, photograph each interface with a ruler or gauge visible, and log batch numbers and readings. Acceptance is visual and measurable: no fishmouths, continuous 360° seals at penetrations, verified adhesion, and dimensions matching approved details.
- Verify window tape adhesion and sill upstands.
- Measure laps and film thickness with simple gauges.
- Form compliant sealant joints with correct backer rod.
- Seal penetrations 360° using collars or liquid flashing.
- Bridge movement joints with expansion-rated products.
Coordination, Sequencing, and Traceability Before Concealment
Continuity is easiest to secure through coordinated sequencing. Plan for air barrier installation before brackets, rails, or finishes that limit access. Establish inspection test plans listing locations, responsible parties, and hold points tied to work packages. Coordinate with MEP, façade, and roofing trades to avoid cutting or puncturing the barrier. Where penetrations or anchors are unavoidable, agree on prefabricated sleeves, boots, or repair detailing. Require installers to record ambient conditions, product batches, and quantities to support warranties. Evidence should include dated, location-coded photos, gauges in frame, and simple adhesion tugs recorded by lot and installer. Keep change control tight: redline drawings for any deviation and file approvals per approved project specifications and authority requirements. With structured records, closeout is faster, and whole-building testing proceeds with fewer surprises.
- Sequence airtight work before limiting access activities.
- Use ITPs with clear responsibilities and hold points.
- Coordinate penetrations and anchors with preplanned detailing.
- Capture batches, conditions, and measurements for traceability.
- Redline deviations and file formal approvals.
How to Use the Interactive Façade Airtightness Continuity Checklist
- Preparation: Gather approved details, ITP, datasheets, and calibrated tools (moisture meter, hygrometer, IR thermometer, straightedge, film comb, smoke pencil, ruler, hand roller). Confirm safe access (ladders, MEWPs), lighting, and that surfaces are clean and reachable.
- Set up locations: Create elevation/zone tags and interface categories in the app. Preload typical details and acceptance notes so inspectors can select and reference them in the field.
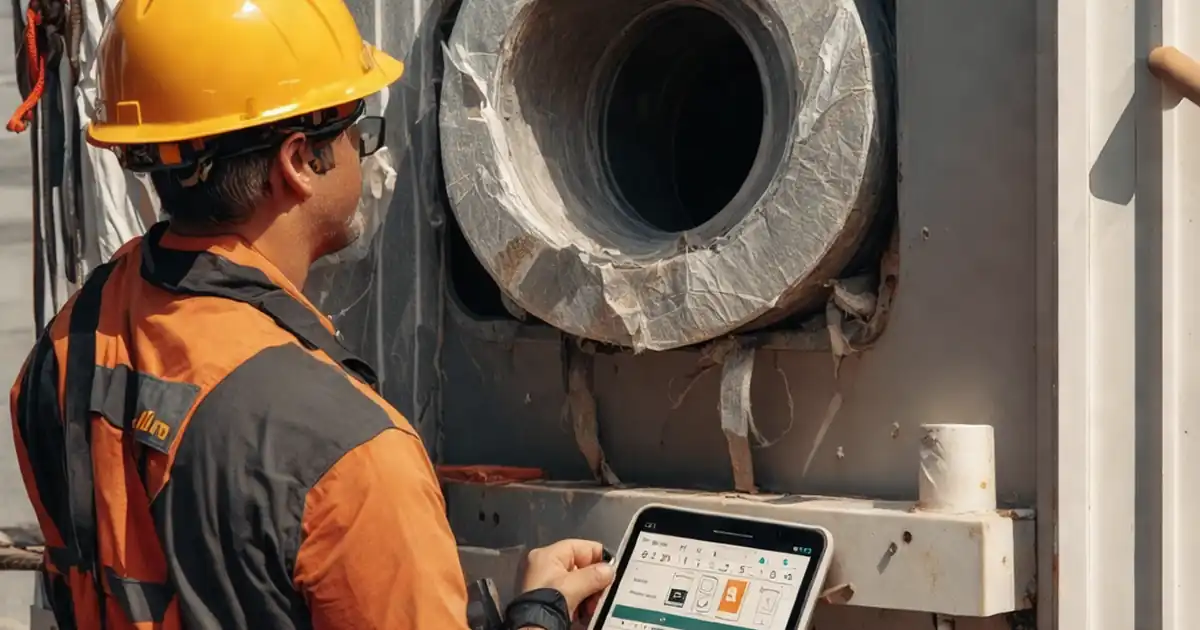
- Start interactive mode: Open the checklist on a tablet or phone, scan the QR to link the session, and enable photo geotagging. Tick items as you inspect and attach annotated photos with scales.
- Comment in context: Use the comment field to flag defects, assign actions to trades, and set due dates. Mention drawings or datasheets and link batch numbers for traceability.
- Resolve and recheck: After corrective work, retake photos and update measurements. Add a short verification note and change the item status to closed with your initials and timestamp.
- Export records: Generate PDF/Excel exports grouped by elevation, interface, or trade. The export includes photos, readings, comments, and batch logs, secured with a QR code.
- Sign-off: Capture digital signatures from installer, supervisor, and consultant. Distribute the final export to stakeholders and archive it with project drawings for closeout.
Call to Action
- Start Checklist Tick off tasks, leave comments on items or the whole form, and export your completed report to PDF or Excel—with a built-in QR code for authenticity.
- Download Excel - Façade Airtightness Line Continuity Review
- Download PDF - Façade Airtightness Line Continuity Review
- View Image - Façade Airtightness Line Continuity Review
Cite & Embed
“Façade Airtightness Line Continuity Review by Quollnet”
with a link to
this source page.
FAQ
Question: When should I review façade airtightness continuity during construction?
Question: What tools provide reliable acceptance evidence on site?
Question: How do I handle complex interfaces with multiple trades involved?
Question: Do I need a blower door test to confirm continuity?
Related Articles
Broader reading and guidance connected to this checklist topic.

Requisition Form: Materials, Services, Budget Control, And Logs



Related Checklists
Keep the workflow moving with nearby templates chosen from similar checklist content.