Horizontal Sunshade Alignment and Projection Inspection Checklist
Definition: Inspect horizontal sunshade alignment and projection tolerance for façade teams, outlining practical measurement methods, acceptance tolerances, and documentation to deliver straight sightlines, uniform overhangs, and specification compliance.
- Verify straightness, level, and uniform overhangs with calibrated instruments.
- Control cumulative drift across bays using datums and total station checks.
- Record measurements, photos, and approvals for traceable quality assurance.
- Interactive, commentable checklist with export and QR code verification.
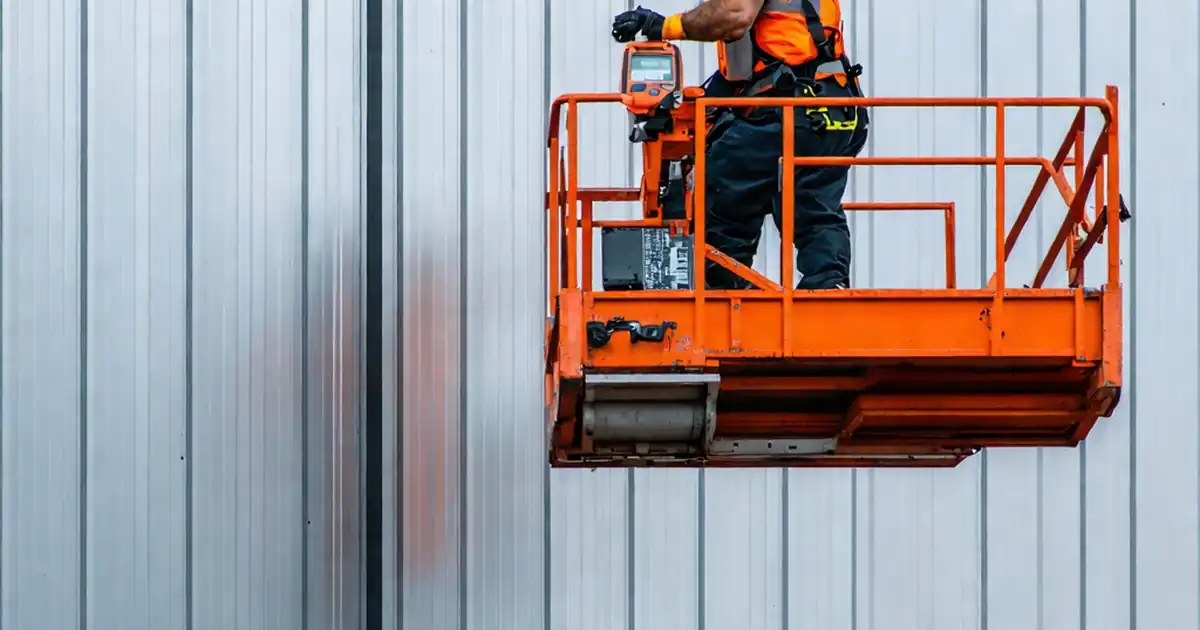
Inspect horizontal sunshade alignment and projection tolerance to keep façades true, consistent, and within project limits. This checklist focuses on horizontal shading elements—such as louvers, fins, and overhang blades—verifying levelness, straightness, uniform projection, and cumulative drift across the elevation. It excludes vertical screens, structural capacity checks, and unrelated façade components. Using calibrated tools, clear control lines, and repeatable methods, you will confirm that each unit matches the design intent and that long runs remain visually continuous. By catching millimetre-level errors early, you avoid rework, water traps, noisy joints, and uneven shadows that undermine performance and appearance. The outcome is a documented, defensible record of compliance per approved project specifications and authority requirements, including photos, readings, and sign-offs. Start in interactive mode to tick items, add comments where conditions vary, and export as PDF/Excel. Use the embedded QR to secure verification and streamline field-to-office communication.
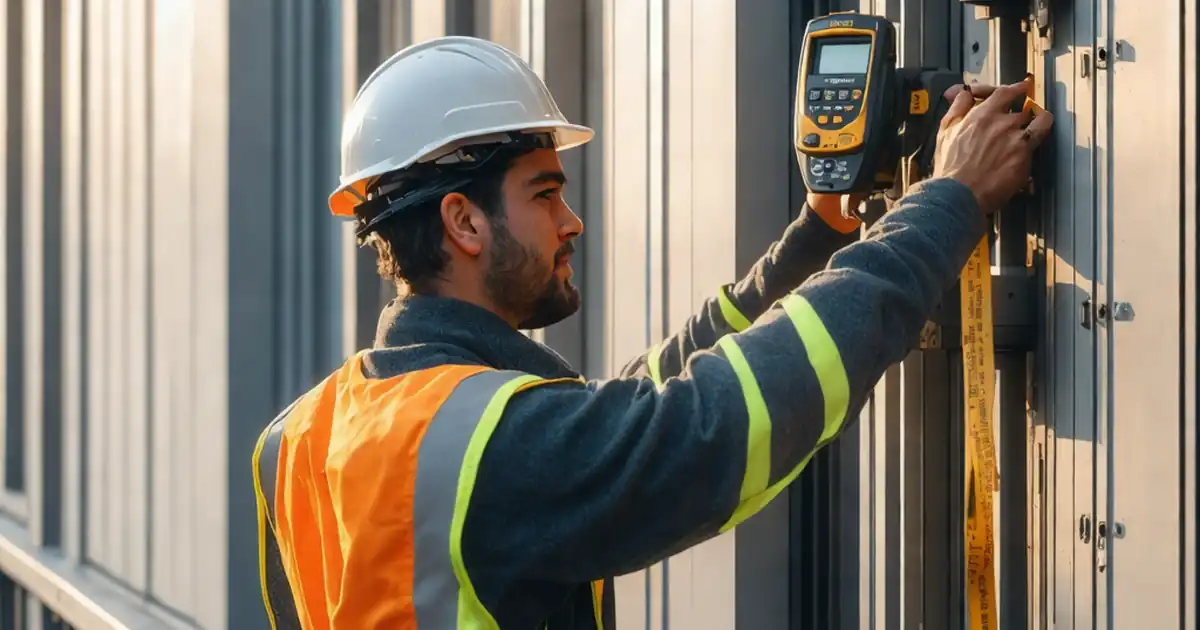
- Establish reliable control lines and calibrated instruments to verify horizontal sunshade levelness, straightness, and projection at installation. Capture measurements in millimetres, compare against specified tolerances, and flag any drift early to prevent compounding errors across long elevations.
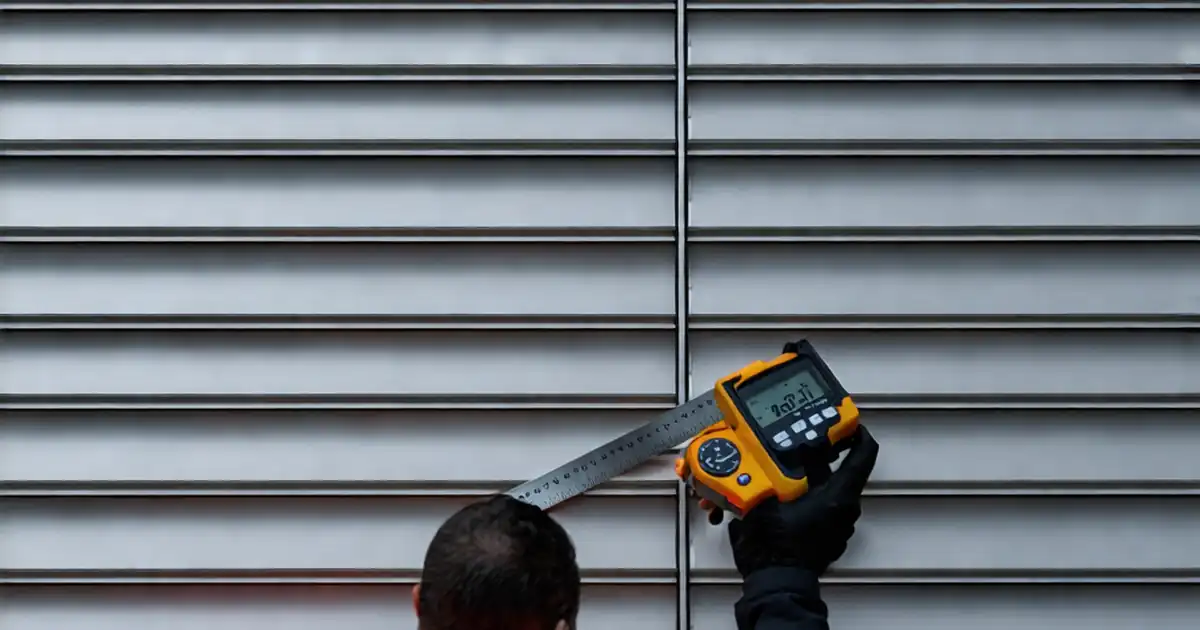
- Apply repeatable measurement methods: digital level for slope, laser/total station for alignment, and calibrated steel tape or laser distance meter for projection. Use gauge blocks or spacers to accelerate checks while maintaining accuracy and consistency among inspectors.
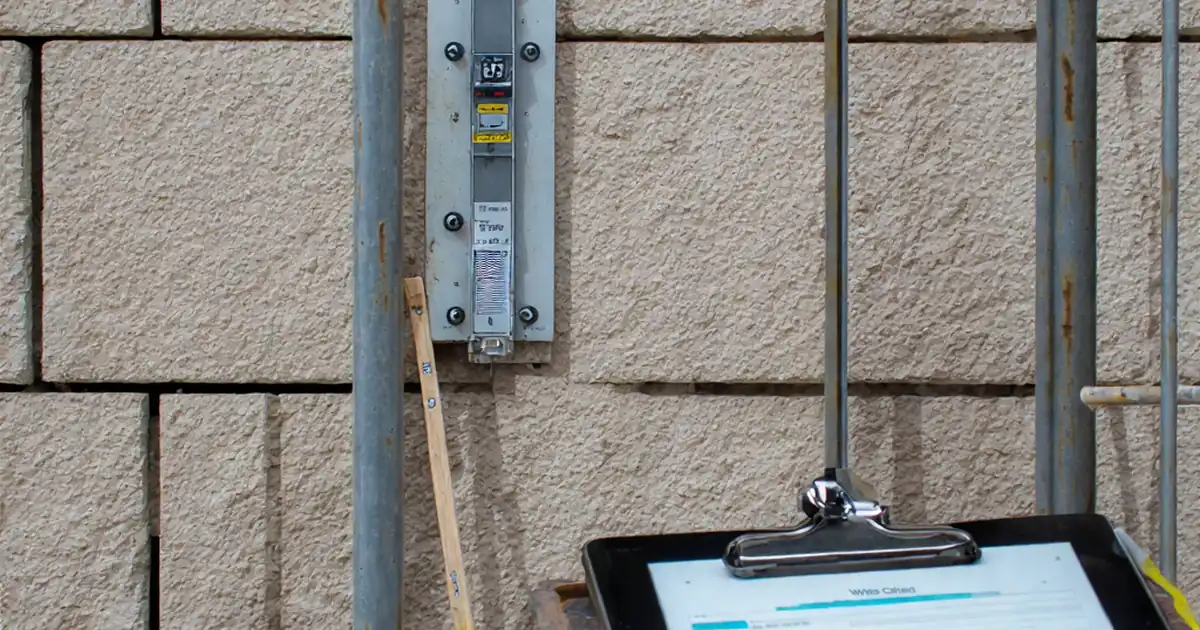
- Document evidence with geo-tagged photos of benchmarks, readings, bracket settings, and as-built markups. Secure approvals from responsible parties and record any corrective actions. Maintain traceability to drawings, lot numbers, and tool calibrations for robust closeout.
- Interactive online checklist with tick, comment, and export features secured by QR code.
Preparation and Controls
Alignment Verification
Projection Measurement
Fixings and Supports
Alignment Verification
Projection Measurement
Alignment Verification
Documentation and Handover
Preparation and Controls
Fixings and Supports
Why alignment and projection control matter
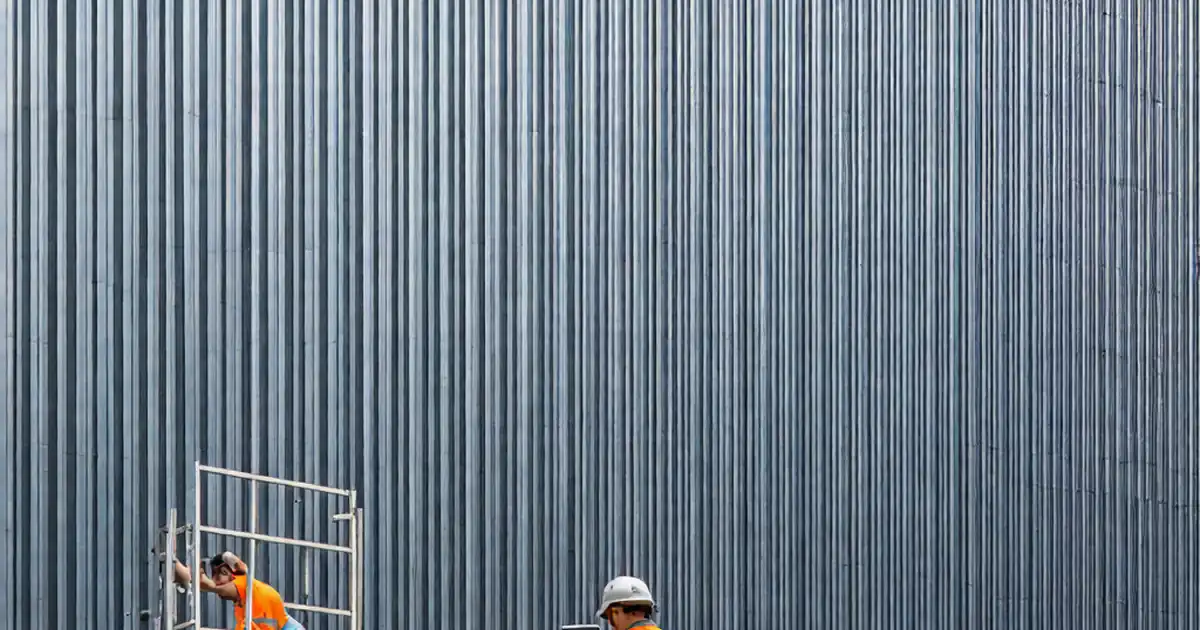
Horizontal sunshades demand precise alignment to achieve consistent shadow lines and predictable thermal performance. Small installation errors can stack along an elevation, creating visible waves, water traps, and uneven overhangs. This checklist narrows to alignment and projection tolerance only, using clear datums, calibrated instruments, and repeatable methods. Establish a control line with a total station, then verify levelness and straightness using a digital level and laser/stringline. Measure projection from a defined façade reference plane with a laser distance meter or calibrated tape, and validate continuity at corners and joints. Track cumulative drift so local fixes do not hide a larger trend. Acceptance cues focus on millimetre tolerances, but always follow per approved project specifications and authority requirements. Record data, photos, and approvals to make findings defensible and easy to close out. The aim is a straight, level, and uniformly projecting shading array that looks right from any angle and performs as designed.
- Use consistent reference planes and grid control points.
- Measure levelness, straightness, and projection separately.
- Monitor cumulative drift, not just local pieces.
- Capture photos with scales for visual evidence.
Practical measurement techniques that hold up onsite
Begin with instrument calibration, then transfer datums across the façade. Check each blade’s levelness with a digital level, confirming slope is effectively zero unless drainage is detailed otherwise. Run a laser line or tight stringline along leading edges to spot kinks, measuring gaps with feeler gauges for objective records. For projection, combine point readings (left, mid, right) with quick checks using a gauge block cut to design length. Validate transitions at corners and end conditions so the sightline remains continuous. After final torque, recheck a sample to ensure nothing shifted during tightening. Where tolerances are exceeded, adjust shims and bracket positions, then retest. Log every reading in millimetres, attach geo-tagged photos, and annotate elevations to show patterns, not just points. These habits speed approvals and reduce disputes while keeping the team aligned on acceptance.
- Confirm calibration and note serial numbers.
- Use gauge blocks for rapid projection checks.
- Recheck after final tightening for settlement.
- Annotate elevations to visualize deviations.
Managing tolerances, documentation, and stakeholder confidence
Set target tolerances suitable for the project scale—typically a few millimetres for straightness and projection—then verify they align with the drawings. Focus on both local and cumulative criteria so isolated corrections do not hide a global bow. Use checklists that require numeric entries and photos, plus sign-offs from installers and reviewers. Exportable, time-stamped reports help coordinate with consultants and authorities, reducing ambiguity during closeout. When nonconformities occur, document root causes, corrective actions, and retests in the same record. Maintain traceability to material lots, torque values, and bracket adjustments to make later audits efficient. Ultimately, clear evidence and consistent methods assure that alignment and projection match design intent and visual expectations, minimizing rework and punch list churn.
- Define local and cumulative acceptance criteria.
- Require numeric entries and scaled photos.
- Centralize corrective actions and retests.
- Export signed reports for final closeout.
How to Use This Interactive Sunshade Alignment Checklist
- Preparation: Gather approved drawings, digital level, laser/total station, laser distance meter, calibrated tape, gauge blocks, torque wrench, PPE, and marking tools. Confirm tool calibration dates and establish safe access to façades.
- Set References: Create and verify horizontal/vertical datums and control points on the façade. Label each point clearly so multiple inspectors can replicate measurements consistently across bays and levels.
- Using the Interactive Checklist: Start interactive mode, tick items as completed, enter numeric readings, attach geo-tagged photos, and add comments for variances or constraints. Generate issue tags for out-of-tolerance findings.
- Export and Sign-Off: Obtain digital approvals, then export as PDF/Excel. Distribute to stakeholders and archive with drawings. Validate authenticity via the embedded QR code link.

Call to Action
- Start Checklist Tick off tasks, leave comments on items or the whole form, and export your completed report to PDF or Excel—with a built-in QR code for authenticity.
- Download Excel - Horizontal Sunshade Alignment & Projection Inspection
- Download PDF - Horizontal Sunshade Alignment & Projection Inspection
- View Image - Horizontal Sunshade Alignment & Projection Inspection
Cite & Embed
“Horizontal Sunshade Alignment & Projection Inspection by Quollnet”
with a link to
this source page.
FAQ
Question: What instruments are best for checking horizontal sunshade alignment and projection?
Question: How tight should tolerances be for projection and straightness?
Question: How do I control cumulative drift across a long façade elevation?
Question: When should I remeasure after tightening brackets?
Question: What evidence should I keep for closeout and authority review?
Related Articles
Broader reading and guidance connected to this checklist topic.


How To Use Quollnet To Predict Construction Project Cashflow

Master Construction Project Cashflow With Cashflowpot

Related Checklists
Keep the workflow moving with nearby templates chosen from similar checklist content.