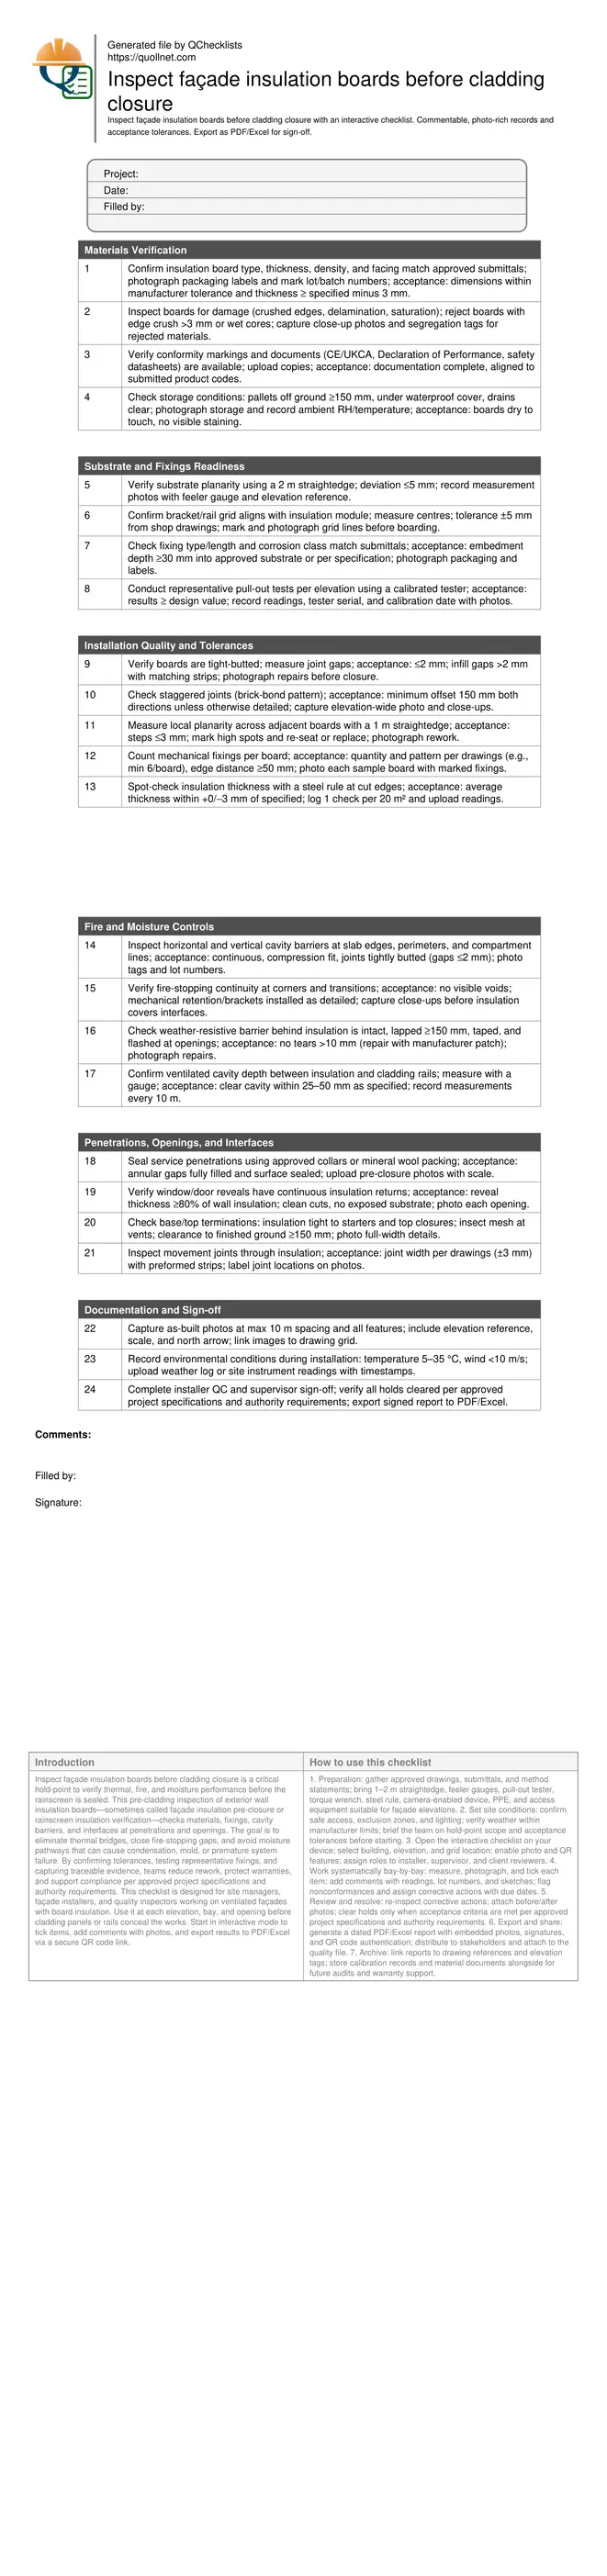
Façade insulation boards pre-cladding closure inspection checklist
Definition: Inspect façade insulation boards before cladding closure guides site supervisors and quality inspectors through pre-closure checks to confirm materials, fixings, fire barriers, and interfaces meet approved drawings, tolerances, and documentation requirements.
- Verify materials, thickness, density, and facing match approved submittals.
- Measure gaps, planarity, and fixing patterns against defined tolerances.
- Confirm cavity barriers and moisture management are continuous and intact.
- Use interactive, commentable, export tools with QR code authentication.
Inspect façade insulation boards before cladding closure is a critical hold-point to verify thermal, fire, and moisture performance before the rainscreen is sealed. This pre-cladding inspection of exterior wall insulation boards—sometimes called façade insulation pre-closure or rainscreen insulation verification—checks materials, fixings, cavity barriers, and interfaces at penetrations and openings. The goal is to eliminate thermal bridges, close fire-stopping gaps, and avoid moisture pathways that can cause condensation, mold, or premature system failure. By confirming tolerances, testing representative fixings, and capturing traceable evidence, teams reduce rework, protect warranties, and support compliance per approved project specifications and authority requirements. This checklist is designed for site managers, façade installers, and quality inspectors working on ventilated façades with board insulation. Use it at each elevation, bay, and opening before cladding panels or rails conceal the works. Start in interactive mode to tick items, add comments with photos, and export results to PDF/Excel via a secure QR code link.
- Use this checklist as a formal pre-closure hold point to verify insulation board type, thickness, and installation tolerances. Early detection of gaps, misaligned boards, and under-specified fixings prevents thermal bridging, preserves ventilation cavity continuity, and reduces costly dismantling after cladding is installed.
- Document every finding with location-tagged photos, packaging labels, declarations of performance, and calibrated tool readings. Consistent evidence captures support handover, warranty claims, and authority reviews while enabling root-cause analysis in case of water ingress, fire-stopping discontinuities, or cladding fastener clashes discovered later.
- Interactive online checklist with tick, comment, and export features secured by QR code. It standardizes acceptance criteria, timestamps sign-offs, and links each observation to drawings, elevations, and lot numbers—creating an auditable trail that simplifies subcontractor coordination and accelerates approvals without sacrificing rigor.
- Apply it bay-by-bay and around all openings before rails and panels are fixed. Combine dimensional checks with sample pull-out tests, cavity barrier continuity checks, and interface verifications to achieve reliable, repeatable quality while keeping crews aligned with approved project specifications and authority requirements.
Materials Verification
Substrate and Fixings Readiness
Installation Quality and Tolerances
Fire and Moisture Controls
Penetrations, Openings, and Interfaces
Documentation and Sign-off
Dimensional accuracy and board fit drive cladding performance
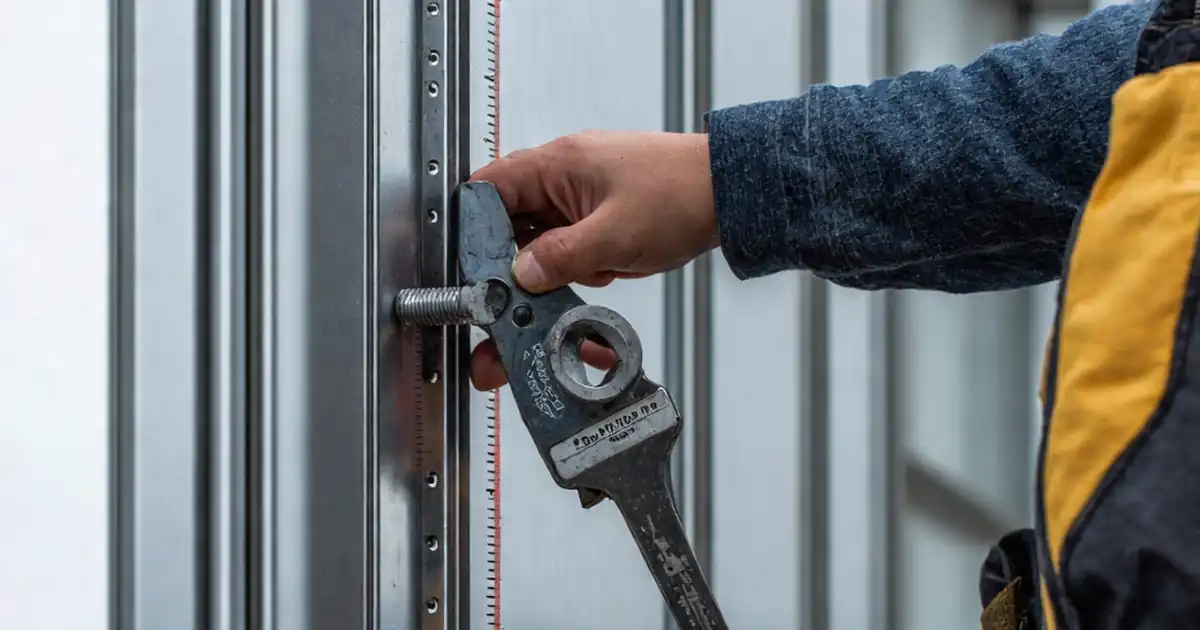
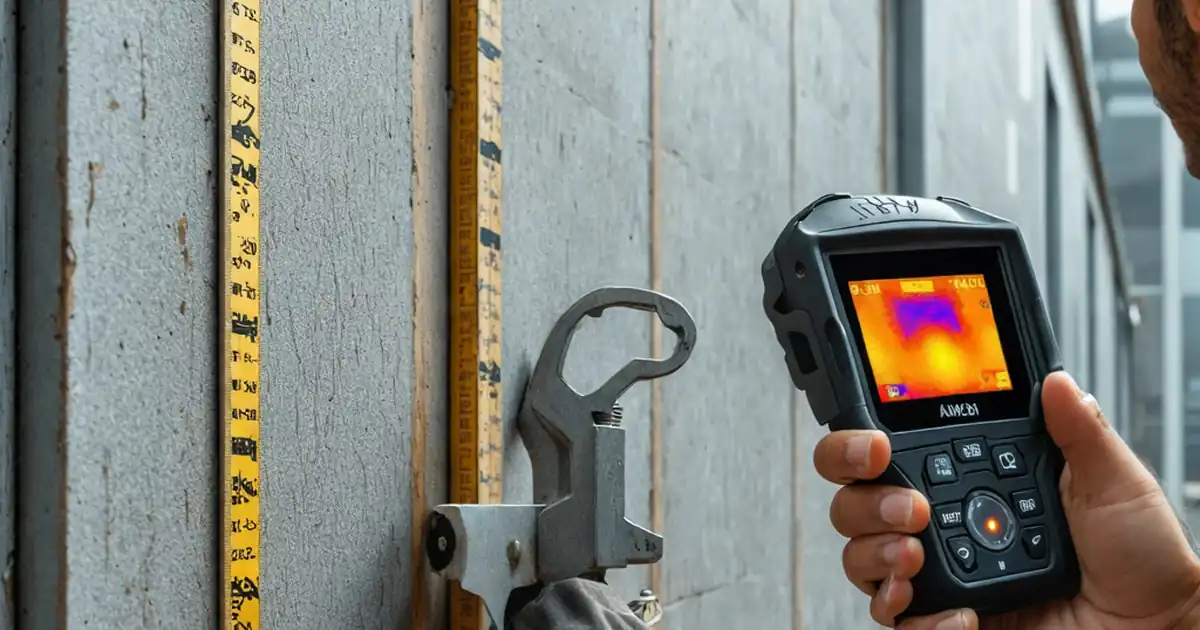
Before closing a ventilated façade, confirm the insulation layer is dimensionally accurate and properly restrained. Small defects compound: a 3 mm board step can telegraph through rails, complicate panel alignment, and create intermittent cavity choke points. Use a 2 m straightedge to assess substrate planarity, then a 1 m straightedge across adjoining boards to verify local flatness. Tight butt joints prevent convection loops and thermal bypass; where gaps exceed 2 mm, insert matching insulation strips rather than relying on sealants. Fixing patterns and edge distances must follow the drawings to control wind suction and minimize board bowing. Measure thickness at cut edges to spot substitution or over-compression. Expect to sample at defined intervals and document each reading. On live projects, catching misaligned rails early prevented panel clash, while replacing a crushed board avoided a visible panel kick that would have otherwise required post-closure dismantling.
- Use 2 m straightedge for substrate deviation ≤5 mm.
- Local steps across boards should be ≤3 mm.
- Joint gaps ≤2 mm; infill with matching strips.
- Fixing count/pattern per drawings; edge ≥50 mm.
- Spot-check thickness within +0/−3 mm of spec.
Fire and moisture continuity at interfaces
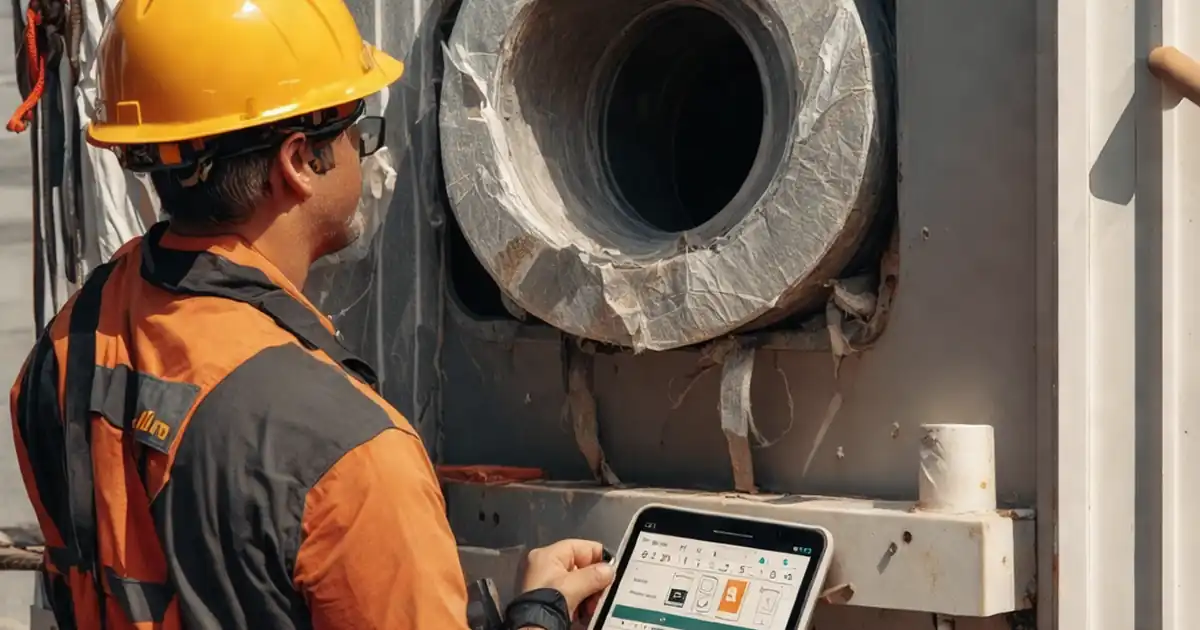
Cavity barriers and weather-resistive layers must be continuous before cladding conceals them. At floor edges, perimeters, and compartment lines, cavity barriers should be tight and compression-fitted, with joints closely butted. Around penetrations and openings, ensure mineral wool packing or approved collars fill annular gaps, and that flashing and tapes create shingled, downward-facing laps. The weather-resistive barrier behind insulation must be intact and repaired where damaged; even small tears can channel wind-driven rain into the sheathing. Maintain the ventilated cavity depth across the elevation to avoid moisture accumulation or reduced airflow. Field experience shows missing 200 mm of barrier at a corner can compromise compartmentation, and an unsealed WRB slit at a window head can track water to interior finishes. Photographic evidence and tagged lot numbers provide assurance that concealed safety features remain traceable after closure.
- Cavity barriers continuous; joints with gaps ≤2 mm.
- WRB laps ≥150 mm, taped and shingled.
- Seal penetrations with approved collars or packing.
- Maintain ventilation cavity within specified range.
- Photograph tags and barrier continuity before closure.
Evidence, traceability, and hold-point discipline
Pre-closure inspections are only as good as the records behind them. Capture location-tagged photos at intervals and at every opening, including a simple scale reference in frame. Upload packaging labels, Declarations of Performance, and calibration certificates for pull-out testers. Log environmental conditions to demonstrate that installation occurred within manufacturer limits. Structure sign-offs: installer quality checks first, then supervisor verification, and ultimately client or clerk-of-works release of the hold point. Exporting a consolidated report to PDF/Excel helps cross-check elevations and identify gaps before proceeding. On one tower project, consistent pull-out logs avoided blanket retesting demands; on another, linking photos to gridlines sped up handover reviews by days. This discipline safeguards warranties and reduces disputes by presenting clear, timestamped evidence tied to drawings and product data.
- Photo every 10 m and all features with scale.
- Upload labels, DoPs, and calibration records.
- Log temperature, wind, and RH limits.
- Stage installer, supervisor, and client sign-offs.
- Export consolidated PDF/Excel for review.
How to use this inspection checklist
- Preparation: gather approved drawings, submittals, and method statements; bring 1–2 m straightedge, feeler gauges, pull-out tester, torque wrench, steel rule, camera-enabled device, PPE, and access equipment suitable for façade elevations.
- Set site conditions: confirm safe access, exclusion zones, and lighting; verify weather within manufacturer limits; brief the team on hold-point scope and acceptance tolerances before starting.
- Open the interactive checklist on your device; select building, elevation, and grid location; enable photo and QR features; assign roles to installer, supervisor, and client reviewers.
- Work systematically bay-by-bay: measure, photograph, and tick each item; add comments with readings, lot numbers, and sketches; flag nonconformances and assign corrective actions with due dates.
- Review and resolve: re-inspect corrective actions; attach before/after photos; clear holds only when acceptance criteria are met per approved project specifications and authority requirements.
- Export and share: generate a dated PDF/Excel report with embedded photos, signatures, and QR code authentication; distribute to stakeholders and attach to the quality file.
- Archive: link reports to drawing references and elevation tags; store calibration records and material documents alongside for future audits and warranty support.
Call to Action
- Start Checklist Tick off tasks, leave comments on items or the whole form, and export your completed report to PDF or Excel—with a built-in QR code for authenticity.
- Download Excel - Façade Insulation Pre-Closure Inspection
- Download PDF - Façade Insulation Pre-Closure Inspection
- View Image - Façade Insulation Pre-Closure Inspection
Cite & Embed
“Façade Insulation Pre-Closure Inspection by Quollnet”
with a link to
this source page.

FAQ
Question: When should the insulation inspection occur relative to rails and cladding?
Question: What tolerances apply for gaps, planarity, and fixing patterns?
Question: How many pull-out tests are needed per elevation?
Question: What evidence should I capture to satisfy authorities and warranties?
Question: What if insulation boards became wet before closure?
Related Articles
Broader reading and guidance connected to this checklist topic.



Is It Important To Customize Your Qr Code And How To Do It?
Fidic Site Instruction Form – Free Download And Usage Tips

Related Checklists
Keep the workflow moving with nearby templates chosen from similar checklist content.