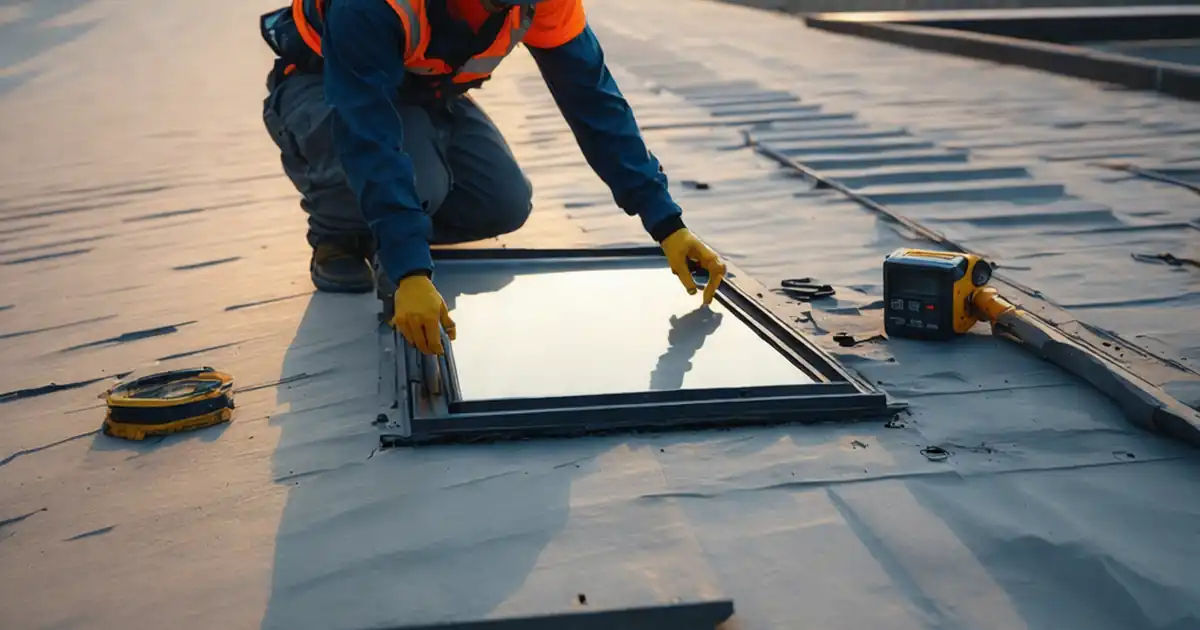
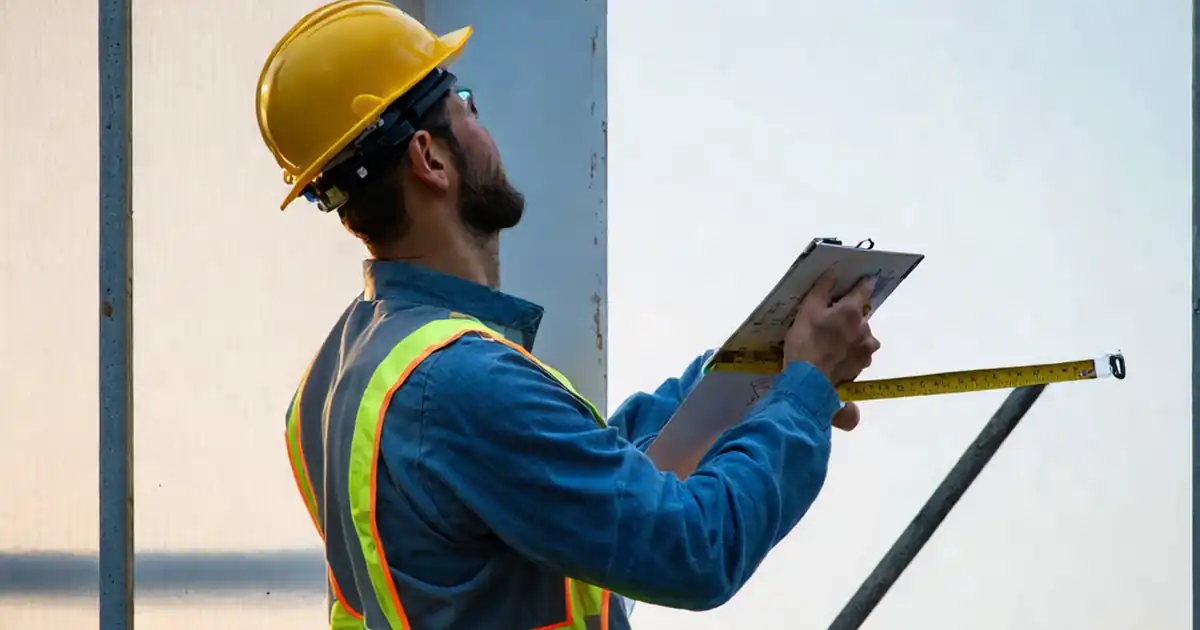
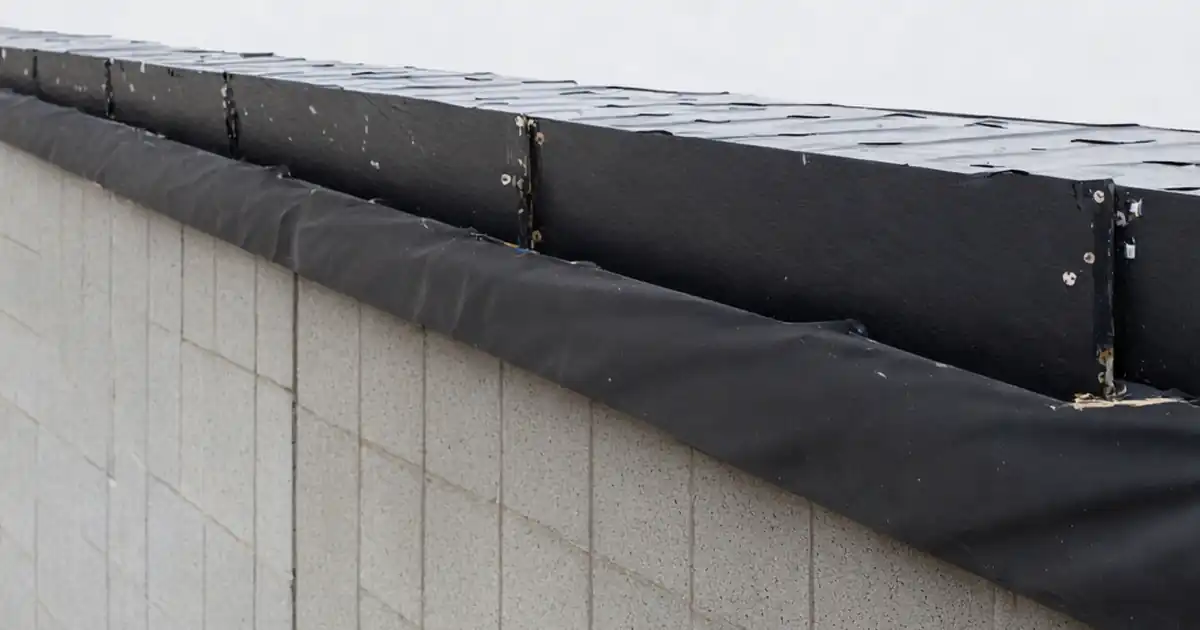
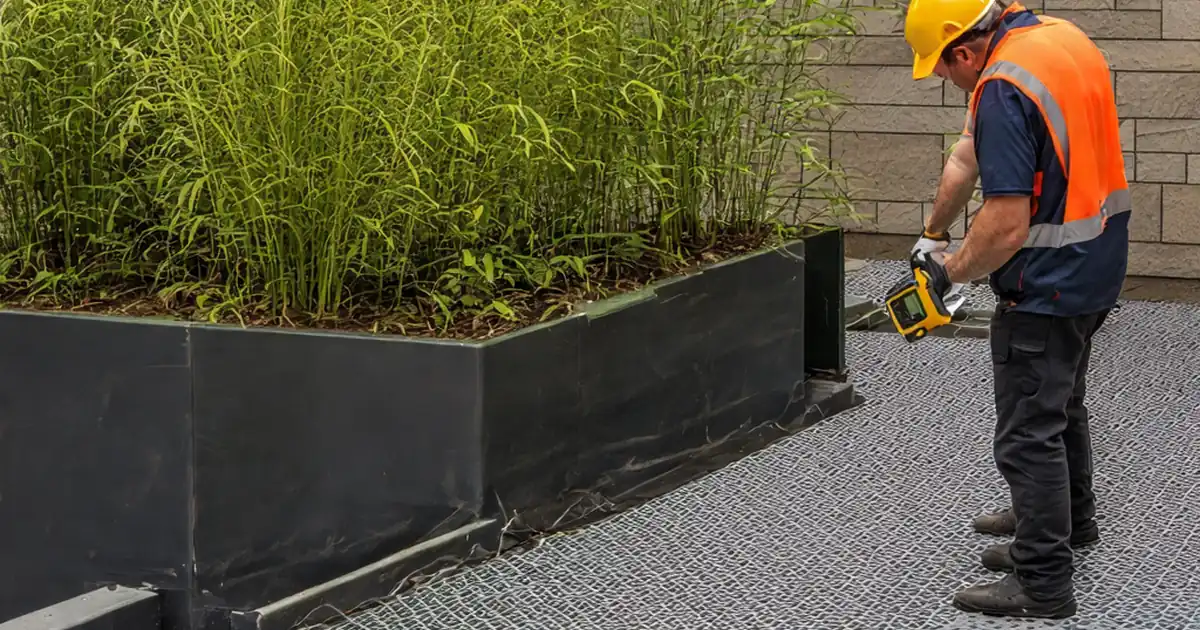
Inspect façade breather membrane installation & lap direction
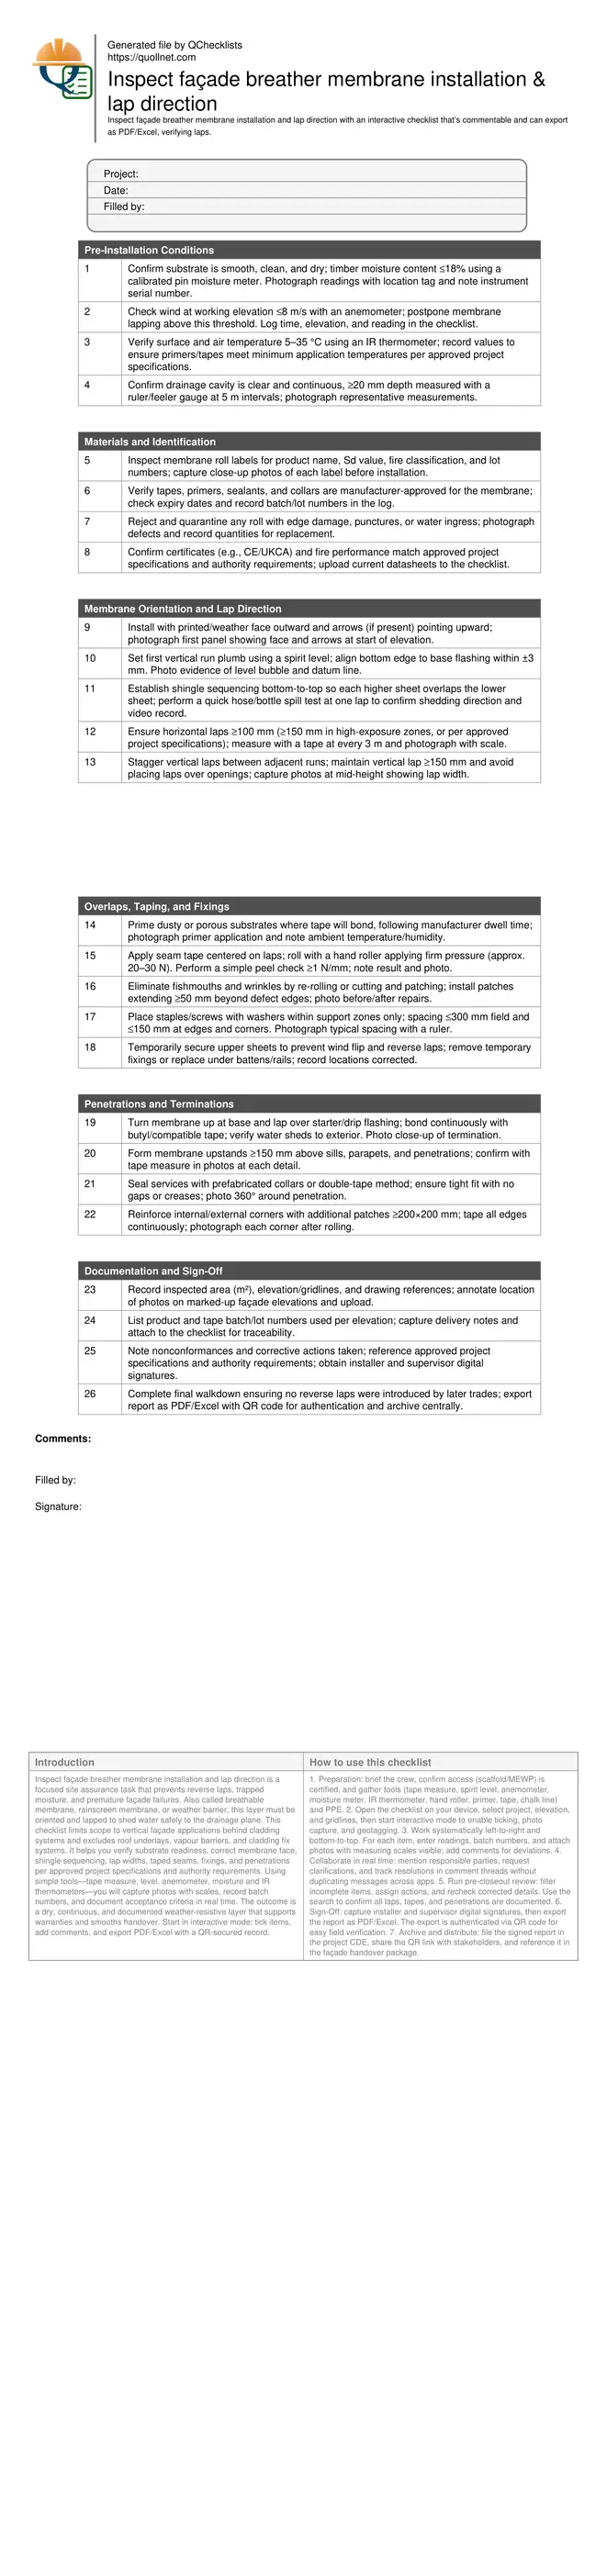
Definition: Inspect façade breather membrane installation and lap direction for façades equips site supervisors and QA inspectors to confirm orientation, overlaps, fixings, and continuity per project specifications.
- Verify shingle laps shed water to the exterior drainage plane.
- Confirm orientation, overlaps, fixings, and penetrations with measurable evidence.
- Reduce rework, leaks, and delays by catching issues before cladding.
- Interactive, commentable, export to PDF/Excel, secured by QR code.
Inspect façade breather membrane installation and lap direction is a focused site assurance task that prevents reverse laps, trapped moisture, and premature façade failures. Also called breathable membrane, rainscreen membrane, or weather barrier, this layer must be oriented and lapped to shed water safely to the drainage plane. This checklist limits scope to vertical façade applications behind cladding systems and excludes roof underlays, vapour barriers, and cladding fix systems. It helps you verify substrate readiness, correct membrane face, shingle sequencing, lap widths, taped seams, fixings, and penetrations per approved project specifications and authority requirements. Using simple tools—tape measure, level, anemometer, moisture and IR thermometers—you will capture photos with scales, record batch numbers, and document acceptance criteria in real time. The outcome is a dry, continuous, and documented weather-resistive layer that supports warranties and smooths handover. Start in interactive mode: tick items, add comments, and export PDF/Excel with a QR-secured record.
- Ensure the breather membrane is installed with the correct weather face outward and all horizontal laps shingled so upper sheets overlap lower sheets, directing water into the façade’s drainage plane and away from structure and insulation.
- Measure and document critical tolerances: substrate moisture at or below 18%, clear cavities at or above 20 mm, horizontal laps at or above 100 mm (150 mm in high exposure), vertical laps at or above 150 mm, and fixing spacing within prescribed limits, supported by timestamped photos.
- Interactive online checklist with tick, comment, and export features secured by QR code.
- Reduce rework by verifying tapes, primers, collars, and terminations are manufacturer-approved, correctly applied within temperature limits, and pressure-rolled. Capture lot numbers, test simple peel adhesion, and confirm window heads, sills, corners, and penetrations are reinforced and sequenced to maintain continuous water-shedding paths.
Pre-Installation Conditions
Materials and Identification
Membrane Orientation and Lap Direction
Overlaps, Taping, and Fixings
Penetrations and Terminations
Documentation and Sign-Off
Why lap direction matters on façades
A breather membrane’s primary job is to shed wind-driven rain outward while allowing vapour to escape. Correct lap direction creates a shingle effect: each upper sheet overlaps the one below so water drains safely down the drainage plane, not behind flashings or insulation. Start bottom-to-top, align to base flashings, and maintain plumb sheets so laps remain uniform across elevations. Horizontal laps should be generous in exposed zones, and vertical laps should be staggered to avoid water pathways at joints. A quick water spill check at one representative lap can validate shedding without soaking the substrate. Field experience shows many leaks trace back to a single reversed lap hidden by cladding. Prevent this by photographing the first course and every change in sequencing. If gusts threaten to flip sheets, apply temporary fixings, then re-secure under battens or rails to preserve the shingle order before handover.
- Install bottom-to-top to maintain the shingle effect.
- Photograph first course to establish orientation baseline.
- Stagger vertical laps to break potential water paths.
- Use a small spill test to verify shedding direction.
- Secure sheets in wind to avoid reverse laps.
Overlap widths, tapes, and field adhesion cues
Consistent overlap widths and well-bonded tapes turn a membrane layer into a continuous barrier. Measure horizontal laps at several points and target at least 100 mm, increasing in high-exposure areas per approved project specifications. Vertical laps of 150 mm help resist wind blow-through; always tape verticals to close the seam. Prepare dusty surfaces with compatible primer and roll tapes firmly. A simple site peel indicates bond confidence: aim for about 1 N/mm without adhesive transfer failure. Temperature and moisture affect tack; keep substrate dry and work within recommended ranges. Correct fishmouths immediately—cut, lap, patch, and re-roll—to prevent water tracking. Space staples or screws appropriately and keep them within supports to avoid vulnerable perforations in the field of the sheet. Where fasteners are required near edges, increase tape coverage and rolling pressure as an additional safeguard.
- Measure laps frequently and photograph with a ruler.
- Tape vertical seams; roll all tapes under firm pressure.
- Conduct a quick peel check to confirm adhesion.
- Correct fishmouths with patches extending beyond defects.
- Keep fasteners within support zones at tight spacing.
Details at openings, corners, and terminations
Failures often start at transitions. At the base, turn the membrane over the starter or drip flashing, ensuring any water exits to the exterior. At window heads, sequence the head piece over jamb pieces and turn behind the head flashing so water cannot bypass. Form upstands of at least 150 mm at sills, parapets, and penetrations to provide a gravity-driven path. Use prefabricated collars or a robust double-tape method to seal services, avoiding wrinkles that create capillary routes. Reinforce internal and external corners with square patches and tape all edges; pressure-roll to lock the bond. Before cladding, verify no reverse laps were introduced by follow-on trades. Document each detail with close-up photos showing measuring scales, then mark locations on drawings for traceability and faster punchlist resolution during handover.
- Lap membrane over base flashings to drain outward.
- Head piece must over-jamb and behind head flashing.
- Upstands ≥150 mm at sills and penetrations.
- Use collars or double-tape for service seals.
- Reinforce corners and roll all edges.
How to use this interactive inspection checklist
- Preparation: brief the crew, confirm access (scaffold/MEWP) is certified, and gather tools (tape measure, spirit level, anemometer, moisture meter, IR thermometer, hand roller, primer, tape, chalk line) and PPE.
- Open the checklist on your device, select project, elevation, and gridlines, then start interactive mode to enable ticking, photo capture, and geotagging.
- Work systematically left-to-right and bottom-to-top. For each item, enter readings, batch numbers, and attach photos with measuring scales visible; add comments for deviations.
- Collaborate in real time: mention responsible parties, request clarifications, and track resolutions in comment threads without duplicating messages across apps.
- Run pre-closeout review: filter incomplete items, assign actions, and recheck corrected details. Use the search to confirm all laps, tapes, and penetrations are documented.
- Sign-Off: capture installer and supervisor digital signatures, then export the report as PDF/Excel. The export is authenticated via QR code for easy field verification.
- Archive and distribute: file the signed report in the project CDE, share the QR link with stakeholders, and reference it in the façade handover package.
Call to Action
- Start Checklist Tick off tasks, leave comments on items or the whole form, and export your completed report to PDF or Excel—with a built-in QR code for authenticity.
- Download Excel - Façade Breather Membrane Installation – Lap Direction Inspection
- Download PDF - Façade Breather Membrane Installation – Lap Direction Inspection
- View Image - Façade Breather Membrane Installation – Lap Direction Inspection
Cite & Embed
“Façade Breather Membrane Installation – Lap Direction Inspection by Quollnet”
with a link to
this source page.

FAQ
Question: What lap widths should I enforce for a façade breather membrane?
Question: How can I verify lap direction and prevent reverse laps in windy conditions?
Question: Will tape adhesion be reliable in cold or damp weather?
Question: What are key details around windows and services to prevent leaks?
Question: When is the breather membrane inspection considered complete?
Related Articles
Broader reading and guidance connected to this checklist topic.

Is It Important To Customize Your Qr Code And How To Do It?
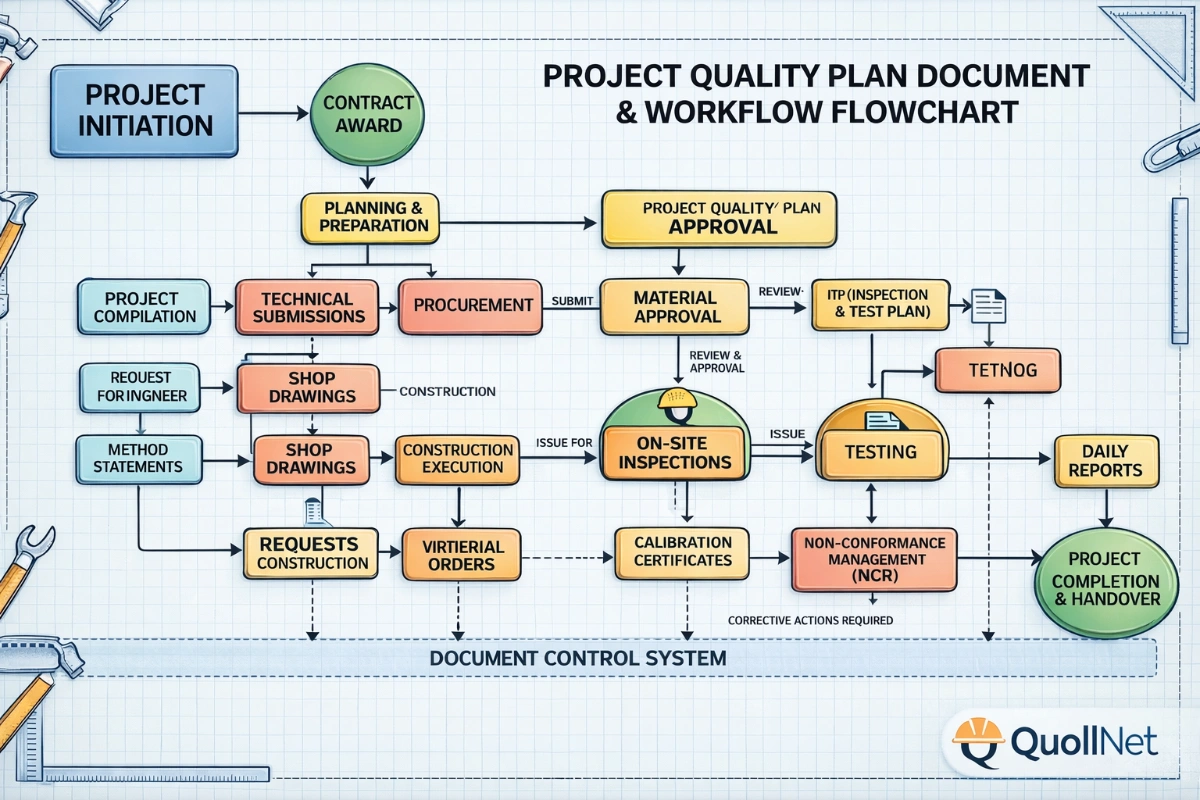


Master Construction Project Cashflow With Cashflowpot

Related Checklists
Keep the workflow moving with nearby templates chosen from similar checklist content.