Inspect Façade Vapor Barrier Continuity and Sealed Overlaps
Definition: Inspect façade vapor barrier continuity and sealed overlaps on exterior walls for construction supervisors and QA inspectors, ensuring membrane integrity, correct lap dimensions, reliable adhesion, and compliant transitions before cladding.
- Verify continuity, lap widths, adhesion, corners, and terminations on façades.
- Prevent interstitial condensation, mould, callbacks, and energy underperformance.
- Measure laps, roll seams, peel-test adhesion, and photo-document evidence.
- Interactive, commentable checklist with export and QR code traceability.
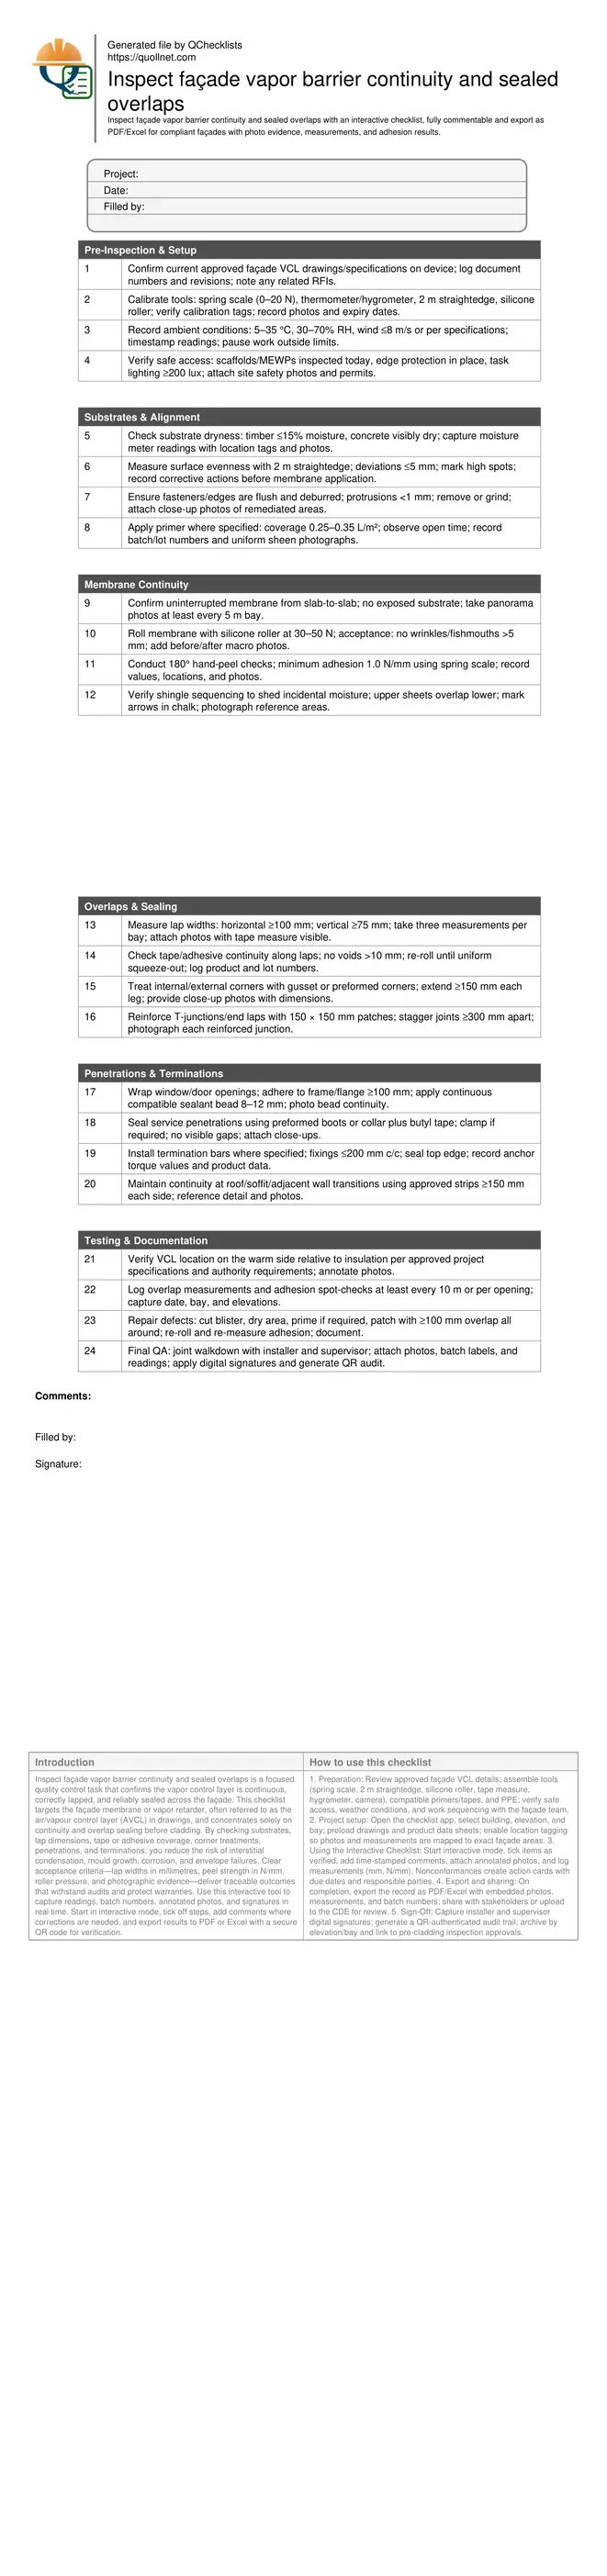
Inspect façade vapor barrier continuity and sealed overlaps is a focused quality control task that confirms the vapor control layer is continuous, correctly lapped, and reliably sealed across the façade. This checklist targets the façade membrane or vapor retarder, often referred to as the air/vapour control layer (AVCL) in drawings, and concentrates solely on continuity and overlap sealing before cladding. By checking substrates, lap dimensions, tape or adhesive coverage, corner treatments, penetrations, and terminations, you reduce the risk of interstitial condensation, mould growth, corrosion, and envelope failures. Clear acceptance criteria—lap widths in millimetres, peel strength in N/mm, roller pressure, and photographic evidence—deliver traceable outcomes that withstand audits and protect warranties. Use this interactive tool to capture readings, batch numbers, annotated photos, and signatures in real time. Start in interactive mode, tick off steps, add comments where corrections are needed, and export results to PDF or Excel with a secure QR code for verification.
- This checklist standardizes façade vapor barrier inspection steps so teams verify continuity, lap sizes, adhesion, and transitions with measurable criteria. It reduces condensation risk, supports warranty compliance, and ensures each elevation is ready before cladding proceeds, preventing costly rework and hidden moisture problems within the wall build-up.
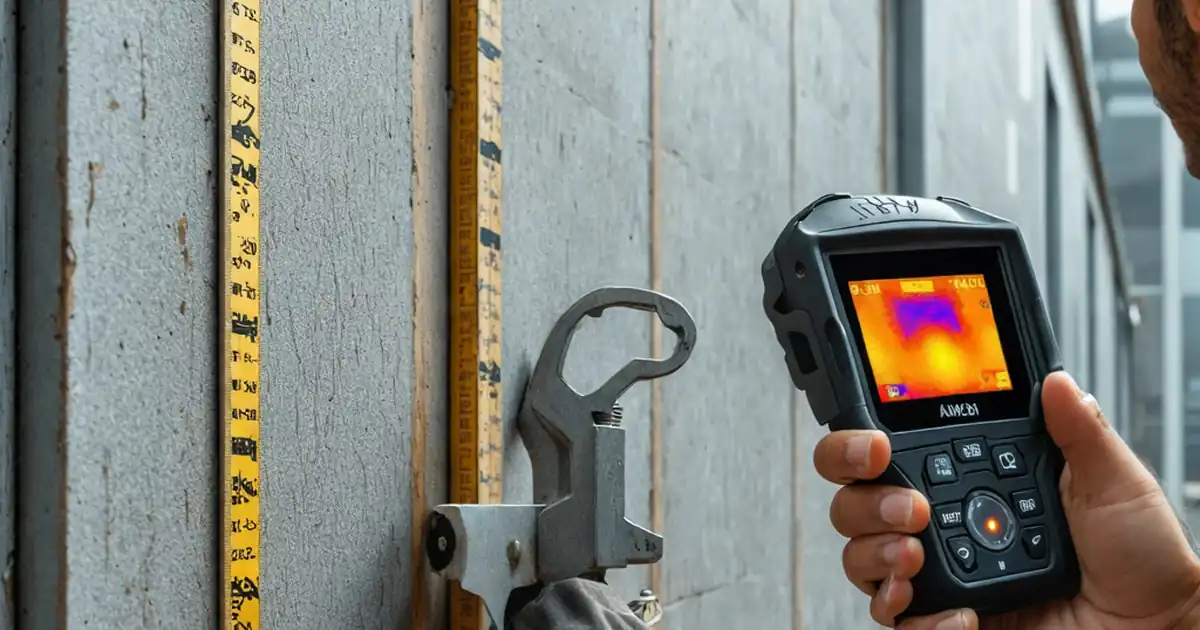
- Field-friendly acceptance cues—lap widths in millimetres, peel strength in N/mm, and roller pressure guidance—make decisions objective. Technicians can evidence compliance with annotated photographs, moisture and temperature logs, primer coverage records, and tape or sealant batch numbers, all mapped to elevations, bays, and dates for rapid traceability.
- Interactive online checklist with tick, comment, and export features secured by QR code.
- A clear repair protocol closes gaps fast: cut and dry defects, prime if required, patch with 100 mm minimum overlaps, then re-roll and re-measure adhesion. The app prompts retests and attaches before/after photos, ensuring permanent fixes and a complete audit trail for handover packages.
Pre-Inspection & Setup
Substrates & Alignment
Membrane Continuity
Overlaps & Sealing
Penetrations & Terminations
Testing & Documentation
Why Continuity and Sealed Overlaps Matter on Façade Vapor Barriers
A continuous façade vapor barrier with properly sealed overlaps prevents moisture-laden indoor air from diffusing into colder wall layers and condensing. Even small discontinuities—gaps at corners, loose laps, or unsealed penetrations—can allow interstitial condensation that damages insulation, corrodes fixings, and fosters mould. Continuity protects thermal performance and supports long-term durability, while consistent lap sealing provides redundancy against minor movement and incidental wetting before cladding. This checklist narrows attention to what affects continuity and overlap integrity: substrate readiness, shingle sequencing, lap dimensions, adhesion, corners, penetrations, and terminations. By using measurable acceptance criteria (lap widths in millimetres, peel strength in N/mm, roller pressure, and uniform primer coverage), inspectors make objective calls and document outcomes with photos, batch numbers, and timestamps. The result is a façade ready for cladding, with traceable evidence that the vapor control layer is complete, sealed, and aligned with approved details and authority requirements.
- Continuity blocks vapor entry into cold layers.
- Proper laps add redundancy at movement points.
- Objective metrics reduce disputes and rework.
- Photos and batch logs strengthen traceability.
Practical Inspection Methods, Tolerances, and Acceptance Cues
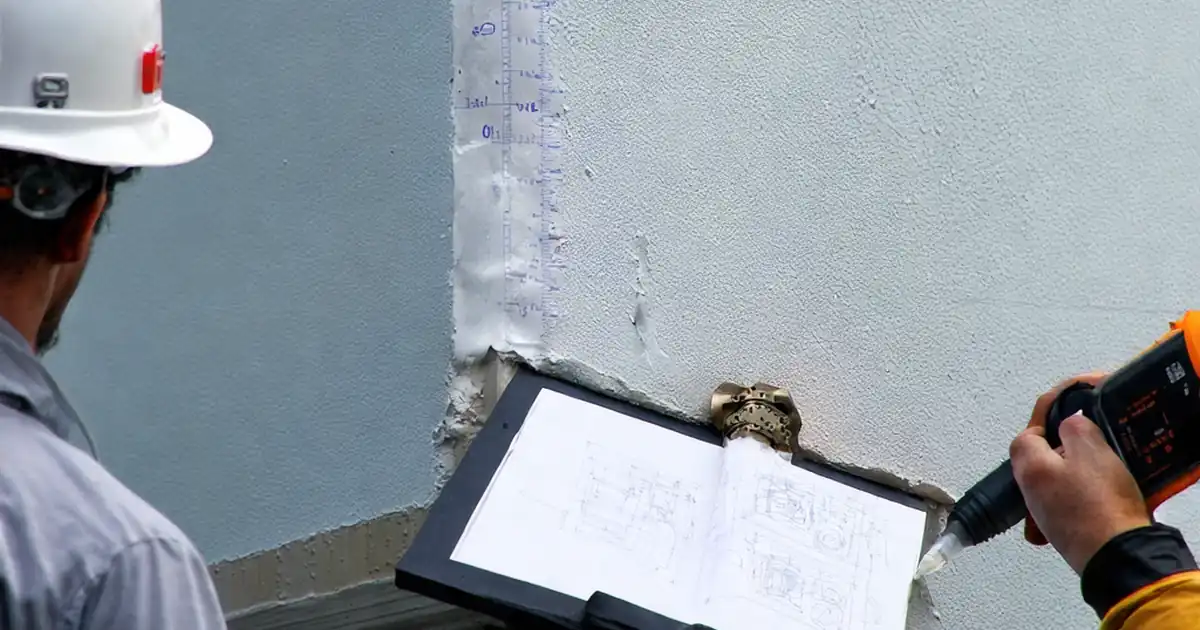
Begin by verifying dry, even substrates; unevenness over 5 mm under a 2 m straightedge can telegraph into fishmouths. Primer, where specified, should show a uniform sheen at 0.25–0.35 L/m². During installation, enforce shingle sequencing and use a silicone roller with 30–50 N pressure to eliminate wrinkles. Measure horizontal overlaps at ≥100 mm and vertical overlaps at ≥75 mm, then confirm corner gussets extend at least 150 mm. Perform 180° hand-peel checks with a spring scale to verify adhesion at or above 1.0 N/mm, documenting values and locations. Treat T-junctions with 150 × 150 mm patches and stagger joints by 300 mm. For openings and penetrations, maintain ≥100 mm returns with a continuous compatible sealant bead. At terminations, fix bars at ≤200 mm centres and seal the top edge. These cues give clear pass/fail criteria while aligning with approved project specifications and authority requirements.
- Use a 2 m straightedge for evenness.
- Roll seams with 30–50 N pressure.
- Lap widths: 100 mm horizontal, 75 mm vertical.
- Peel adhesion: minimum 1.0 N/mm.
Common Defects, Robust Repairs, and Evidence Capture
Frequent defects include under-width laps, fishmouths, unsealed corners, and poorly treated penetrations. Address fishmouths by cutting the fold, drying the area, priming if required, and re-rolling with a patch overlapping at least 100 mm all round. Reinforce all T-junctions and end laps with 150 × 150 mm patches. Where sealant is discontinuous at frames, clean, re-prime if needed, and apply a new 8–12 mm compatible bead; photograph the continuous bead. Maintain continuity at transitions with approved strips extending ≥150 mm onto each substrate. Log every repair with before/after photos, dimensions, product batches, and the installer’s initials. Summarize inspection results by bay, capturing lap measurements, peel-test values, primers and tapes used, and ambient conditions. Close out with a joint walkdown, digital signatures, and a QR-authenticated export—providing a defendable record that the façade vapor barrier is continuous and its overlaps are reliably sealed.
- Cut, dry, prime, and patch blisters.
- Reinforce all T-junctions with patches.
- Seal continuous beads at frames.
- Document repairs with photos and lots.
How to Use This Façade Vapor Barrier Inspection Checklist
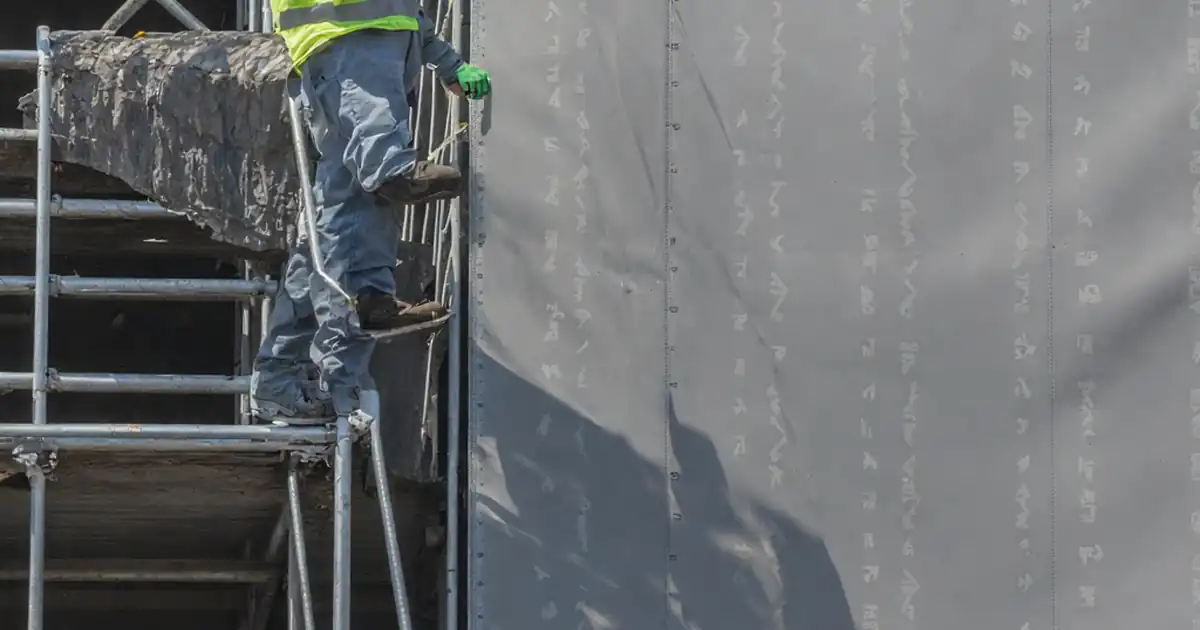
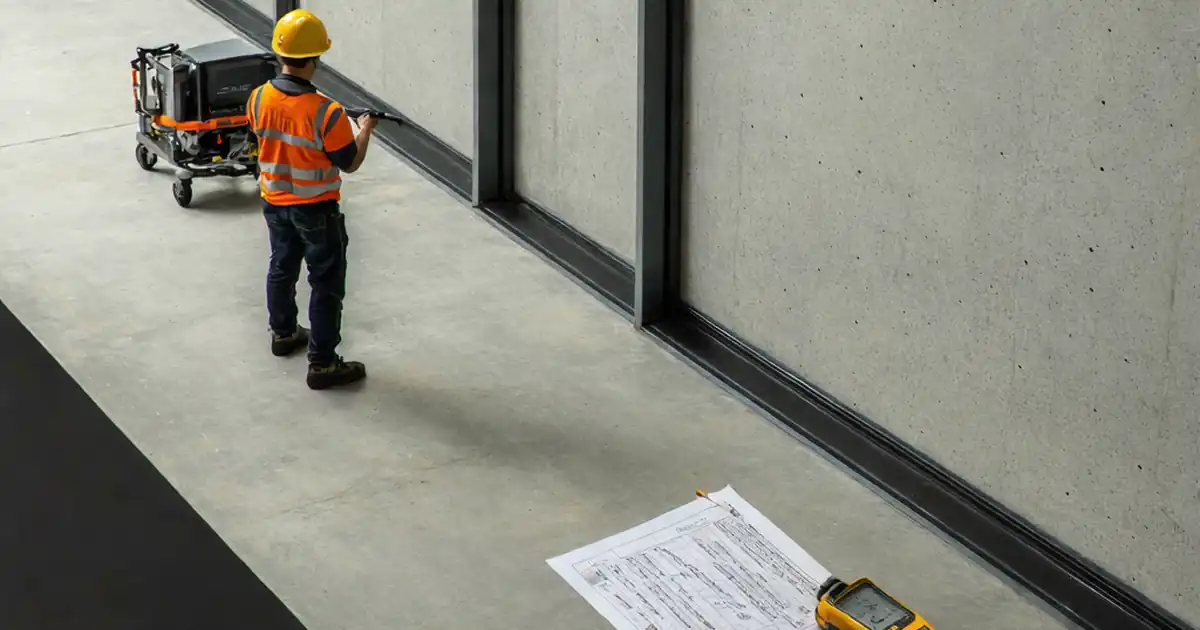
- Preparation: Review approved façade VCL details; assemble tools (spring scale, 2 m straightedge, silicone roller, tape measure, hygrometer, camera), compatible primers/tapes, and PPE; verify safe access, weather conditions, and work sequencing with the façade team.
- Project setup: Open the checklist app, select building, elevation, and bay; preload drawings and product data sheets; enable location tagging so photos and measurements are mapped to exact façade areas.
- Using the Interactive Checklist: Start interactive mode, tick items as verified, add time-stamped comments, attach annotated photos, and log measurements (mm, N/mm). Nonconformances create action cards with due dates and responsible parties.
- Export and sharing: On completion, export the record as PDF/Excel with embedded photos, measurements, and batch numbers; share with stakeholders or upload to the CDE for review.
- Sign-Off: Capture installer and supervisor digital signatures; generate a QR-authenticated audit trail; archive by elevation/bay and link to pre-cladding inspection approvals.
Call to Action
- Start Checklist Tick off tasks, leave comments on items or the whole form, and export your completed report to PDF or Excel—with a built-in QR code for authenticity.
- Download Excel - Façade Vapor Barrier Continuity & Overlap Inspection
- Download PDF - Façade Vapor Barrier Continuity & Overlap Inspection
- View Image - Façade Vapor Barrier Continuity & Overlap Inspection
Cite & Embed
“Façade Vapor Barrier Continuity & Overlap Inspection by Quollnet”
with a link to
this source page.
FAQ
Question: What lap sizes should I enforce for a façade vapor barrier?
Question: How can I verify adhesion without sending samples to a lab?
Question: Can I inspect and approve overlaps during cold or damp conditions?
Question: What documentation do I need to close out the façade VCL inspection?
Related Articles
Broader reading and guidance connected to this checklist topic.




Is It Important To Customize Your Qr Code And How To Do It?
Related Checklists
Keep the workflow moving with nearby templates chosen from similar checklist content.