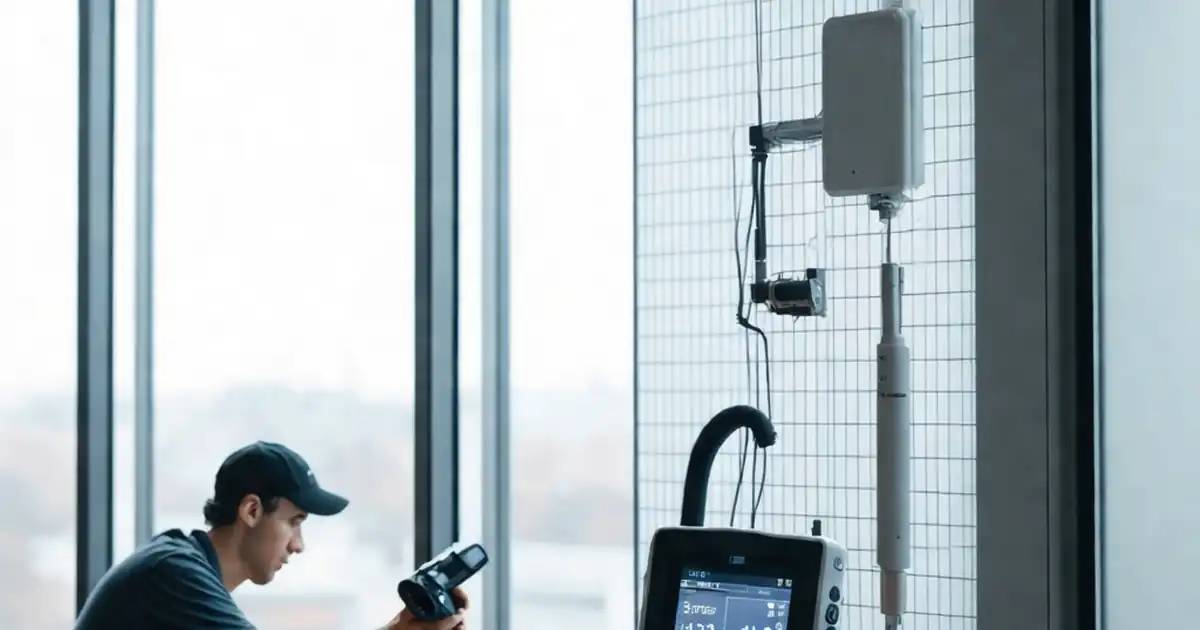
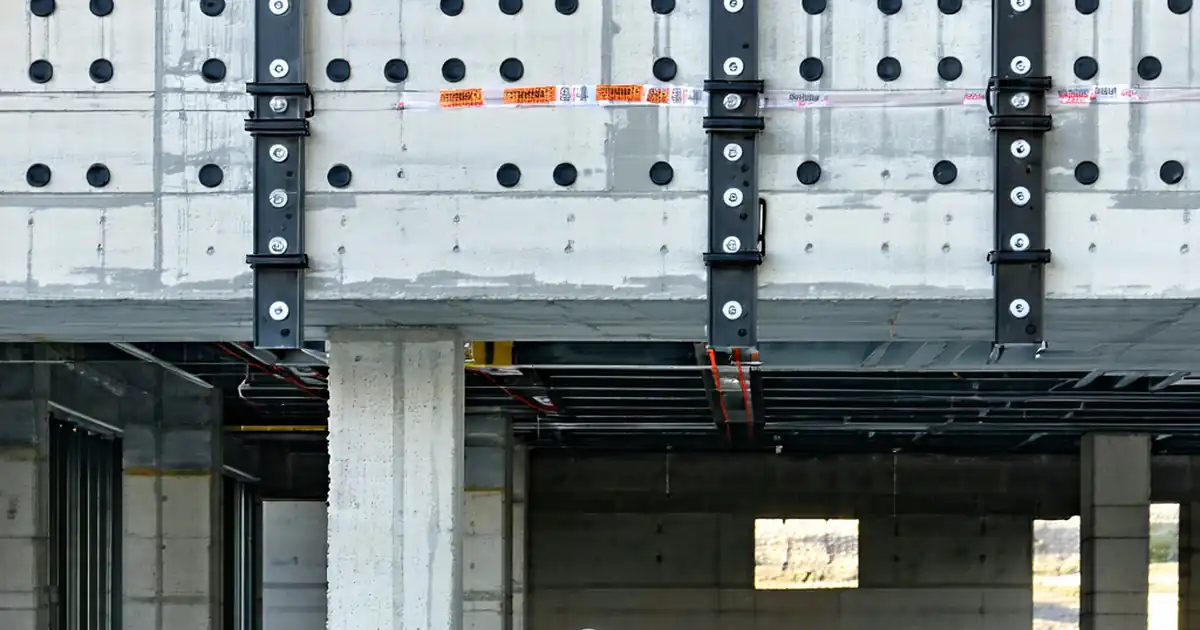
Review façade vapor control layer and condensation risk at envelope transitions
Definition: Review façade vapor control layer and condensation risk at envelope transitions for architects, envelope consultants, and site QA teams, focusing on continuity, material compatibility, dew point control, and verifiable field evidence.
- Verify VCL continuity and tie-ins across all envelope transitions and interfaces.
- Reduce condensation risk using sd-values, dew-point checks, and field testing.
- Coordinate materials, sequencing, and ownership to avoid gaps and reverse laps.
- Interactive, commentable checklist with export and QR code verification.
Review façade vapor control layer and condensation risk at envelope transitions is a focused quality-assurance process targeting the highest-risk junctions where walls meet roofs, slabs, frames, and penetrations. This checklist supports vapor barrier continuity, hygrothermal analysis, and dew-point assessment to prevent interstitial moisture, mold, and material degradation. It clarifies how the vapor control layer interfaces with the air barrier, insulation, and substrates at changes of plane, dissimilar materials, and service penetrations. You will confirm material properties (sd-value/µ), compatibility of primers, tapes, and sealants, and verify on-site conditions with calibrated meters, infrared imaging, and smoke-pencil tests. The outcome is a documented, traceable record that transitions are continuous, appropriately located, and protected against condensation per approved project specifications and authority requirements. Use this interactive checklist to tick items, add comments, attach photos and readings, and export to PDF/Excel with an embedded QR for authentication.
- Improve durability and indoor air quality by ensuring the vapor control layer remains continuous at transitions, is compatible with adjacent systems, and is installed under acceptable site conditions. Evidence-driven checks reduce costly rework, mitigate mold growth, and preserve thermal performance by avoiding moisture accumulation and thermal bridging.
- Apply practical hygrothermal methods to quantify condensation risk. Review sd-values and datasheets, confirm dew-point margins using simple calculations, and supplement with infrared thermography and humidity logging. Clear acceptance criteria and photo-based evidence create an auditable trail that supports approvals and smooths coordination between façade, roofing, and window trades.
- Interactive online checklist with tick, comment, and export features secured by QR code.
- Embed accountability through ownership matrices, hold points, and mock-up validations. The checklist standardizes documentation—drawings, calculations, meter readings, and annotated images—so teams can issue concise closeout packages. With traceable measurements and signatures, stakeholders can confidently sign off transitions before concealment or handover.
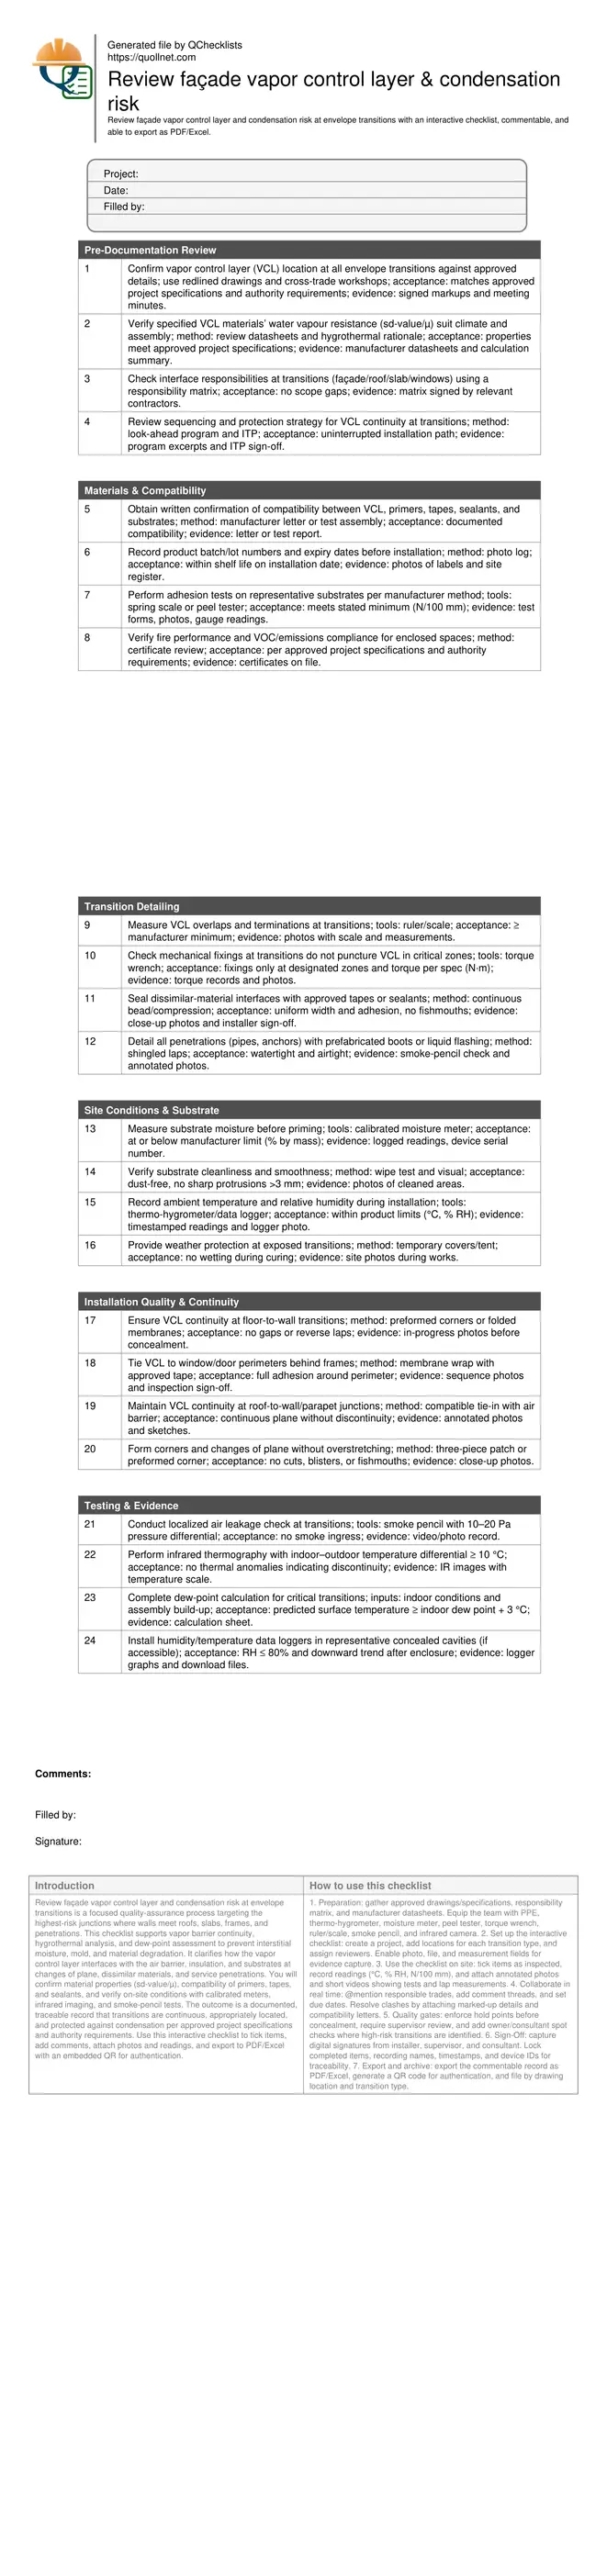
Pre-Documentation Review
Materials & Compatibility
Transition Detailing
Site Conditions & Substrate
Installation Quality & Continuity
Testing & Evidence
Why transitions drive condensation risk and how VCL continuity prevents it
Envelope transitions concentrate temperature gradients and air movement, making vapor control failures at these locations disproportionately damaging. The vapor control layer (VCL) manages water vapour diffusion, while the air barrier controls airflow; both affect condensation risk but are not the same. At slab edges, parapets, corners, and window perimeters, discontinuities, reverse laps, and incompatible materials create cold surfaces where moisture can condense. This checklist targets those junctions, verifying that the VCL remains continuous and correctly positioned relative to insulation and the air barrier. It documents material properties (sd-value/µ), confirms tie-ins, and validates on-site conditions so assemblies meet the design intent per approved project specifications and authority requirements. Practical acceptance cues—continuous adhesion, correct laps, and unobstructed tie-ins—coupled with photos and meter readings, let teams approve transitions confidently before concealment.
- Air barrier and VCL are distinct but interdependent layers.
- Transitions concentrate thermal bridges and moisture loads.
- Continuous tie-ins and correct laps prevent hidden wetting.
- Documented evidence is essential before concealment.
- Follow approved project specifications and authority requirements.
Quantifying and verifying condensation risk at critical junctions
Reliable risk evaluation combines desk analysis with field verification. Start by confirming sd-values and thicknesses from manufacturer datasheets. Perform a dew-point check using intended indoor conditions and assembly build-up; where needed, apply transient hygrothermal modeling to reflect variable climates and construction moisture. Validate continuity and cold-spot absence using infrared thermography under a temperature differential of at least 10 °C. Where cavities are accessible, deploy short-term data loggers to monitor relative humidity behavior after enclosure. Acceptance cues include a surface temperature margin at least 3 °C above indoor dew point, no thermal anomalies at tie-ins, and relative humidity that trends downward. These steps translate design assumptions into verifiable site outcomes, enabling timely adjustments before finishes proceed.
- Use sd-values and datasheets to frame inputs.
- Target ≥ 3 °C above indoor dew point.
- IR imaging needs ≥ 10 °C temperature differential.
- Log RH where cavities remain accessible.
- Escalate anomalies promptly with photos and readings.
Execution workflow, evidence standards, and coordination at transitions
Begin with a preconstruction meeting to align trades on ownership at transitions and to set hold points before concealment. Build a small mock-up of a representative junction to verify compatibility, lap geometry, and adhesion. On site, maintain calibrated tools (thermo-hygrometer, moisture meter, peel tester, IR camera) and record their serial numbers in reports. Use rulers in photos to capture lap widths, and annotate images to show direction of shingling. Check ambient conditions and substrate moisture before priming. Capture smoke-pencil tests and IR images as short videos or stills with temperature scales visible. Close out with a responsibility matrix, signed inspections, and a photo-log that maps evidence to drawing locations. This workflow prevents scope gaps, drives consistent acceptance calls, and leaves an auditable trail for approvals.
- Hold points before concealment reduce costly rework.
- Mock-ups de-risk geometry and compatibility early.
- Calibrated tools and serials improve report credibility.
- Annotated photos communicate acceptance clearly.
How to prepare, use, and sign off this checklist
- Preparation: gather approved drawings/specifications, responsibility matrix, and manufacturer datasheets. Equip the team with PPE, thermo-hygrometer, moisture meter, peel tester, torque wrench, ruler/scale, smoke pencil, and infrared camera.
- Set up the interactive checklist: create a project, add locations for each transition type, and assign reviewers. Enable photo, file, and measurement fields for evidence capture.
- Use the checklist on site: tick items as inspected, record readings (°C, % RH, N/100 mm), and attach annotated photos and short videos showing tests and lap measurements.
- Collaborate in real time: @mention responsible trades, add comment threads, and set due dates. Resolve clashes by attaching marked-up details and compatibility letters.
- Quality gates: enforce hold points before concealment, require supervisor review, and add owner/consultant spot checks where high-risk transitions are identified.
- Sign-Off: capture digital signatures from installer, supervisor, and consultant. Lock completed items, recording names, timestamps, and device IDs for traceability.
- Export and archive: export the commentable record as PDF/Excel, generate a QR code for authentication, and file by drawing location and transition type.
Call to Action
- Start Checklist Tick off tasks, leave comments on items or the whole form, and export your completed report to PDF or Excel—with a built-in QR code for authenticity.
- Download Excel - Façade Vapor Control & Condensation Review – Transitions
- Download PDF - Façade Vapor Control & Condensation Review – Transitions
- View Image - Façade Vapor Control & Condensation Review – Transitions
Cite & Embed
“Façade Vapor Control & Condensation Review – Transitions by Quollnet”
with a link to
this source page.

FAQ
Question: Where should the vapor control layer be located at envelope transitions?
Question: How do I determine whether condensation risk at a transition is acceptable?
Question: What if different trades own adjacent systems at a transition?
Question: Can I rely on air barrier continuity alone to prevent condensation?
Related Articles
Broader reading and guidance connected to this checklist topic.
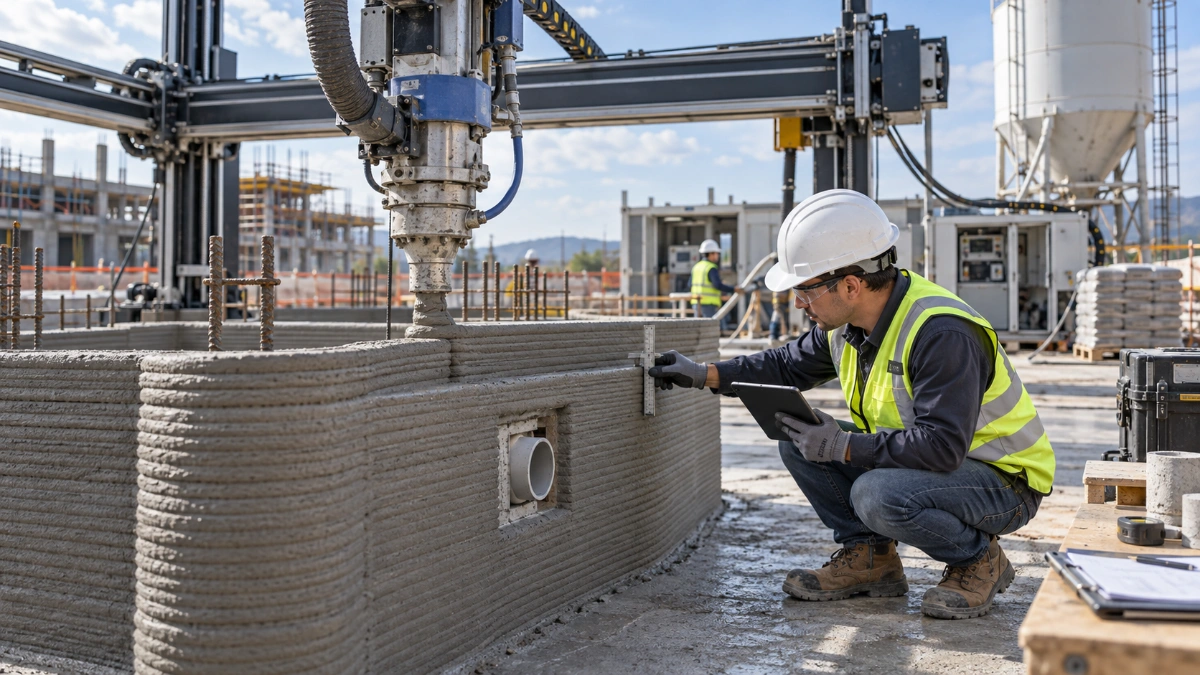
3d Printed Concrete Qa/qc: Inspection, Process Control & Acceptance


Open Ncrs At Taking-over / Dlp: What Happens At Handover And How To Escalate

Is It Important To Customize Your Qr Code And How To Do It?

Requisition Form: Materials, Services, Budget Control, And Logs
Related Checklists
Keep the workflow moving with nearby templates chosen from similar checklist content.