Inspect Curtain Wall Drainage Paths and Weep Hole Continuity
Definition: Inspect curtain wall drainage paths and weep hole continuity for facade QA teams, ensuring unobstructed water egress, pressure-equalized cavities, and reliable moisture management across sills, stack joints, and mullion drainage networks.
- Verify clear drainage channels, aligned baffles, and unobstructed weep exits.
- Reduce leakage risk, staining, and hidden corrosion through proactive inspection.
- Use probes, borescope, dyed-water checks, and calibrated spray testing.
- Interactive, commentable checklist with export and QR code authentication.
Inspect curtain wall drainage paths and weep hole continuity to ensure water leaves the facade quickly and predictably. This checklist focuses on rainscreen drainage, weep slots, sill flashings, and pressure-equalized facade cavities without expanding into unrelated glazing performance or structural topics. By validating drainage continuity—from internal channels to exterior weeps—you prevent ponding, capillary backflow, efflorescence, and concealed corrosion. The process uses practical tools such as feeler wires, borescopes, dyed water, manometers, and controlled spray, while capturing photos, readings, and lot numbers for traceable quality assurance. Acceptance cues include minimum weep sizes, consistent slopes, aligned baffles, intact screens, and measured airflow that indicates a functioning cavity. When issues arise (e.g., sealant bridging, thermal packers blocking slots, or paint overspray), targeted corrections and re-tests confirm restored performance. Use this interactive checklist to assign actions, add comments, and verify closure, then export your records as PDF/Excel with a QR code for secure sign-off.
- This checklist validates continuous drainage from sill pans and mullion channels to exterior weeps, reducing leakage, staining, and corrosion by verifying slopes, baffles, weep size, and airflow paths with documented evidence.
- Practical field methods combine non-destructive probing, borescope inspection, dyed-water tracing, and controlled spray to confirm that water egress is free-flowing and repeats predictably across representative bays and elevations.
- Clear acceptance criteria guide decisions: minimum weep diameters and spacing, sill slope tolerances, airflow indications, and defect resolution with before/after evidence, material batch records, and responsible sign-offs.
- Interactive online checklist with tick, comment, and export features secured by QR code. Share actions with stakeholders, track re-tests, and archive a verified moisture-management record for turnover and future maintenance.
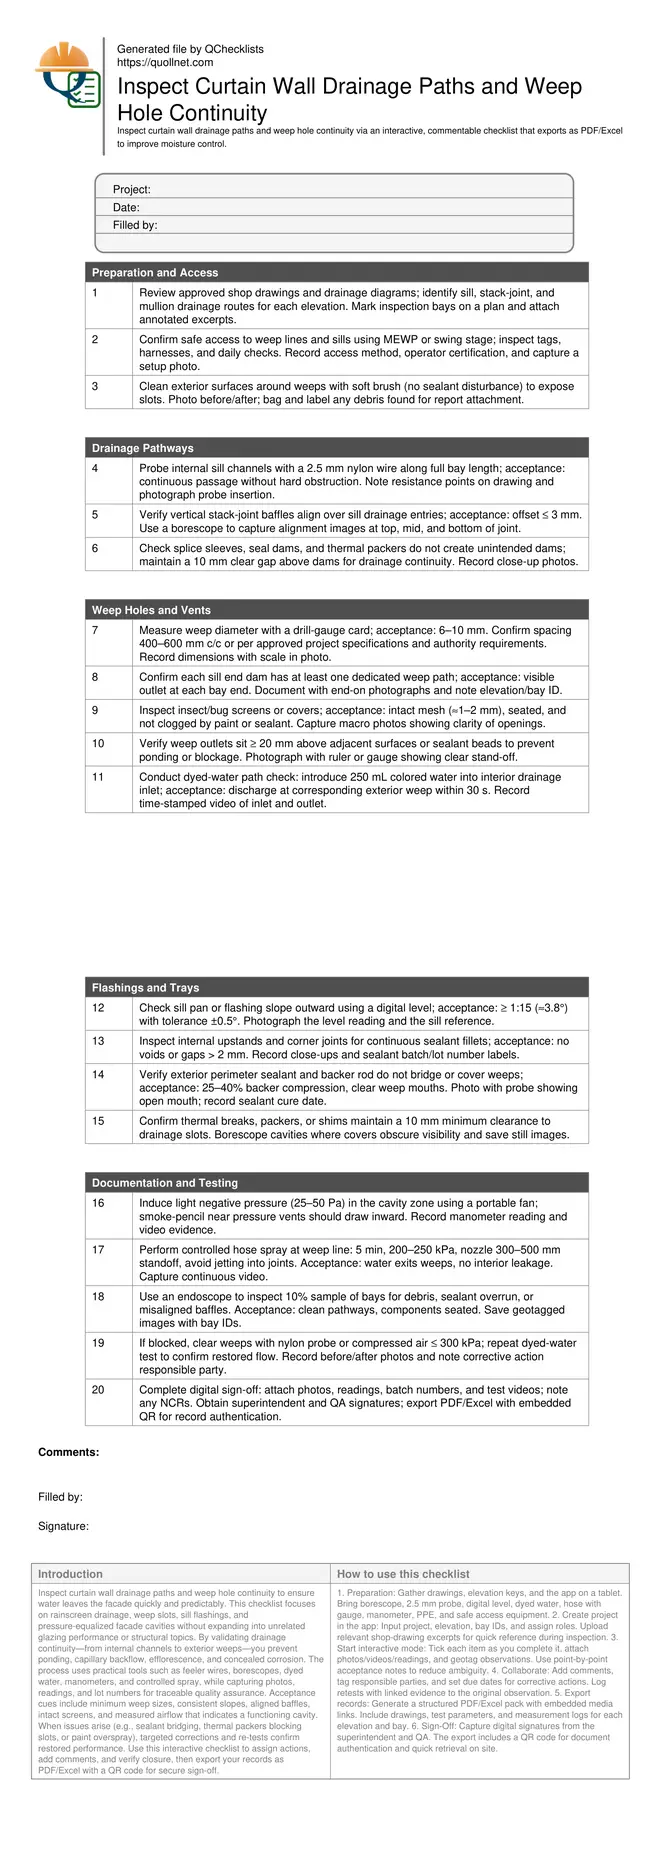
Preparation and Access
Drainage Pathways
Weep Holes and Vents
Flashings and Trays
Documentation and Testing
Why Drainage Continuity Matters in Curtain Walls
Drainage continuity in curtain walls ensures that incidental water entering glazing rebates or pressure-equalized cavities exits through planned routes without wetting interior finishes or trapping moisture. Consistent pathways—from mullion channels through sill pans to exterior weeps—limit ponding, capillary action, and staining. When slopes are correct, baffles align, and weep sizes are adequate, small infiltrations dissipate safely. Breaks in continuity, however, cause hidden corrosion, swollen packers, freeze–thaw damage, and costly warranty claims. Field acceptance cues include clear weep outlets (typically 6–10 mm), outward sill slopes of at least 1:15, and unobstructed baffles visible on a borescope. A common jobsite issue is paint overspray or sealant bridging across weep mouths, which blocks discharge and forces water to track along unintended interfaces. Another is misaligned stack-joint baffles after cover installation. Methodical inspection and simple tracing tests confirm accurate flow, providing reliable moisture management without intrusive dismantling.
- Target weeps 6–10 mm diameter and spaced 400–600 mm.
- Sill flashings sloped outward ≥ 1:15 with ±0.5° tolerance.
- Borescope confirms aligned baffles and clean channels.
- Avoid sealant bridging or packers blocking drainage slots.
Field Methods to Verify Paths and Weeps
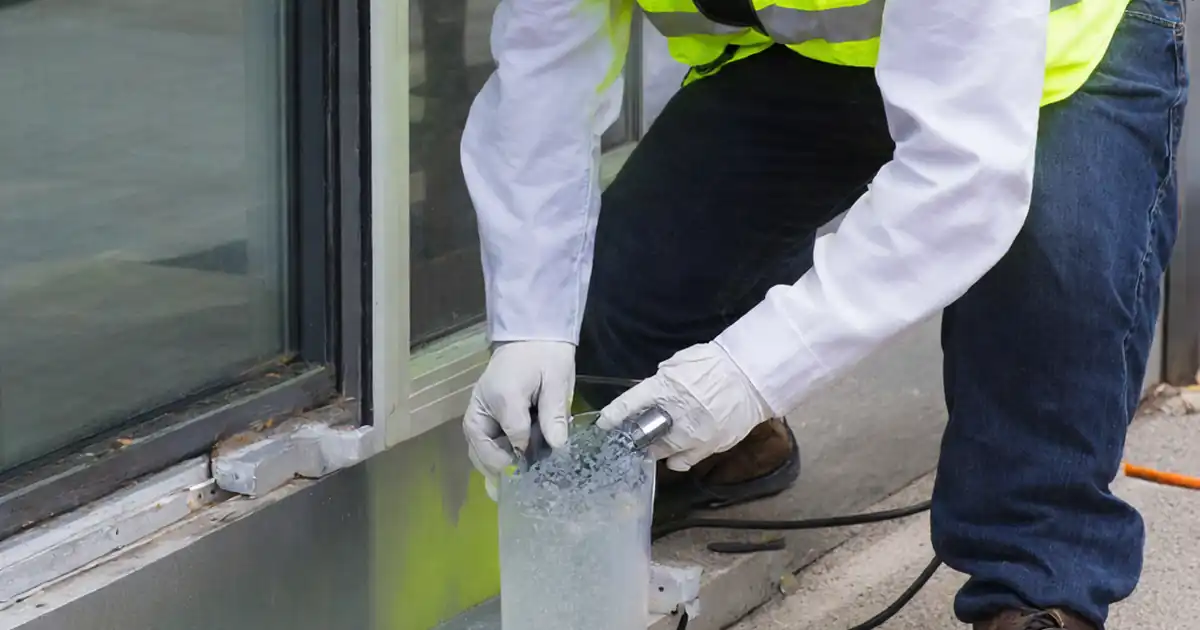
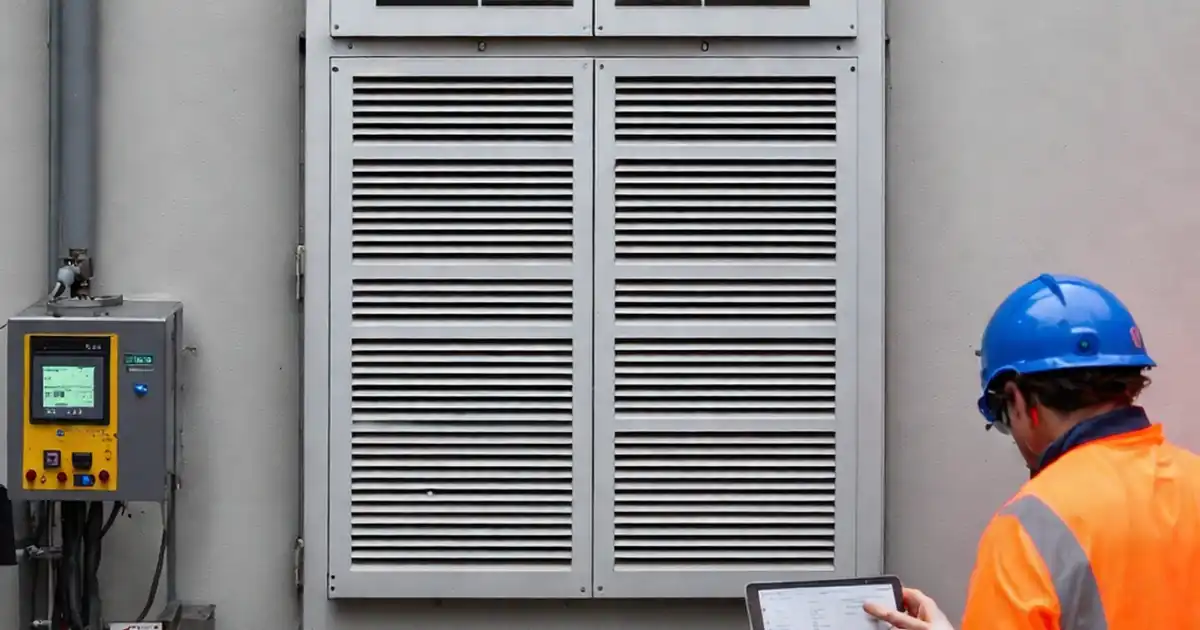
Non-destructive techniques make drainage verification efficient and repeatable. Start by mapping drainage routes on shop drawings, then probe channels with a nylon wire to detect obstructions. A compact borescope documents alignment at stack joints and under covers. Dyed-water tracing provides immediate confirmation of inlet-to-weep continuity; recorded transit times indicate restrictions. Where pressure moderation is designed, a light fan creates 25–50 Pa negative pressure and a smoke-pencil verifies airflow across vents, indicating an open cavity. A calibrated hose spray focuses on the weep zone to confirm discharge and check for unintended ingress without forcing water into joints. Throughout, capture clear, scaled photos, manometer readings, and videos to build an auditable trail. If issues surface—such as debris, sealant run-on, or packers in slots—correct locally and re-test the same way to prove resolution. These steps keep the process transparent and defensible.
- Use dyed water to trace inlet-to-weep in under 30 s.
- Record manometer Pa values during airflow checks.
- Maintain hose pressure 200–250 kPa for 5 minutes.
- Geotag images and videos for traceable evidence.
Typical Defects and Targeted Corrections
Frequent defects include clogged weep mouths from paint or sealant, misaligned stack-joint baffles, and thermal packers bridging drainage slots. Ponding on flat sills slows discharge and escalates leakage risk during wind-driven rain. Internal dams or splice details sometimes trap water when builders omit small relief gaps. Corrective actions are straightforward: clear obstructions with nylon probes or controlled air, trim packers to restore a 10 mm clearance, and re-seat baffles to align with sill entries. Add or reshape sealant fillets to remove voids and keep weep mouths open. Re-measure sill slopes, adjust shims as necessary, and repeat dyed-water and spray checks to confirm restored function. Document all before/after findings, material batch numbers, and who performed the fix. Consistent retesting and sign-off provide confidence that each corrected bay performs like the design intent.
- Restore 10 mm clearance around drainage slots.
- Realign baffles; acceptance offset ≤ 3 mm.
- Rebuild sealant fillets; no gaps > 2 mm.
- Repeat tests and capture before/after evidence.
How to Use This Interactive Curtain Wall Drainage Checklist
- Preparation: Gather drawings, elevation keys, and the app on a tablet. Bring borescope, 2.5 mm probe, digital level, dyed water, hose with gauge, manometer, PPE, and safe access equipment.
- Create project in the app: Input project, elevation, bay IDs, and assign roles. Upload relevant shop-drawing excerpts for quick reference during inspection.
- Start interactive mode: Tick each item as you complete it, attach photos/videos/readings, and geotag observations. Use point-by-point acceptance notes to reduce ambiguity.
- Collaborate: Add comments, tag responsible parties, and set due dates for corrective actions. Log retests with linked evidence to the original observation.
- Export records: Generate a structured PDF/Excel pack with embedded media links. Include drawings, test parameters, and measurement logs for each elevation and bay.
- Sign-Off: Capture digital signatures from the superintendent and QA. The export includes a QR code for document authentication and quick retrieval on site.
Call to Action
- Start Checklist Tick off tasks, leave comments on items or the whole form, and export your completed report to PDF or Excel—with a built-in QR code for authenticity.
- Download Excel - Curtain Wall Drainage and Weep Continuity Inspection
- Download PDF - Curtain Wall Drainage and Weep Continuity Inspection
- View Image - Curtain Wall Drainage and Weep Continuity Inspection
Cite & Embed
“Curtain Wall Drainage and Weep Continuity Inspection by Quollnet”
with a link to
this source page.
FAQ
Question: How often should we verify curtain wall weep continuity during construction?
Question: What simple field tests confirm drainage without dismantling covers?
Question: What are typical acceptance cues for adequate weep and drainage performance?
Question: How do we address blocked weeps discovered late in the program?
Related Articles
Broader reading and guidance connected to this checklist topic.

Is The Crack You See On Your Wall Serious Or Minor Cosmetic Issue?


Improve Your Project Handover Process With Snag List Tracking App

Is It Important To Customize Your Qr Code And How To Do It?
Related Checklists
Keep the workflow moving with nearby templates chosen from similar checklist content.